SEARCH FINESCALE.COM

Enter keywords or a search phrase below:

Monogram Bf110E-1 Zerstoerer 1/72 Complete

1590 views
16 replies
1 rating 2 rating 3 rating 4 rating 5 rating
  • Member since
    January 2015
  • From: Katy, TX
Monogram Bf110E-1 Zerstoerer 1/72 Complete
Posted by Aggieman on Thursday, September 13, 2018 1:41 PM

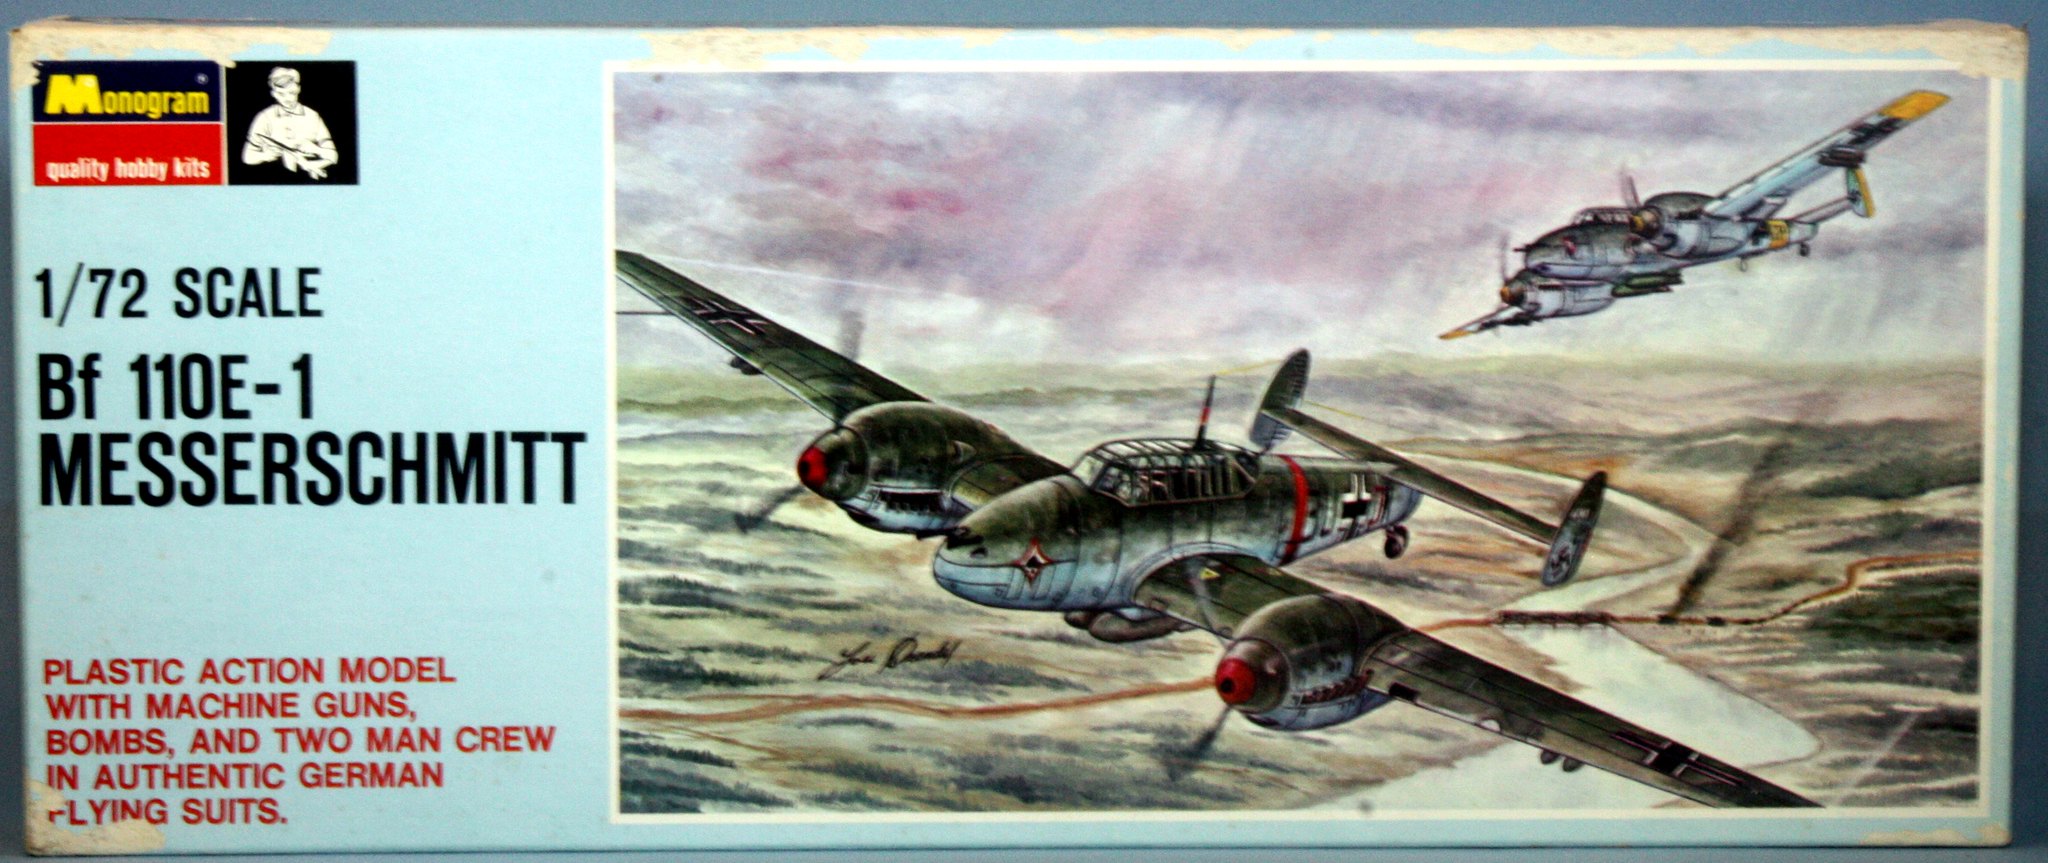
I decided to do a mini-WIP for my next build, 11th in my personal series of the Year of the Axis Build.  I hesitate to call the kit ancient given that it is as old as I am, but it was released in the distant year of 1967.  I built it a couple of times as a kid.  In fact, these Monogram kits in this baby blue box are among my earliest memories, and in recent years I have scoured eBay for these kits.  So this will be I think the fifth of those blue box kits I have built as an adult.

Here is the box top:

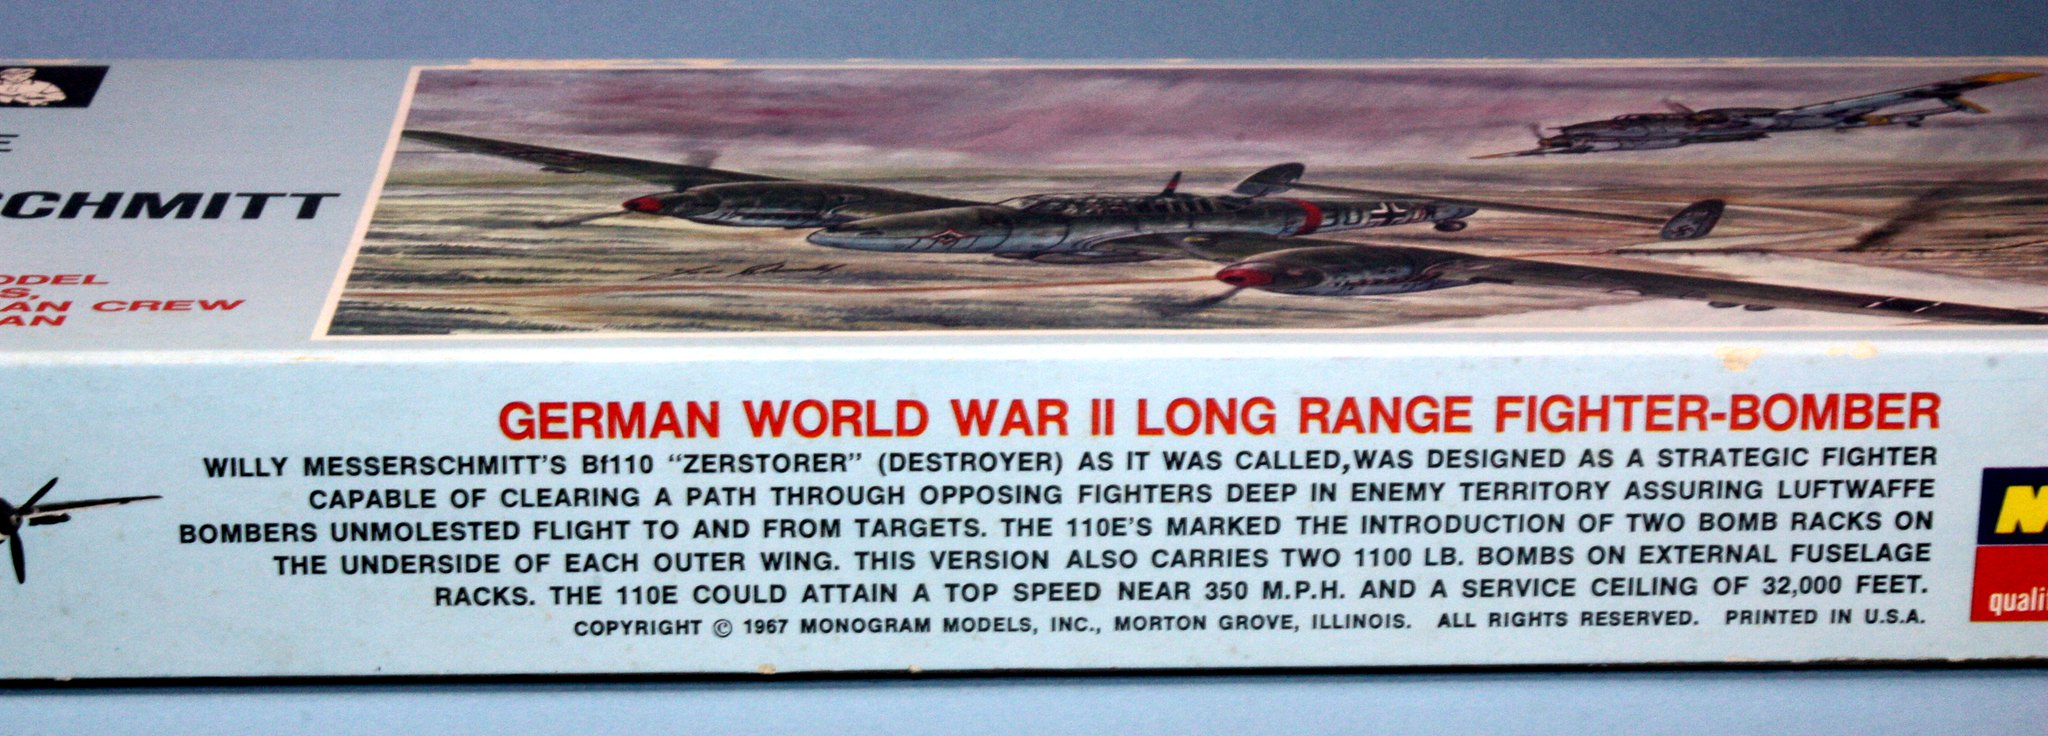
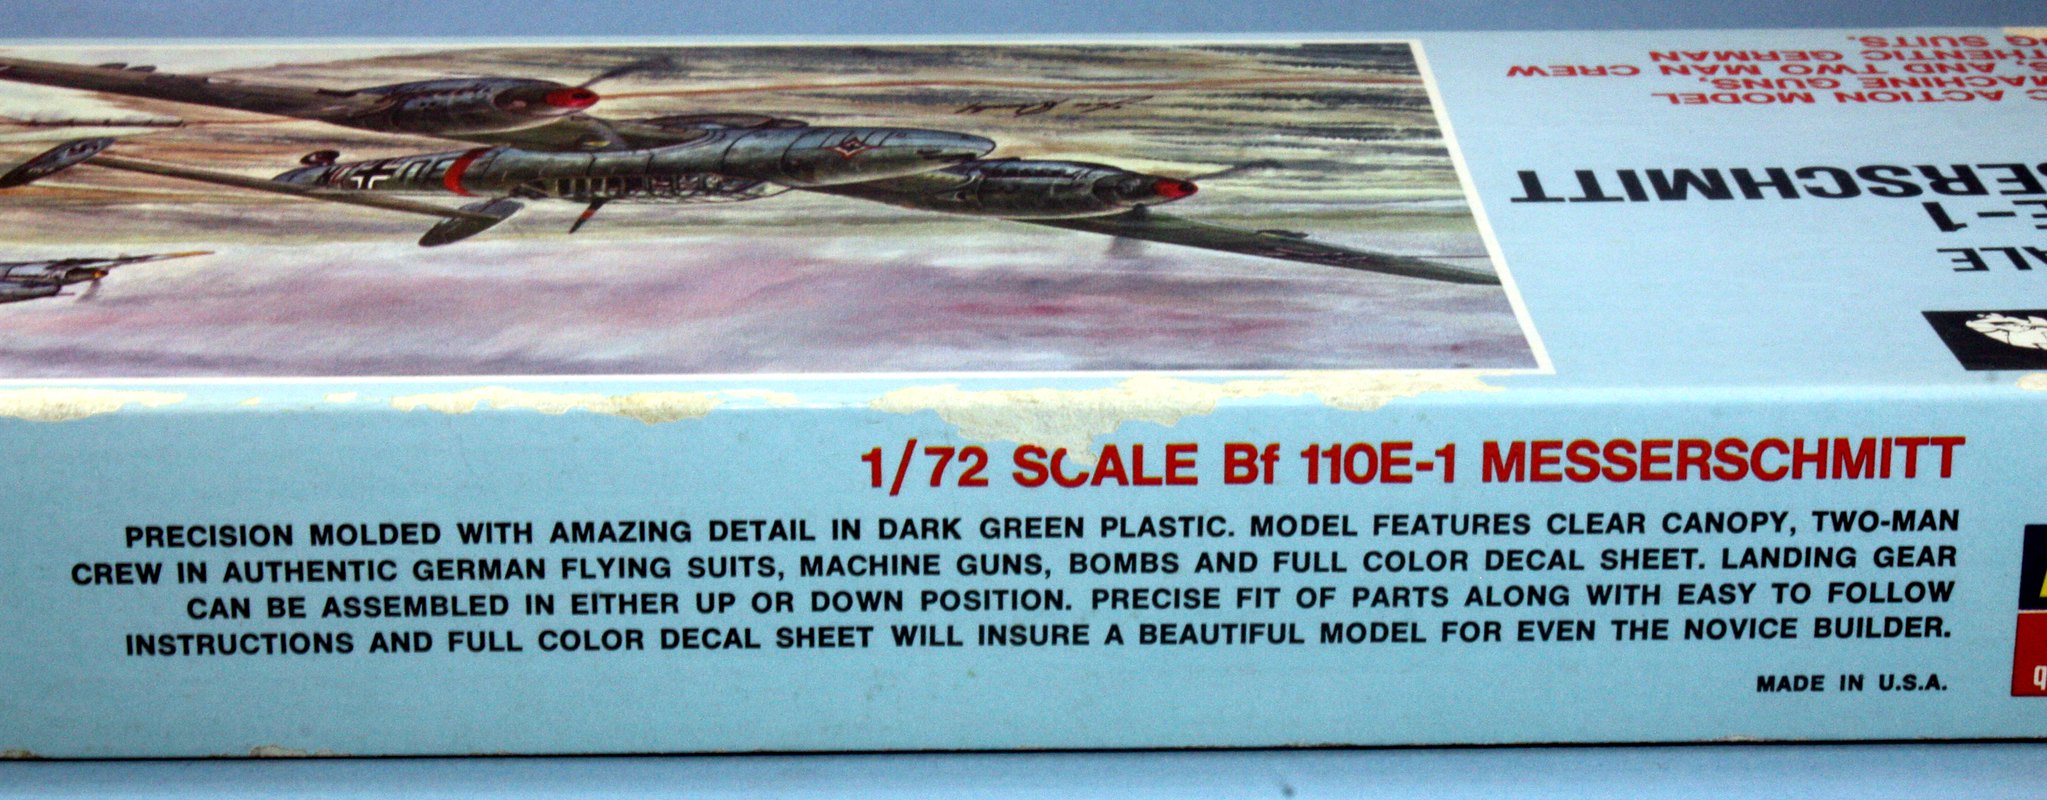
Note the shelf wear on the edges of the box.

When I received this kit in the mail, there was an extra included inside the box. I presume this is the original shrinkwrap with the price tag still affixed.

Not surprisingly, this is quite a simplistic kit with very few parts.

Note the very simplistic instructions:

The exploded diagram was, I believe, a fairly common style that Monogram kits of the era used.  Perhaps this explains why modeling was so easy for me to pick up as a youngster (I built a Monogram P-40B at age 3 with a lot of help from my dad, but that one also had a page with the exploded diagram).

So the reason for my decision to do a WIP for this simplistic build is the cockpit.  This kit, as normal for the era, has next to nothing for the cockpit.  There are a couple of figures and a front seat, along with a couple of instrumentation decals.  As with the other old Monogram blue box kits that I've built, save the F8F Bearcat, I've been compelled to scratch out details for this build.  So here is the starting point - a barren cockpit:

In the second photo there, I have cut sheet styrene to fit as walls and a floor for the cockpit, and the kit's forward seat is there on the lower left.  Everything else is little griblets I pulled out of my spares box - a couple of seats, a machine gun that I will use as a control column, some instrumentation, a seat mount, a box, and some ammo drums.  Some of the scaling is inaccurate, i.e. 1/48, but for the most part my intent is to fill the area and make it look as respectable as possible through the thick kit canopy (which is one piece and I will not be cutting it to pose open hatches).

I have already cast an eye toward painting this little guy, by making masks of the splinter pattern that I will use on the wings and stabilizer.  I may cut masks for the mottling, but I'm first going to attempt to put down scale-correct mottling on an old test subject before I attempt to cut masks for that.

Finally, the decals:

These are not usable as is.  Many are split in parts.  I could spray them with a sealant to see if they will hold up to water, but I really wanted to build a Wespen (German for wasp) Zerstoerer, so I found a set of decals for that.

I'll be doing option #1 on the decal sheet, a Bf110 flying out of Bryanski, Russia, in June 1942.

These old Monogram 1/72 kits typically include a stand.  I am going to use the stand for this build, and close up the wheel wells (which otherwise would require some scratch building).  Something else I'm toying with is cutting the blades from the props and fashioning clear disks to represent spinning props.  I'm not really sure what medium to acquire for this - maybe some clear sheet styrene?  Also I am not sure how to make it look like a spinning prop rather than a clear disk as the Germans didn't paint the prop tips yellow or red.  I'll be researching that.


  • Member since
    June 2014
Posted by BrandonK on Friday, September 14, 2018 9:12 AM

Pretty cool to see these old kits finally get built. With Revell out of commission for the forseeable future these old kits are starting to go up in value. This is gonna be pretty neat build.

BK

On the bench:

A lot !! And I mean A LOT!!

2024 Kits on deck / in process / completed   

                         14 / 5 / 2  

                              Tongue Tied

  • Member since
    April 2015
Posted by Mopar Madness on Friday, September 14, 2018 9:19 AM

A vintage kit getting the respect it deserves.  We've come a long way since the $0.77 days!

Chad

God, Family, Models...

At the plate: 1/48 Airfix Bf109 & 1/35 Tamiya Famo

On deck: Who knows!

  • Member since
    March 2003
  • From: Towson MD
Posted by gregbale on Friday, September 14, 2018 10:57 AM

That was the first kit I ever airbrushed...and it was an old release, even then! Have probably done at least half a dozen, since.

At last viewing, it was still one of the cleanest-molded set of canopy frames I've ever seen.


Look forward to following your build!


Greg

George Lewis:

"Every time you correct me on my grammar I love you a little fewer."
 
  • Member since
    January 2015
  • From: Katy, TX
Posted by Aggieman on Saturday, September 15, 2018 10:47 AM

So happy that kickoff for the Texas A&M game is later today, as it gave me bench time prior to my planned departure time for Aggieland today.

I was able to finish out the cockpit.  It is not entirely accurate, and it is not as detailed as it might have been in a larger scale, but I think it will fit the fill when viewed through the canopy.  At the very least, one will be able to tell there is something going on in there, and it's not just a gaping hole.

The griblets I pulled out of my spares box include a bench seat, a chair, a machine gun barrel to use as a control column, a couple of ammo cartridges, a bomb anti-sway brace used to mount an ammo cartridge to the back wall, and a couple of instrument panels.

There is not a whole lot of space in the cockpit, so I focused most of my efforts along the port side of the cockpit; the starboard side got a couple of parts just to give it some depth.

I'm not going to close up the fuselage until after I get everything coated with gray Stynylrez primer and paint the interior.  I don't anticipate doing a bunch of detail painting in the cockpit but I will hit some parts with RLM 66 while the primary color will be RLM 02.

  • Member since
    March 2005
  • From: Lancaster, South Carolina
Posted by Devil Dawg on Saturday, September 15, 2018 10:08 PM

Man, I remember those old Woolco stores when I was a kid. And Zayre's......and The Treasury.......and Ben Franklin's.

Looking good so far with the Bf-110, AggieMan!

Devil Dawg

On The Bench: Tamiya 1/32nd Mitsubishi A6M5 Model 52 Zeke For Japanese Group Build

Build one at a time? Hah! That'll be the day!!

  • Member since
    January 2015
  • From: Katy, TX
Posted by Aggieman on Wednesday, September 19, 2018 1:27 PM

I have a little more progress here.  I decided to include the kit figures into this build, which I typically don't do.  There are a number of reasons for this, mostly in that I think I absolutely suck at painting figures.  I think this is another example of this problem area for me, yet I'm able to rationalize for this particular build that these figures are so tiny and the canopy is pretty thick, that my horrible painting job will not be visible. 

So there they are.  Other than the bad paint job (tiny scale, eyes even with an Optivisor that can't see all the detail, and probably not the best brush to use for painting at this scale), I have to wonder about the guy on the left.  Did he run into a Xenomorph (the alien from the Alien movies)?  There is a big hole in his gut.  I left the hole there as kinda an in-joke given my love for the original Alien movie.

As it turns out, I didn't do a great job of installing the griblets throughout the cockpit, so that they guy on the right in the above photo is actually the pilot but would not fit into the pilot's seat due to one of the panels that I put into that space.  So I swapped their positions; the gunner is now the pilot.

Finally closed up the fuselage.

The cockpit details look decent to the naked eye (sans those figures).

I don't know how well the photos really show it, but you might notice some splotchy paint along the fuselage exterior.  That was me spraying out what was left of the black Stynlyrez primer I applied on the cockpit interior, testing if I can reliably spray the mottling without aid of some kind of hand-cut masking.  I think with the air pressure set pretty low I'll be able to do a decent job at the mottling in this scale.

  • Member since
    November 2008
  • From: Central Florida
Posted by plasticjunkie on Friday, September 21, 2018 10:40 PM

WOW!! Talk about a blast from the past. I built that kit when I was a kid in the late 60s. 

The pit scratch work really improves that empty space. I recently picked up the Stuka tank buster from around the same period that I also built way back when.

That‘s cool looking at that Woolco tag. I remember them selling guns just like Sears and Gold Triangle and having a adequate plastic kit selection.

 GIFMaker.org_jy_Ayj_O


Too many models to build, not enough time in a lifetime!!

  • Member since
    December 2002
  • From: Northern California
Posted by jeaton01 on Saturday, September 22, 2018 1:04 AM

I'll bet that gunner always wanted to be a pilot.  Finally getting his shot at it.

John

To see build logs for my models:  http://goldeneramodel.com/mymodels/mymodels.html


  • Member since
    March 2003
  • From: Canada
Posted by dogsbody on Saturday, September 22, 2018 7:55 PM
Looking good. I've got one of these in the stash, along with a few other old Monogram kits. I remember them well from the past. Chris

"What young man could possibly be bored
with a uniform to wear,
a fast aeroplane to fly,
and something to shoot at?"

  • Member since
    March 2015
  • From: Streetsboro, Ohio
Posted by Toshi on Sunday, September 23, 2018 3:23 AM

Excellent start on a classic kit!

Your friend, Toshi

On The Bench: Revell 1/48 B-25 Mitchell


Married to the most caring, loving, understanding, and beautiful wife in the world.  Mrs. Toshi


  • Member since
    January 2015
  • From: Katy, TX
Posted by Aggieman on Thursday, September 27, 2018 9:55 AM

I wrapped this one up yesterday.  This was a fun little trip down memory lane.

Paints were entirely Vallejo acrylics, with weathering a mix of Tamiya flat black for the exhaust stains, Flory dark dirt wash, Tamiya weathering compounds, and ground pastels.  Curiously, I utilized the same paints as I did for my previous build, the Do215B-5, where I noted that there did not appear to be any difference in the color tones between the RLM 74 and RLM 75, but that was not the case on this build.  The only thing I did differently was that I vigorously shook the bottles on this build.

Fit was actually quite like a Tamiya, with this particular kit having come from a new mold at the time.  I had originally planned to replace the props with a clear disk, but everything I read about that indicated that such an approach typically does not look all that convincing.  I went ahead and just used the kit props as they are.  I also glued this bird to the included stand.

On to the completed build photographs.

Next up - a quartet of Japanese warbirds - another Monogram blue box, A6M5 Zero, as well as Tamiya's A6M5/5a Zero 1/48, and Hasegawa's D3A1 Val and Hasegawa's B5N2 Kate.  My intent is to have these done by 7 December as they are the Pearl Harbor attackers (well, not the Zero, in that I don't believe that particular variant was available on that date).

  • Member since
    April 2015
Posted by Mopar Madness on Thursday, September 27, 2018 10:05 AM

Excellent mottling!  I'd love to know more about the base.

Chad

God, Family, Models...

At the plate: 1/48 Airfix Bf109 & 1/35 Tamiya Famo

On deck: Who knows!

  • Member since
    January 2015
  • From: Katy, TX
Posted by Aggieman on Thursday, September 27, 2018 10:53 AM

Mopar Madness

Excellent mottling!  I'd love to know more about the base.


Thanks Chad!

The base is just a simple 2-piece stand that was standard with Monogram 1/72 kits of that era.  It's about 2 inches diameter with an attached prong standing about 2 inches.  Nothing special about it, other than the embossed aircraft name.

  • Member since
    March 2003
  • From: Towson MD
Posted by gregbale on Thursday, September 27, 2018 11:11 AM

That is as fine as that old kit (and stand) have ever looked! Really well done.

Greg

George Lewis:

"Every time you correct me on my grammar I love you a little fewer."
 
  • Member since
    December 2002
  • From: Northern California
Posted by jeaton01 on Thursday, September 27, 2018 12:31 PM

Well done, Stephen.  Yup, has to be an A6M2 Type 21 for Pearl Harbor.

I did the same 3 a while back.

John

To see build logs for my models:  http://goldeneramodel.com/mymodels/mymodels.html


  • Member since
    April 2013
  • From: Eleva, Wisconsin
Posted by Greatmaker on Thursday, September 27, 2018 2:20 PM

Nice looking destroyer you have there! I've always liked that scheme.  I can't imagine painting 1/72 figures.  I have a terrible time painting the 1/48 ones


JOIN OUR COMMUNITY!

Our community is FREE to join. To participate you must either login or register for an account.

SEARCH FORUMS
FREE NEWSLETTER
By signing up you may also receive reader surveys and occasional special offers. We do not sell, rent or trade our email lists. View our Privacy Policy.