1/72 Airfix PR. XIX
I built this for the Weekend GB. Hope you like it.
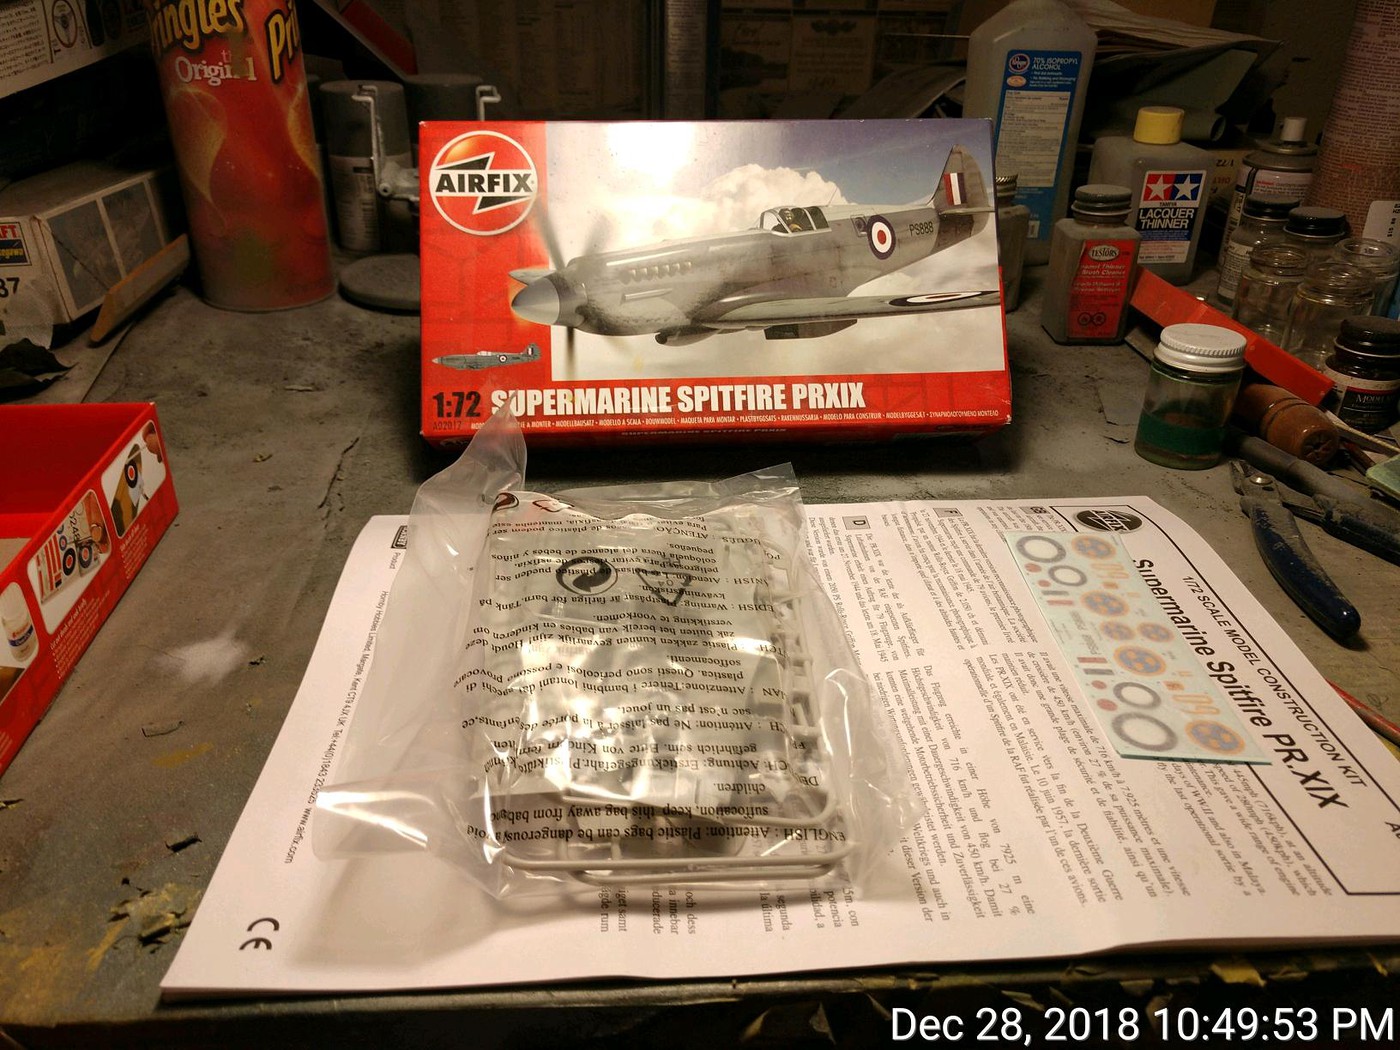
Proof of unstartedness. Rule #1 of the Weekend GB, all kits must be unstarted. If thought is was Don't talk about Weekend GB, obviously you're mistaken.
The cockpit installed.
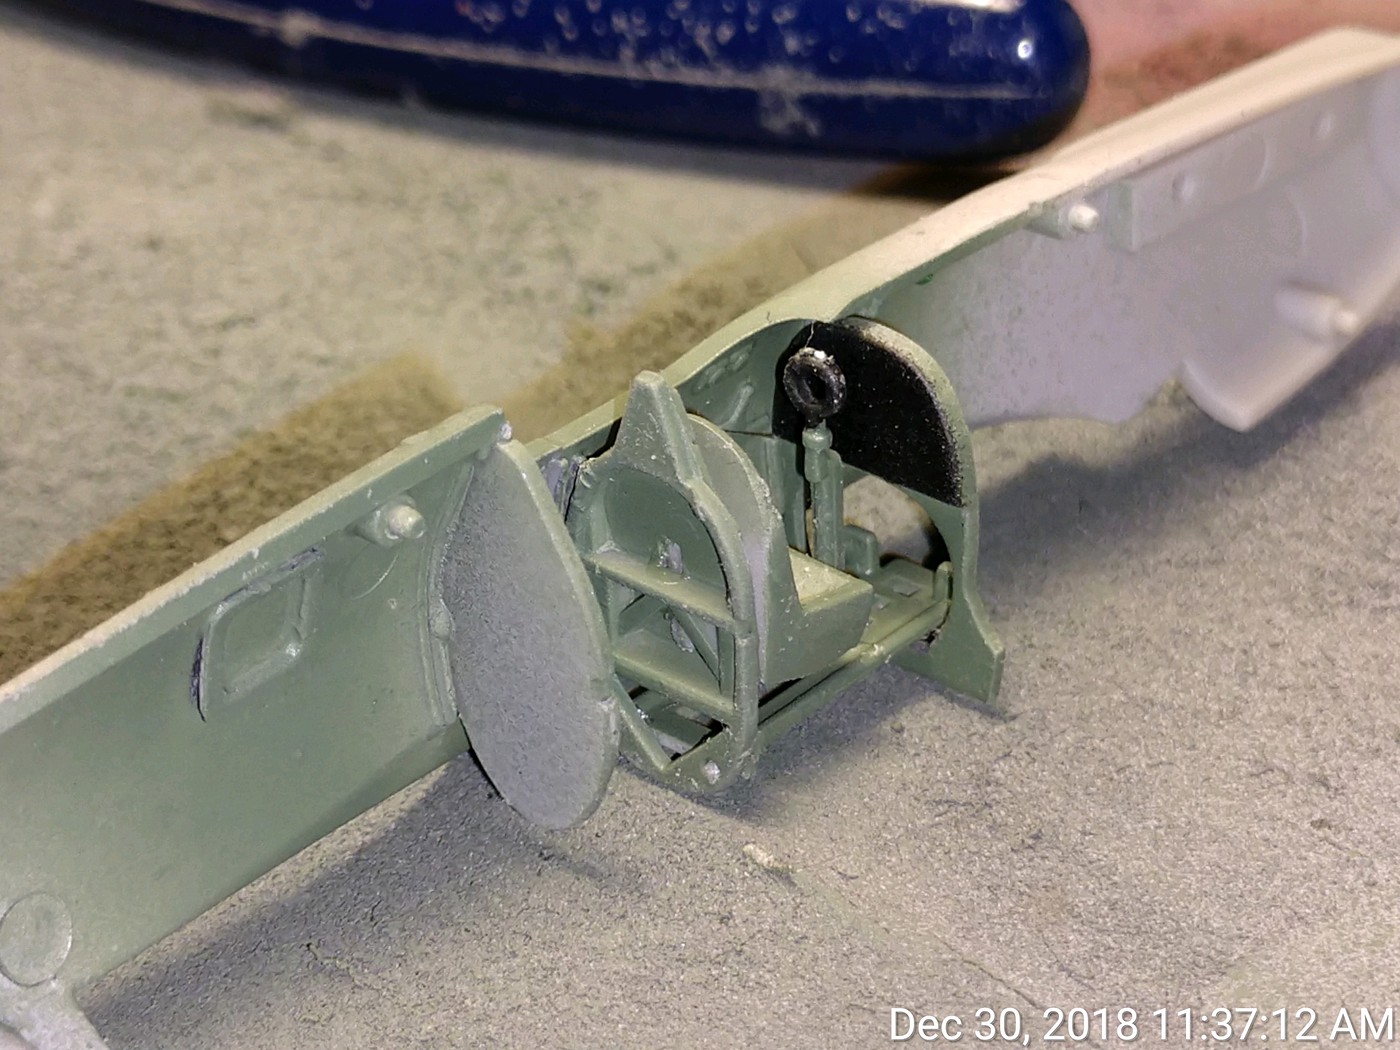
The cockpit in the PR. XIX is a very fidgety three piece affair. The fuselage has grooves molded in where the bulkheads and instrument panel go so once everything was glued together, I laid the cockpit in place until it dried. It's possible that I put the control stick in the wrong place, but I think it's a little too tall. On the other hand, I think it is the first control stick of the Airfix new tools that I've built that has survived being cut off the sprue without breaking (their 1/72 P-51 is really bad about this). There was no decal provided for the instrument panel. It doesn't really matter because you can't see it. There is no detail provided for the camera bay behind the cockpit, so I painted the clear piece black, then covered it with primer and British interior green so light wouldn't shine through. I do believe there is an aftermarket set by Pavla if you feel the need to fill it. The clear part for the camera porthole doesn't fit that great.
The fuselage fully assembled.
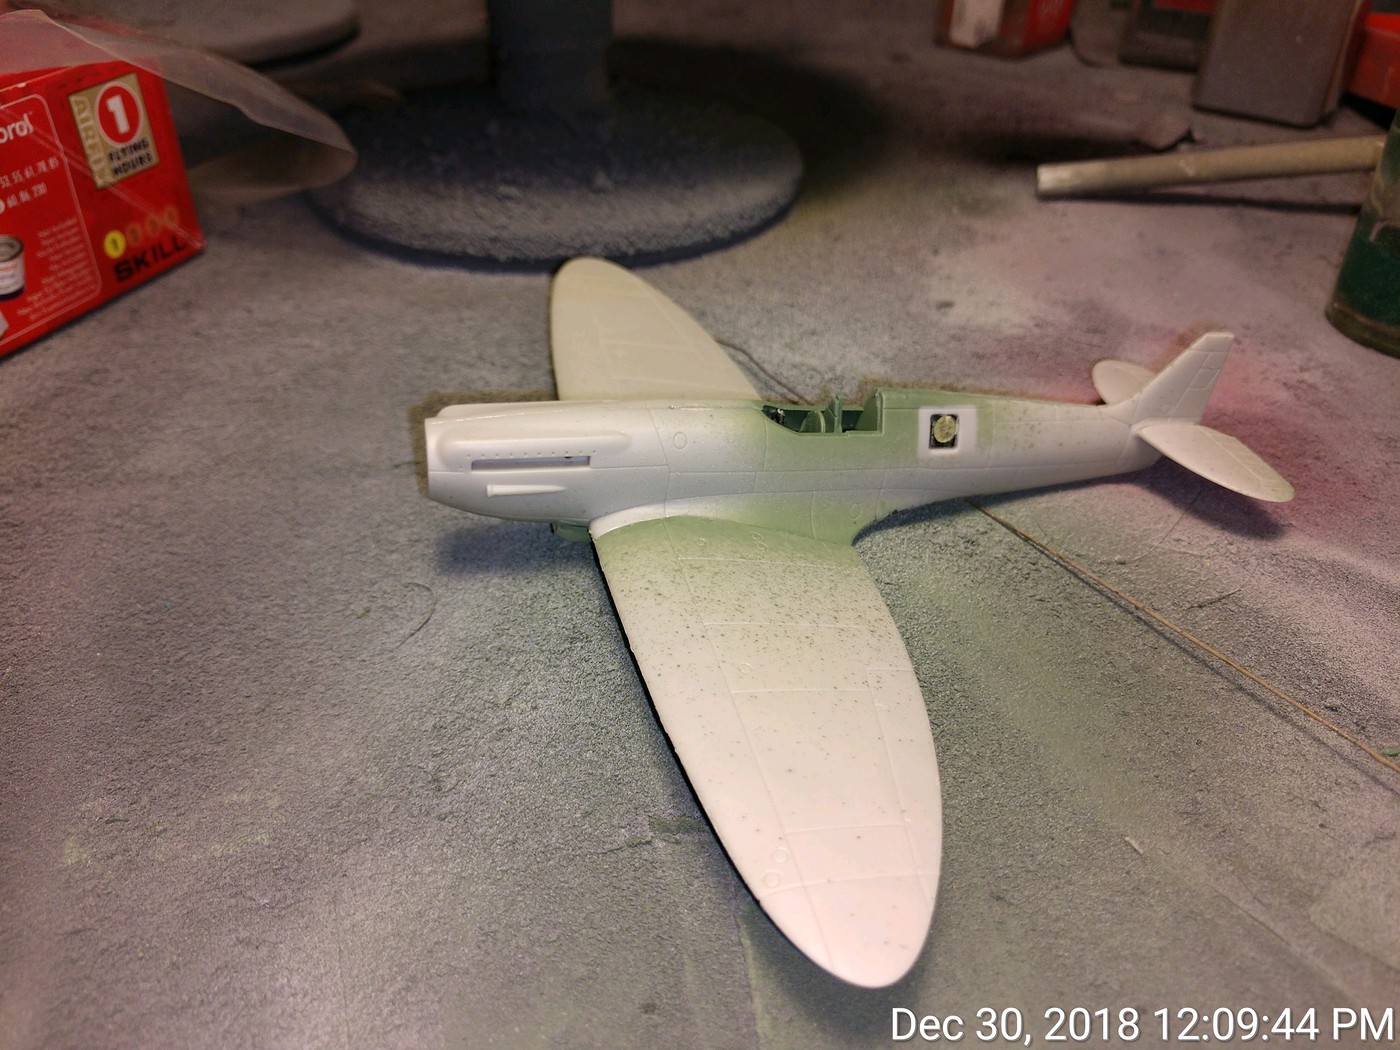
The painted fuselage, not quite ready for decals.
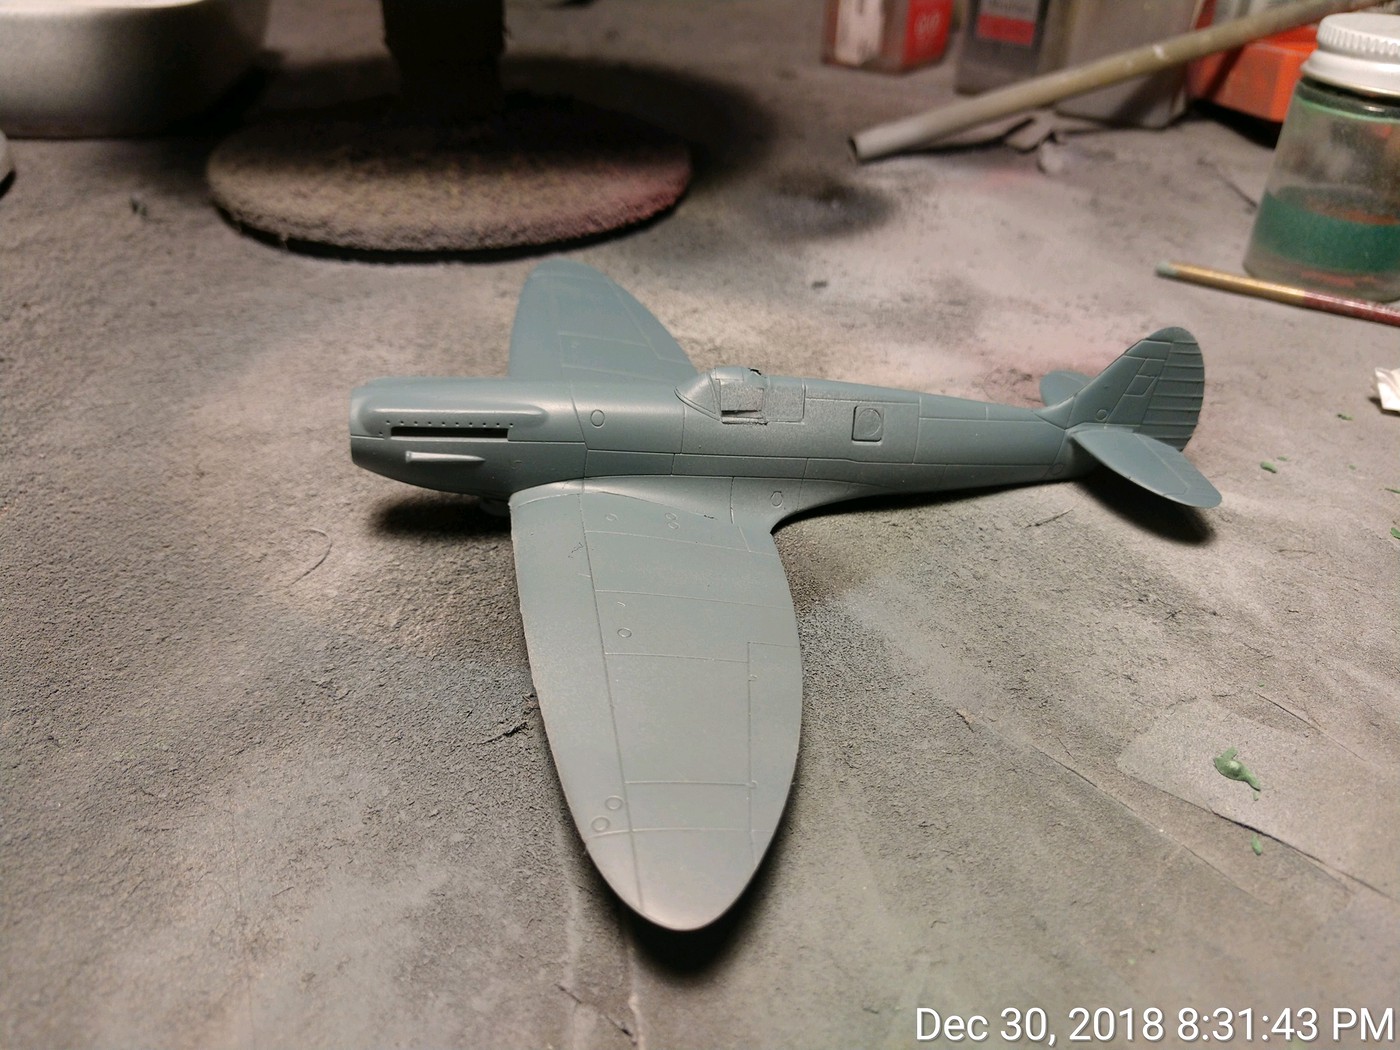
The paint is Vallejo Air's Faded PRU Blue. It caused me some concern as it was still tacky a couple of hours after I shot it. I thought I was going to have to use the microwave to get her done in time, but I didn't have to. I did notice the thin spots and repainted.
She's done.
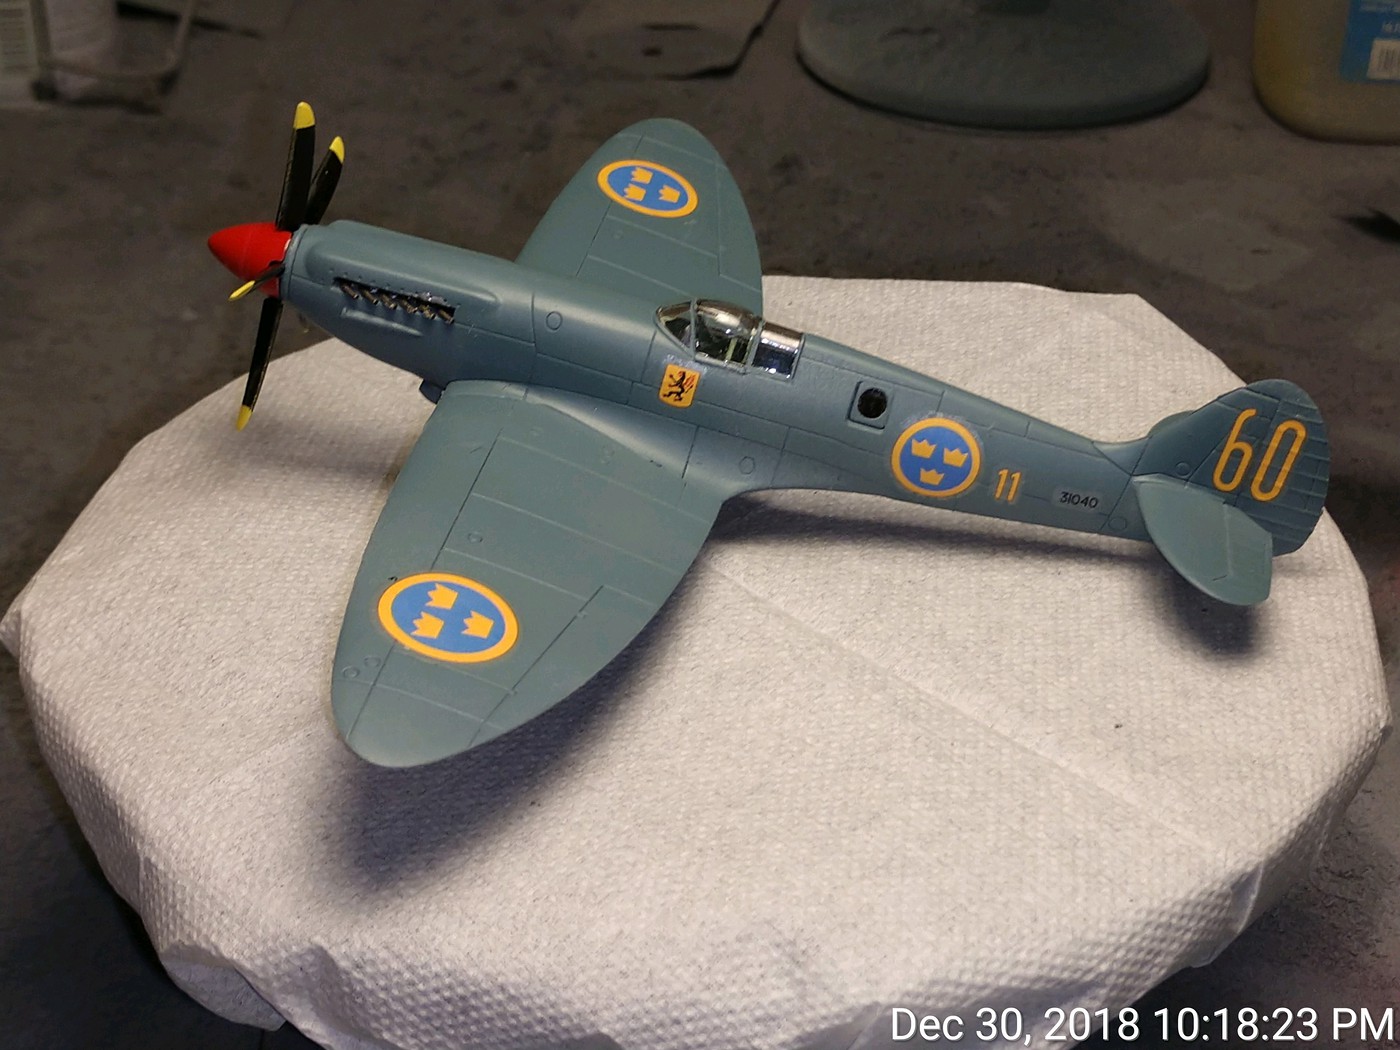
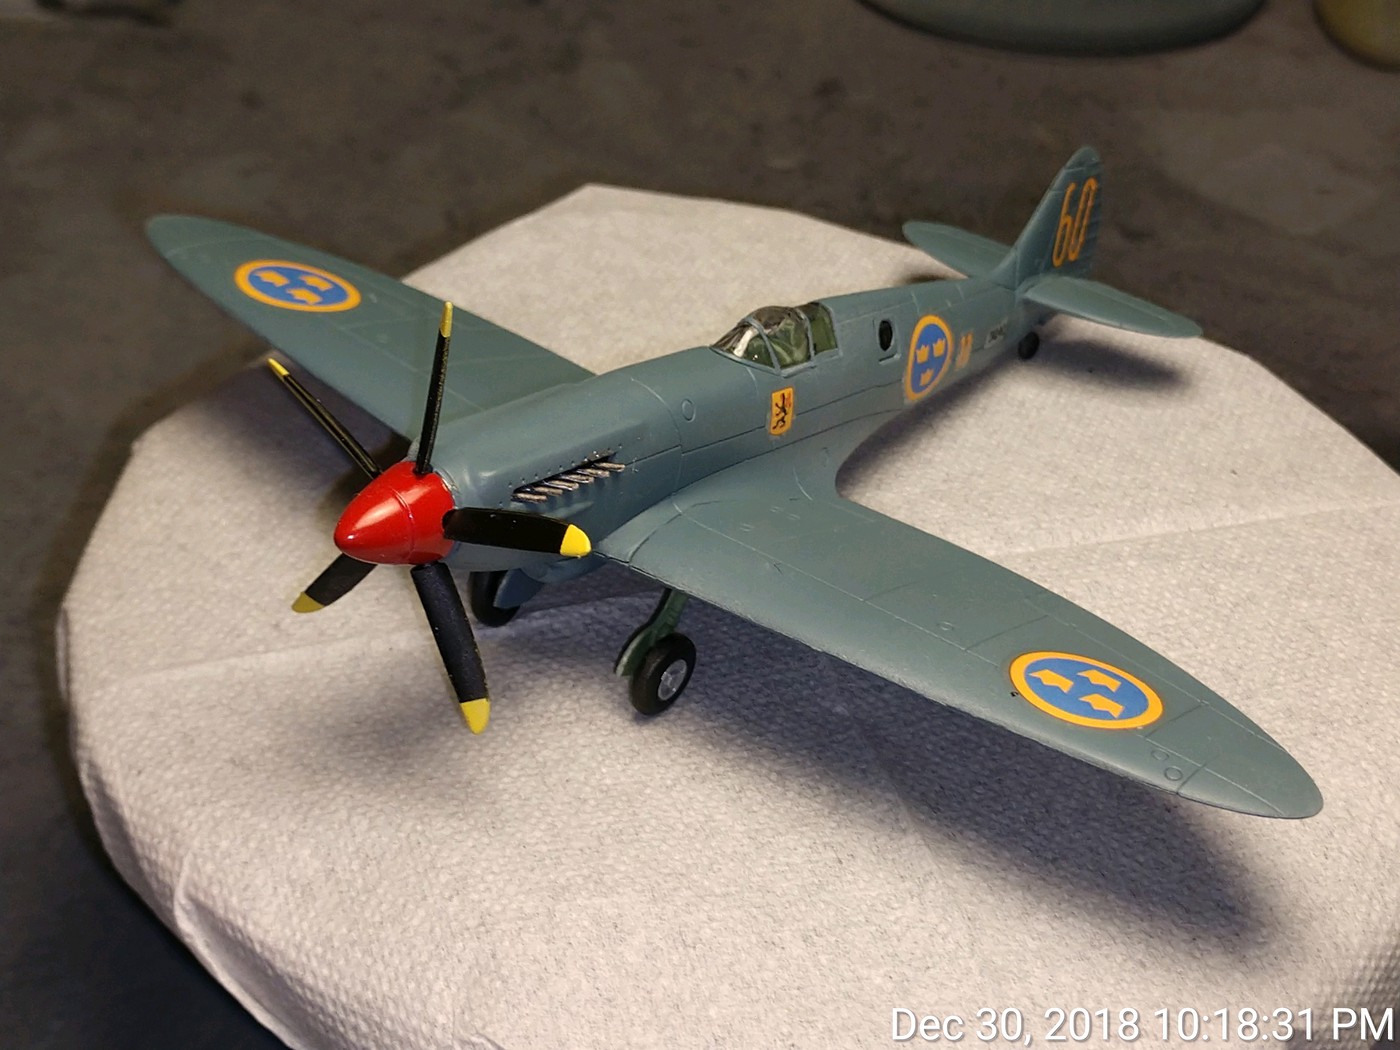
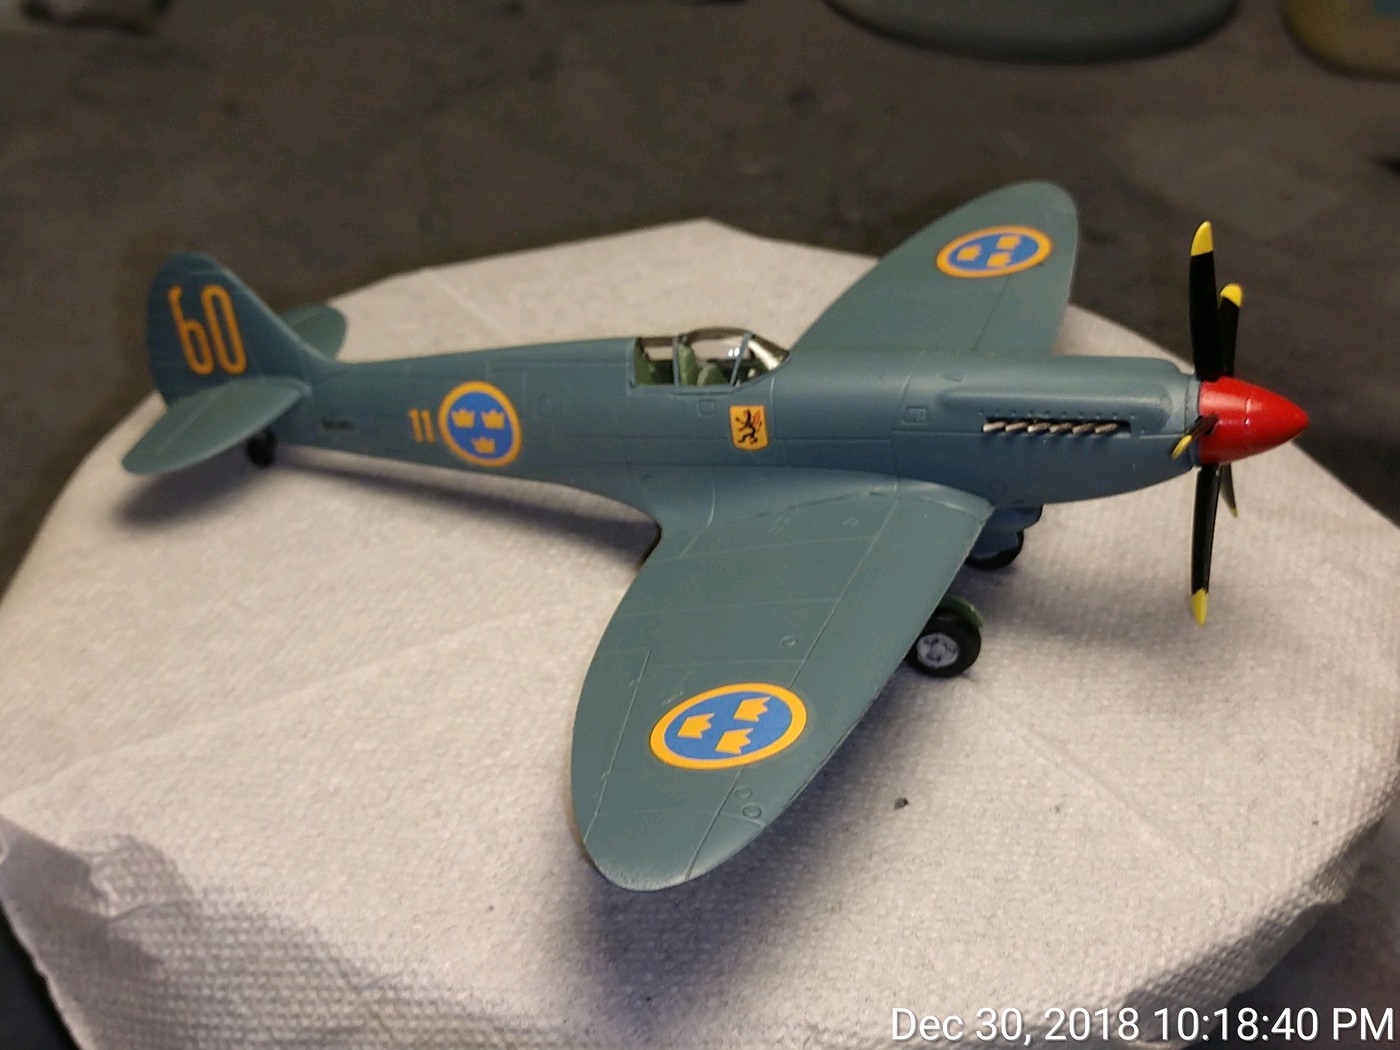
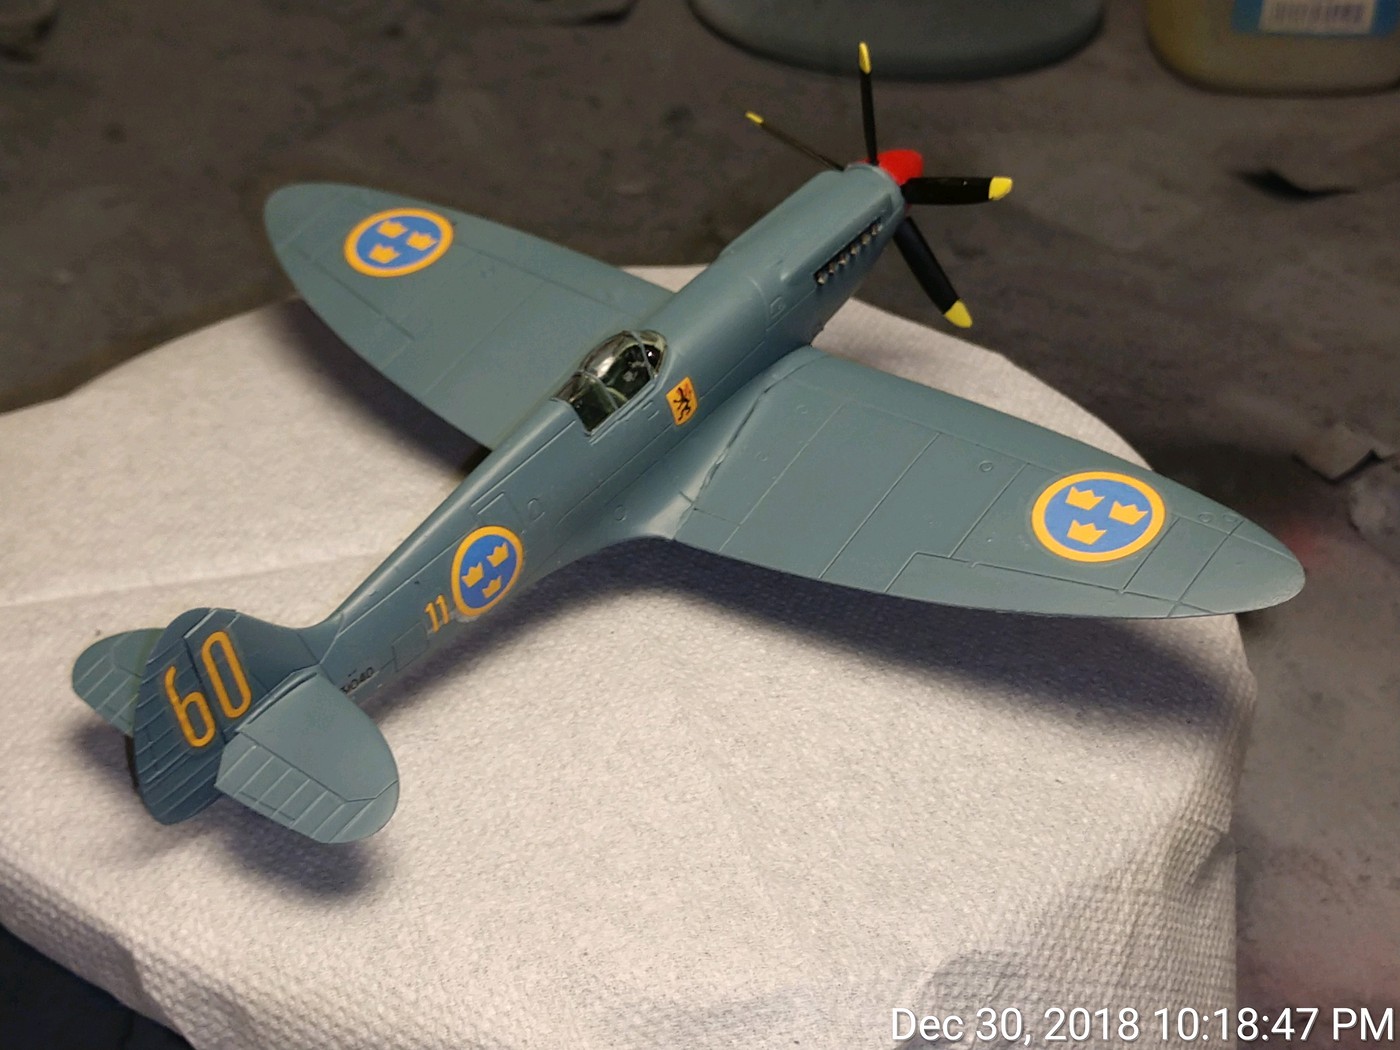
A few afterthoughts. One is buy the Eduard canopy mask set. It makes life simpler. Although the mask set doesn't provide masks for the oblique cameras in the bottom of the fuselage, it does provide two full sets of wheel hub masks and the unused set will fit perfectly. I still have a problem with Spitfire wing root gaps, especially Airfix's. There's got to be a better way of doing that join, even if it's not along an existing panel line (in fact, I'd prefer it because then I could fill it without having to worry about rescribing or losing detail). Overall, the kit fits pretty good, just the usual seams in the usual places. I've seen a couple of attractive schemes in Fast Silver, so I'll probably be doing this one again eventually.