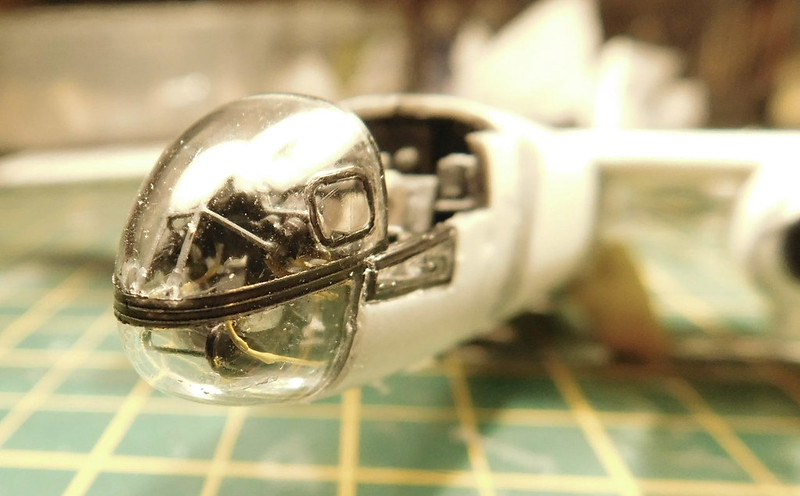
So, after giving the framing some thought i decided to go for plan B. The canopy framing is on the outside on the kit pieces, but fortunatly it just very fine raised lines. So i masked as normal and aplied a coat of black primer and left it at that to avoid a build up of paint. Once dry and with masks removed, i dipped the clear pieces in future 3 times, allowing to dry each time. This was i hoped the framing would have the same shiny look as the clear pieces and it might also level it out. Once that was done, time to get the clear parts fitted.
The front piece was first with the IP in place. The wiring i added did make the fit a bit tricky and it did put the IP, which is only attached by a piece of PE with 2 anchor points on the canopy, out of place slightly, but nothing i am to worried about.
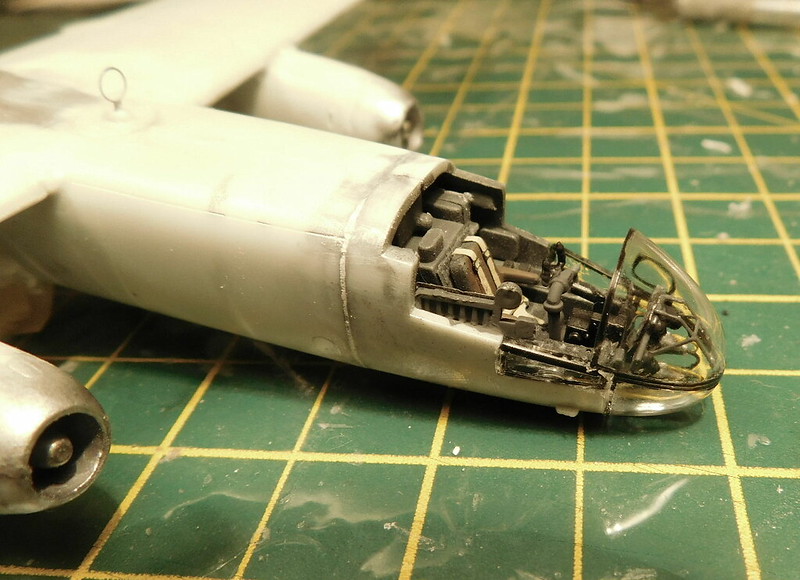
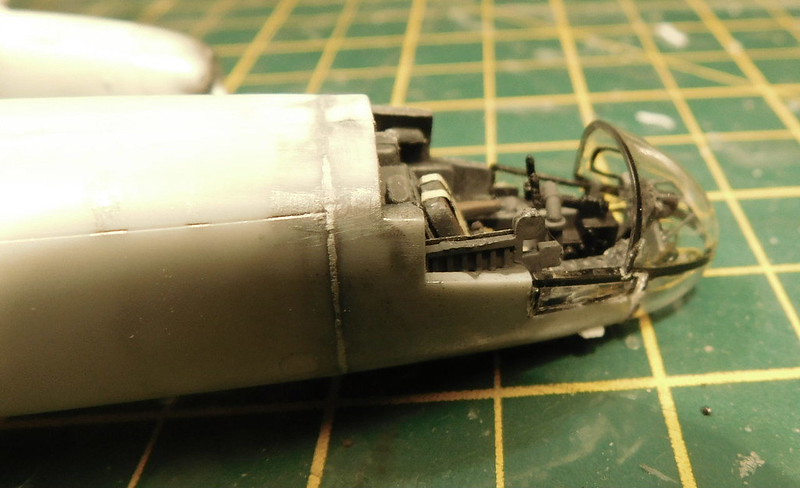
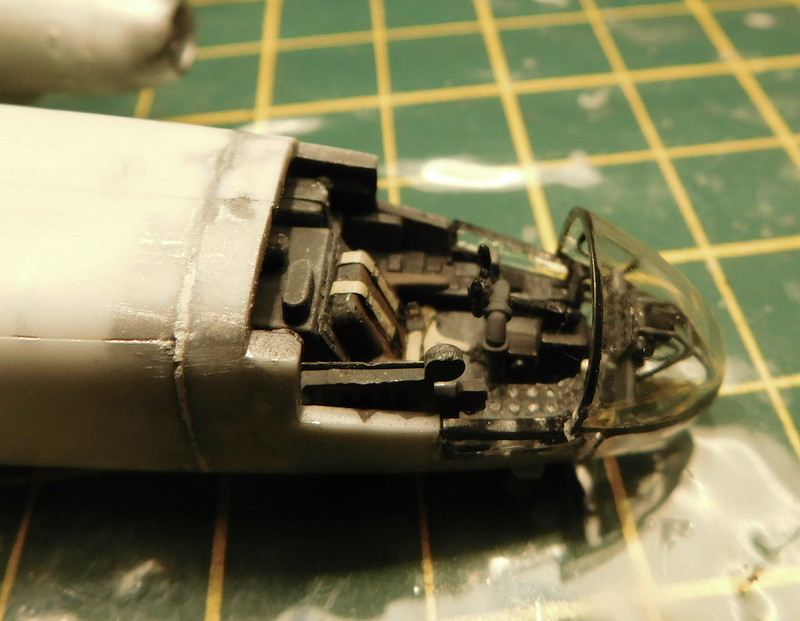
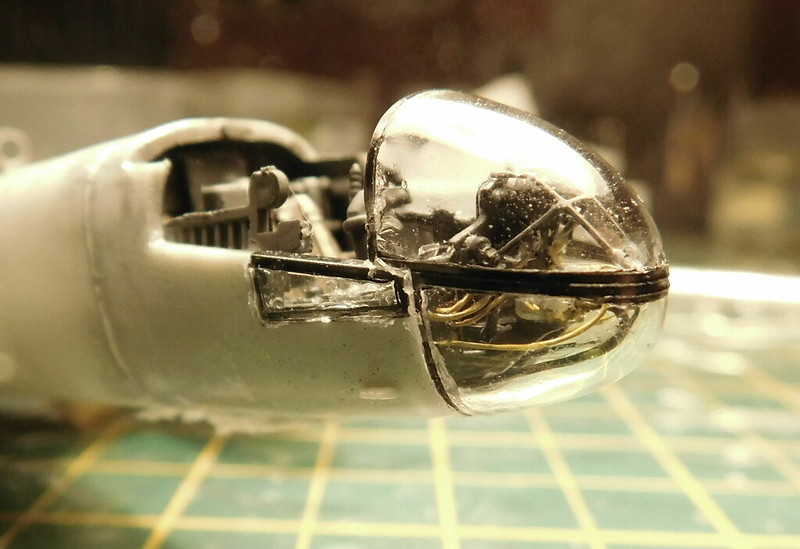
I had to use a bar clamp to keep the front in place while it dried and theres a bit of white glue to clean up. Once that was set, i added the top piece.
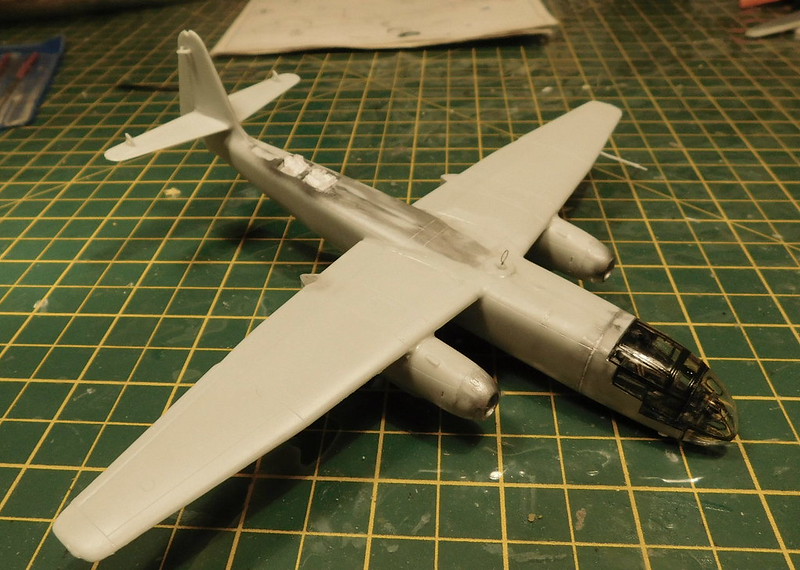
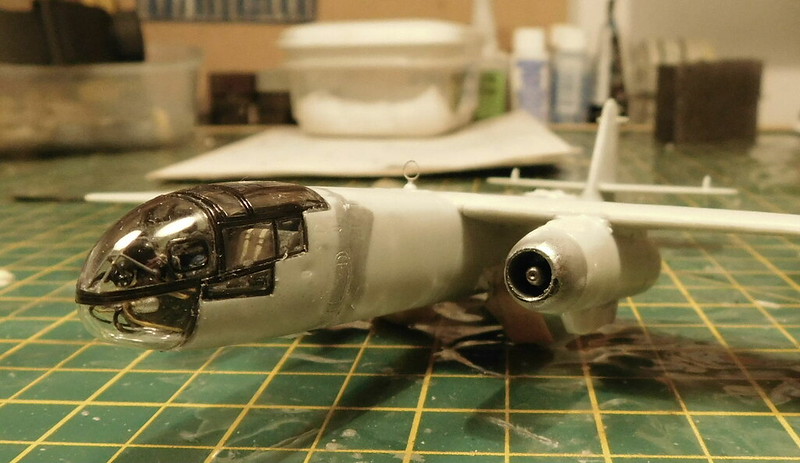
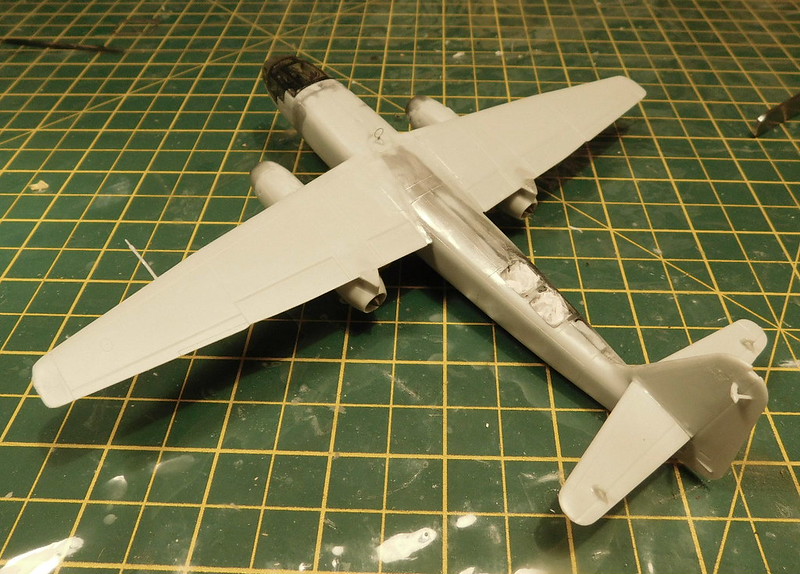
In the close up you can see the raised lines of the canopy framing, of clourse to the naked eye they are not that apparent. I do have 4 more Dragon 234's of different variants in the stash. And i have some ideas on how to do things different next tie, especially for the wiring and canopy.
And yes, i have missed off the rear view periscope in my haste to fit the canopy. So i am in the process of fixing that error.
I am a Norfolk man and i glory in being so

On the bench: Airfix 1/72nd Harrier GR.3/Fujimi 1/72nd Ju 87D-3