In the past, I typically would buy one of those yearly calendars with airplane art or photos to keep in my office at work. About a decade ago, while sitting in my office pondering a software problem, I found myself staring at the print of this Soviet dive bomber that I don't recall ever knowing much about, the Pe-2. I found myself thinking, dang, that's a good looking airplane.
So when I found this kit in my preferred scale of 1/48, I grabbed it despite never having built a kit from this Russian manufacturer.

When I finally got around to moving this kit to my workbench about a month ago, I felt a good bit of trepidation over it. Coupled with never having built this manufacturer previously was what appeared to be an amount of parts more at home in a Tamiya 1/32 warbird kit. And the painting was not going to be a simple task given the amount of detail contained in the kit. But, I dove in head first once I received a shipment of needed paint.
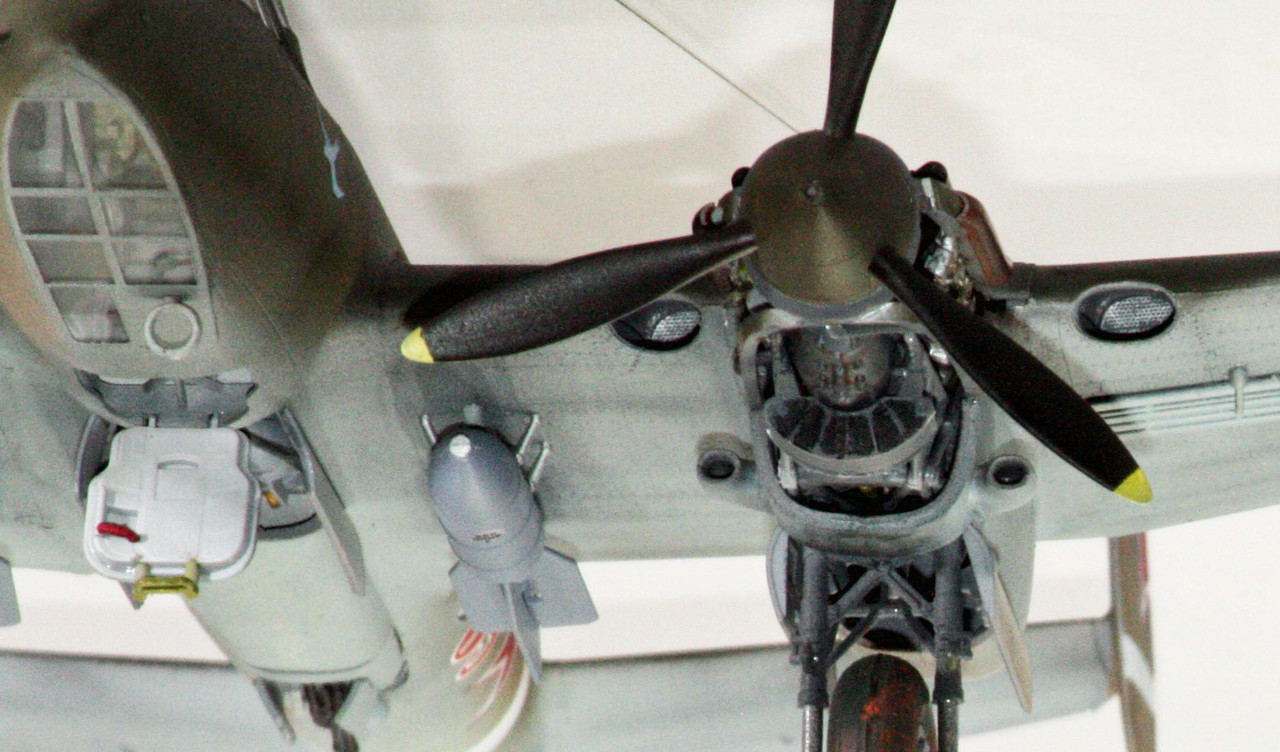
Construction starts with the engine. Yes, it's a twin-engined dive bomber but the kit includes only one engine, although it also comes with a second set of cowling parts should you opt to not display the engine. I almost ended up using those parts rather than the engine, but I persevered with the very fragile engine and is mounting parts and I think I came out with a good looking engine.
The instructions take you on a bit of a zig-zag course through construction, jumping from engine, to wings, to cockpit, to gunner station, to fuselage construction .... I suppose it was a linear construction plan, but it sure felt like I was all over the place. Perhaps just the way that I jumped ahead while one component was drying.
I used a mix-mash of paints for this one. Vallejo for the primary colors of black, red, yellow, and Vallejo RLM 76 for the underside. Model Master Metalizers for aluminum and gun metal. Polly Scale for the dark green, AK Interactive Real Colors for the dark grey, and a mix of Tamiya medium gray and Tamiya brown for the greyish-brown (which is really more brown at this point).
I pre-shaded this one, first time I've done that in quite a while, and was happy with the results, so I opted against any extensive post-weathering. I did use some black, gray, and red-brown charcoals for weathering, and used a charcoal dot filter that I used on my recent Sturmovik to complete the weathering.
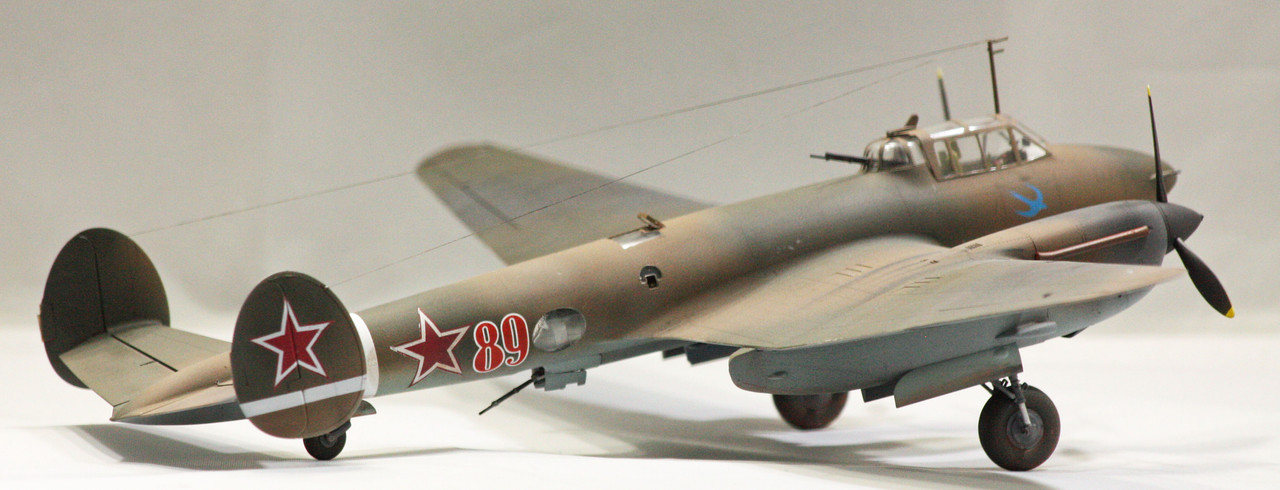


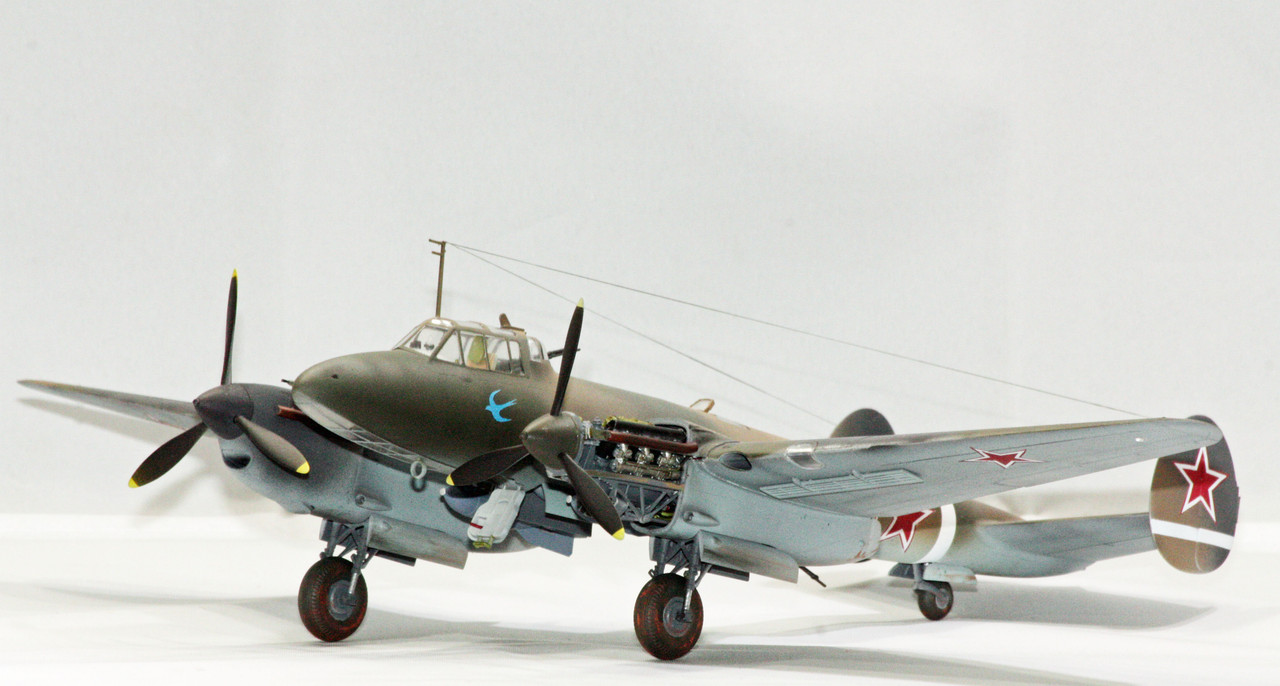


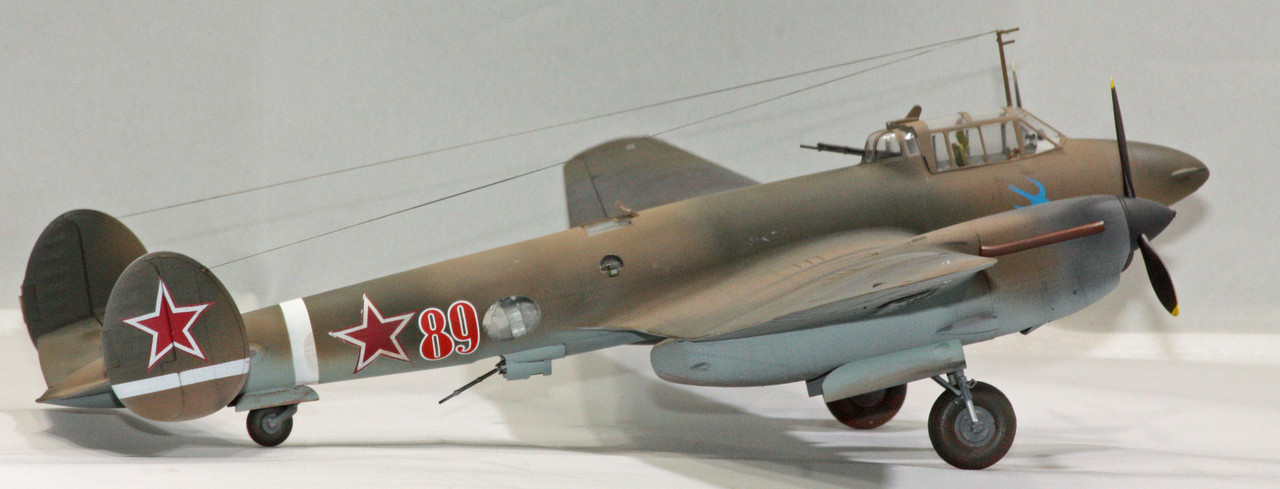
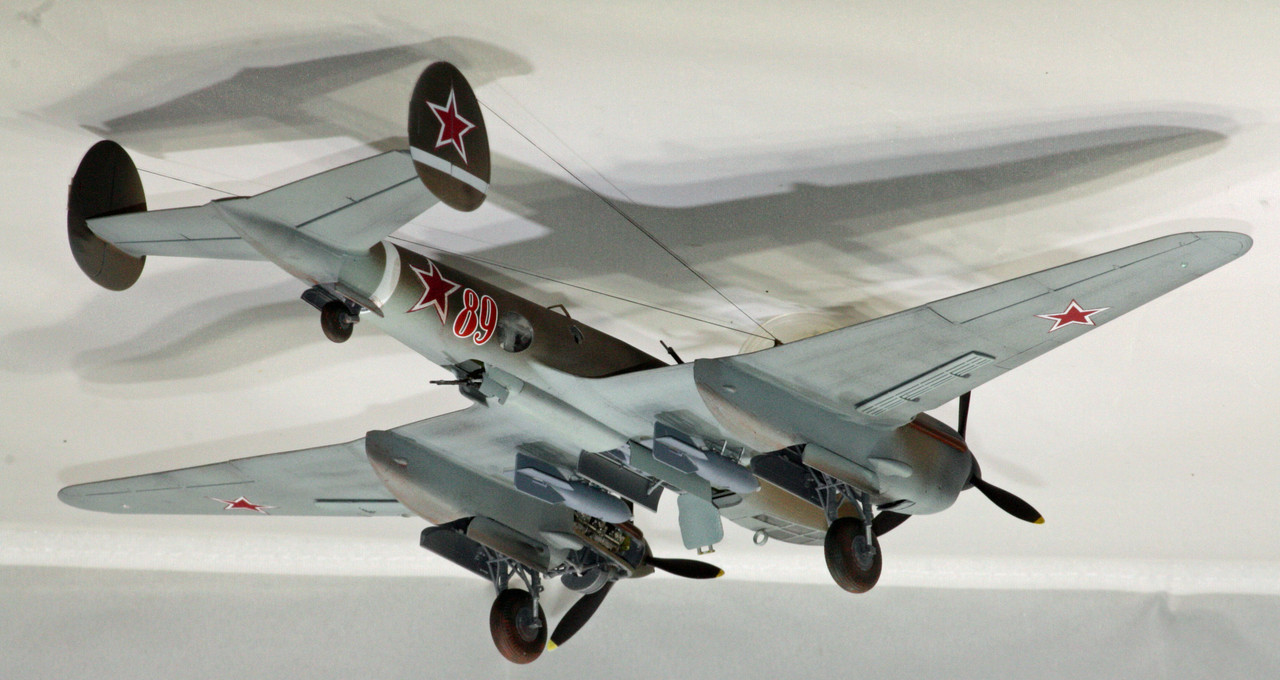

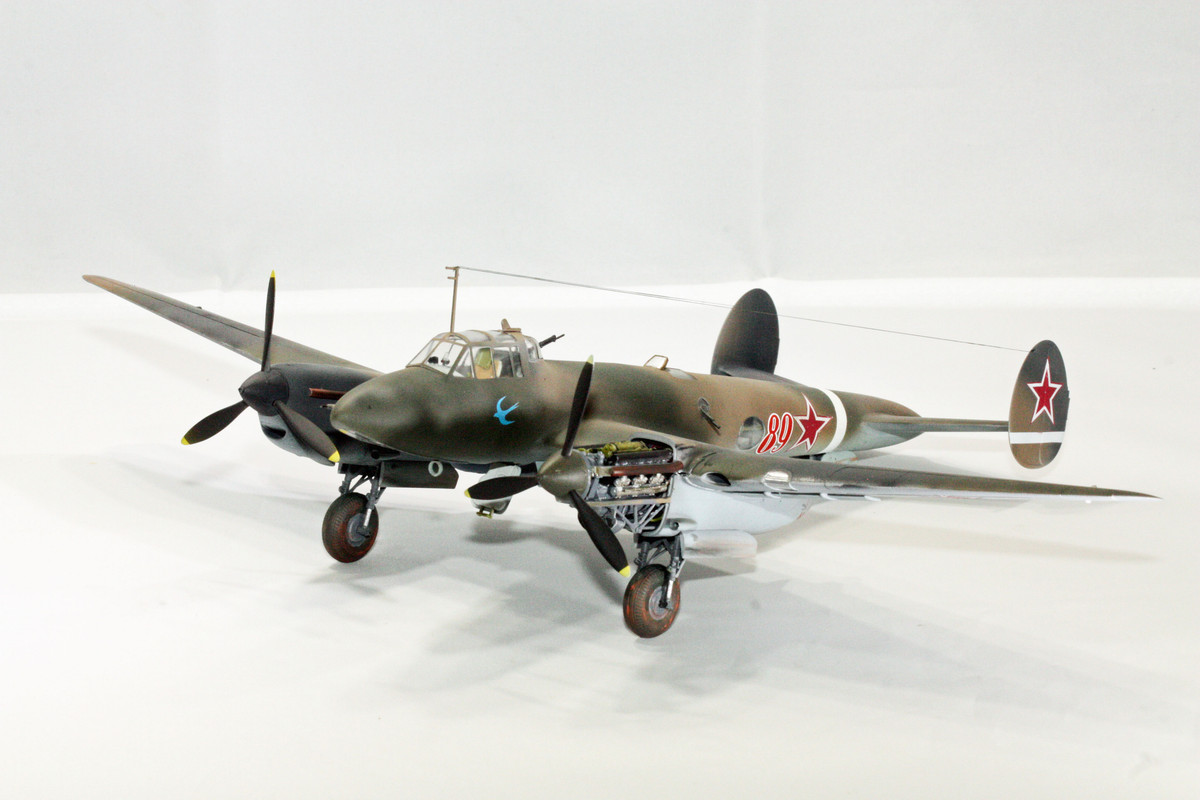

I used a Montex Mask set for this kit. Worked out great for masking all that glass. The markings, though, are a different story. The stars have a white section which was the first piece of the Montex Mask that I applied after putting down a coat of white paint. After that dried, I covered the white with red and let that dry. Then I put on the next set of masks to cover the red portions of the stars. The outer boundary, a thin strip of red bordering the white, went down okay but I never could get them to lay down exactly right. The star portions did not fit at all, no matter what I did to close gaps and even though they fit perfectly on the sheet they came on. I ended up augmenting the masks with tiny strips of Tamiya tape to cover the gaps between the inner boundaries of the white star and the interior red star.
And I did not notice until after taking and processing all my photos that I had left some Tamiya tape over the rudder trim tabs, which are painted red.
Now for my only real complaint about the kit. The number of parts inside the fuselage, and comprising the engine and its mount, left a very tight tolerance that I clearly did not get right. I had to fill a substantial gap on the underside of the fuselage ahead of the gun mount; nothing I could have done to get the parts to fit together better. I filled with styrene and puttied. The engine, likewise, had a a few parts that simply would not allow for proper fitting, and I ended up doing some surgery to fit them into the nacelle opening, which itself contains strut parts and a fuel tank.
So that does it for my Soviet WWII aircraft. Next up is a series of RAF entries, starting with Roden's 1/48 Gloster Gladiator.