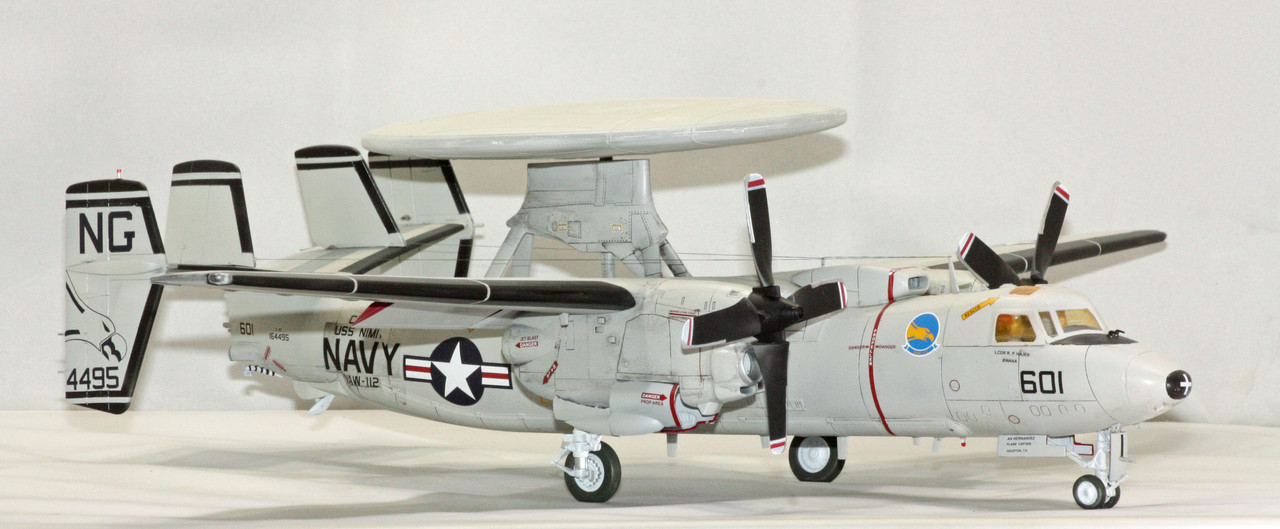
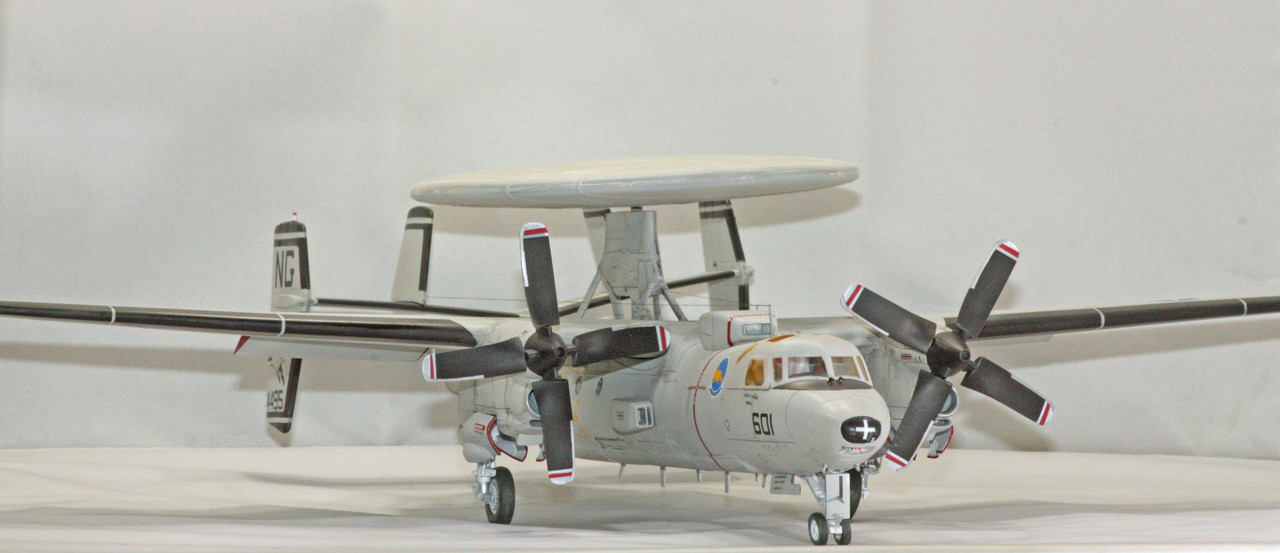
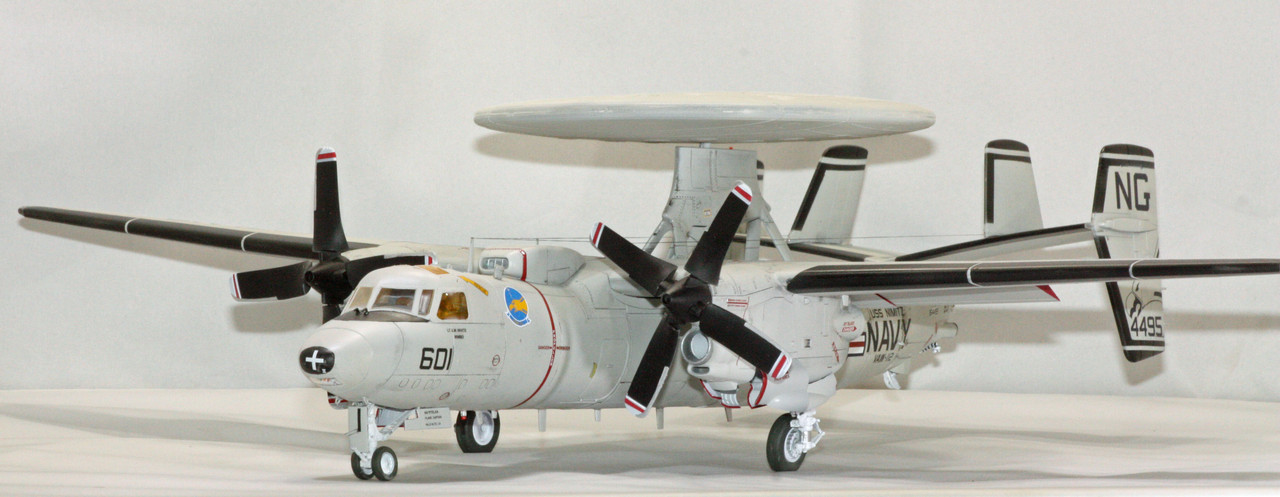
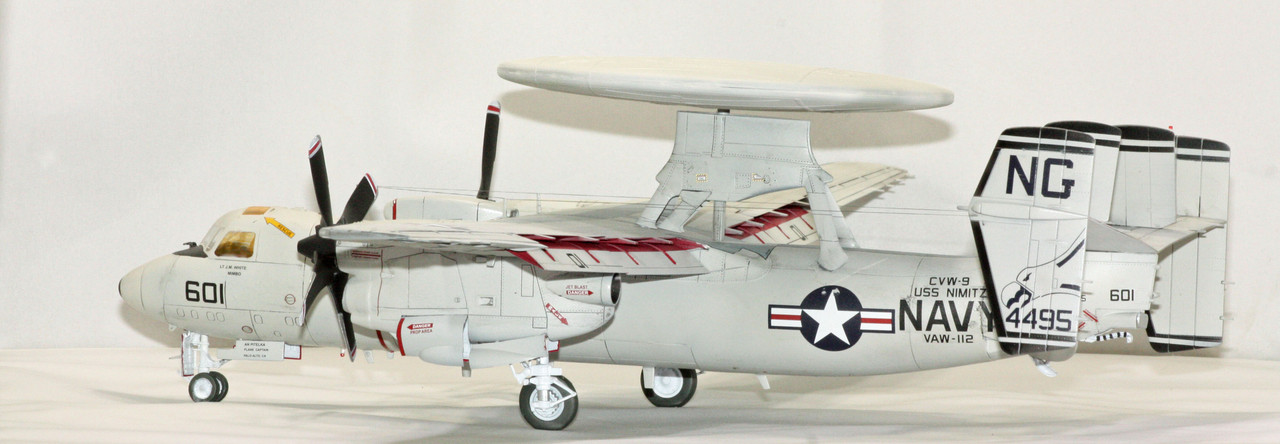
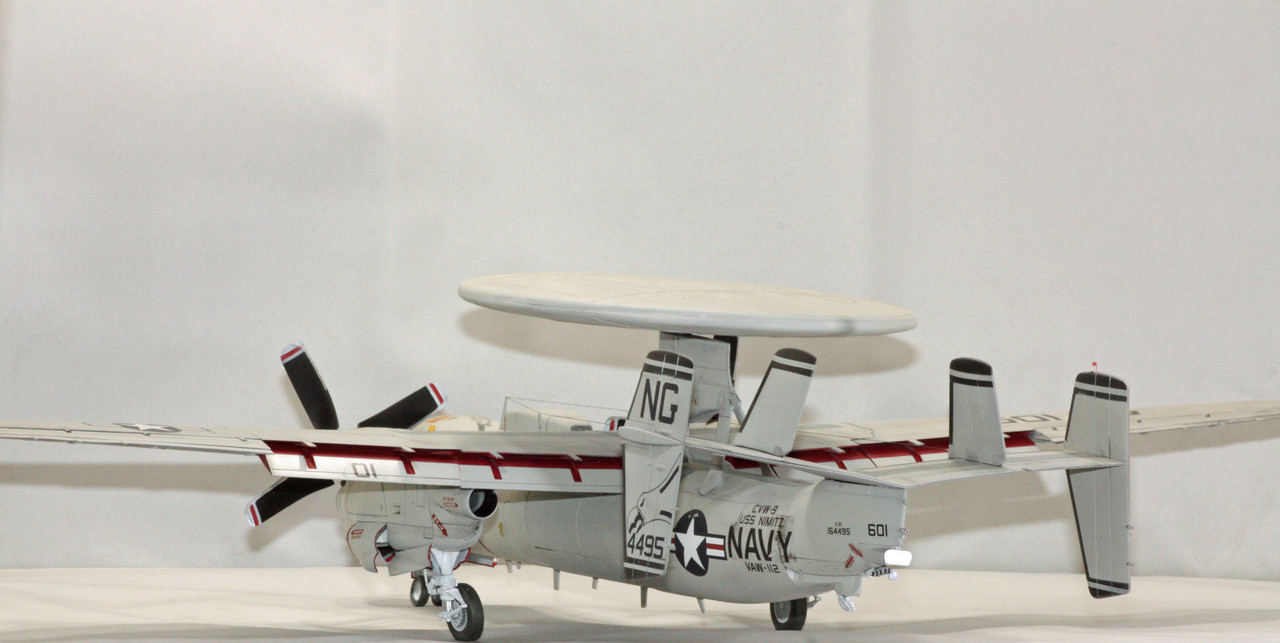
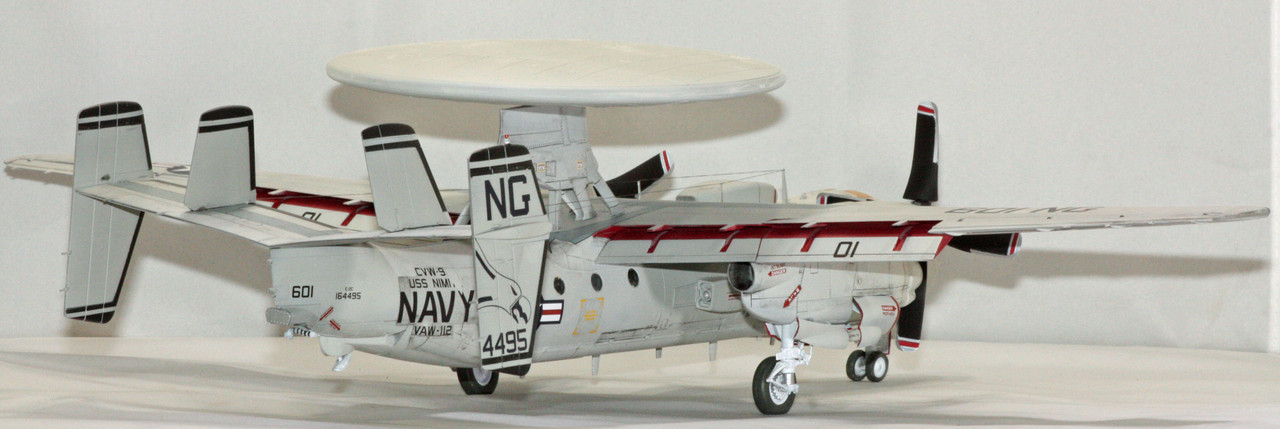
This is my latest build, Kinetic's E-2C Hawkeye.
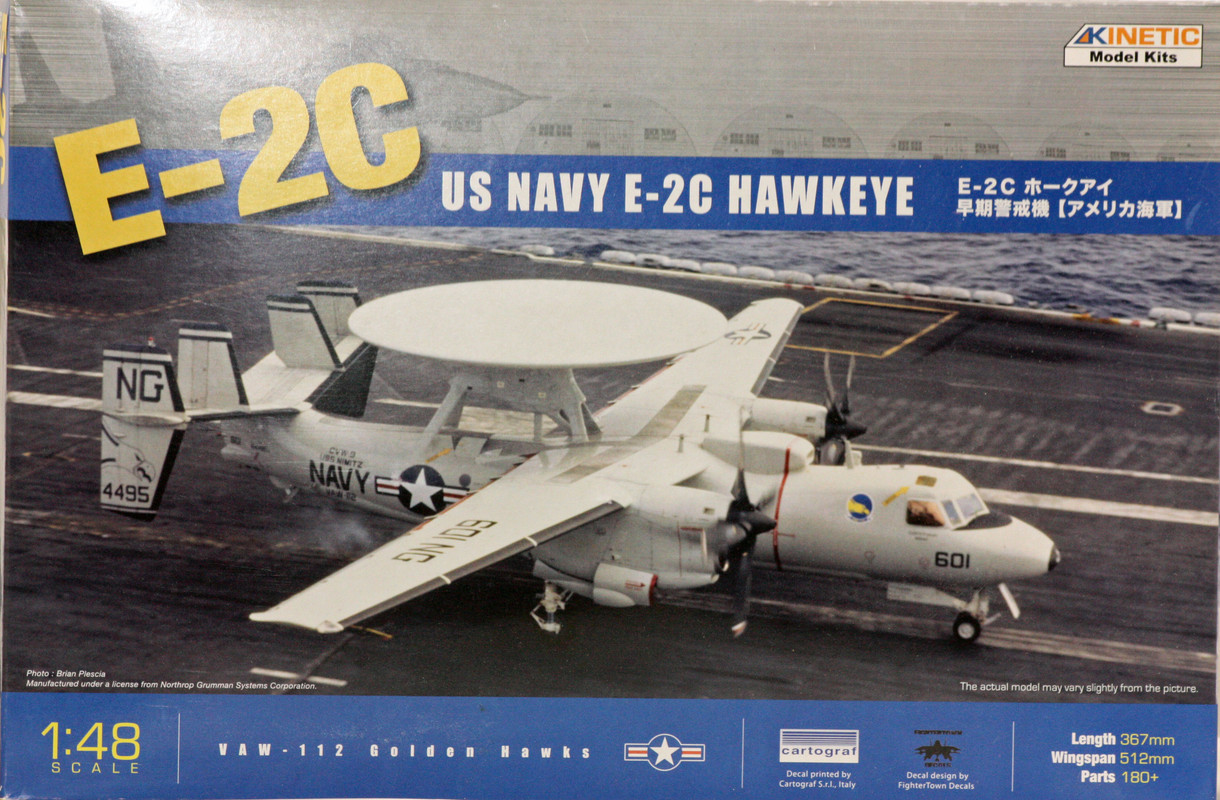
I don't tend to build many modern day aircraft subjects, but back in 2012, the wife and I took a football trip to Starkville, Mississippi, to watch Texas A&M throttle Mississippi State. The pre-game fly-over included a Hawkeye which, from my vantage point high up in the stadium, I was actually looking down upon. I've seen a bunch of fly-overs, mostly at A&M, but this one was one of the most impressive. Seeing that Hawkeye up close sold me on the notion of building one for myself, so soon after that game, I acquired this Kinetic kit.
This was my first experience with Kinetic kits. I was not terribly impressed. The instructions were awful. In some places they referenced different parts with the same parts number. A lot of the parts had no indications given as to how they were supposed to be attached. Some are shown to be attached at a particular spot, but in a later step these parts are shown attached in a different spot. I had very few references for this aircraft, so I was pretty much at the mercy of these instructions and what I could make out from on-line photos (not much, sadly, in terms of close-up shots).
The plastic was good, but many parts did not fit that well. The nacelles, primary wing, and stabilizer all attach onto small plastic nubs that did not align well; I ended up slicing off a few of those nubs to allow for proper alignment. The cowlings don't line up exactly with the rest of the nacelles. If you have this one in your stash, take your time and test fit everything multiple times, and know that you will still see some of the issues I had.
This airplane is a tail sitter, so I added a bunch of weight in the form of BB's. I built up the fuselage in its entirety, leaving off the primary wing so that I could add weight. I initially put some CA in there and meticulously added BBs, one by one with long tweezers, and built up a thick layer of BBs, spraying them with accelerant to help with the curing process. When I thought I might have enough weight to keep her from sitting on her tail, I started to place parts where they roughly belong - the primary wing atop the big hole in the top of the fuselage was first, and so far so good, added the stabilizer, still good but a noticeable wobble, put one of the rudders atop the stabilizer, clunk right onto the tail. So I found a small Ziplock bag and filled it with BBs, sealed it up, then crammed it into the fuselage to a point right behind the cockpit bulkhead. I then crammed a grocery store plastic bag into the fuselage to keep the bag of BBs in place (I couldn't get glue that far forward through the hole in the top of the fuselage). Then I redid my weight test. This was sufficient to keep the Hawkeye on its gear even when I added all the AWACs equipment.
Paints are a combo of AK Interactive Real Colors, MIG, Mission Models, Model Master, Tamiya, and Vallejo. The overall aircraft is painted in AK Light Gull Grey. I started with a new bottle of that stuff, and quickly discovered how much of a paint hog this beast is. I literally used the entire bottle that I had bought specifically for this build; I thankfully had some older Model Master Light Gull Gray to finish the job.
Decals are from the kit. I wasn't all that impressed with them. My sheet had a rough spot on one edge, as if it was older than it is. I sprayed that part of the sheet with some decal sealant. Those decals took a long time to release from the sheet but eventually they pulled free without ripping, except for the hawk on the rudder and one of the blue squadron insignias behind the cockpit. I was able to get them in place with more patience than I usually have for this kind of thing. There was a lot of carrier film on these decals, also. I've never really seen that kind of thing on a decal sheet. Not that big a deal, but it did cause a bit more work to get decals into position, and then I had to blot down the edges of the decals to get all that extra film (which looked really thin) to lay down properly.
My sense of modern day US Navy aircraft is that they are kept pretty clean, so I kept the weathering to a minimum. There is a light wash of Flory dark dirt on this build.

Next up is Trumpeter's HU-16A Albatross in 1/48. I've only ever built Monogram's ancient Albatross, so this is one that I'm looking forward to doing in my preferred scale.