SEARCH FINESCALE.COM

Enter keywords or a search phrase below:

Trumpeter MiG-23ML Flogger-G 1/48

3288 views
7 replies
1 rating 2 rating 3 rating 4 rating 5 rating
  • Member since
    January 2015
  • From: Katy, TX
Trumpeter MiG-23ML Flogger-G 1/48
Posted by Aggieman on Saturday, January 15, 2022 2:19 PM

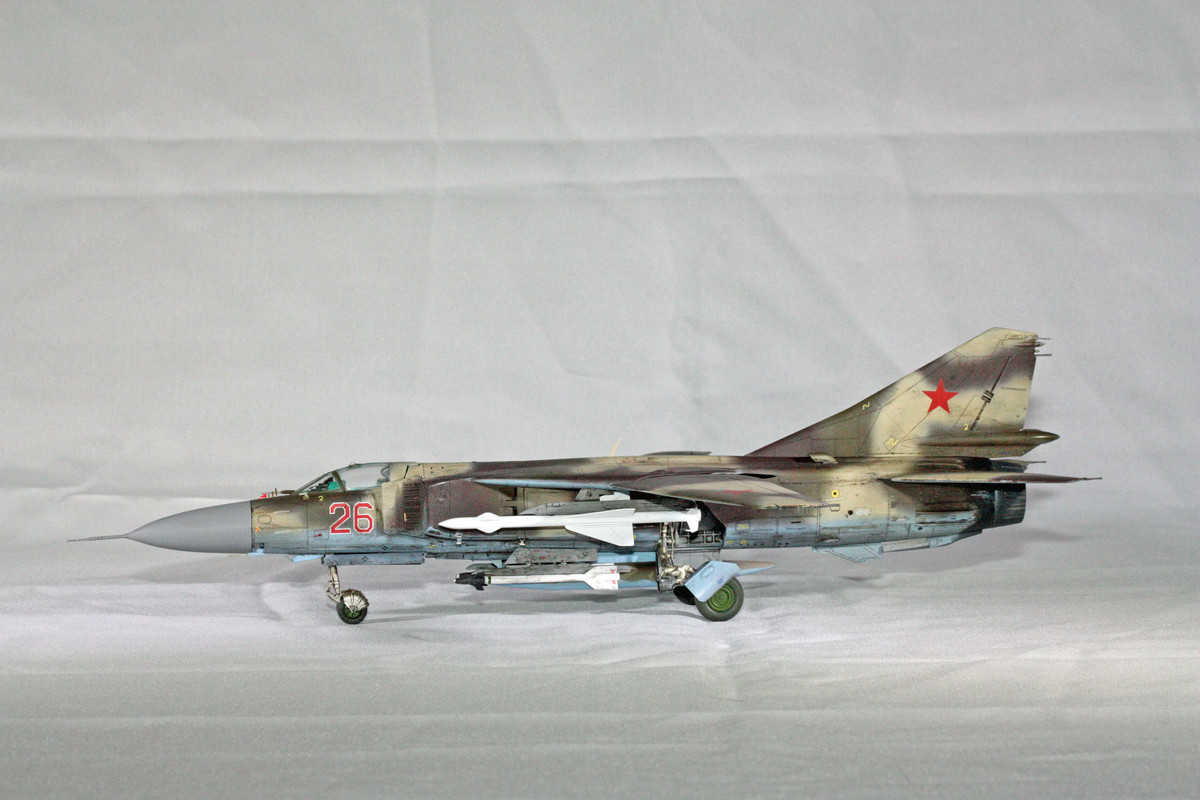
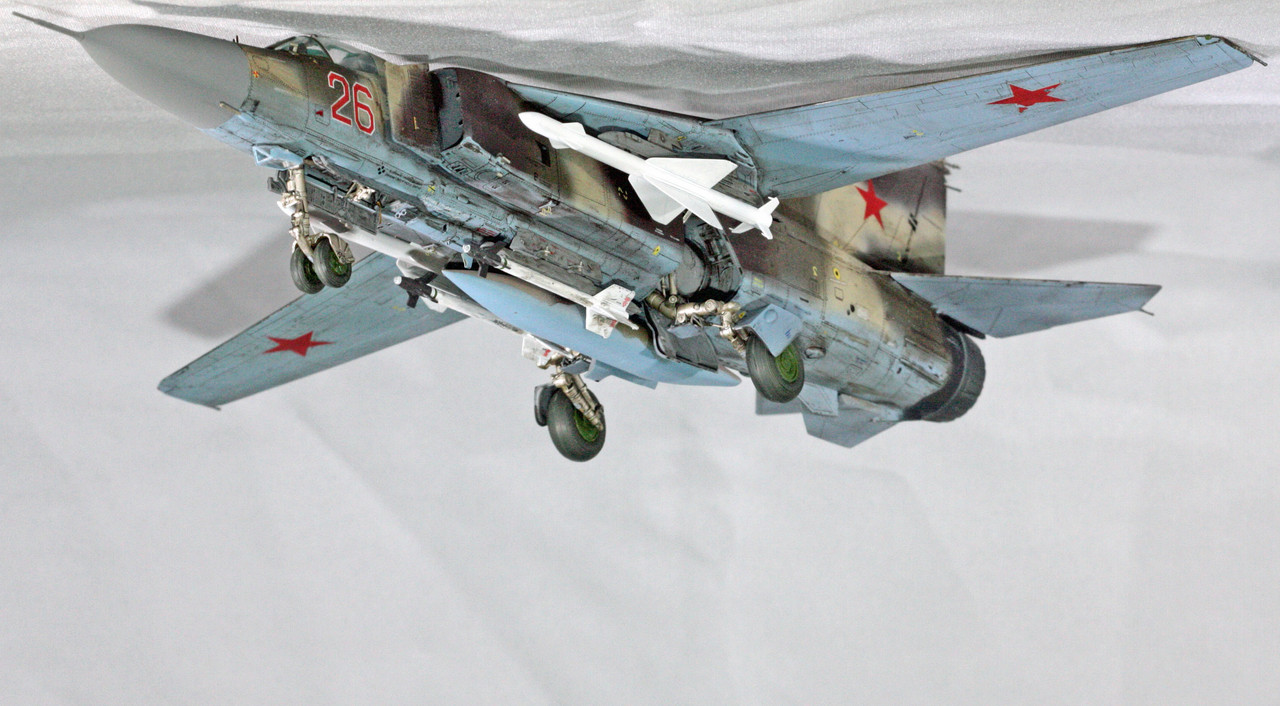
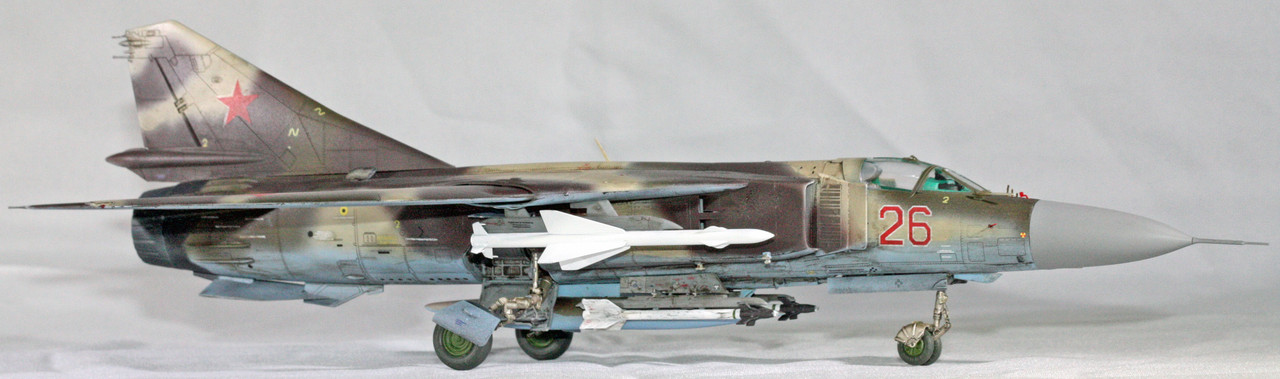
I've polished off my first build of the new year, in this case Trumpeter's MiG-23ML Flogger-G.

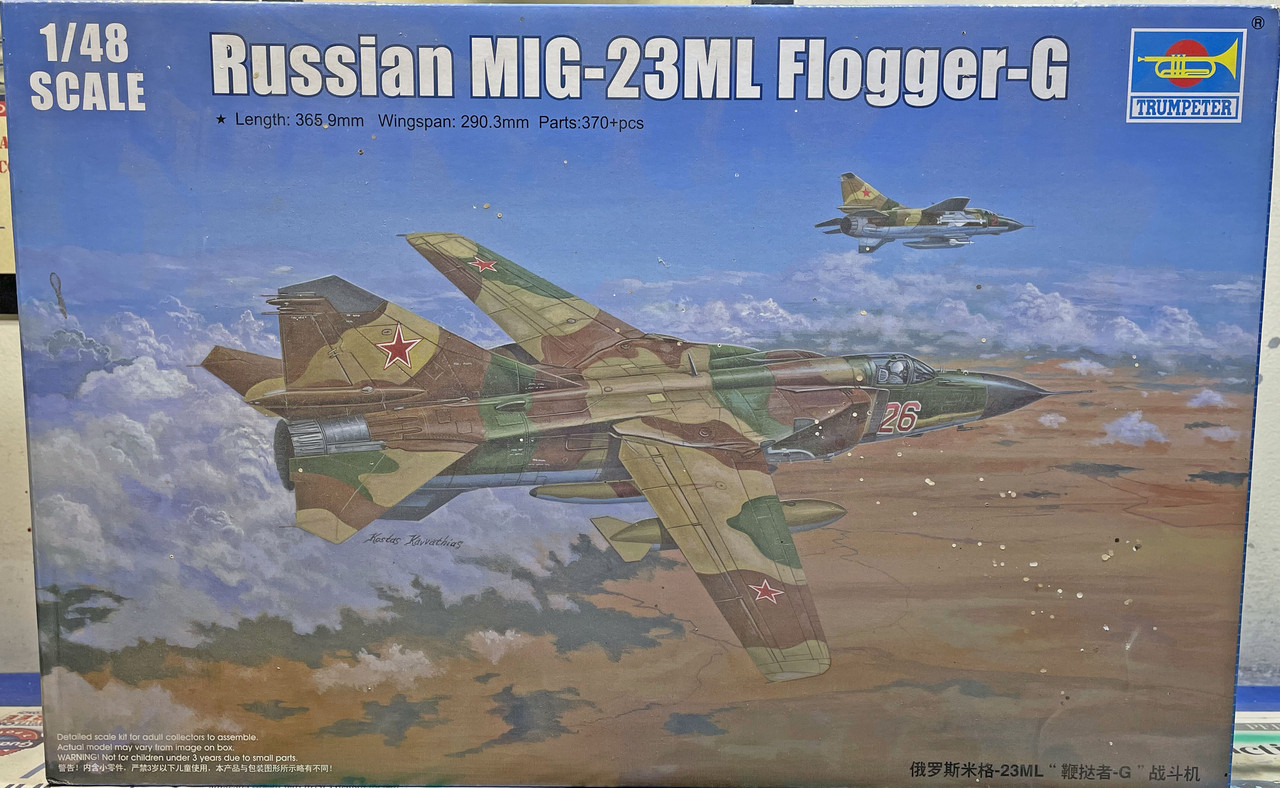
This is not an aircraft that I knew anything about, but the boxart was appealing so I added it to my stash some time in the last few years.  The kit is typical of Trumpeter - good fit for the most part, aggravating omissions in the instructions or paint call-outs, and a glossy color printed sheet depicting the paint scheme and where to place the various and numerous decals.  The problem with the last item is that they print the airplane as if it is an actual airplane with shadows that obscure certain details, such as where to place some of the stencil decals or what color is actually under all that shadow.

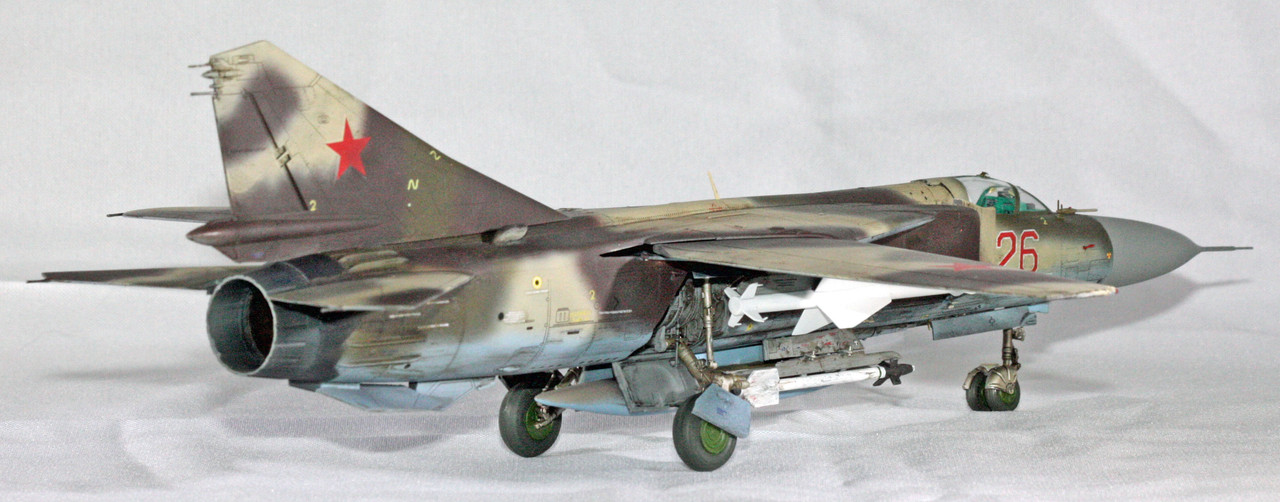
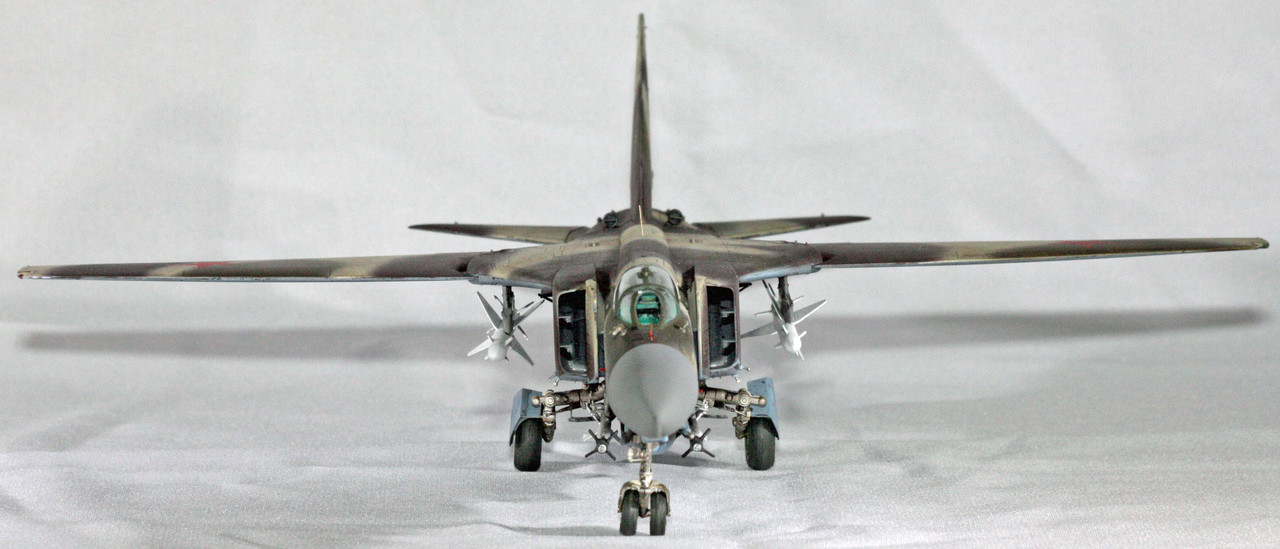
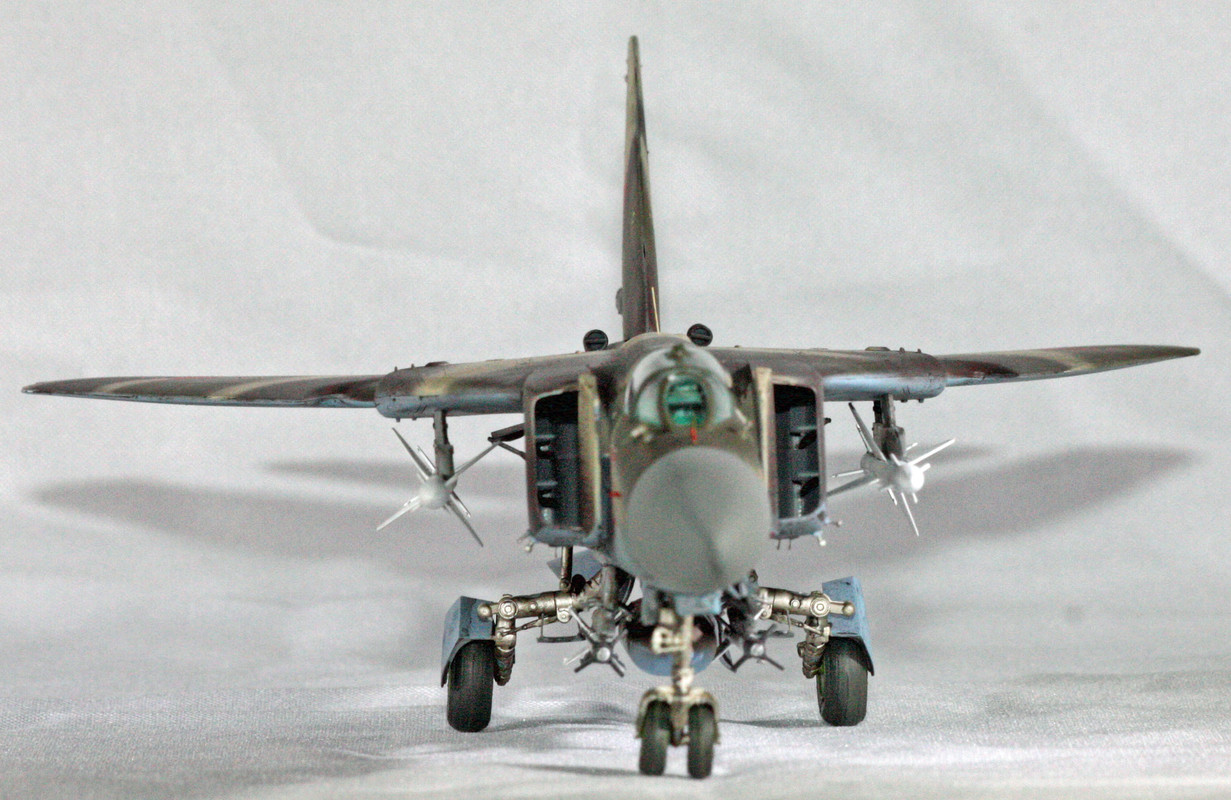
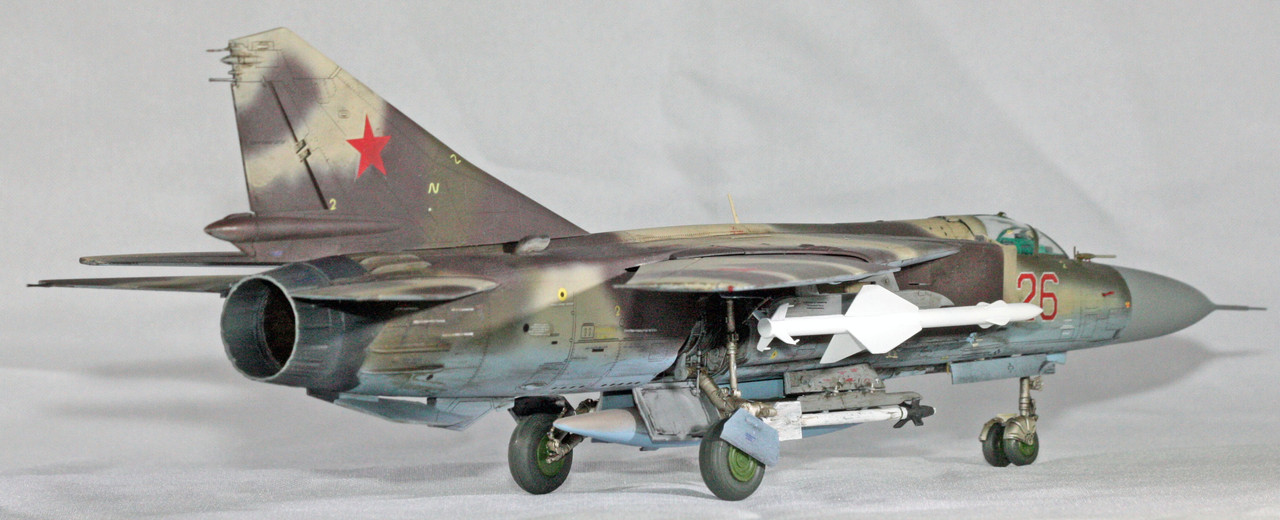
Fit on this kit is pretty good, although the pilot's seat did sit too tall in the cockpit. I ended up shaving off some of the bottom portion of the seatback just to get it to sit low enough to allow for the canopy to fit properly (and even then, it appears in the photos that I didn't get the rear of the canopy totally flush).

The kit comes with a bunch of PE details.  I ended up not using all of it, as some was destined for the interior surfaces of the airbrakes, which I opted to depict in the closed position (previous experience has things like airbrakes, open canopies, and antennas as far too easily broken off, so I just close them up).

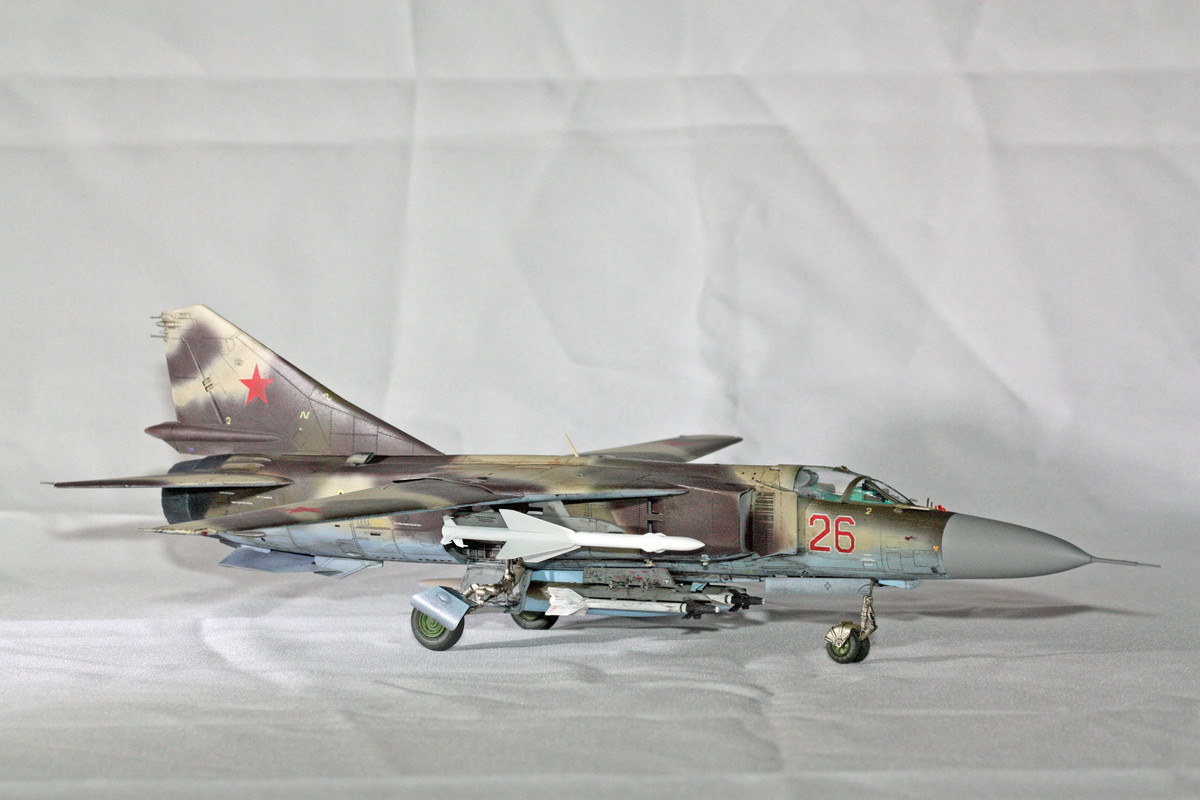
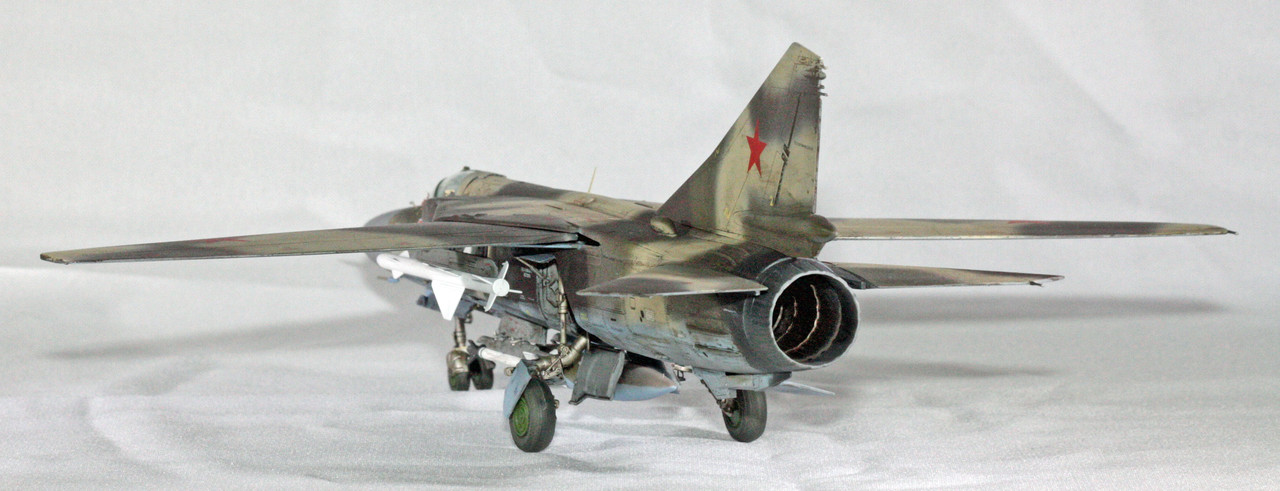
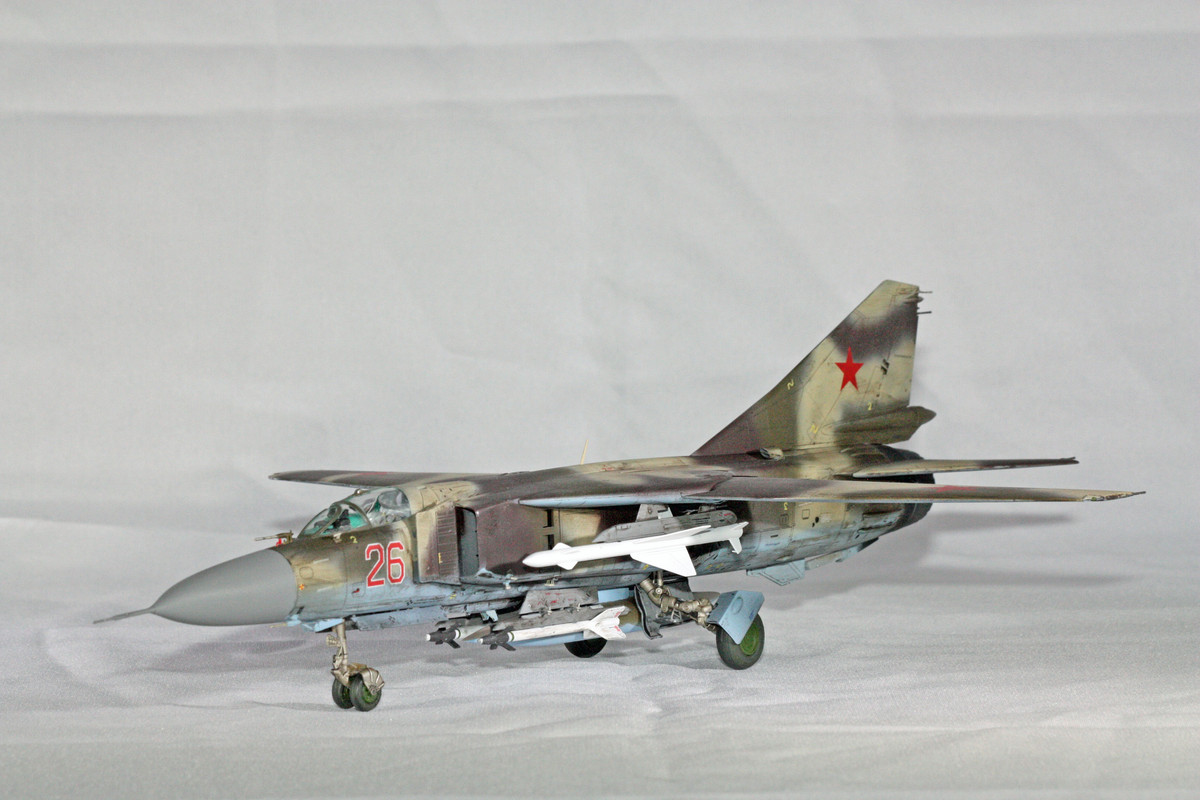
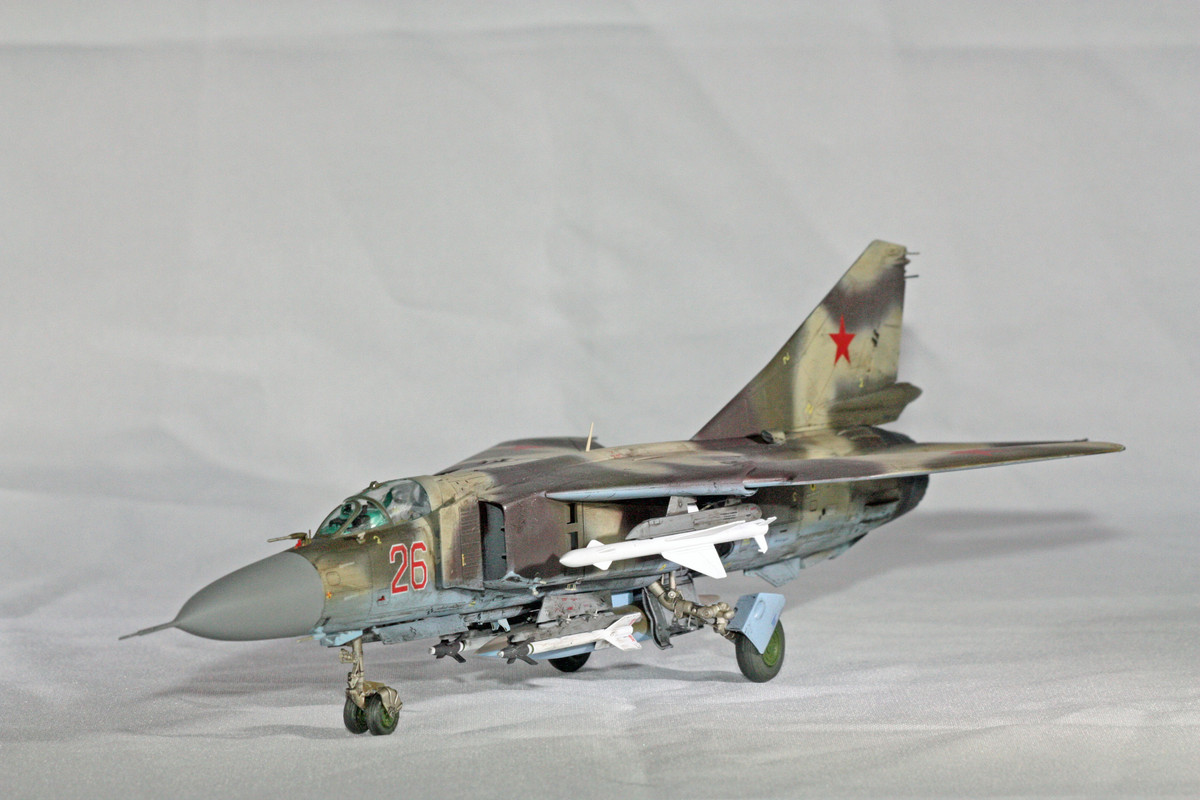
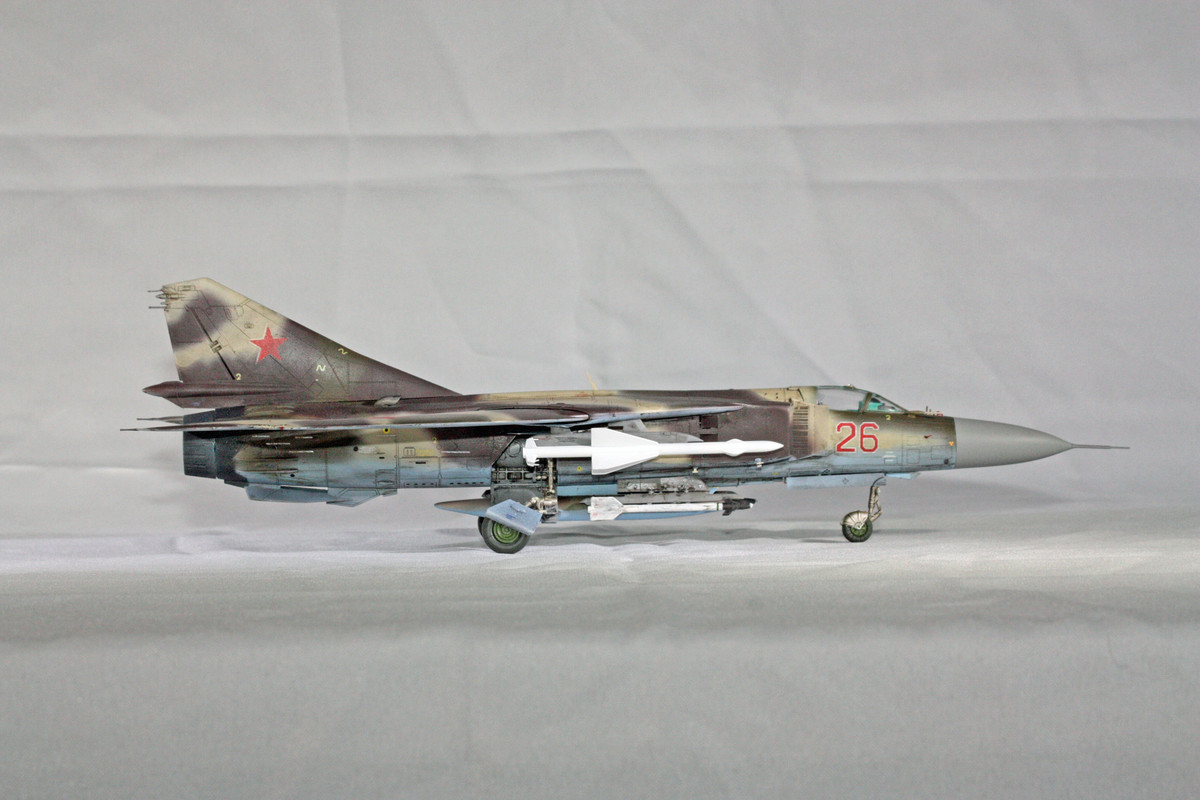
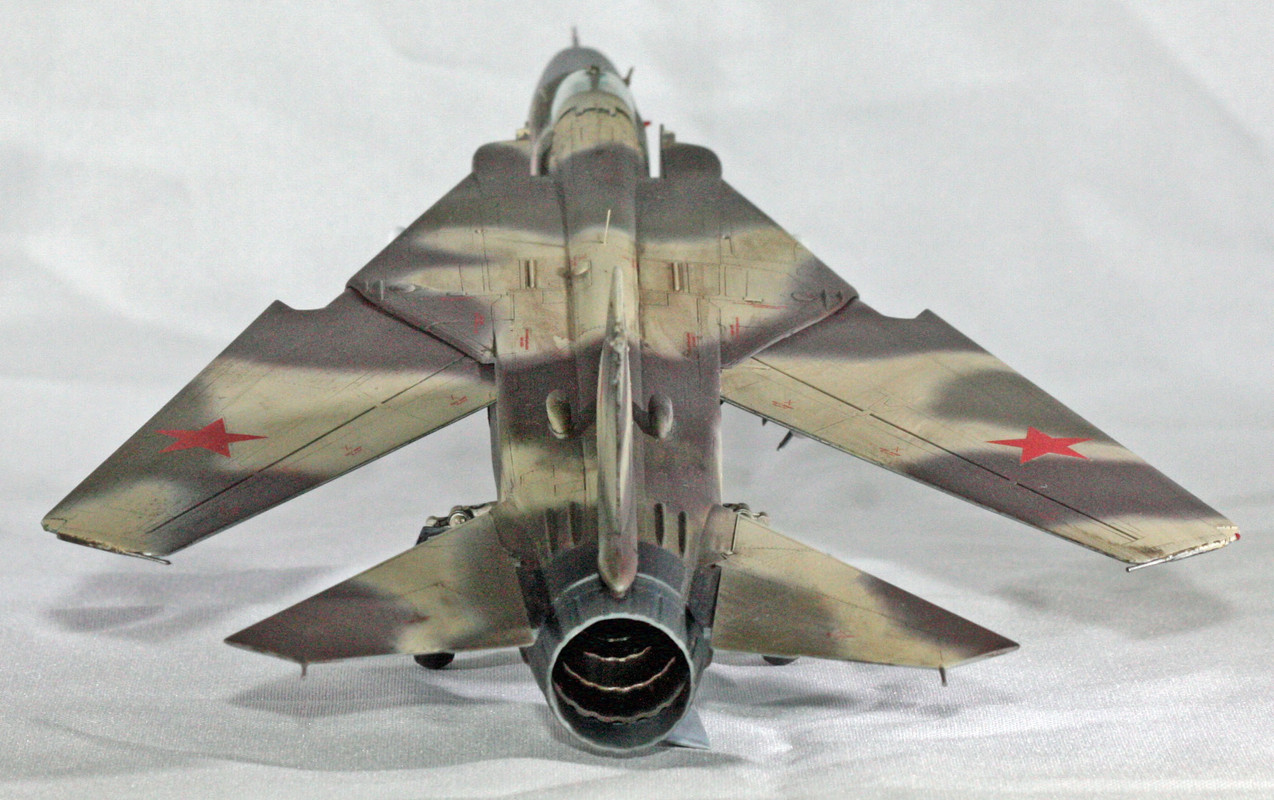
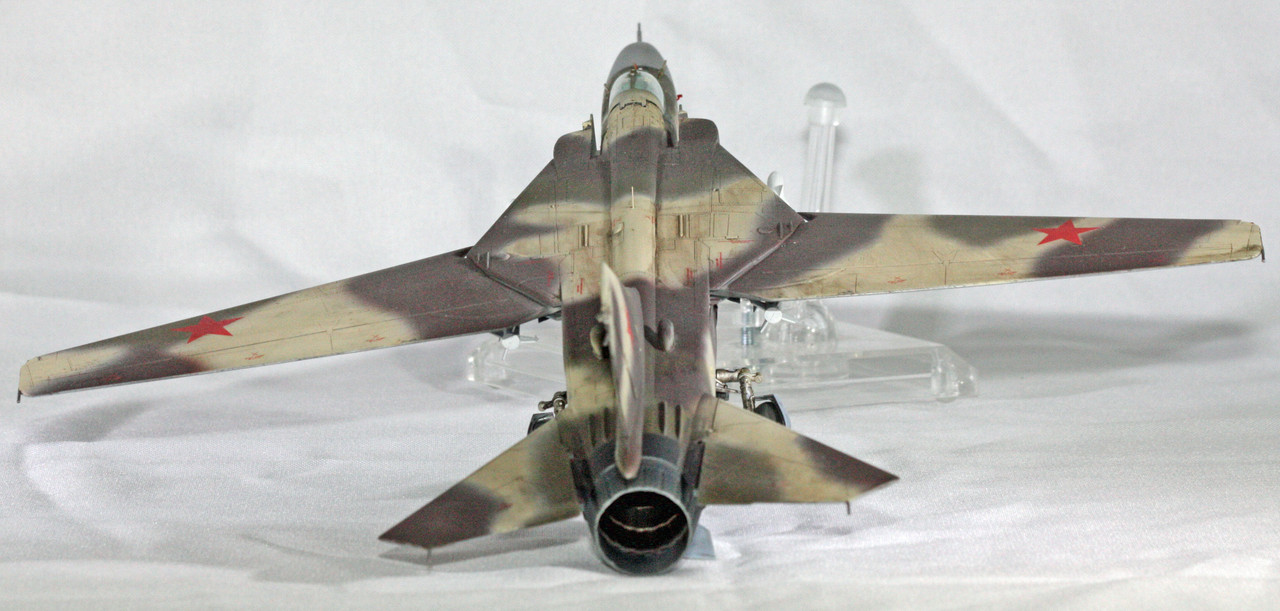
Painted with mostly Vallejo Russian colors - dark brown, beige, dark green, and faded underside blue.  I used AK Interactive XTreme Metals for the engine nozzle (jet exhaust, burnt metal, and gun metal), and duraluminum for the landing gear and the various sensors that line this airplane.  Emerald Green from Mr. Hobby for many of the interior surfaces.  

I figured the Flogger would be an airplane that didn't necessarily get a lot of cleaning, so I gobbed on a bunch of Flory dark dirt wash then removed most of that, and hit it with Tamiya weathering compounds and various AK Interactive washes.

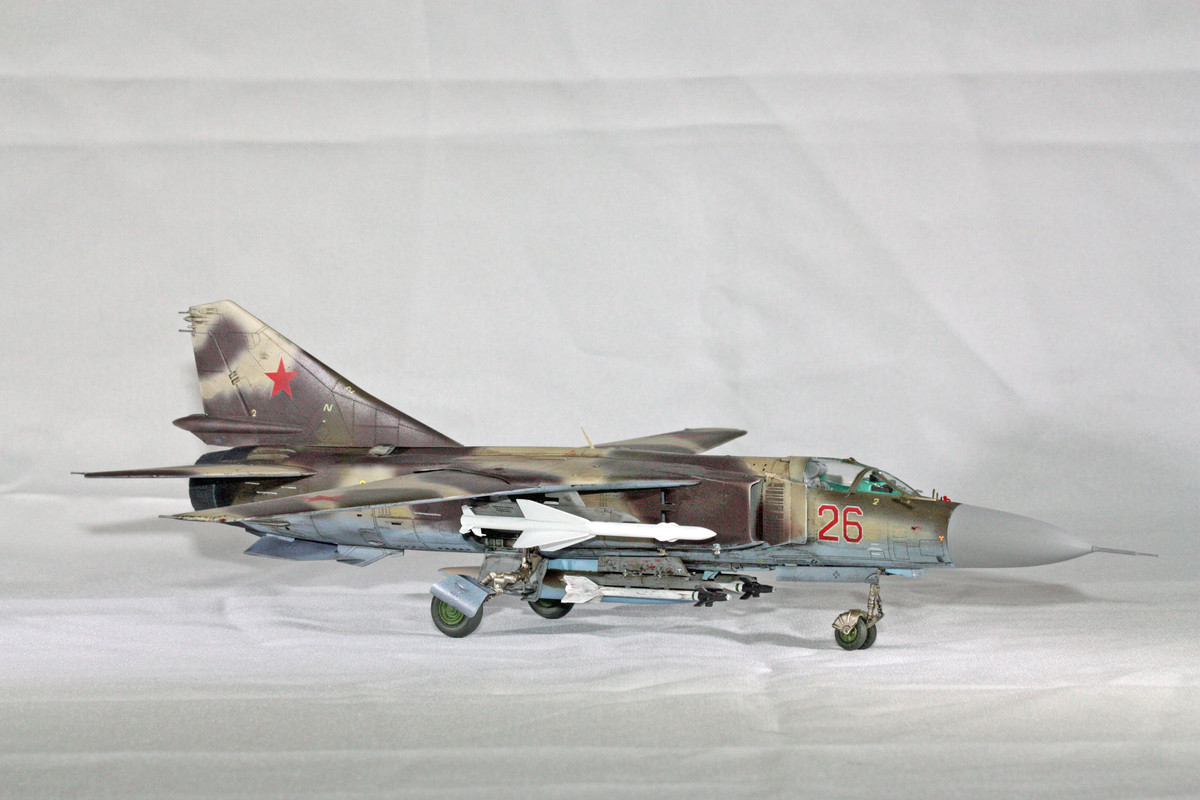
One big complaint for this kit, however, is with the decals.  Now I readily admit to not knowing much about Russian aircraft outside of the MiG-15, but the color paint sheet clearly indicates there is a Russian Red Star on both wings, upper and lower, as well as one both sides of the tail.  By my count, that is 6.  The decal sheet includes only 5.  I'm not sure why a detail like that had to be so difficult to deal with on Trumpeter's part.  If these aircraft truly did carry all those Red Stars, then it should be a simple task to ensure that you provide the correct number of decals.  Quality control.  I ended up using a set of Red Stars that were a good bit larger than the 5 included in this kit from an Accurate Miniatures sheet, I believe for a Yak that I did recently.  The Red Stars are not a match for those in the Trumpeter kit, as they lack a white outline, but at the end of the day, I was not chomping at the bit to spend any $$ on a decal sheet that might come several days later and I figured, these are Red Stars, close enough.

Next up, a pair of F-86D Dog Sabres.

  • Member since
    April 2003
  • From: USA
Posted by keavdog on Saturday, January 15, 2022 2:22 PM

Turned out great!  Love those swing wing fighters.  Camo looks awesome.

Thanks,

John

  • Member since
    December 2002
  • From: Northern California
Posted by jeaton01 on Saturday, January 15, 2022 9:04 PM

An F-111ski!  Nice job, Stephen.

John

To see build logs for my models:  http://goldeneramodel.com/mymodels/mymodels.html


  • Member since
    January 2015
  • From: Katy, TX
Posted by Aggieman on Saturday, January 29, 2022 9:32 AM

Update - this is a good kit overall, but the landing gear is evidently a problem point.  I set the build onto a shelf in my workshop, trying to determine where I was going to display it, where it sat during this last work week.  Yesterday I noticed that the aircraft seemed to be listing (naval term there).  Closer inspection revealed one of the primary gear to be barely attached.

The engineering of the gear strut is two separate primary pieces that are attached via a connecting rod.  This connector apparently sheared under its own weight (wife says that our cat got into the garage with another cat, and there was a big cat fight, but had the cats gotten onto that shelf with their fighting, I'd have expected far more damage to the build, so I don't believe the cats caused this damage).

Here is the area that I am describing:

If I was to do another of these, I'd definitely do some surgery on these parts to insert metal rods into the gear parts to keep this from happening.  Or I'd scan the online stores to see if someone produces a white metal gear set for this kit.

I have done what I can with the fix by simply gluing the broken portion back into position with CA, but I hold no delusions that solution will actually work out long term.  So I'll likely just hang this one from my workshop ceiling.

  • Member since
    April 2003
  • From: USA
Posted by keavdog on Saturday, January 29, 2022 10:56 AM

Bummer!  How aggrivating.

Thanks,

John

  • Member since
    March 2007
  • From: Northeast WA State
Posted by armornut on Saturday, January 29, 2022 11:07 AM

   Being a safe harbour for the stealthy fur bags, I have seen them literally turn themselves inside out, metaphorically, to avoid damaging their humans belongings, however in the heat of battle...... That said many model companies seem to forget that the landing gear is the ONLY point of contact and gravity is a cruel mistress. Good luck and sorry it has to go into the pattern above the field.

we're modelers it's what we do

  • Member since
    December 2002
  • From: NYC, USA
Posted by waikong on Sunday, January 30, 2022 9:55 PM

Very Nice, always liked the flogger, one of those designed to get the job done looking planes.

My website: http://waihobbies.wkhc.net


  • Member since
    October 2009
Posted by JacknewbIII on Tuesday, February 1, 2022 7:33 PM

That is a fantastic build you did there.

JOIN OUR COMMUNITY!

Our community is FREE to join. To participate you must either login or register for an account.

SEARCH FORUMS
FREE NEWSLETTER
By signing up you may also receive reader surveys and occasional special offers. We do not sell, rent or trade our email lists. View our Privacy Policy.