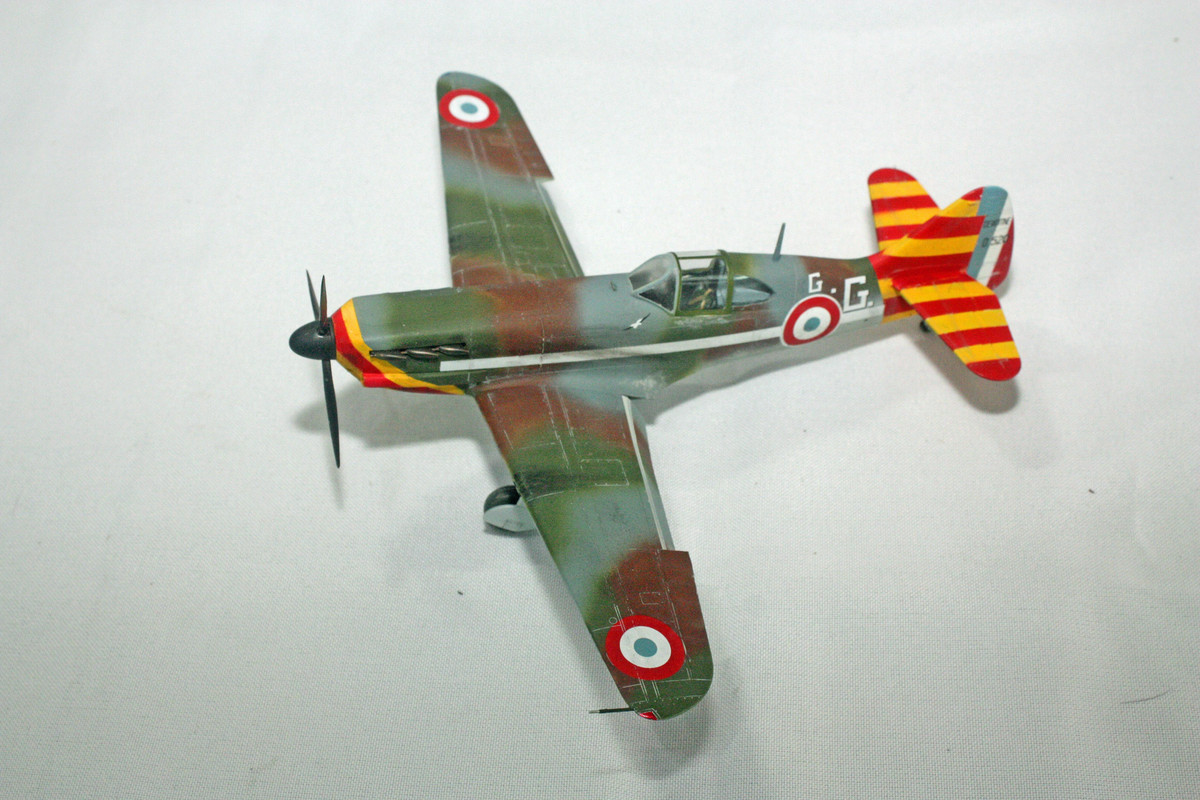
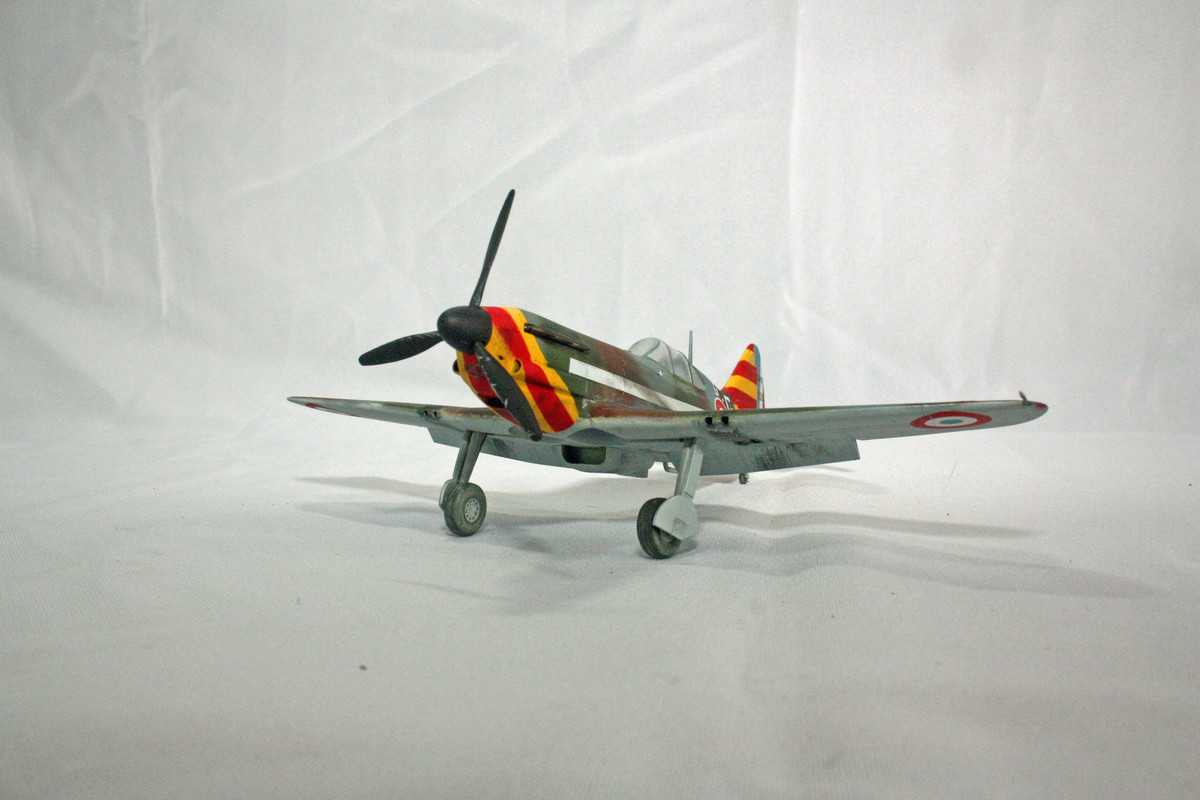
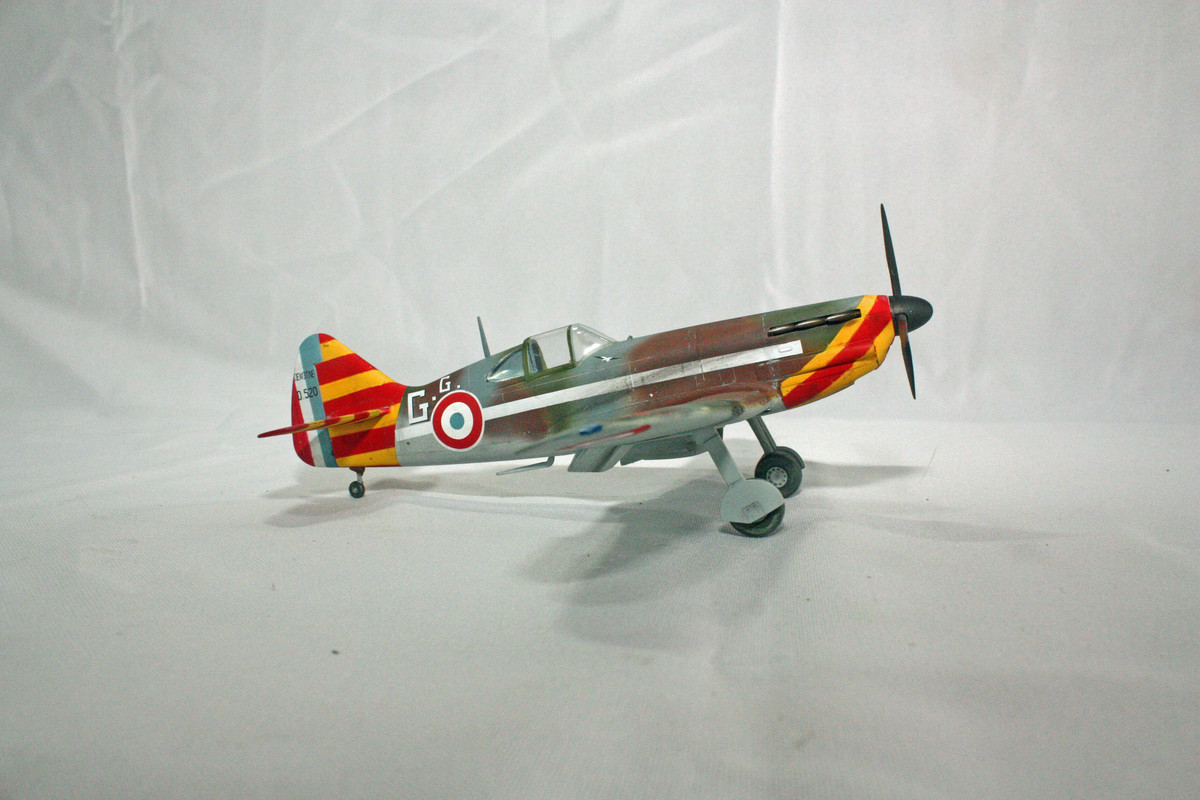
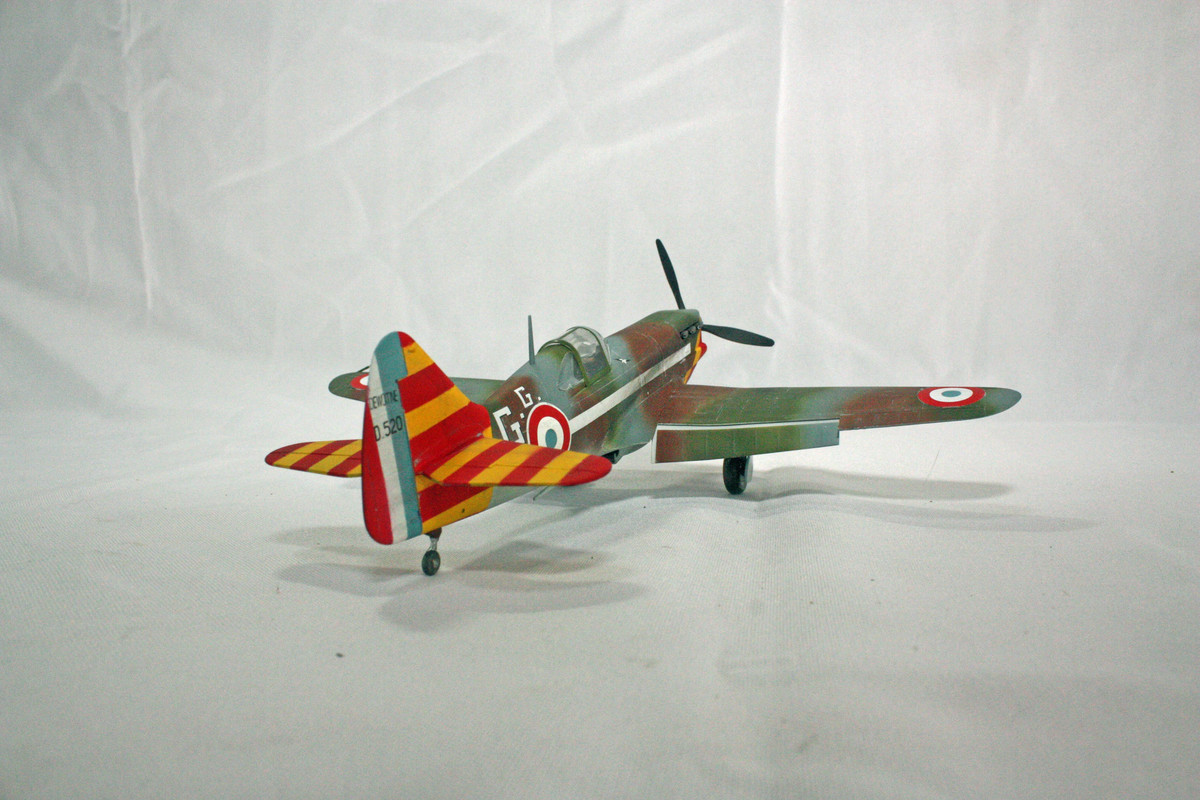
For my sixth build of the year, I have done Tamiya's nimble little French figher, the Dewoitine D.520.
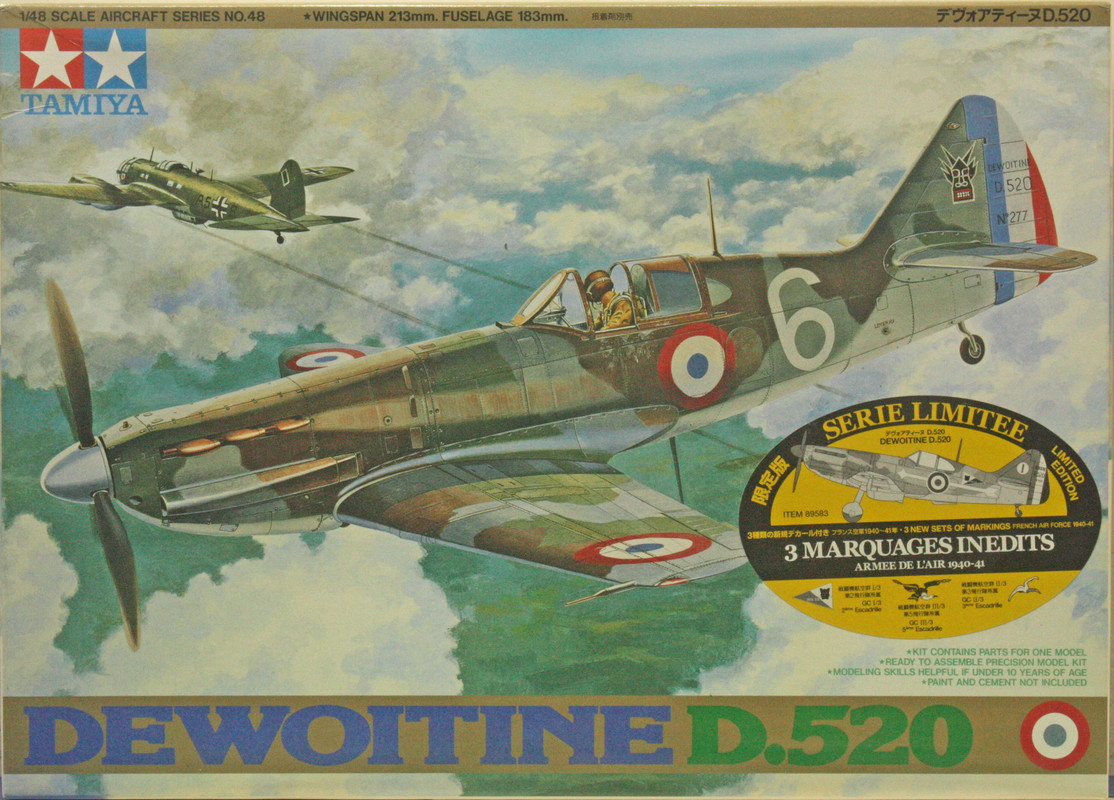
I'll be up front with this warbird - I've never given the French much thought considering how quickly they exited WWII as an Allied combatant. I do know that there was a strong French underground presence, and that some portion of France became Vichy France. My research into the D.520 showed that it flew for many air forces, including the Vichy air force. I also learned that this warbird could hold its own against the Bf109 during the Battle of France, so in that light, it seemed to make for a good first French subject to cross my workbench.
Actually, I should probably back track that "first subject" bit. Many years ago, when I first discovered FSM and found an mail order ad for Squadron Models, I first noticed the D.520 as a limited run release from a company called LTD Models. I bought it at the time, and immediately started working on it. And that was where it ended. That kit had all kinds of issues that I simply was unable to deal with. I did put it together, but it was clear that I was not going to produce a decent build out of it given my skill level (which was more like my childhood years of building) at the time. I still have that build sitting in a tub somewhere, and I've actually considered pulling it out to give it another go. Although I don't know if I still have all the parts attached to it.
Anyway, so Tamiya's kit is not unexpectedly a complete opposite from the LTD kit. Like so many other Tamiya kits, it practically builds itself. It is a very simple kit, coming out of the box on 2 full sprues, with a third clear sprue. There are not very many parts, but what is there is full of good detail in the cockpit.
The painting instructions call for dark grey in the cockpit, but my research showed that these aircraft actually had a dark blue grey painted in the cockpit. I ended up painting a dark blue with blue grey painted over some portions of it, a bit of artistic license on that as I didn't have dark blue grey in my paint inventory.
The kit did require filler in a couple of spots - the rear underside wing root, and curiously, the upper cowling right behind the prop did not align properly. Possibly builder error there.
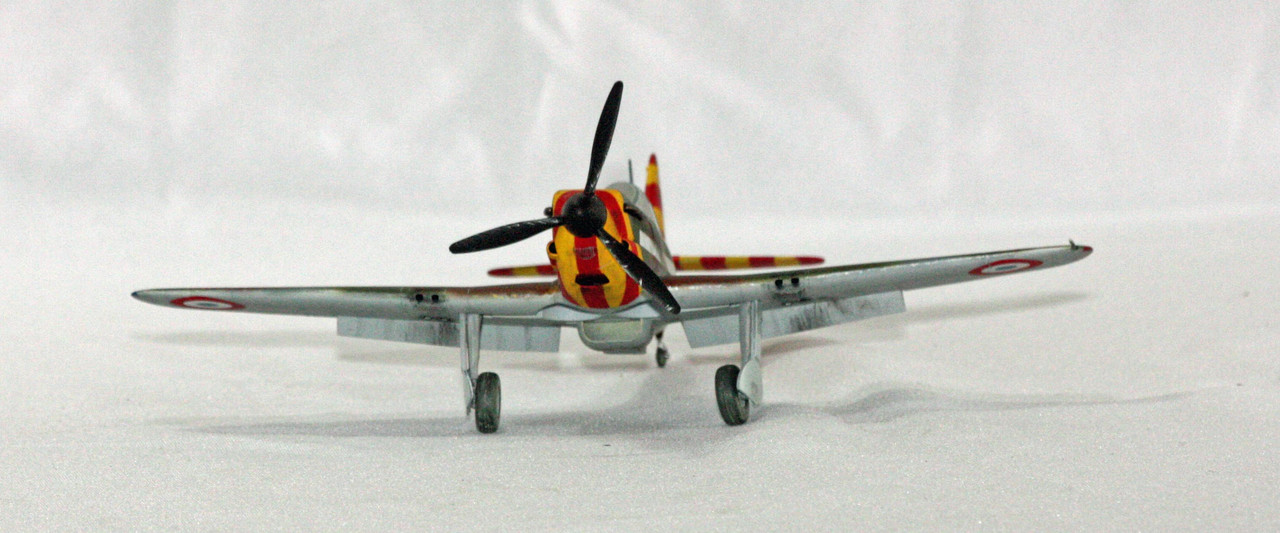
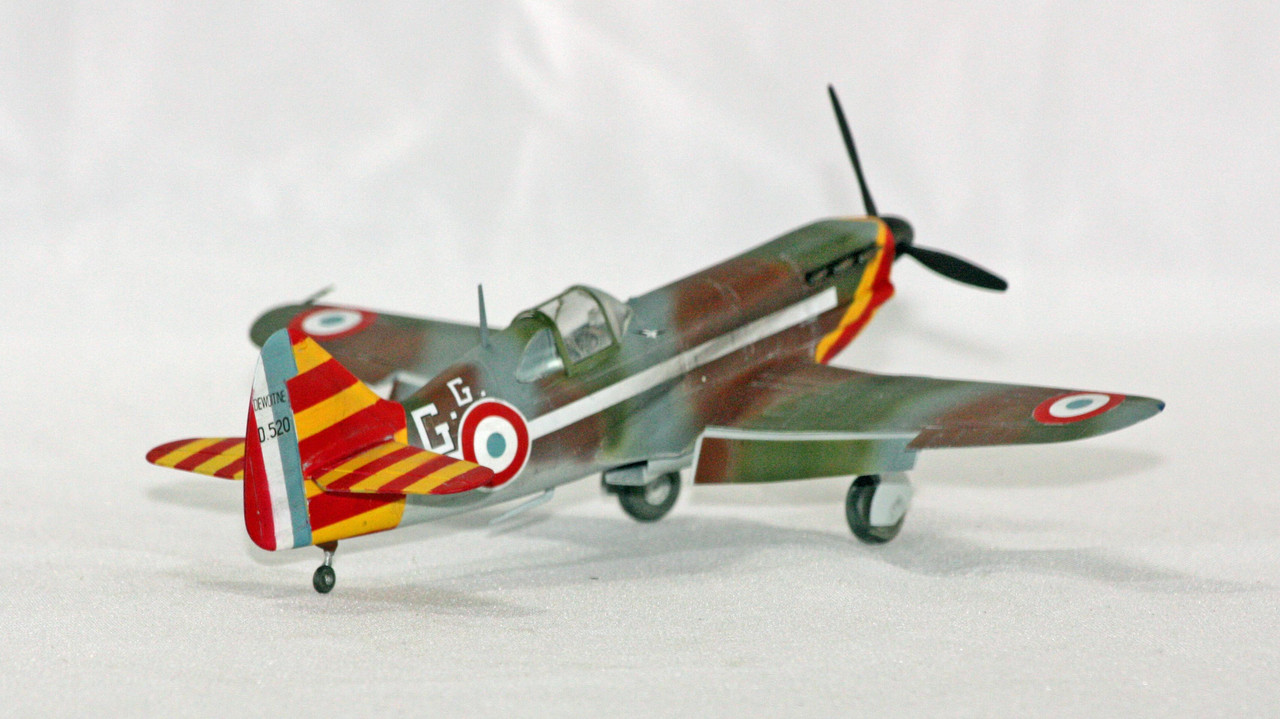
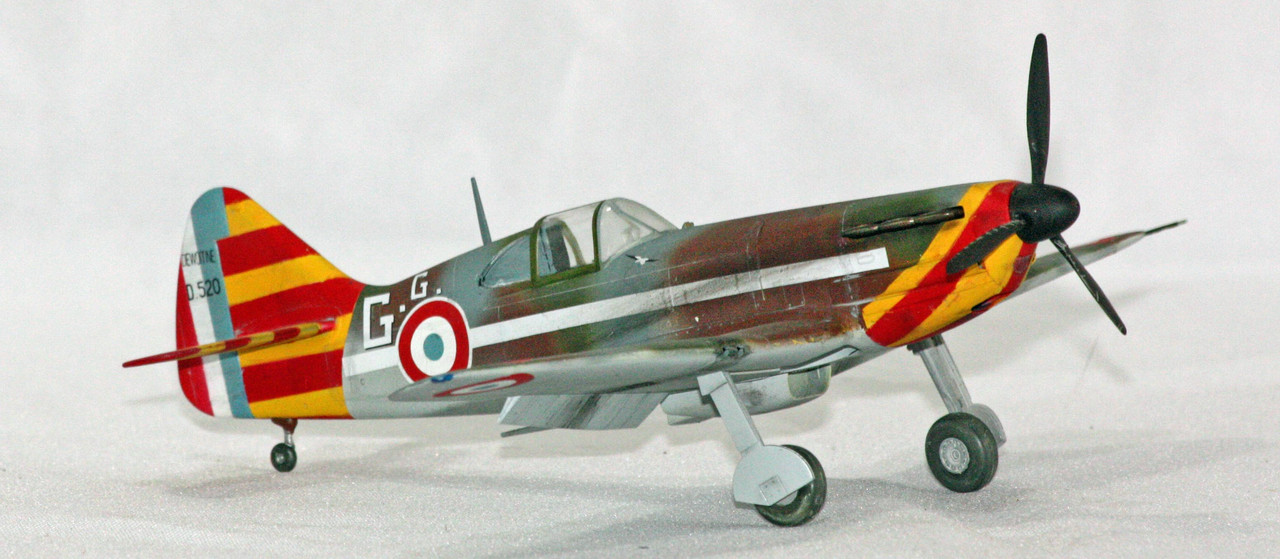
Vichy aircraft typically fielded some bright colored striping, red and yellow, and to my eyes looked like the circus was in town. The striping was typically, but not always, applied over the entire tail section and over portions of the cowling. Some times the stripes were not present, but there would be a bright yellow tail, for which Tamiya provides on decal option - but I really wanted to do the red and yellow stripes, so I acquired a set of AeroMaster decals that I learned were actually intended for the LTD kit.
The yellow paint gave me fits for this build. I started with a coat of white Stynylrez primer. After I painted the tail in the French blue-white-red, I masked that and the areas that were to be red stripes. I did the yellow from Mission Models, and all seemed to be progressing as normal. After everything cured over night, I removed the masking from to-be red stripes, and masked the yellow. Mission Models red paint went down just fine, and after over night drying, I removed the yellow masking. And nearly all of the yellow paint. I've rarely had paint lift from a primer coat, and the red paint didn't lift. No idea why the yellow paint lifted as it did. I then had to reverse my masking process and do the yellow again. I still had a couple of spots that lifted after this paint- and-masking session. It was only a couple of spots, and easily dealt with by covering the entire surrounding surfaces with Silly Putty. In the end, I think I did a fair representation of the Vichy stripes.
For the camouflage, I used Vallejo US Navy blue grey, light blue grey, brown, and AK Interactive Real Colors RAF dark green.
The AeroMaster decals performed flawlessly despite their age. After a flat coat, I ground up some grey pastels, mixed in water, and applied as a wash. I thought that worked out real well, but then I got a bit too much on the gun ports with black pastels.
Not quite OOB - I added lead wire for brake lines, and used grocery store paper bag to fashion a crude set of seat belts (as the Tamiya decal sheet did not even include their standard seat belt decal, which I rarely use anyway).






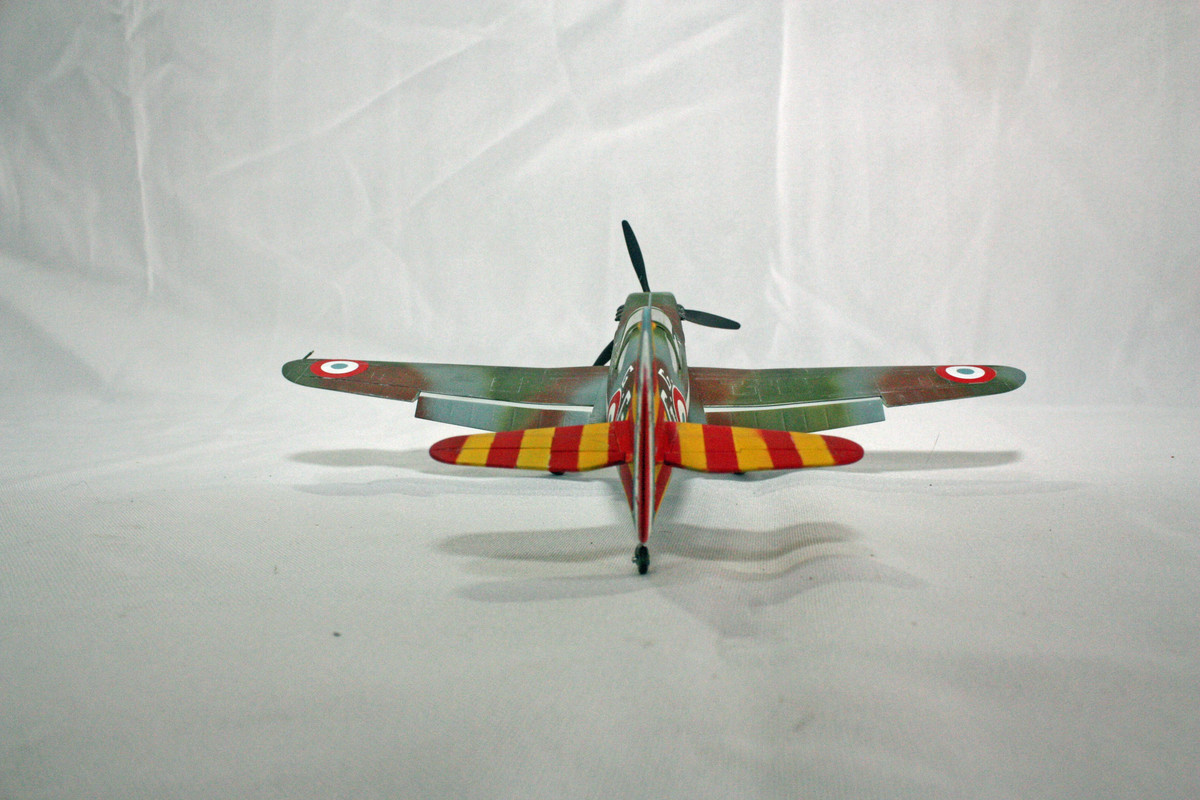
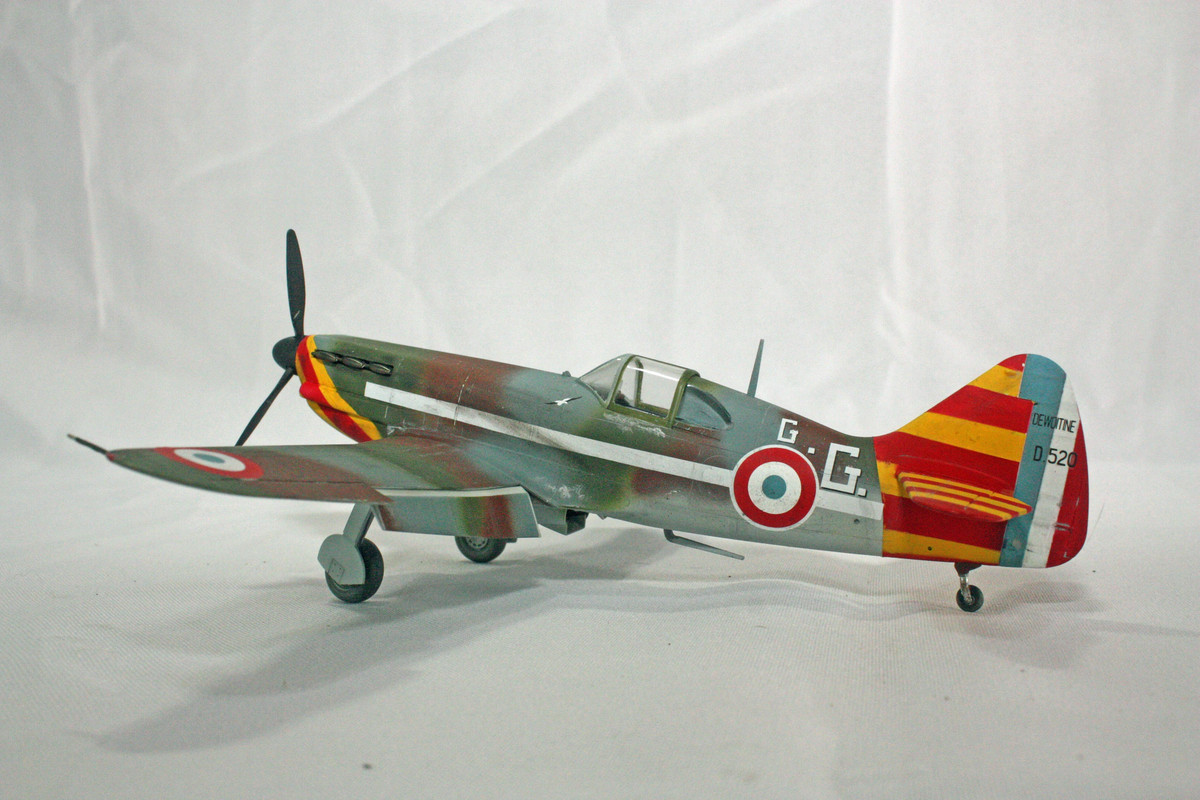
This was a trouble-free, fun build. Next up, Italeri's repop of AMT/Ertl's YB-49 Flying Wing.