SEARCH FINESCALE.COM

Enter keywords or a search phrase below:

Imperial Japanese Group Build Part II

93209 views
746 replies
1 rating 2 rating 3 rating 4 rating 5 rating
  • Member since
    March 2009
  • From: brisbane australia
Posted by surfsup on Monday, July 22, 2013 4:18 AM

All main Sub-Assemblies are now complete and onboard. Will have more soon.....Cheers mark

If i was your wife, i'd poison your tea! If Iwas your husband, I would drink it! WINSTON CHURCHILL

  • Member since
    November 2009
  • From: SW Virginia
Posted by Gamera on Monday, July 22, 2013 7:23 AM

Looks great Mark, love the wooden effect you have on the decks there!

"I dream in fire but work in clay." -Arthur Machen


  • Member since
    January 2013
  • From: Athens, Greece
Posted by Zvezda1980 on Tuesday, July 23, 2013 2:11 PM

Hello fellow builders of the rising sun

I managed to finish assembly, sanding, some minor filling, etc.

I then applied some, either Eduard or regular masking and everything is ready for painting.

I hope to catch up the following days

  • Member since
    November 2009
  • From: SW Virginia
Posted by Gamera on Tuesday, July 23, 2013 2:31 PM

Ohhhhhhhh.... cool! The Dinah was such a sweet looking plane. Looks like you're ready to get some serious painting done- nice work!

"I dream in fire but work in clay." -Arthur Machen


  • Member since
    April 2013
Posted by SchattenSpartan on Tuesday, July 23, 2013 3:12 PM

Nice work, guys!

I can't work on my Hayate right now, as I'm in carynthia and was only able to take 2 kits with me (those I have to finish next...)

I just hope the cockpit looks alright with those thick clear-parts on top...

  • Member since
    August 2009
  • From: Borlando Fla home of the rat
Posted by TREYZX10R on Tuesday, July 23, 2013 9:27 PM

Paul glad to hear you are on the mend! The ship is looking awesome!

The Dina is looking great Zvezda,what scheme are you going with?

  • Member since
    March 2009
  • From: brisbane australia
Posted by surfsup on Wednesday, July 24, 2013 1:34 AM

Thanks for the comments Gents. Just a Dinah myself is looking very nice indeed.....Cheers mark

If i was your wife, i'd poison your tea! If Iwas your husband, I would drink it! WINSTON CHURCHILL

  • Member since
    January 2013
  • From: Athens, Greece
Posted by Zvezda1980 on Wednesday, July 24, 2013 3:37 AM

Thank you all folks for the nice comments.

The critical work starts now, nevertheless,

The plane I will (try to) build is the one in the first picture below. I like the floating chrysanthemum emblem on the tail.

One thing I cannot firmly confirm is whether the glass windows on the left and under side of the fuselage (marked correspondingly on the 2nd and 3rd picture below) really existed on the Kai or they were substituted by regular panels for this interceptor version.

Tamiya's instructions propose to paint them over with camouflage color.

The only picture I could find to get a clue was picture No.4 below, where it seems that the left window in question is not there (this old B&W picture is not so clear as to be 100% sure).

Decision is I will follow what Tamiya instructs (they are the Japanese after all, they should know better).

One last thing I realized by looking at my photos is that I have to cleanup my workbench!!!

It is starting to look like the bombed out airfield of the last pic Embarrassed

Friendly regards

  • Member since
    November 2009
  • From: SW Virginia
Posted by Gamera on Wednesday, July 24, 2013 7:43 AM

Lol! I agree, doesn't look like any window in the photo there. I might have some references, I'll see if I can hunt them up when I get home.

"I dream in fire but work in clay." -Arthur Machen


  • Member since
    August 2005
  • From: Long Island, New York, USA
Posted by fjs3 on Saturday, July 27, 2013 8:08 AM

Hey Everyone....


Sorry I have been away from the bench for a bit, but I do have some pictures of the N1K1 and I am pleased to announce that she is DONE!!

Great kit, loved the build and I'm onto the Ki-51 "Sonja"

Happy Modeling Folks!!

Regards,

Freddie from LI

"I'm gonna build all these models one kit at a time!

  • Member since
    November 2009
  • From: United Knigdom
Posted by Alex Shaw on Saturday, July 27, 2013 9:23 AM

Great work, that looks really, really fantastic!

  • Member since
    April 2013
Posted by SchattenSpartan on Saturday, July 27, 2013 10:09 AM

Excellent work, Freddie!

May I ask how you created those awesome chipping effects?

  • Member since
    November 2009
  • From: SW Virginia
Posted by Gamera on Monday, July 29, 2013 7:27 AM

Freddie: That's gorgeous! I too love the chipping.

Edit: Sir you are now posted! And congrads!

"I dream in fire but work in clay." -Arthur Machen


  • Member since
    January 2013
  • From: Athens, Greece
Posted by Zvezda1980 on Saturday, August 3, 2013 11:02 AM

Good evening fellow warriors of the rising sun

This N1K1 is an inspiring  masterpiece! You have my admiration Freddie. Toast

Tonight I am sailing for a 2 week holiday (at last), so I tried to press on with the built.

Some mistakes that I made eventually delayed me a little.

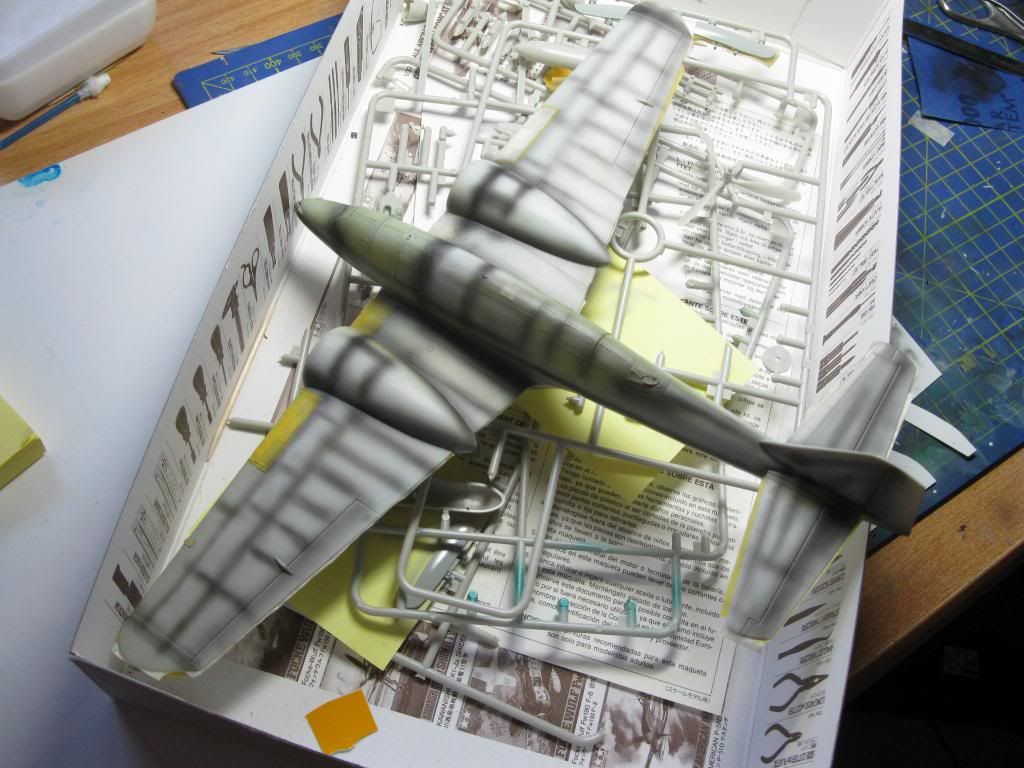
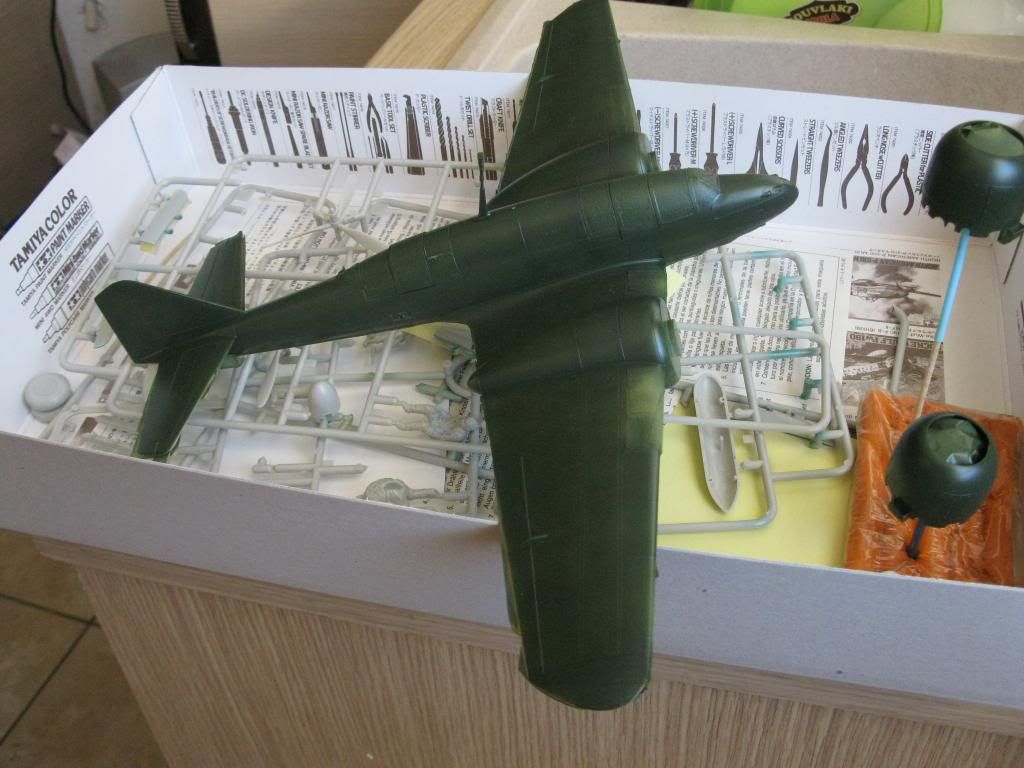
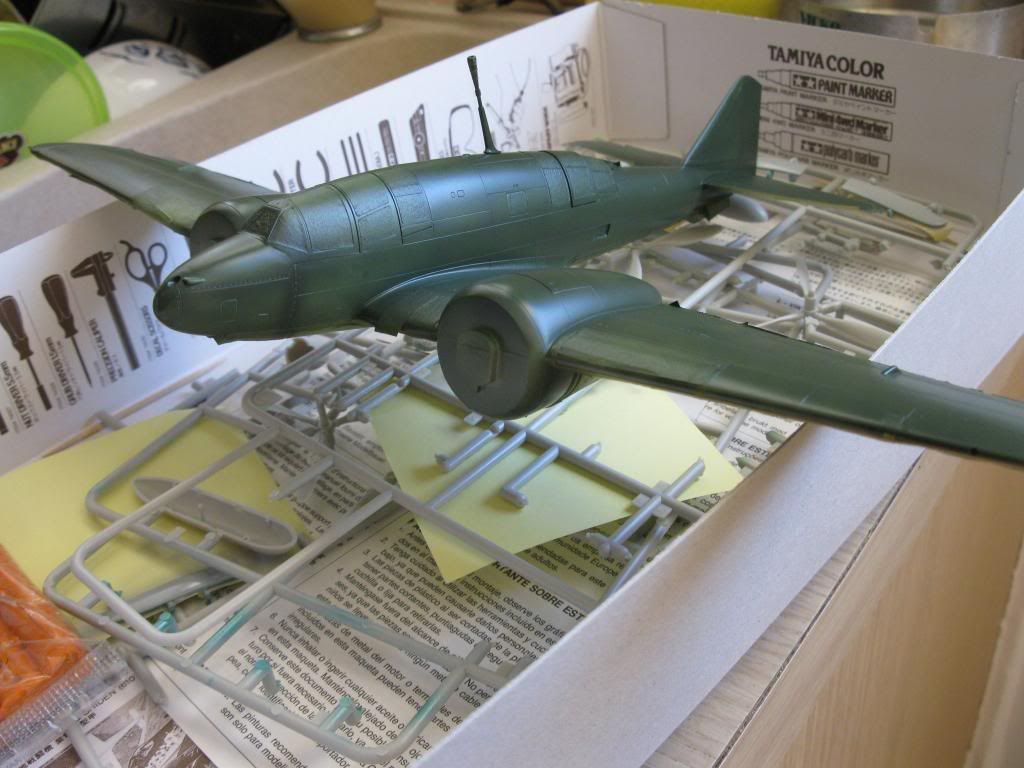
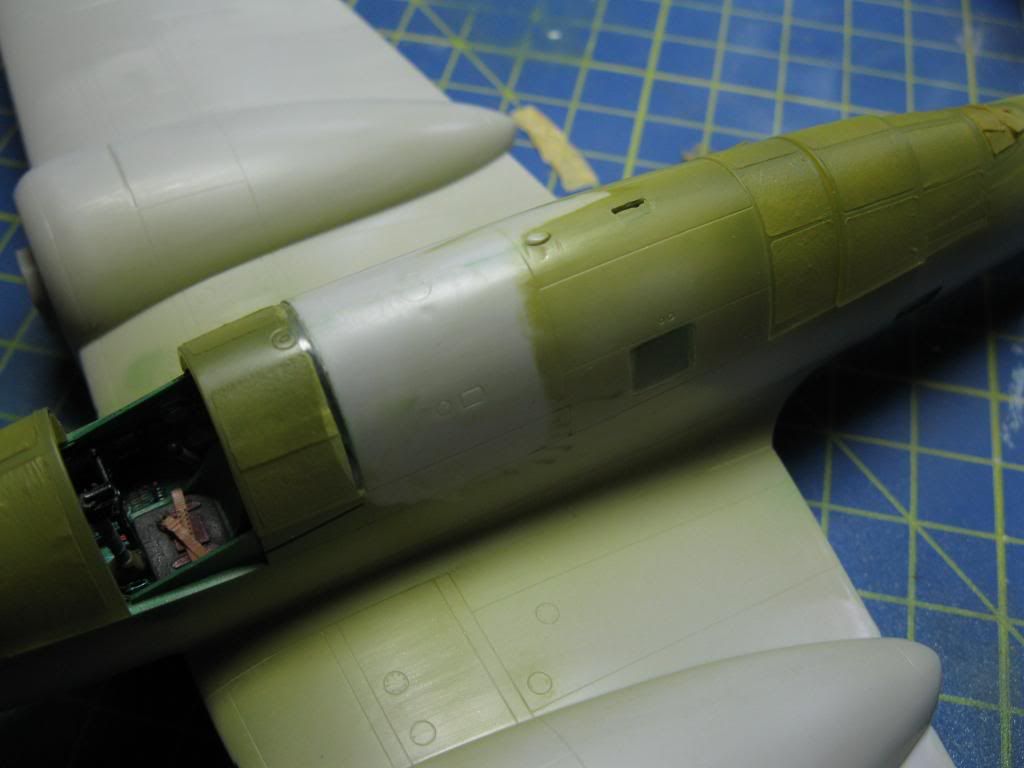
First when everything was ready for painting and after a thin coat of Gunze's white primer, the two fuselage halves decided to break their bond, get a divorce and the seam opened up to say helloBang Head, right behind the front canopy (Pic-1).

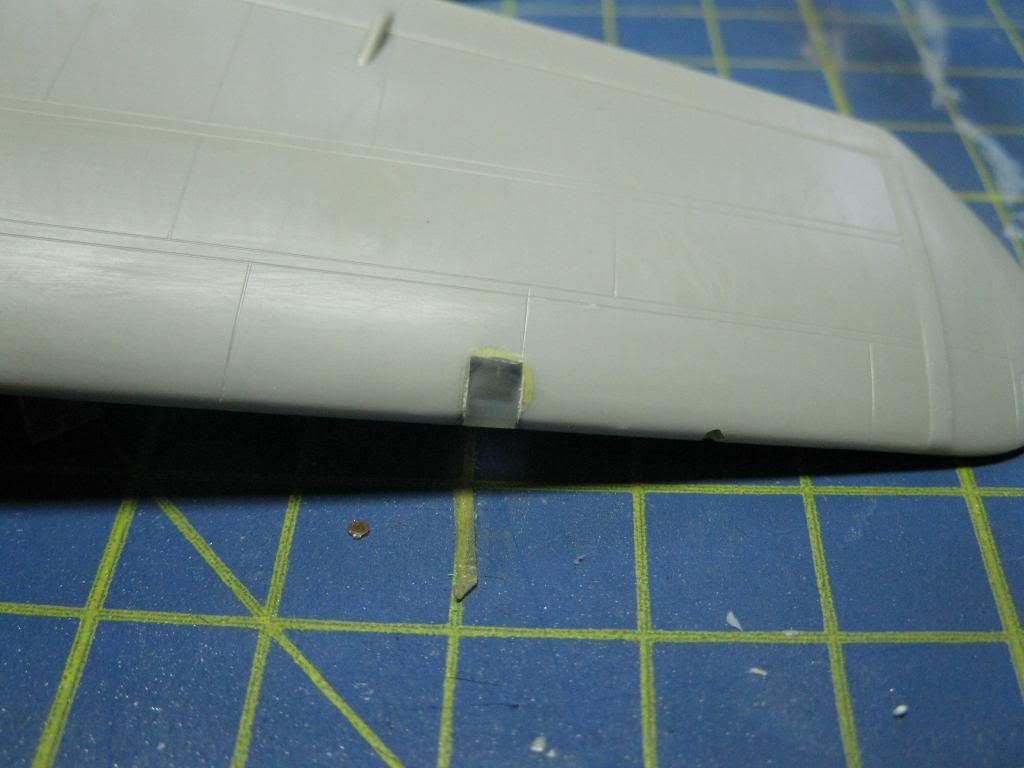
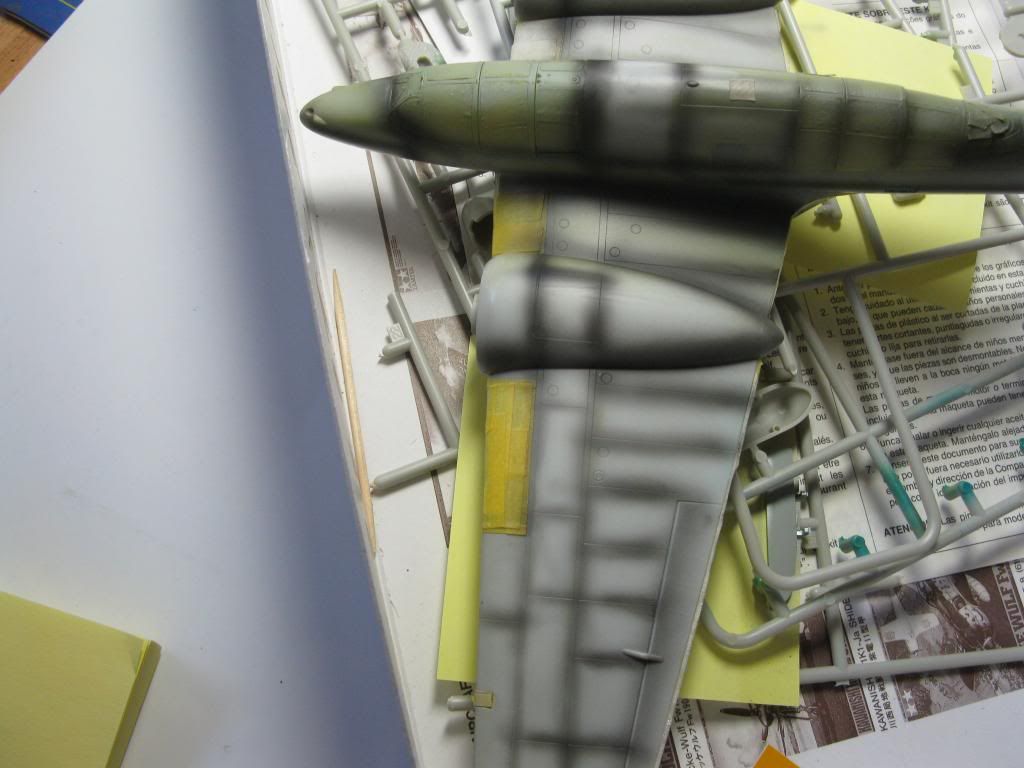
Then, I made the worst surgery in history while cutting the position for the landing light, which consumed 2 days by sanding, filing with epoxy, etc to make it resemble to an airplane wing again (Pic-2)

Sometimes I can become such a disgrace!!! Embarrassed

When these were fixed (hopefully) the lower surfaces were painted IJN grey + 20% white.

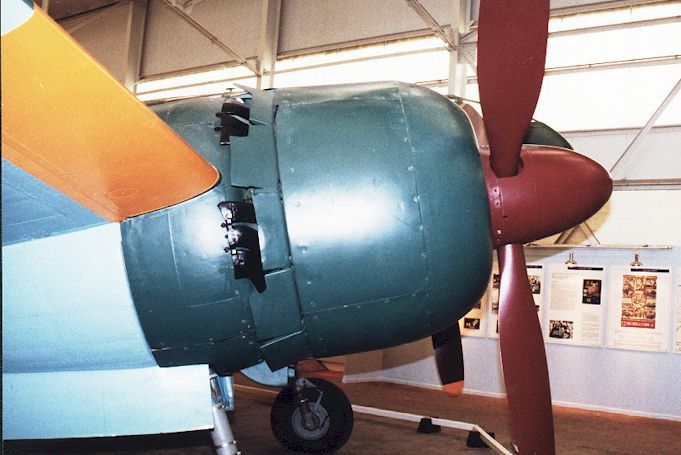
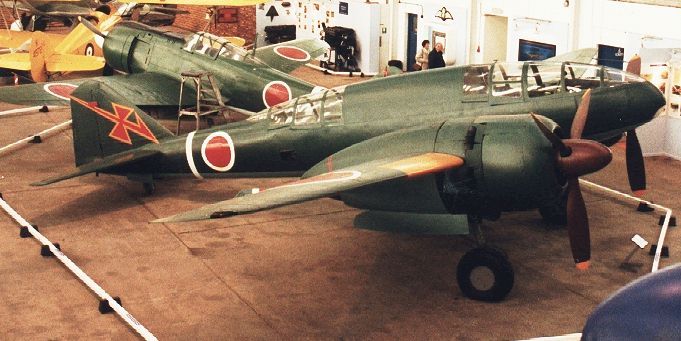
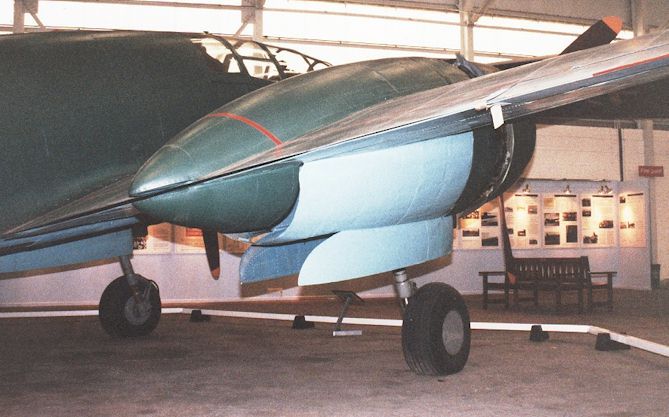
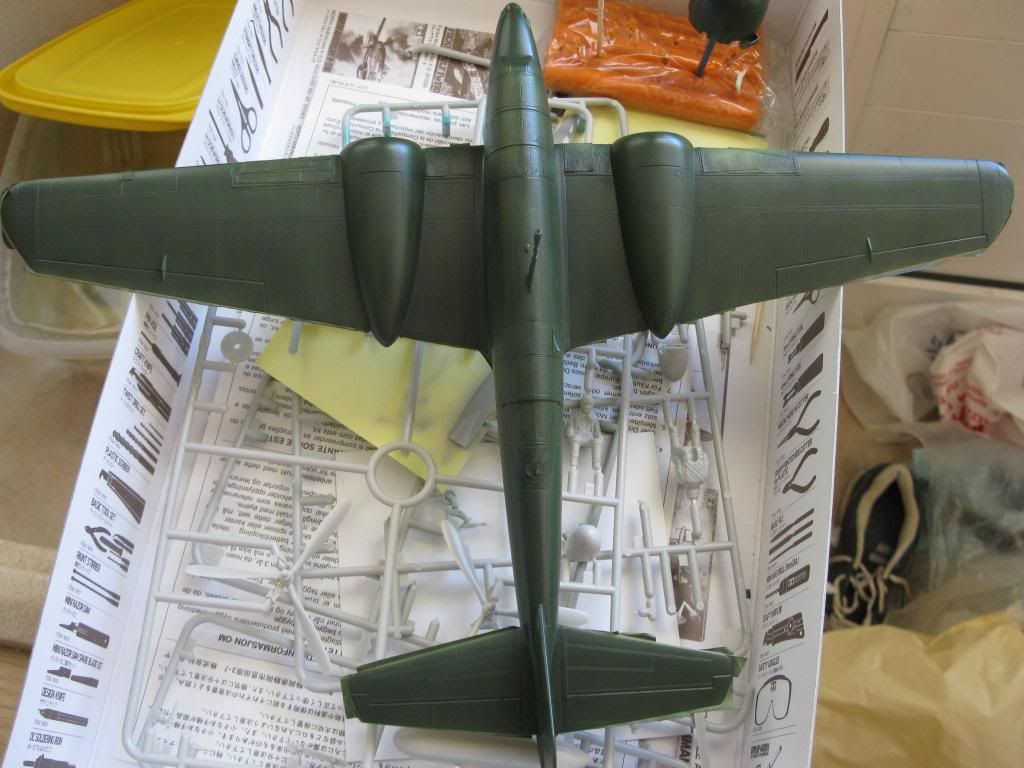
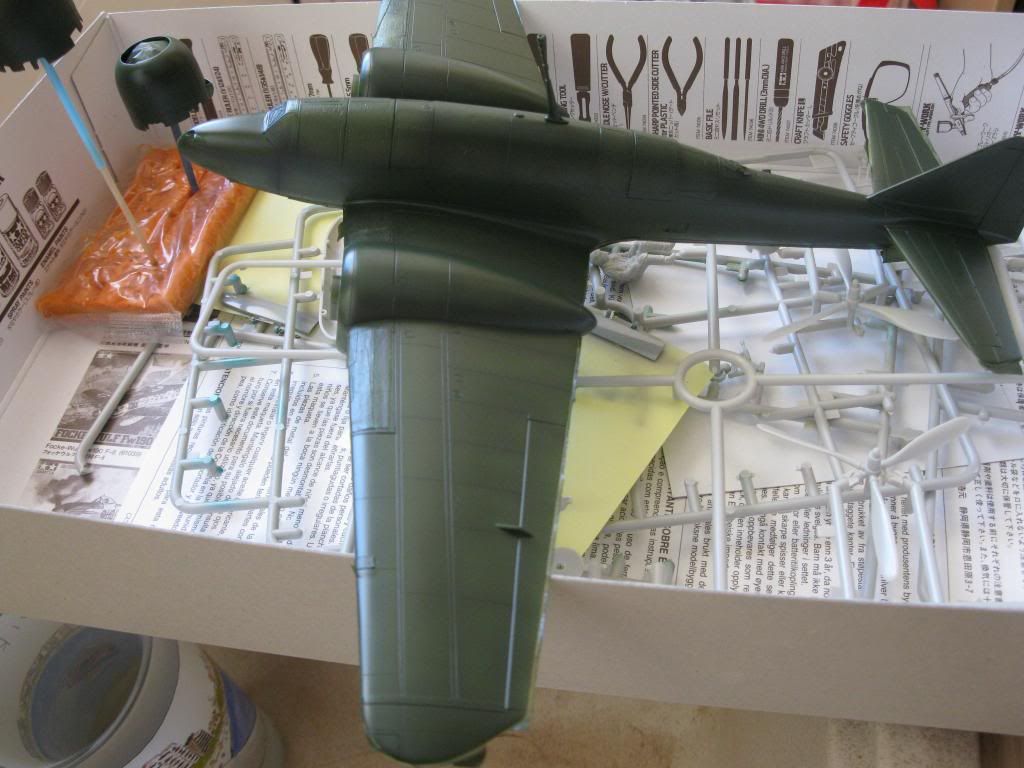
The decals which tamiya offers for the yellow sections at the leading edges, are too small according to my references, so these were masked off and will be painted to the correct boundaries. (Ref. Pics 3, 4 & 5).

Then a bit of preshading and then the upper color was applied 50% IJN Green + 50% Olive Drab.

When I get back I will correct some spots where the pre-shade needs more blending to the camo.

The cannon was installed by a snug tight fit, without glue, so it can be removable for safer handling of the kit.

Thank you for your time and I will appreciate all your advice, criticism and comments.

Friendly regards to all
  • Member since
    March 2003
  • From: Rain USA, Vancouver WA
Posted by tigerman on Saturday, August 3, 2013 11:39 AM

Freddie, that George looks marvelous. Love the weathering.

   http://i7.photobucket.com/albums/y269/wing_nut_5o/PANZERJAGERGB.jpg

 Eric 

  • Member since
    November 2009
  • From: SW Virginia
Posted by Gamera on Monday, August 5, 2013 7:29 AM

Zvezda: Despite your problems she looks really good! Perfect job on the pre-shading.

"I dream in fire but work in clay." -Arthur Machen


  • Member since
    March 2009
  • From: brisbane australia
Posted by surfsup on Tuesday, August 6, 2013 5:00 AM

You did a beautiful job on the George Freddie. A BIG WELL DONE from me. Back to the big Floaty Thingy called Yamato. Her Secondary A/A Mounts are now onboard along with their Directors. More to come soon.....Cheers mark

If i was your wife, i'd poison your tea! If Iwas your husband, I would drink it! WINSTON CHURCHILL

  • Member since
    August 2009
  • From: Netherlands
Posted by duiker2106 on Tuesday, August 6, 2013 5:08 AM

It looks fabulous!!! Looking at your work makes me wanting to continue mine!

What is the grey color? Is it the Kobe arsenal? My Yamato is gettin a tiny darker, I use the Sashebo arsenal (Tamiya XF-77).

On the bench: 1:350 Yamato + I-400, 1:48 F15 strike eagle...

  • Member since
    March 2009
  • From: brisbane australia
Posted by surfsup on Tuesday, August 6, 2013 6:33 AM

Thanks for the comments my friend. I used a mix of Tamiya German Grey and Sasebo Grey. Then I heavily Drybrushed her to bring out all the detail. Hope this helps.....Cheers mark

If i was your wife, i'd poison your tea! If Iwas your husband, I would drink it! WINSTON CHURCHILL

  • Member since
    November 2009
  • From: SW Virginia
Posted by Gamera on Tuesday, August 6, 2013 7:15 AM

She looks terrific to me, WOW!

"I dream in fire but work in clay." -Arthur Machen


  • Member since
    March 2009
  • From: brisbane australia
Posted by surfsup on Wednesday, August 7, 2013 1:40 AM

Thanks for the comments my friend.....Cheers mark

If i was your wife, i'd poison your tea! If Iwas your husband, I would drink it! WINSTON CHURCHILL

  • Member since
    March 2009
  • From: brisbane australia
Posted by surfsup on Sunday, August 25, 2013 3:39 AM

OK the Big Y is now Armed to the Teeth. The Finish Line is in Sight but more to be done before that.....Cheers mark

If i was your wife, i'd poison your tea! If Iwas your husband, I would drink it! WINSTON CHURCHILL

  • Member since
    November 2009
  • From: SW Virginia
Posted by Gamera on Sunday, August 25, 2013 5:29 PM

Looks great Mark! Helps you to appreciate just how many AA batteries she had!  

"I dream in fire but work in clay." -Arthur Machen


  • Member since
    March 2009
  • From: brisbane australia
Posted by surfsup on Saturday, August 31, 2013 11:22 PM

OK her Main Mast is now stepped and the Stern Boat Handling Area is now complete. Will have more to come soon.....Cheers mark

If i was your wife, i'd poison your tea! If Iwas your husband, I would drink it! WINSTON CHURCHILL

  • Member since
    November 2009
  • From: SW Virginia
Posted by Gamera on Monday, September 2, 2013 8:30 AM

Wow, the crane looks even better in place! And those wooden decks, I just can't get over how good they look!

Believe it or not I pulled out the Japanese mortar team I started this GB with last night and did a little work on them. It's only been what - six friggin' months they've been lying untouched on the work bench!?!  

"I dream in fire but work in clay." -Arthur Machen


  • Member since
    April 2005
  • From: Australia
Posted by taxtp on Tuesday, September 3, 2013 3:34 AM

Mark, that Yamato is a very serious piece of work. Fantastic so far.

Cheers

Tony

I'm just taking it one GB at a time.

  • Member since
    July 2004
  • From: Sonora Desert
Posted by stikpusher on Friday, September 20, 2013 7:31 PM

WOW!!! That Yamato is gorgeous!!!Stick out tongue

Well, last weekend I began building my project- the 1975 vintage Tamiya 1/35 Type 97 Tank Chi Ha

 I plan on building it in the markings of the 1st Independant Tank Company which fought on Guadalcanal and was destroyed on the night of October 23/24 at the mouth of the Matanikau River

File:MatanikauTank.jpg

I began construction on Saturday building most of the lower hull. Today I finished up the lower hull and built most of the upper hull. I took photos but can not upload them to Photobucket right now due to the site being down for maintenance currently...Super Angry


F is for FIRE, That burns down the whole town!

U is for URANIUM... BOMBS!

N is for NO SURVIVORS...

       - Plankton

LSM


  • Member since
    July 2004
  • From: Sonora Desert
Posted by stikpusher on Saturday, September 21, 2013 12:35 PM

So anyways Photobucket finished their maintenance sometime last night and I was able to upload my Chi Ha photos this morning...

kit box

lower hull

upper hull

placed together


F is for FIRE, That burns down the whole town!

U is for URANIUM... BOMBS!

N is for NO SURVIVORS...

       - Plankton

LSM


  • Member since
    November 2009
  • From: SW Virginia
Posted by Gamera on Saturday, September 21, 2013 6:05 PM

Cool SP, nice model - an oldie but a goodie there- welcome aboard!

"I dream in fire but work in clay." -Arthur Machen


  • Member since
    July 2004
  • From: Sonora Desert
Posted by stikpusher on Saturday, September 21, 2013 7:16 PM

Yes, it really is a beauty of a kit. Tamiya did not mess around on this build. the engine deck louvres are molded like the real thing, and it even has a radiator to ge beneath it! Not that you can see it without a serious light or unless you leave the engine access hatch loose. This kit is nearly 40 years old now... stamped 1975 on the inner hull.


F is for FIRE, That burns down the whole town!

U is for URANIUM... BOMBS!

N is for NO SURVIVORS...

       - Plankton

LSM


JOIN OUR COMMUNITY!

Our community is FREE to join. To participate you must either login or register for an account.

SEARCH FORUMS
FREE NEWSLETTER
By signing up you may also receive reader surveys and occasional special offers. We do not sell, rent or trade our email lists. View our Privacy Policy.