OK< here we go..sigh--I had to delete this when I sold the article to FSM, but here's a condensed version...here's the "Lair of the Rust Bunnies" article I did that was published in the November 2008 issue--it's still available in back issues.
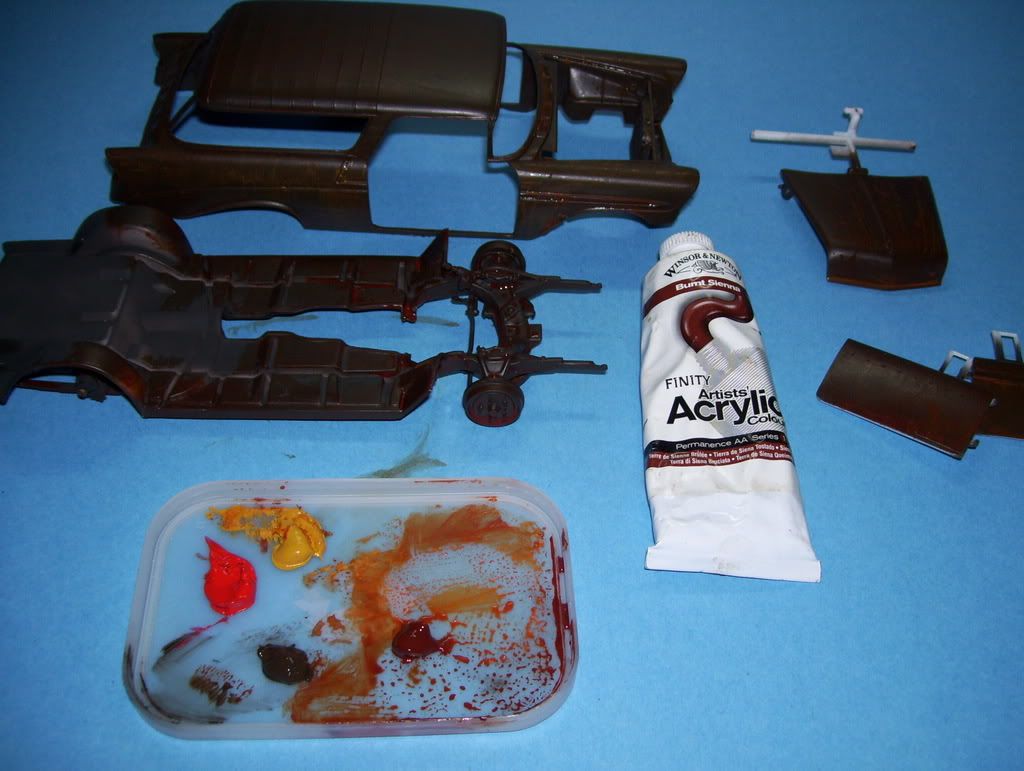
You spray your base coat--in this case I wanted a rust color underneath...I was using Tamiya acrylic in this case. I have seen this technique done with either enamel or acrylic base coat; as far as I know, I was one ofthe first to tryit with acrylics--I would recommend Tamiya since they are a pretty durable, tough acrylic coat.
Then you get some hair spray
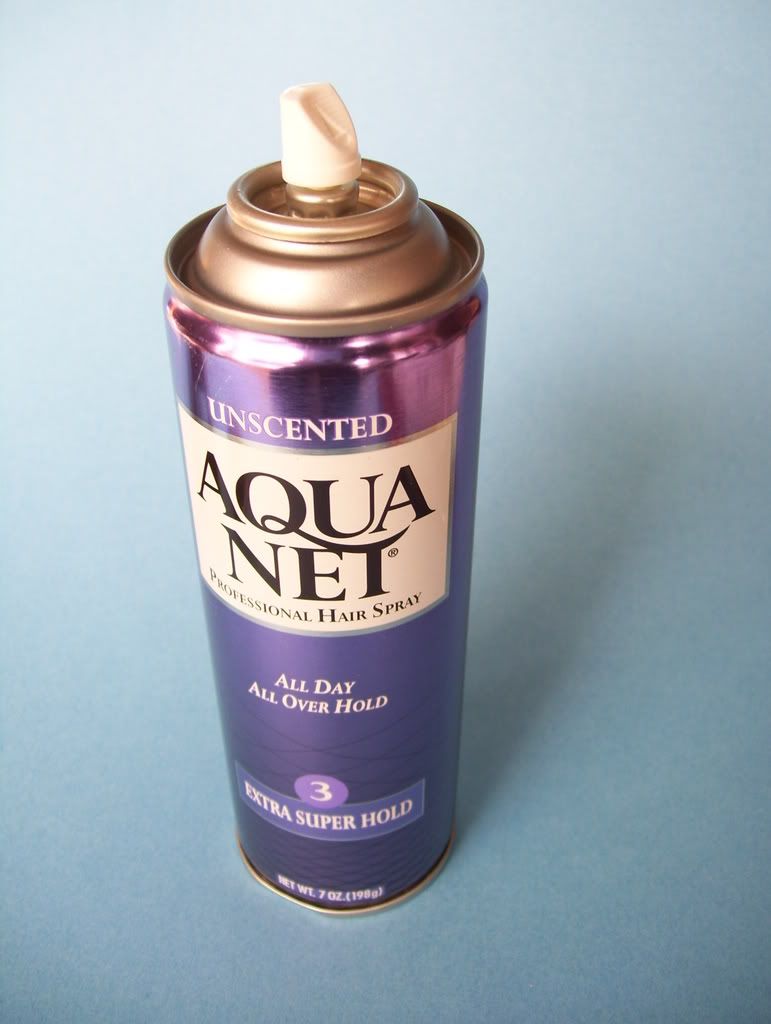
Spray the whole model with it---one coat is all you need. The tape is there to allow some "breaks" in the paint coverage--you need them in order to let the water you're use to dissolve the next coat on top. ALthough, at this point, I have learned that you can simply scratch the paint with a blade, or sandpaper, and still get the water to go underneath the 2nd coat and start dissolving the hair spray, which then dissolves and fractures,carrrying away with it the paint coat on top of it.
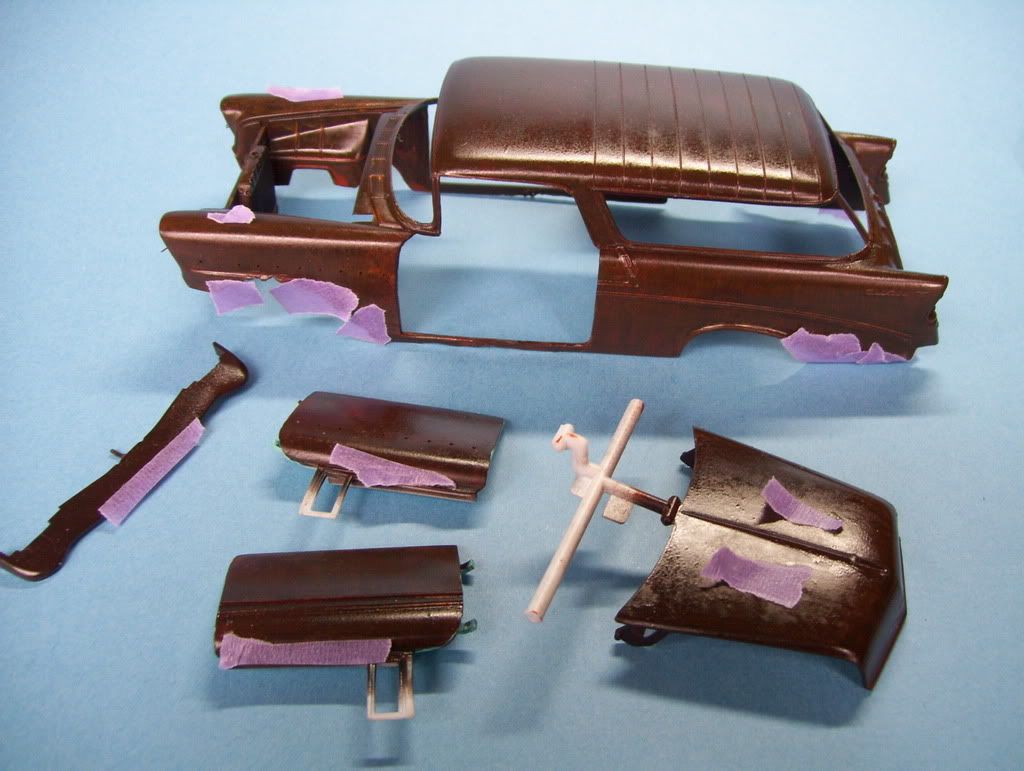
Here, I've sprayed the color coat--in the case of a whitewashed tank, this would be your "Whitewash" coat.
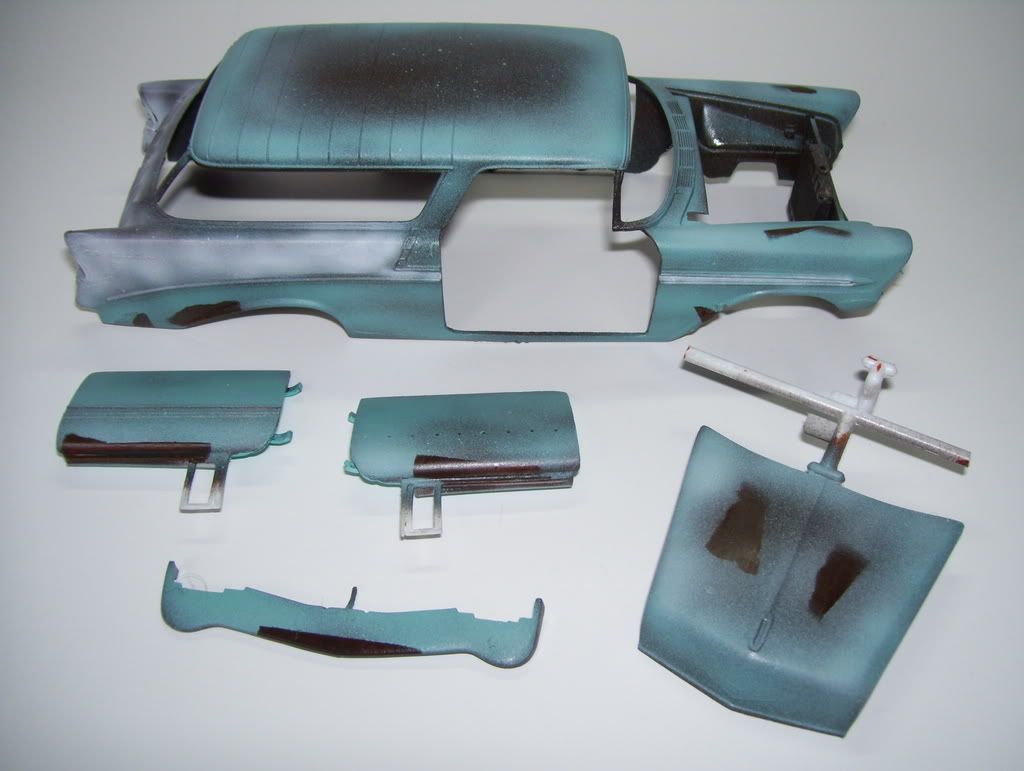
In as long as it took me to clean the airbrush, I take a short-bristled, stiff brush, and after dipping it in water, start scrubbing away the paint. The hairspray underneath dissolves, leading to a greatly distressed look as it carries away the paint as well.
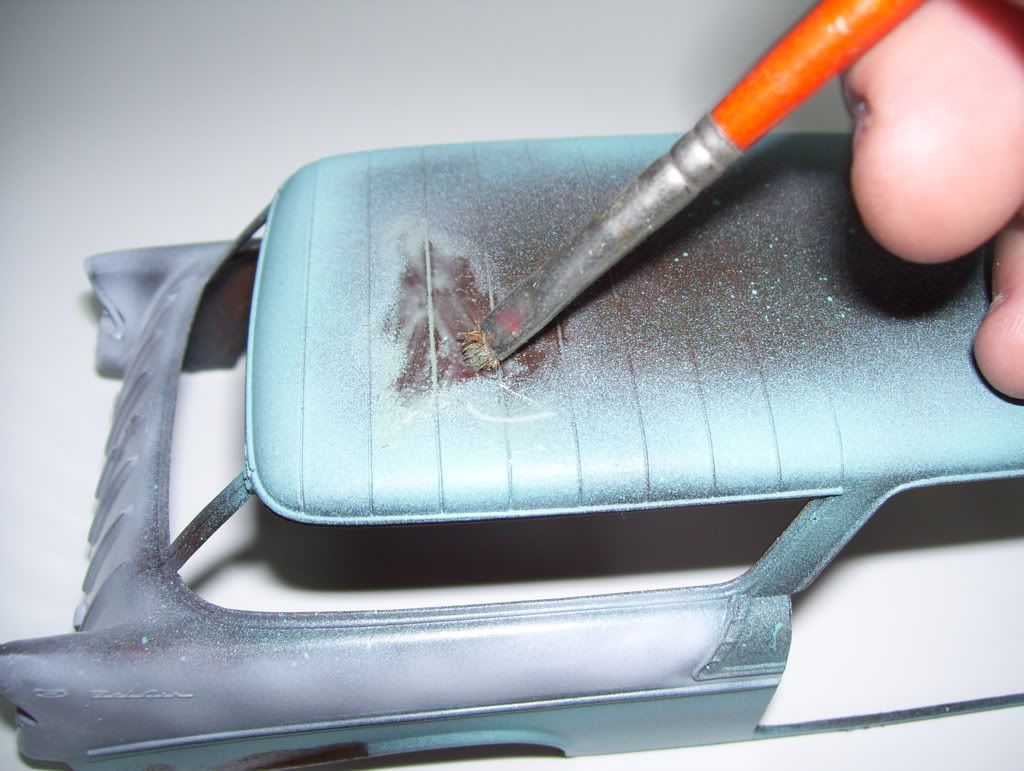
It's very easy to control--dab off the excess "dead" paint with a facial tissue

What it will look like
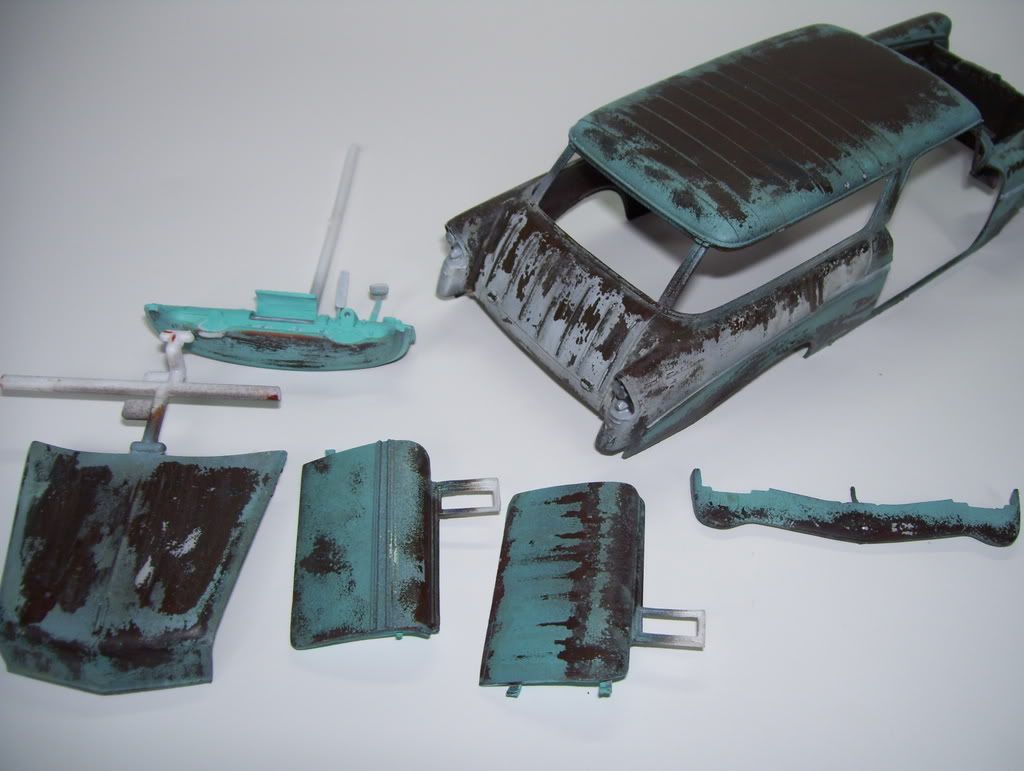
Here's a few pics of what you can do with proper weathering using pastels and powders, and the hairspray technique.
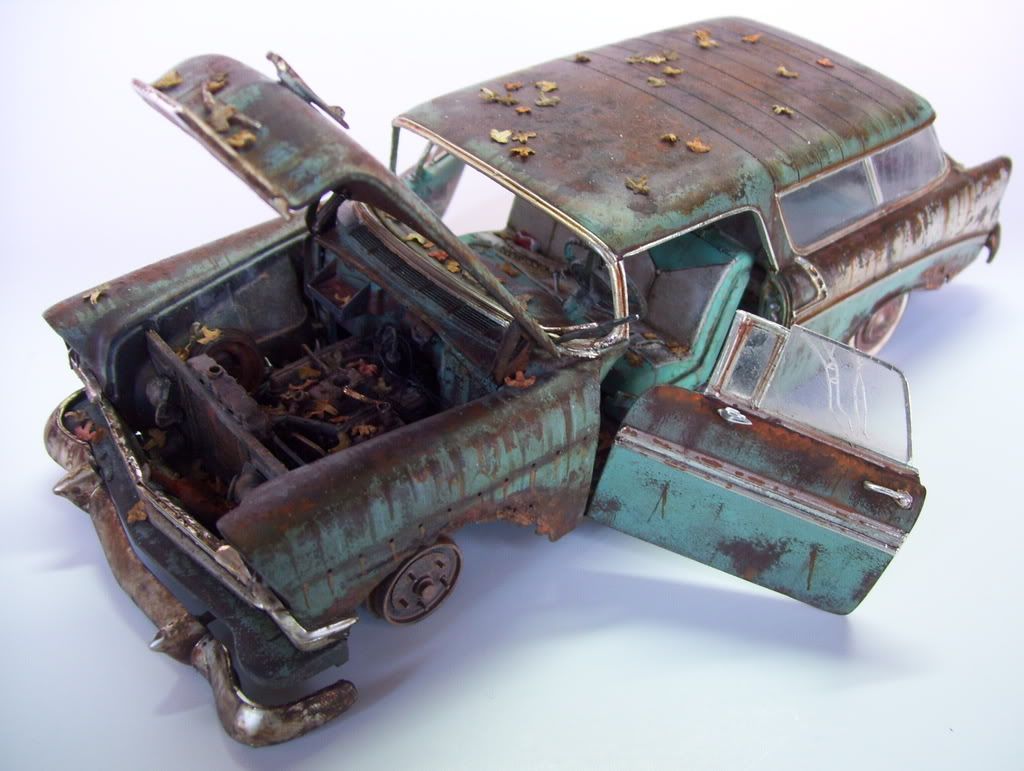
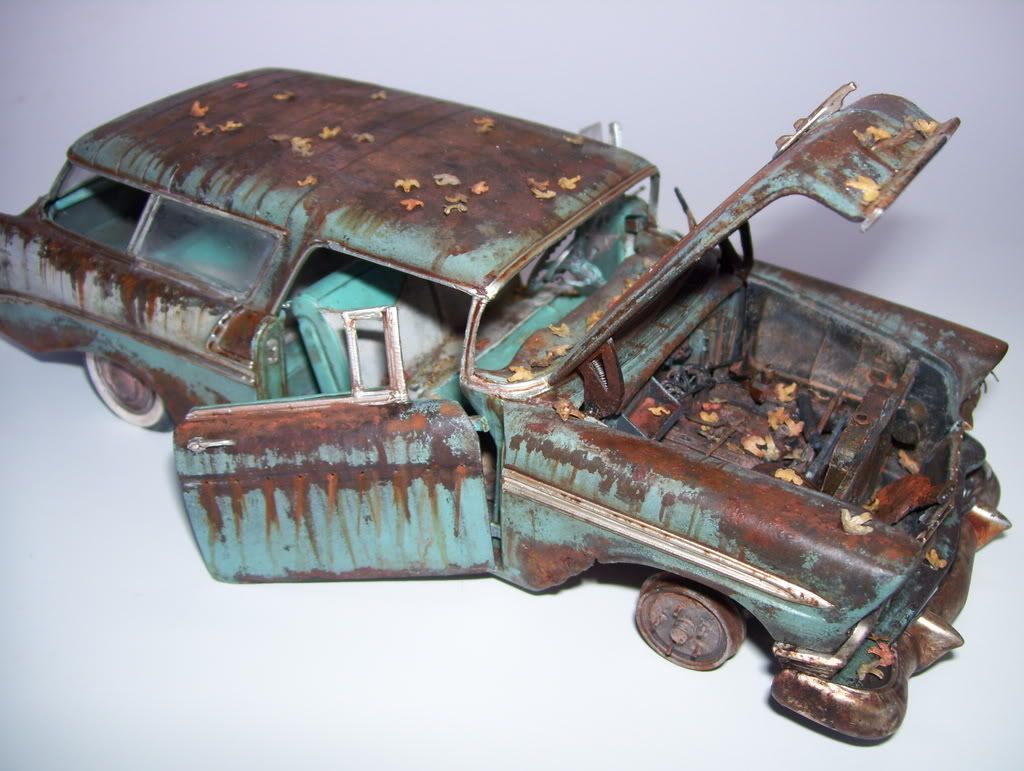
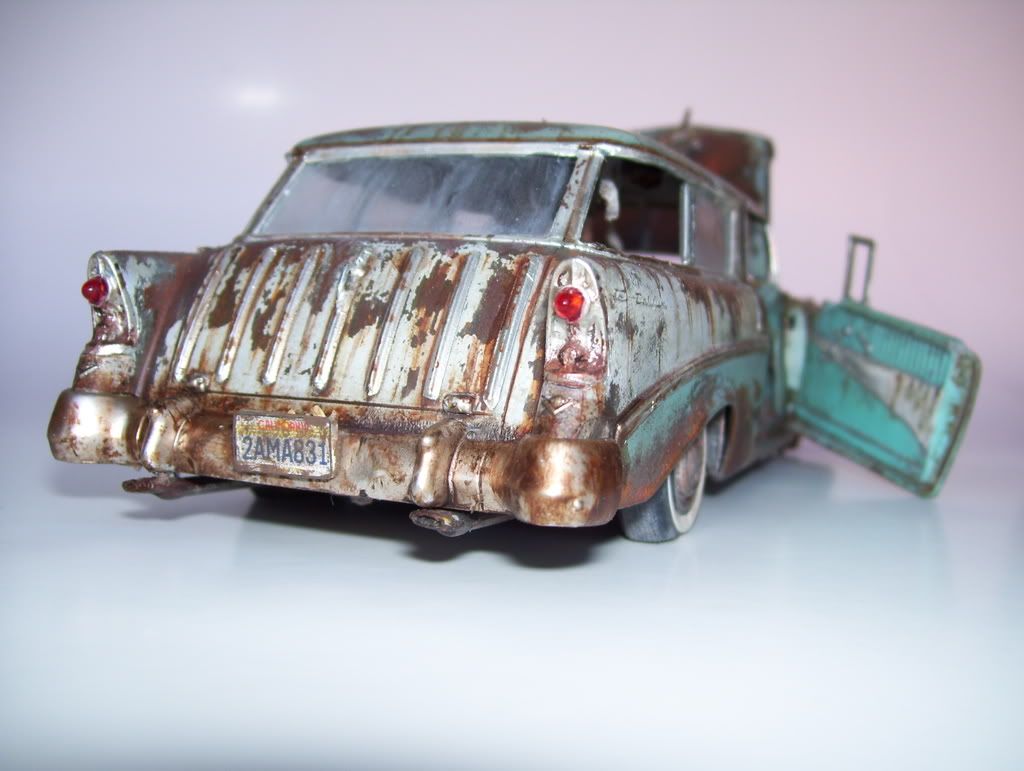
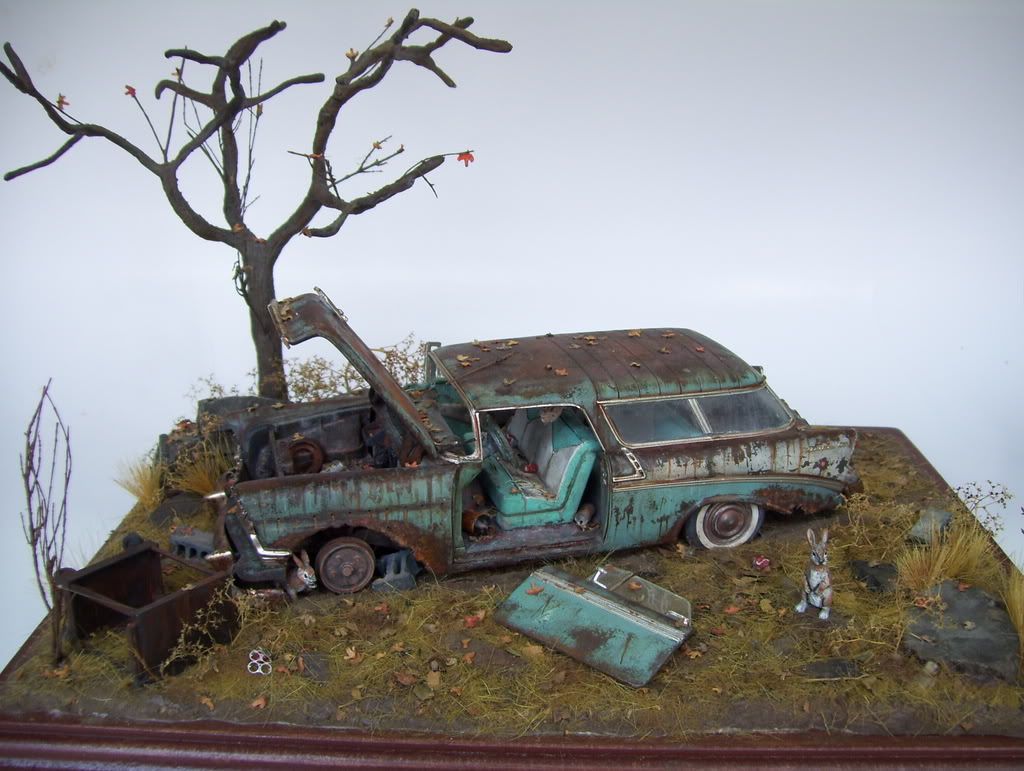
I also used it on a whitewashed King Tiger here--it's on this page; you can see the results of it before I started weathering the tank in earnest.
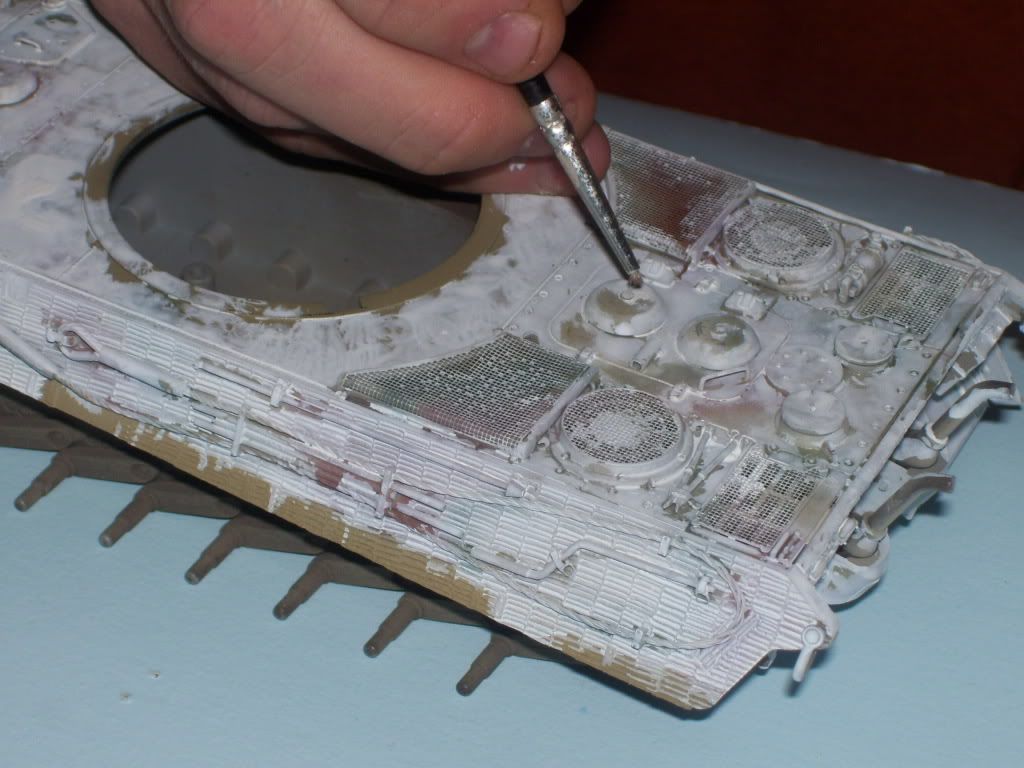
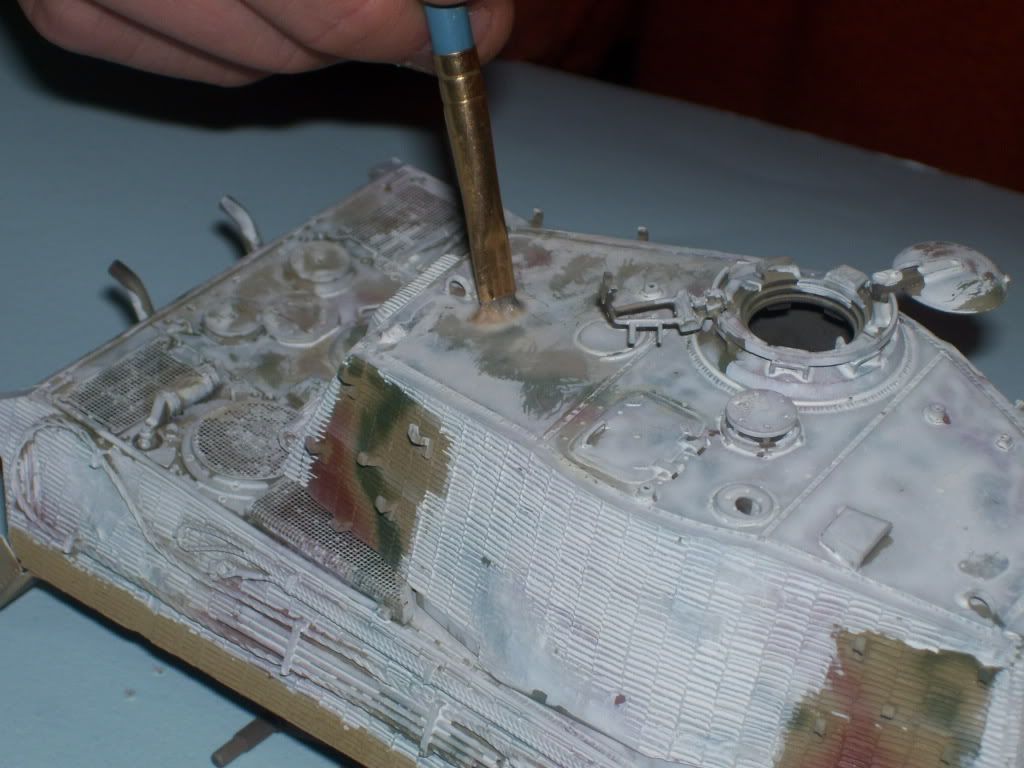
Here's the link to that page...
/forums/2/1053435/ShowPost.aspx#1053435