Nathan, all I can say is...
Welcome to the club! I gave up trying to make them "operable". I get them bent and curved as closely as I can then hook the front of the strap under the bracket and align the back of the strap and the bracket as closely as possible. Then glue the handle to the two pins. You will need to use something to hold the bracket while you're working on it. I took the advice from the other thread (which I started). On a piece of plastic card, I measured the distance between the legs of a staple and drilled small holes that far apart. Make the holes small enough that the staple legs fit very tightly in them. Then I held the folded bracket between the holes and pushed a staple through the holes and down onto the center portion of the bracket. I clamped the plastic card in a 3rd hand and positioned and glued the strap and the handle.
This way works if you can push the handle of the tool (for example a shovel) through the completed clasp. If it's a tool that has to have the clasp built around it, try the same basic idea, but instead of using the plastic card and staple, glue the folded bracket into place, then add the tool, then glue the rest of the parts on.
There is no easy way to do this. I was taking between one to two hours PER CLASP when I was trying to figure a way to do it without gluing everything together (I really wanted to make at least some of them operable), but I can do one in about 15 to 20 minutes now, and will probably get faster as time goes on.
Also, Eduards clasps have only two parts. The bracket and the strap are etched as one piece. They just have to be folded and the handle glued onto the end. Easier, but not nearly as nice looking!
One last point, Nathan, beware of the dreded tweezerpult effect. This happens when you are holding a pe part in a pair of tweezers (often for me it's after I've already spent 10 to 15 minutes folding it). Then the tweezer points "click" and your part is somewhere. Often, never to be seen again! I've lost more parts this way than I can count. But I've managed to find most of the more critical ones!
Good luck, welcome to the forum, and watch your hairline.
Bill
Bill
==========================================================
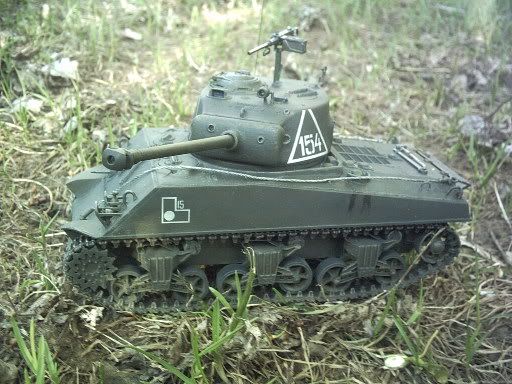
DML M4A2 Red Army
==========================================================


==========================================================
-- There is a fine line between "hobby" and "mental illness". (Author unknown)