SEARCH FINESCALE.COM

Enter keywords or a search phrase below:

Dragon Panzer III N w/ WInterketten WIP

5056 views
12 replies
1 rating 2 rating 3 rating 4 rating 5 rating
  • Member since
    May 2008
  • From: Budd Lake, New Jersey
Dragon Panzer III N w/ WInterketten WIP
Posted by BeltFed on Saturday, January 22, 2011 10:03 PM

Hello everyone. I plan on posting a WIP page for Dragons "new" Panzer III w/ winterketten- you know, the one Bill did a few months ago. I picked up this kit from the LHS late August when my girlfriend encouraged me to do a winter tank (I know, shes a keeper!) Anyway, i put the kit away and waited for some snow to fall, as that would give me some insperation. Well, New Jersey has been getting hammered with snow in the past few weeks, so it was time to get to work.

The kit went together like a dream. Anyone familiar with dragon's smart kit panzers should know what i mean. The magic tracks worked very well, and i added the ice cleats in intervals of three as per instructions (i did not, however, add them to the bottom run.) There really isnt much to be said as far as construction goes. The only little tweaks i made was adding some texturing to the front vorpanzer armor with Mr. Surfacer (for some reason i wanted to, i dont know why) and a strip-styrene jack holder after i broke the kit one. Its not perfect, but it was a good enough foundation for paint.
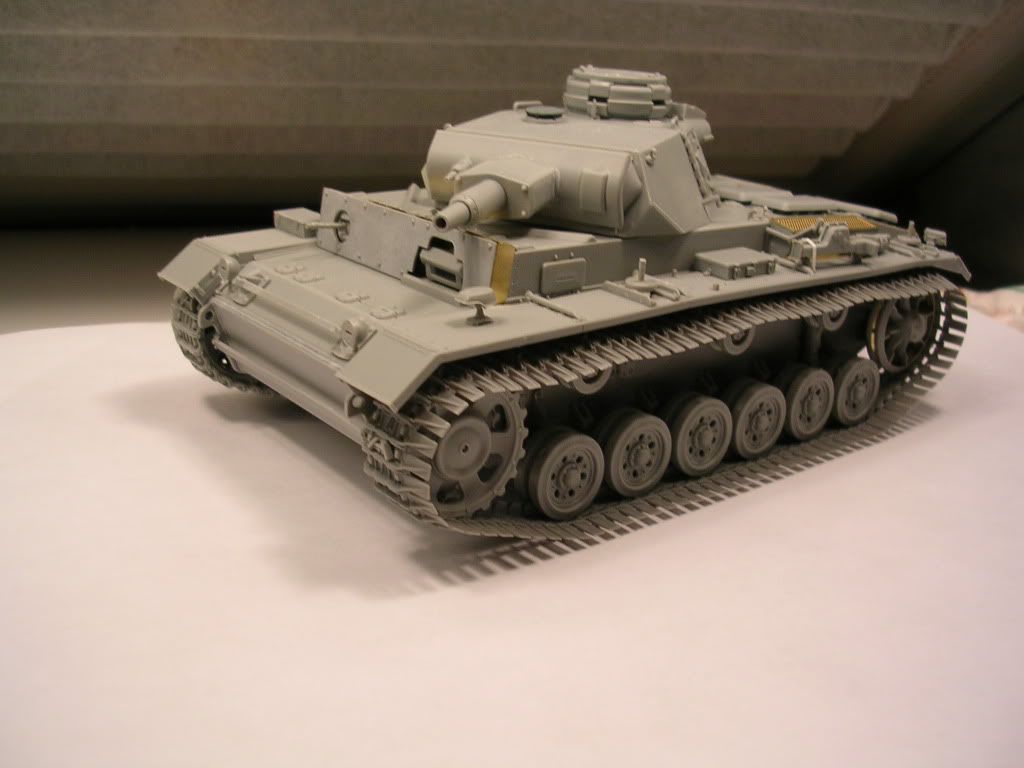
You may notice the ventilator cap on the turret is already painted. I lost the original part and had to rip one off a model that went wrong to replace it. Anywho, The first step of painting was to airbrush the tracks. I used a combination of Vallejo Model Air Burnt Umber and Black in a 70%-30% ratio to get a dark brown color for the tracks. a little of their airbrush thinner and i was good to go:
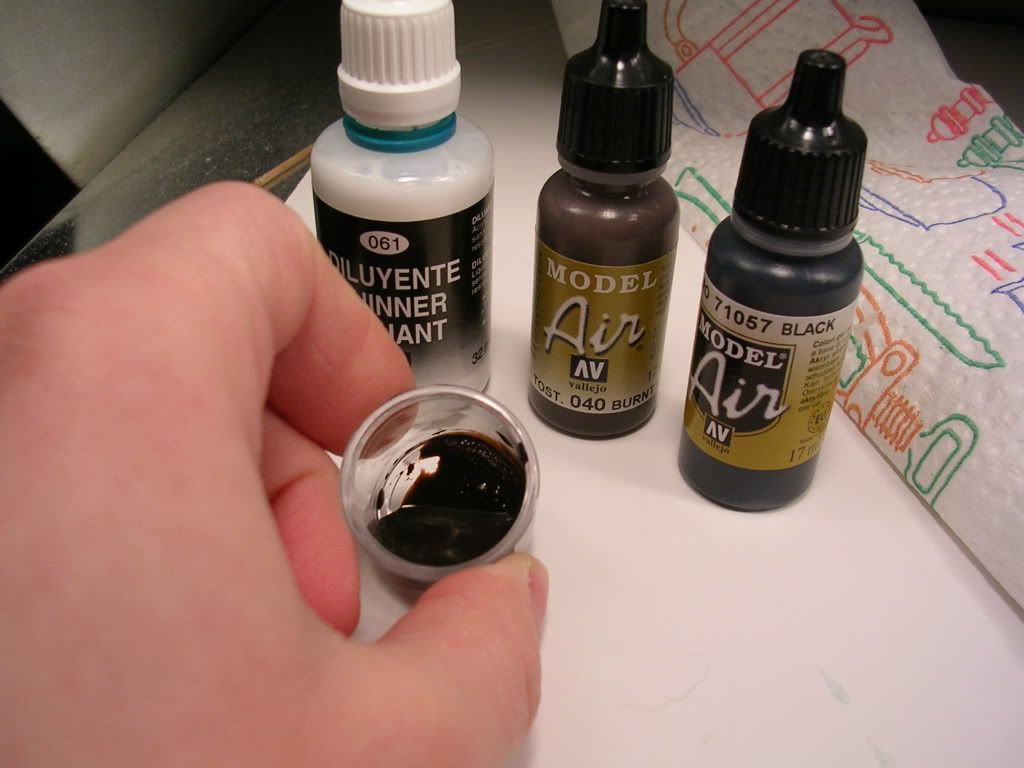
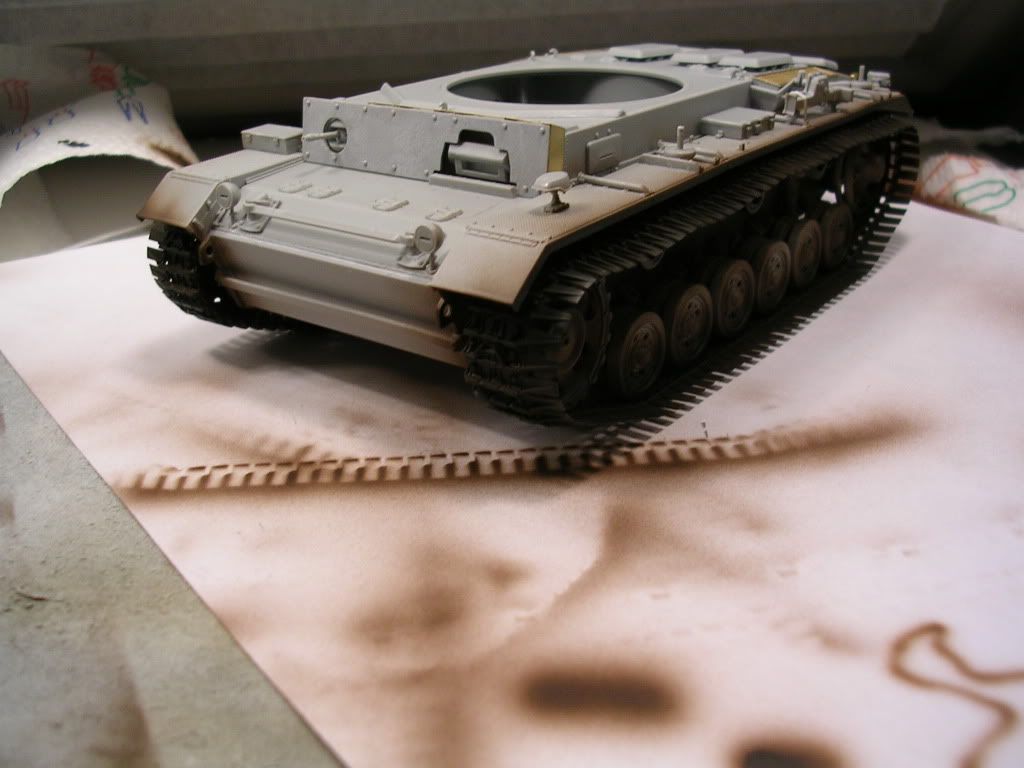
 As you can see, i decided to paint the tracks and wheels on the vehicle fully assembled. I really just find it easier this way, and, when everything is all weathered up, everything blends together. Also not shown in the picture above is Vallejo Matte Varnish, which MUST be added to the Model Air paints for durability. Without adding a few drops into the paint, they are so fragile it can be rubbed off in your fingers!
 

Up next, it was time to give the tank some color. I made a mix of Model Air German Grey, Matte Varnish, and Vallejo Airbrush Thinner and applied a nice, smooth coat of paint to the tank. I absolutely LOVE these paints!
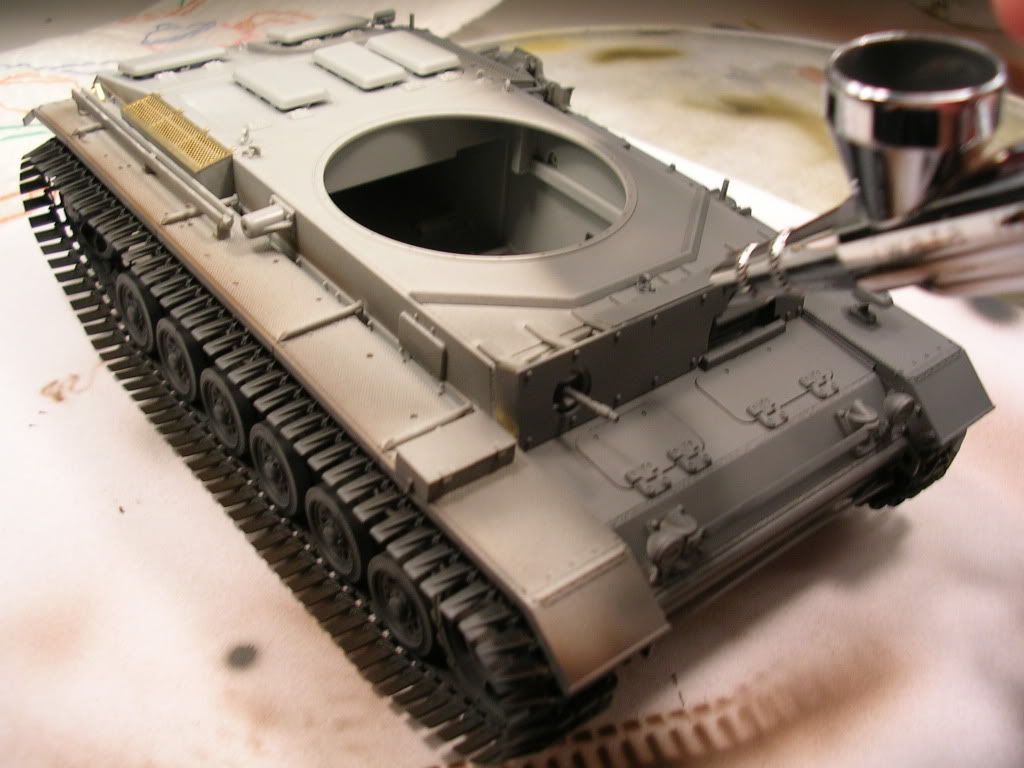
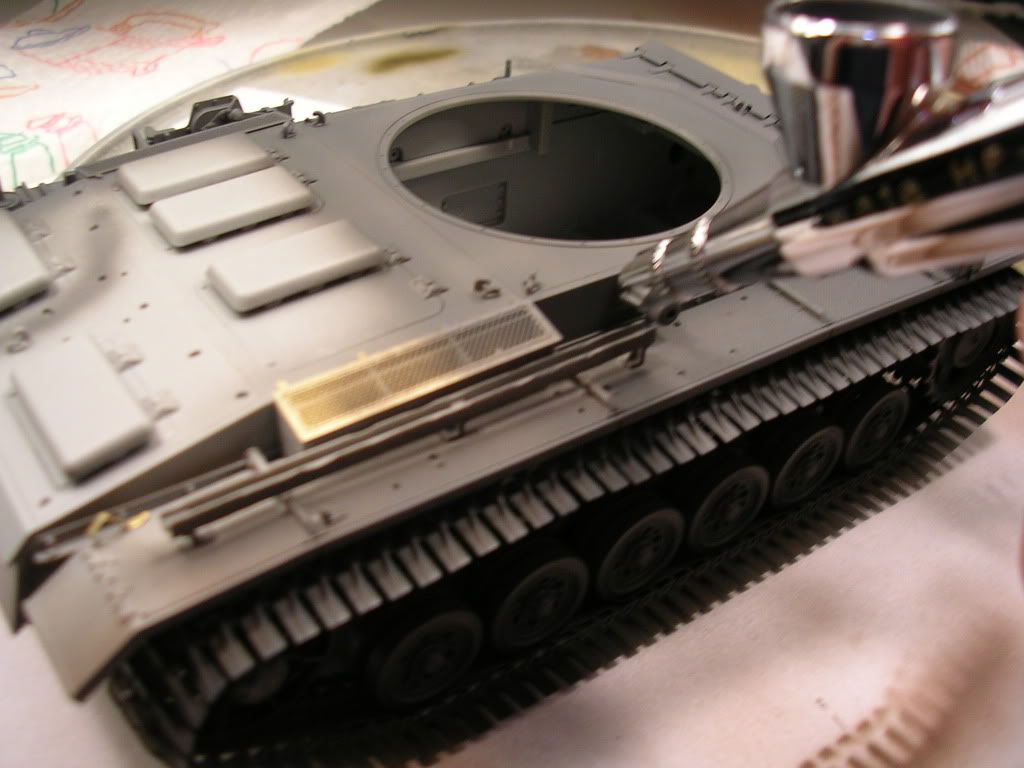
And thats it for now.  currently, i have painted the tools and wheels, and will soon apply a gloss coat of future. As always, any questions or comments are VERY welcome! have a great day guys!


(P.S. I am using an Iwata HP-B Plus airbrush with a Crown Cap, in case you were wondering :))


  • Member since
    March 2003
  • From: Rain USA, Vancouver WA
Posted by tigerman on Saturday, January 22, 2011 10:28 PM

Next to the big cats, the Pz III family is my favorite German tank.

This does look like a very nice kit. Tracks do look great. I admire your AB'ing. I don't think I could paint my tank with the tracks and wheels assembled. Perhaps one day I should look outside the box and try it.

Anyway, you're off to a great start and look forward to the completion of your build.

   http://i7.photobucket.com/albums/y269/wing_nut_5o/PANZERJAGERGB.jpg

 Eric 

  • Member since
    July 2003
  • From: On my kitchen counter top somewhere in central North Carolina.
Posted by disastermaster on Saturday, January 22, 2011 11:33 PM


I'll be a watching this winterkitten....

  Looks like a nice canvas for the work of art sure to come. I have always used an Aztec but I recently got the same iwata airbrush you have off of eBay for a steal.

I really like it.

http://i20.photobucket.com/albums/b232/gluetank/Decorated%20images/th_Smileyavatar-bettereye.jpg?t=1294093447

 https://i.imgur.com/LjRRaV1.png


  • Member since
    May 2008
  • From: Budd Lake, New Jersey
Posted by BeltFed on Sunday, January 23, 2011 7:28 AM

@Tigerman- thankyou for your compliments and interest! painting the tracks and wheels on-vehicle isnt as hard as it sounds.....maybe ill do a step-by-step in the future?

@Disastermaster- thank you very much! this will be my second attempt on a winter whitewash, so fingers crossed!


Small update for now. here is the Panzer once all the paint was applied. Kinda grainy picture, but you get the idea. Its Gray now:

And then it was time for my least favorite part of modeling armor (next to filling and sanding seams!), painting the tools. I started them off with an airbrushed coat of Vallejo Model Color Buff (which spayed just as good as the now obsolete Tamiya Paints). The tool heads were then painted with Vallejo Model Color Black Gray and the pad on the gun cleaning rod was painted Vallejo Model Air burnt umber. Then all the tool clasps were painted with German Gray. Not shown is the wood grain i added by dry-brushing/ smearing of Raw Sienna artist oil.


the tools will be coated with white too, but some careful chipping should reveal their underlying color. As always, comments and questions are welcome :)

  • Member since
    March 2003
  • From: Western North Carolina
Posted by Tojo72 on Sunday, January 23, 2011 7:30 AM

I really enjoy the MK III fine looking job on yours so far.

  • Member since
    May 2008
  • From: Budd Lake, New Jersey
Posted by BeltFed on Sunday, January 23, 2011 8:35 AM

Thanks anthony :)

  • Member since
    April 2005
  • From: Piscataway, NJ!
Posted by wing_nut on Sunday, January 23, 2011 8:52 AM

In my best Vorat voice... I Like!

Marc  

  • Member since
    April 2009
  • From: Carmel, IN
Posted by deafpanzer on Sunday, January 23, 2011 8:55 AM

I brought the same kit couple of months ago... thanks to wbill... he's such a bad influence!  Looks like he got you too!  I will be following this especially that you are doing such a great job.  I don't think I will ever have the courage to paint the tracks attached to the wheels & hull! Stick out tongue

Andy

  • Member since
    May 2008
  • From: Budd Lake, New Jersey
Posted by BeltFed on Sunday, January 23, 2011 1:12 PM

Nothing sells a kit better than seeing someone make art out of it i suppose :) thanks for the compliments, updates soon!

  • Member since
    July 2004
  • From: Texas
Posted by wbill76 on Sunday, January 23, 2011 1:26 PM

DML's Smart Kit line of Pz III vehicles are a joy to build, looking forward to seeing what you do with this one, definitely like where it's headed. Yes Yes

  • Member since
    May 2008
  • From: Budd Lake, New Jersey
Posted by BeltFed on Sunday, January 23, 2011 8:06 PM

Agree with you there Bill, and thankyou for stopping by! your build log was a very useful guide in the construction of this kit!

  • Member since
    March 2003
  • From: Rain USA, Vancouver WA
Posted by tigerman on Monday, January 24, 2011 3:56 PM

BeltFed

@Tigerman- thankyou for your compliments and interest! painting the tracks and wheels on-vehicle isnt as hard as it sounds.....maybe ill do a step-by-step in the future?

I'd like to see that. I've often wondered how it's done.

   http://i7.photobucket.com/albums/y269/wing_nut_5o/PANZERJAGERGB.jpg

 Eric 

  • Member since
    October 2009
Posted by PANZERWAFFE on Monday, January 24, 2011 7:39 PM

Looking real good so far.  I'll echo, don't know how you paint with everything built as one piece.  Nice work

Rob

JOIN OUR COMMUNITY!

Our community is FREE to join. To participate you must either login or register for an account.

SEARCH FORUMS
FREE NEWSLETTER
By signing up you may also receive reader surveys and occasional special offers. We do not sell, rent or trade our email lists. View our Privacy Policy.