SEARCH FINESCALE.COM

Enter keywords or a search phrase below:

T-62M / M-1/ M1 Afghanistan 1988

6812 views
8 replies
1 rating 2 rating 3 rating 4 rating 5 rating
  • Member since
    May 2010
  • From: texas
T-62M / M-1/ M1 Afghanistan 1988
Posted by kruppw on Friday, January 28, 2011 5:29 PM

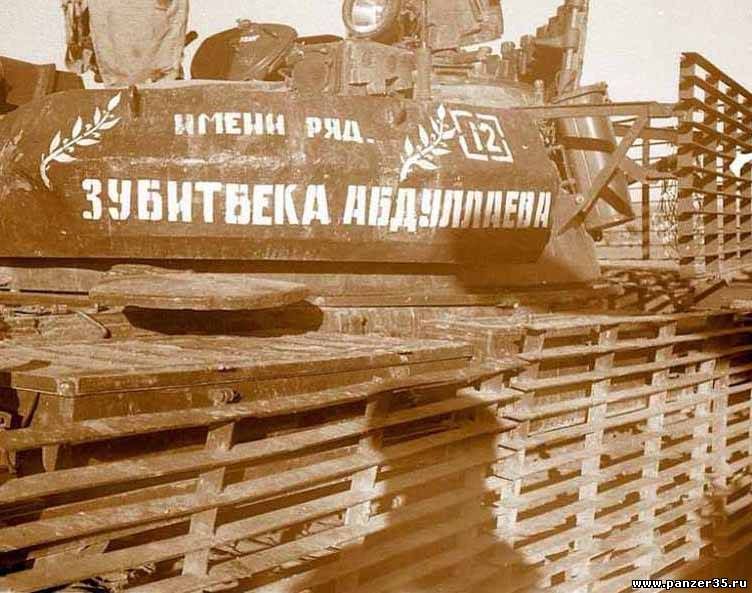
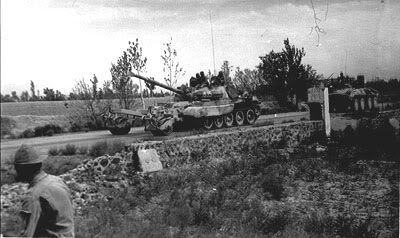
Well here is my newest project I an starting up that will be combined with several other vehicles for a diorama set in the closing years of the Russian-Afghan war. My goal is to achieve the tank seen here in the photo moving along the road with a KMT-7 mine roller.
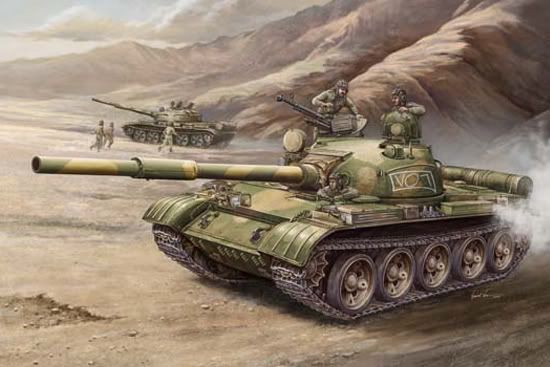
For this project I will be using Trumpeter’s T-62 Mod. 73, Mig’s T-62M1, and KMT-7 mine roller.
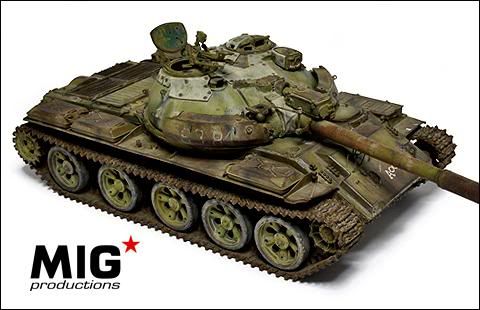
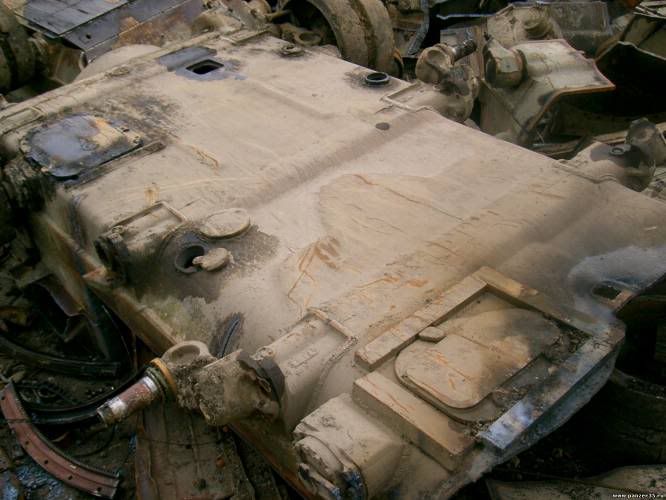
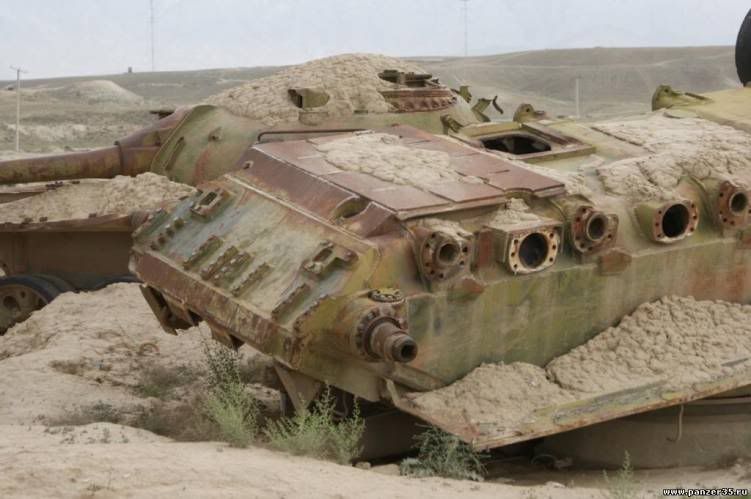
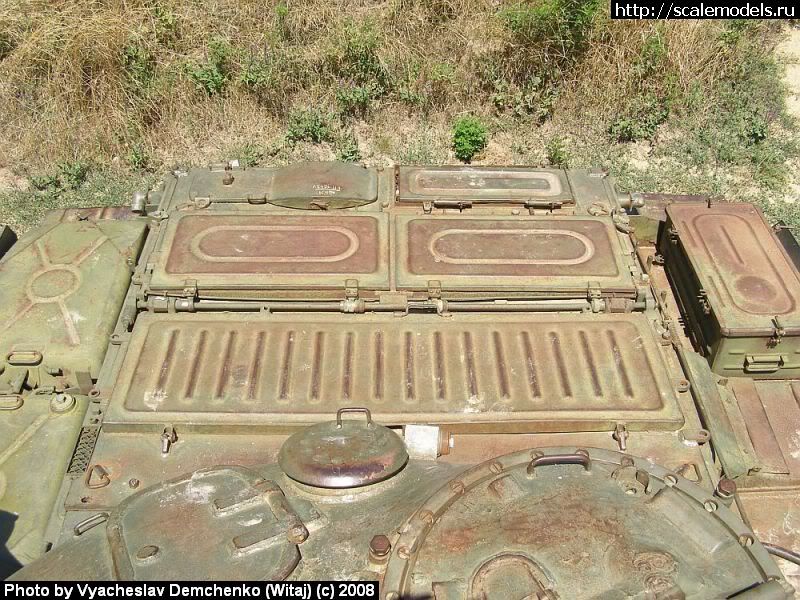
Now there has been a lot of talk on different website that Mig has miss labeled the kit as a M1 instead of M. Mostly stems around the engine deck not being correct in the picture on the box as it displays a standard M and not an M1. With all the research I have done so far, I have not been able to find solid facts to say what the M1 deck is suppose to look like. The T-62M was fitted with V-55U engine, while the M-1 had the V-46-5M installed which supposedly had a different deck. Here are just some examples of the M engine decks.
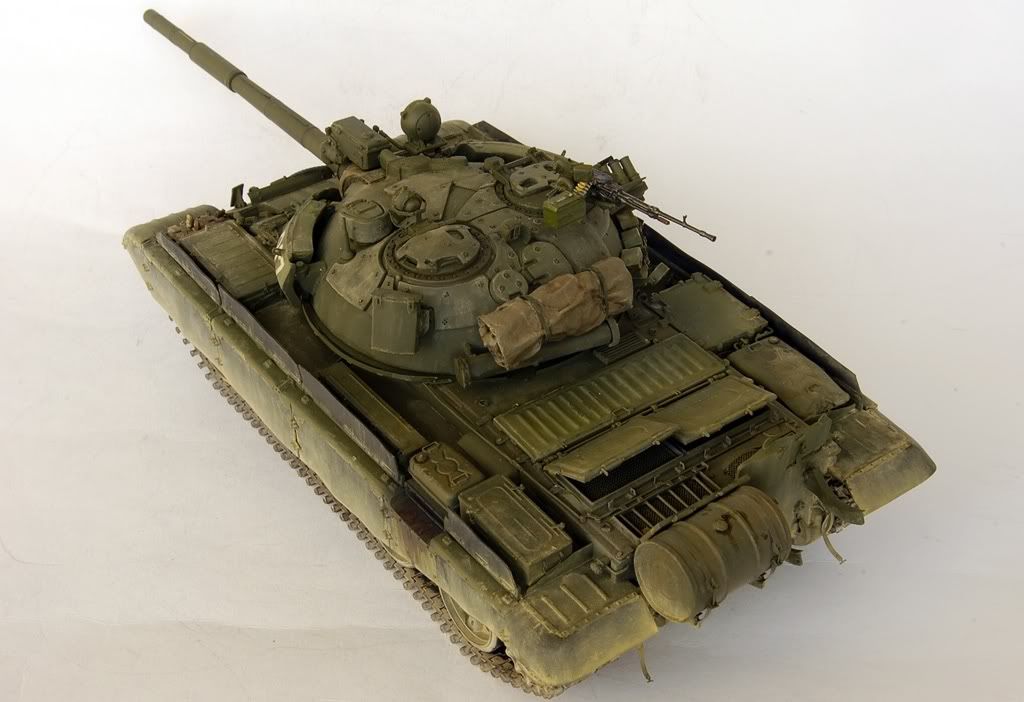
The real problem for me is the turret supplied in Mig’s kit is completely unusable for me. The turret has too much shrinkage in it to be of any use for the construction. Which is too bad since it had some nice details on it.
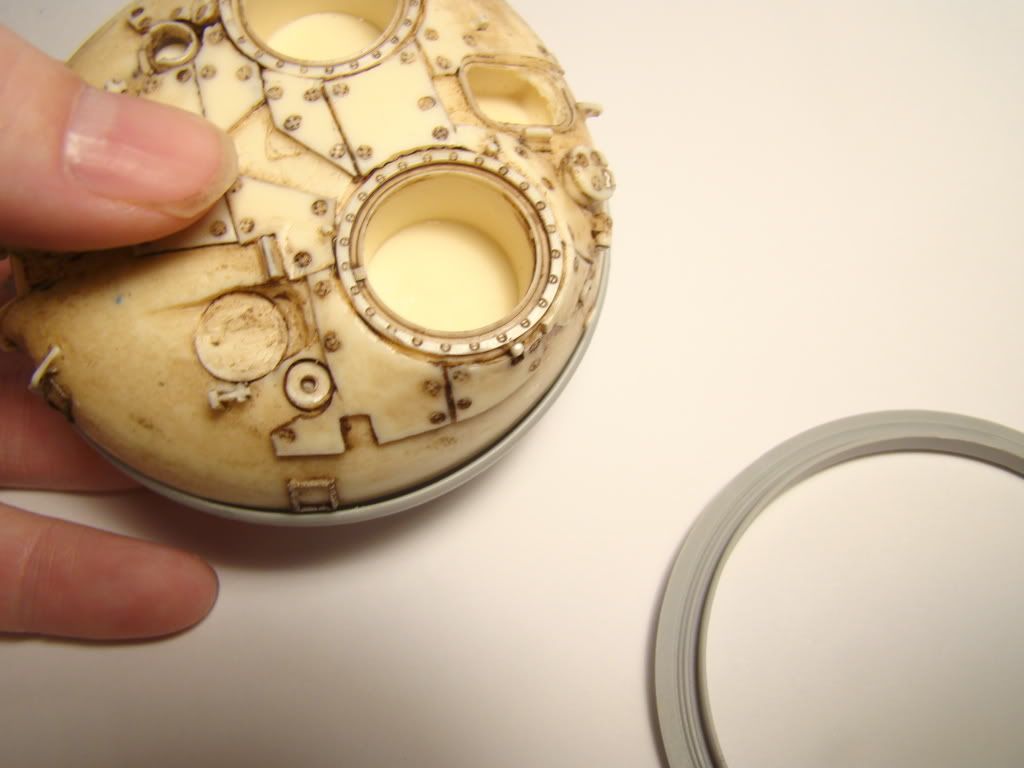
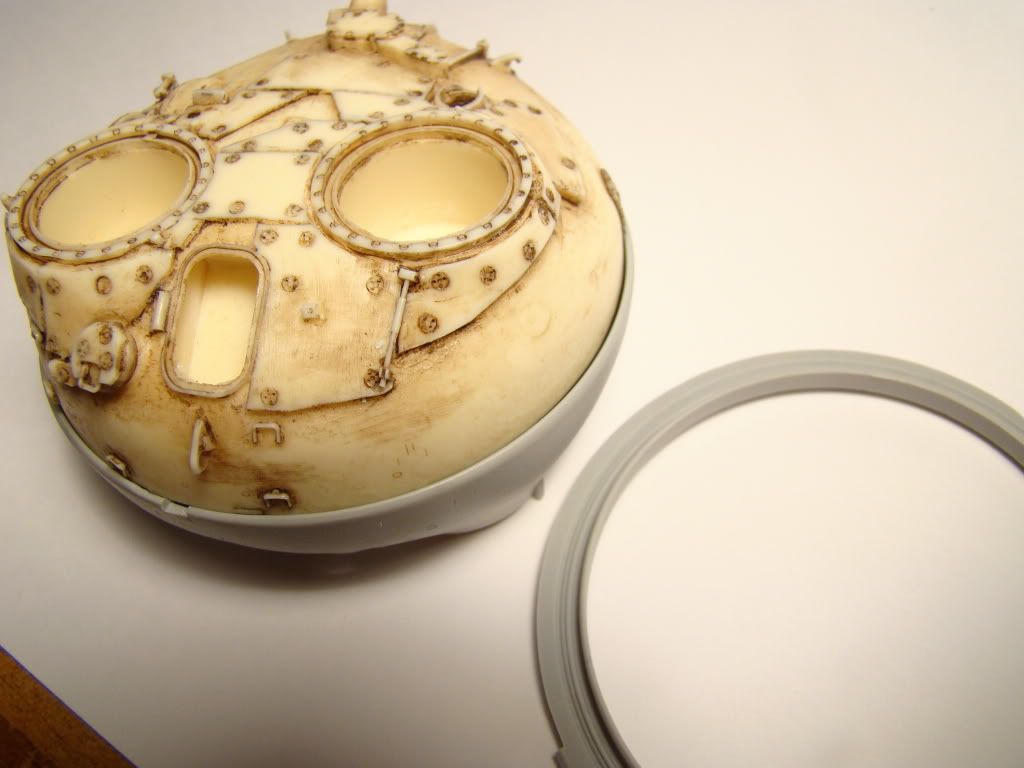
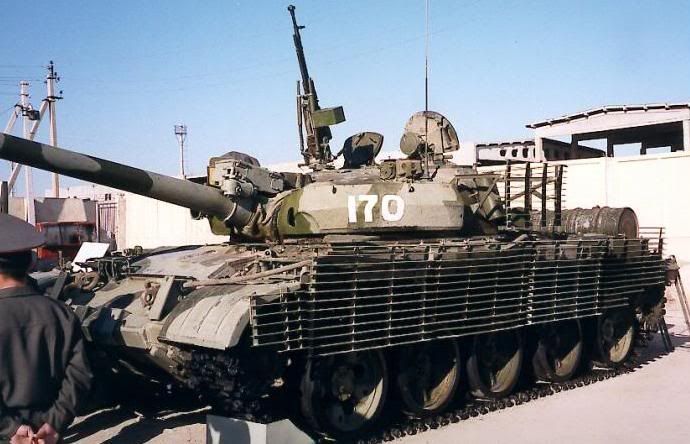
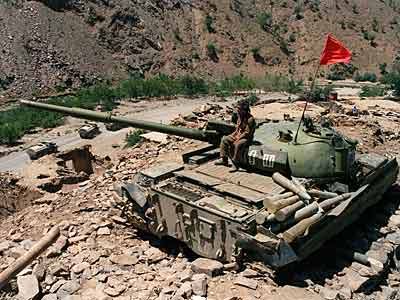
So now I will be using it as a template for my construction. I’m still debating as to which version of turret to build since within the M family there are many different configurations that could be made. I’m not going with the anti-radiation gladding and going for more common turrets.. I’m either going with the standard TPN-1-41-11 gunner’s sight supplied in trump’s kit, or go with the 1K13 sight/fire control system supplied in the Mig kit. Here just a few examples of possibilities.
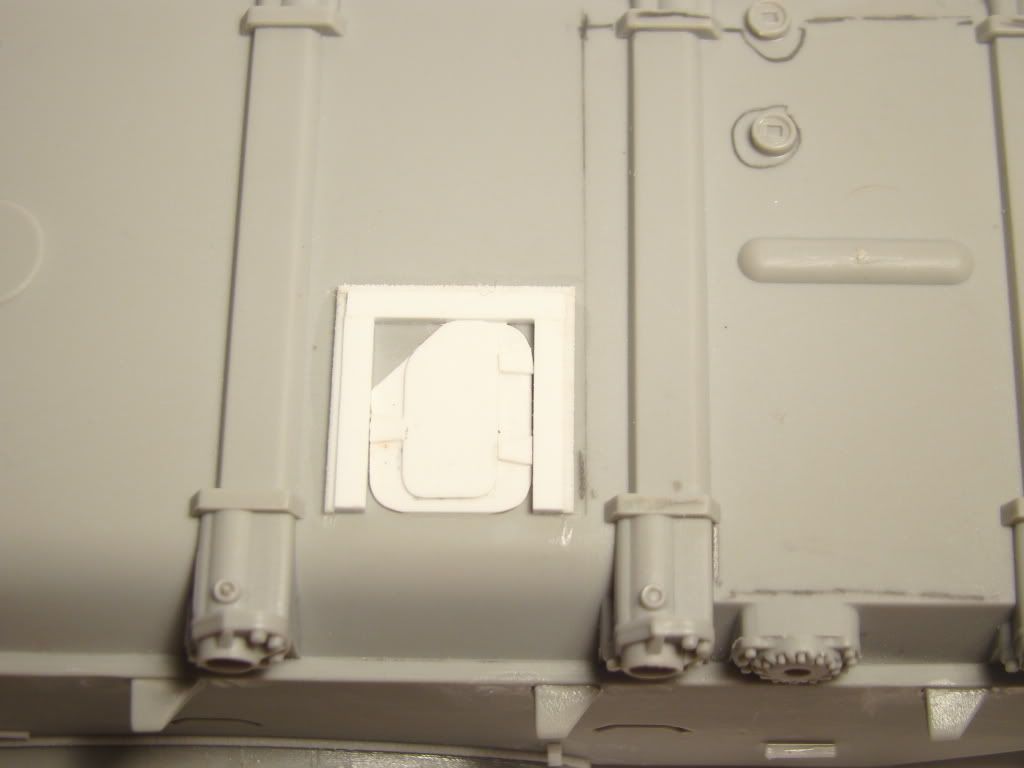
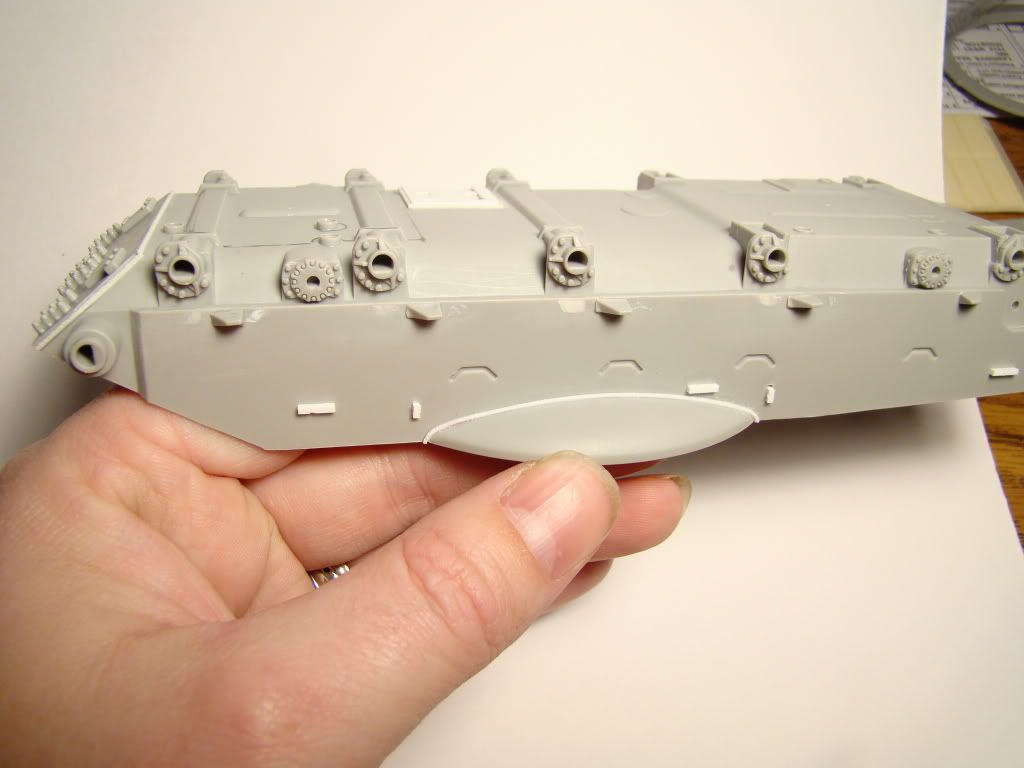
I’ve started construction on the lower hull and first thing I did was to move the pesky wheel bump stops for the road wheels. Easy fit, just cut and move slightly over more. I also replaced all the missing weld seams and filled in location holes on the side of the hull (still needs to be sanded down). I also corrected the crew escape hatch on the bottom of the hull. One thing that I plan to improve on is the belly armor, the hole for the front drain plug does not line up the armor plate. Also the armor panel need to be widen just a bit more. But this will more a little bit later since I need order more plastic stock. Another thing to address is, if you plan to build any of the M’s, you need to add a second shock absorber to the number 2 road wheel. This not necessary since the road wheel will hide the part missing, but since I’m adding this much detail I will add.
Hopefully I will have more posted soon, I’m still casting parts from my first T-62 I built.

  • Member since
    March 2010
Posted by shoot&scoot on Friday, January 28, 2011 6:54 PM

Wow, quite the ambitious build!  Looks like you've really done your homework and the ref. pics are excellent finds.  Can't wait to see it progress.

                                                                                                Pat.

  • Member since
    July 2004
  • From: Texas
Posted by wbill76 on Saturday, January 29, 2011 12:08 PM

Ought to be a fun project, sounds like you've got your work cut out for you. Looking forward to more! Yes

  • Member since
    May 2010
  • From: texas
Posted by kruppw on Sunday, January 30, 2011 7:53 PM

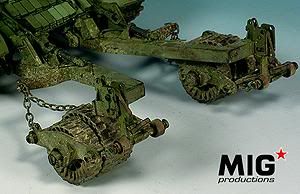
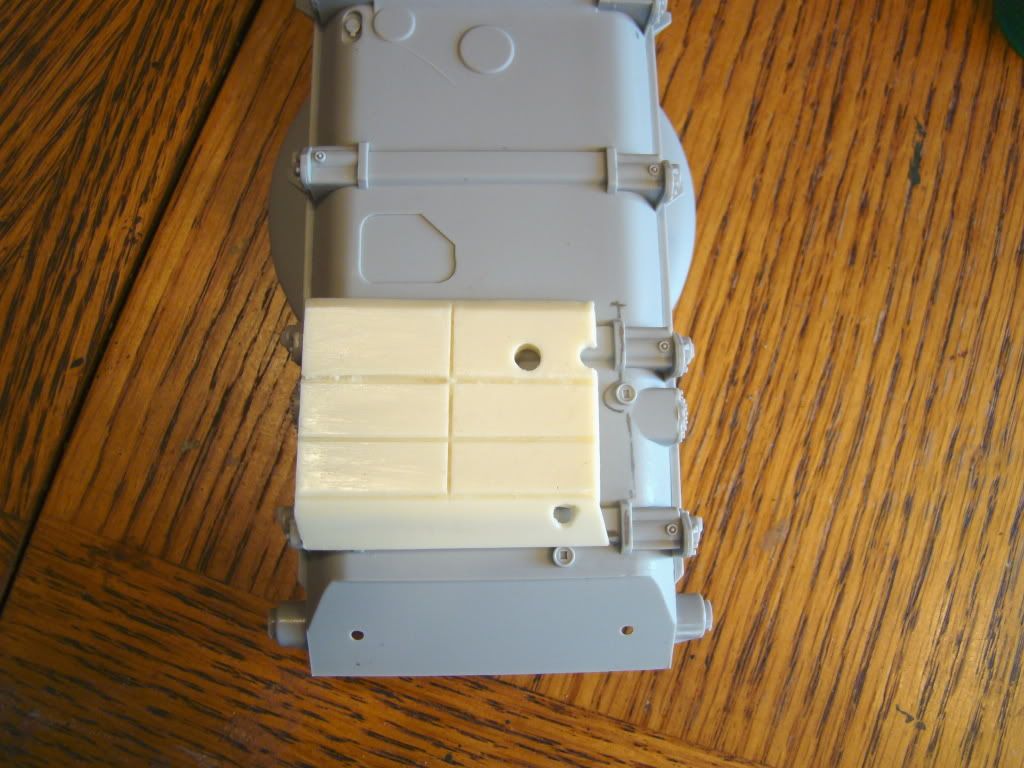
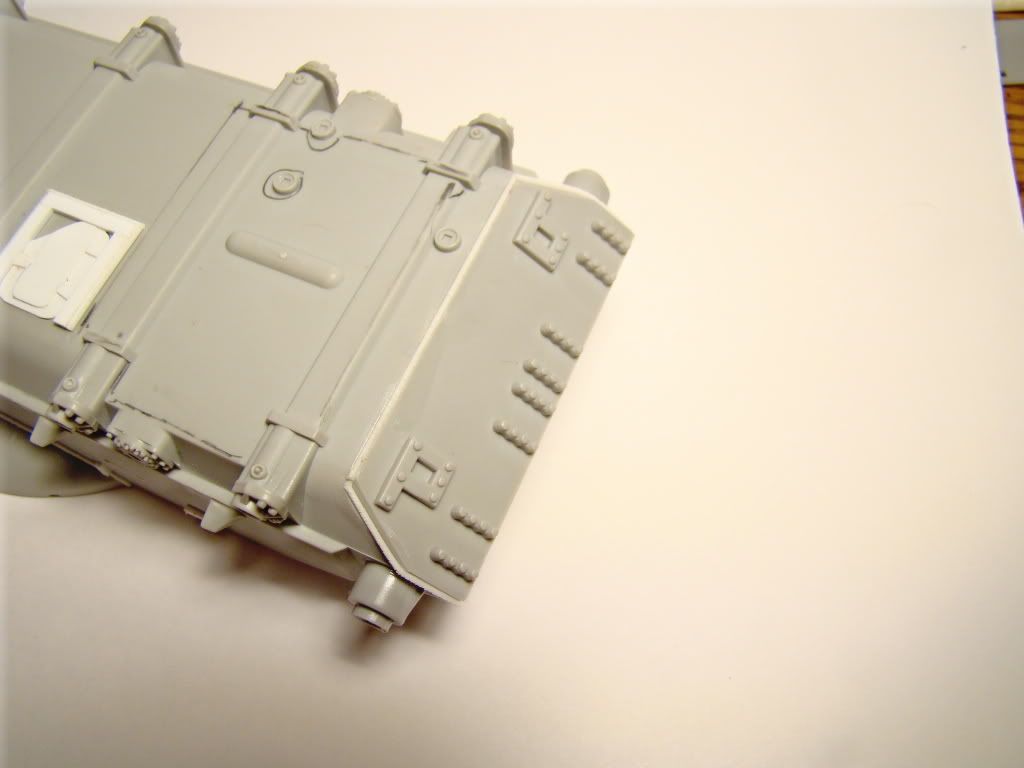
Well here is just a small update on the construction so far. The rear lower hull plate is completed with all new details. All the missing weld seems have been added with stretch sprue and a soldering iron. I opted not to have the fuel drums mounted, instead I made new mounting brackets for the drum supports. The spare tracks came from fruilmodel with the retaining brackets made from strip and rod. New position light mounts and electrical conduits replaced the kit parts. The ditching beam straps are workable to allow me to add a piece of timber later during the painting process. Last the final drive housing has be detailed with a fill port cap, lock wire stop, and some sort of guard.

I moved my attention to the rear part of the engine deck to test fit parts and work out details missing. The photo etch screen supplied in the kit have a slight gap and needed to be filled with plastic strips

  • Member since
    March 2003
  • From: Rain USA, Vancouver WA
Posted by tigerman on Monday, January 31, 2011 12:20 AM

Nice to see something a little different, and this is at that. It looks like your staying on top of this guy with all those great references. Keep up the great detailing.

   http://i7.photobucket.com/albums/y269/wing_nut_5o/PANZERJAGERGB.jpg

 Eric 

  • Member since
    October 2010
  • From: Staten Island
Posted by BigDaddyBluesman on Monday, January 31, 2011 9:14 AM

Great detail work and references. Too bad about the turret, man that has some great detail. Can you use some putty or green stuff to flair out the side of the turret to make it fit? The top looks OK, or is that also out of scale?

Use some putty and sand and shape it. Then add the details on the side it lost. Is that possible or just not doable? Maybe not putty, I have read about green stuff and have started using kneadatite which I like they also make the green stuff. I have been using some Miliput which I am not crazy about.

I have noticed that so many models, figures, conversion kits and parts are out of scale. Everything seems to fall somewhere between 1/32 and 1/40. A little shrinkage I guess and it goes from 1/35 to 1/38 very easily. I have some figures with heads that are 1/32 on 1/35 bodies, they look HUGE....LMAO. I had to use heads from other kits or add ons/conversions. They look OK if by themselves but add them to other figures in a diorama and it looks weird, not in a good way.

  • Member since
    May 2010
  • From: texas
Posted by kruppw on Monday, January 31, 2011 9:52 AM

Thanks guys for your great coments. The T-62 is by far my absolute favorite tank, one of the most under appreciated and most miss identified tank in the soviet arsenal thanks to nato intel. I do have my work cut out for me, but this is favorite part of the build.

Unfortunate, the whole turret has shrinkage in it. The TC and loaders hatch, along with the mantel with dust cover don't fit at all. I could shave down the mantel some to allow the parts to fit, but the hatchs have no way around fixing them. I still will use the turret for a later project of a stripped down tank somewhere in Chechnya or Russia so it won't be a total loss.

  • Member since
    May 2010
  • From: texas
Posted by kruppw on Monday, January 31, 2011 9:58 AM

Thanks guys for the great comments. The T-62 is by far my absolute favorite tank, one of the most under appreciated and most miss Identified tank in the soviet arsenal. Yes I have my work cut out for me, but this is my favorite part of the build.

The whole turret has shrinkage in it. The TC and loaders hatch along with the mantel do not not fit at all. I could shave down the mantel some to allow it to fit, but the hatchs have no way around them to fix the problem. I even tried the parts in trumpy's kit, but the do not fit either and match the same size as the mig parts. In fact the only thing that has shrunk is the turret. But the turret will no be a total lose, I plan to use it in a later project of a strip down tank somewhere in Chechnya or Russia.

  • Member since
    March 2010
  • From: Democratic Peoples Republic of Illinois
Posted by Hercmech on Monday, January 31, 2011 10:07 AM

This is one interesting build you are planning. I really like the look of the spare link on the back. It looks just like real metal to me. As hard as I try I just can't seem to get plastic to look like metal. Great job!


13151015

JOIN OUR COMMUNITY!

Our community is FREE to join. To participate you must either login or register for an account.

SEARCH FORUMS
FREE NEWSLETTER
By signing up you may also receive reader surveys and occasional special offers. We do not sell, rent or trade our email lists. View our Privacy Policy.