This tank is my first build and I am new to modeling.  Here's some pics on my tank.
Wait, how do you post pictures?
[View:/themes/fsm/utility/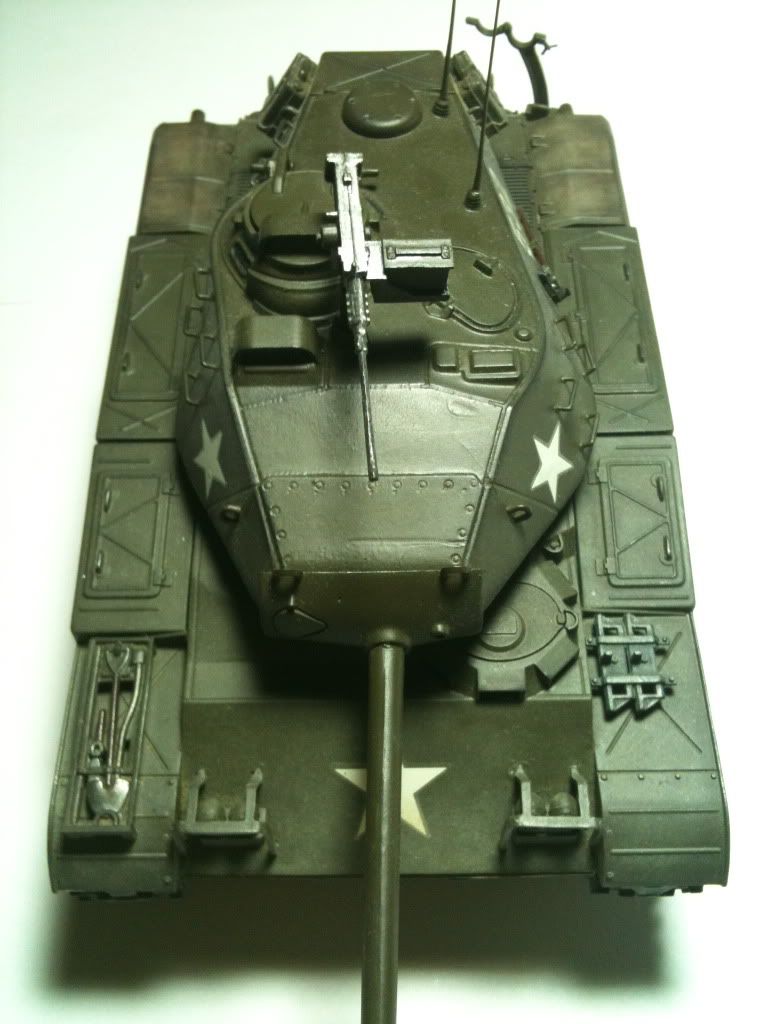
[View:/themes/fsm/utility/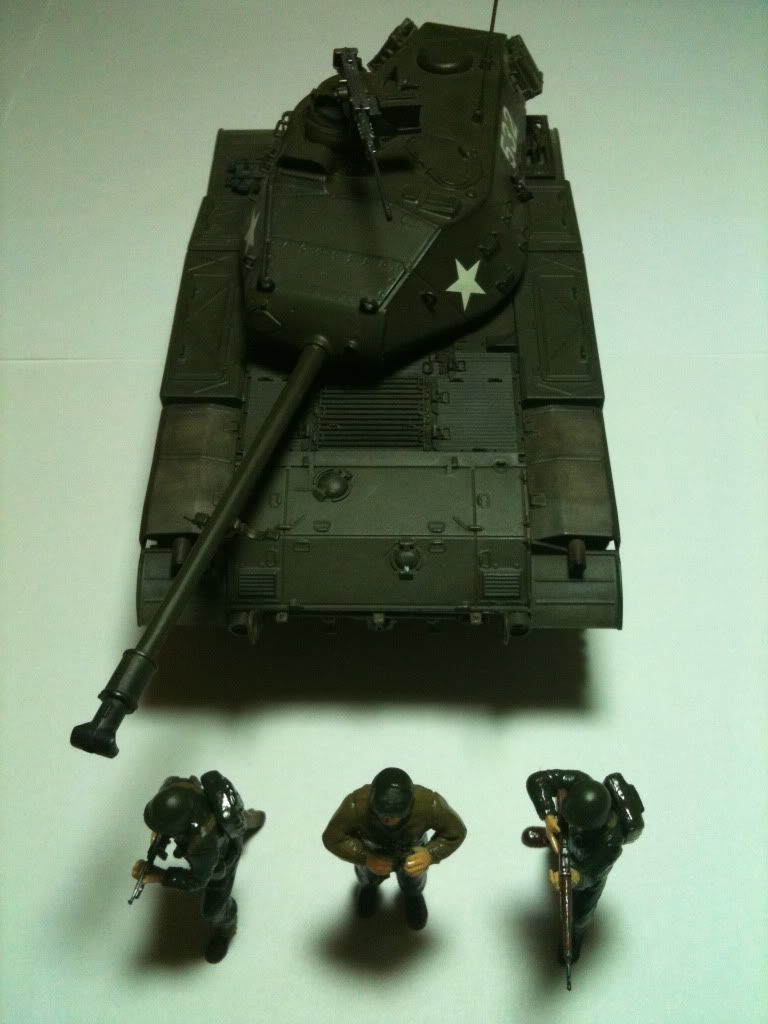 :550:0]
[View:/themes/fsm/utility/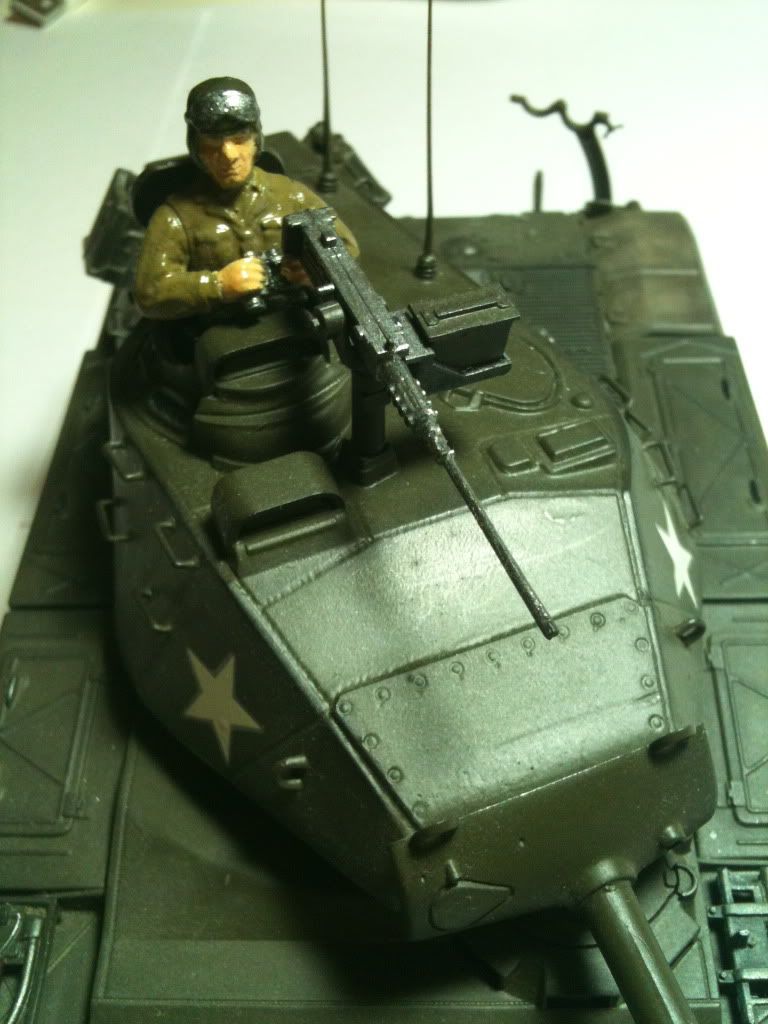 :550:0]
[View:/themes/fsm/utility/ :550:0]
[View:/themes/fsm/utility/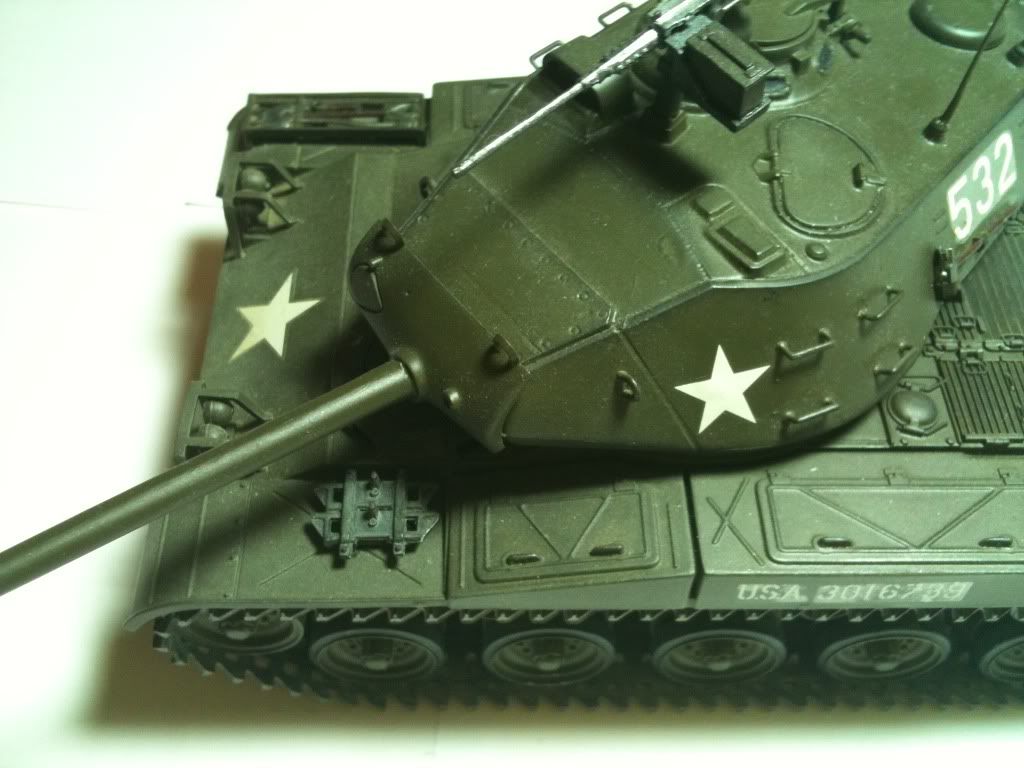 :550:0]
[View:/themes/fsm/utility/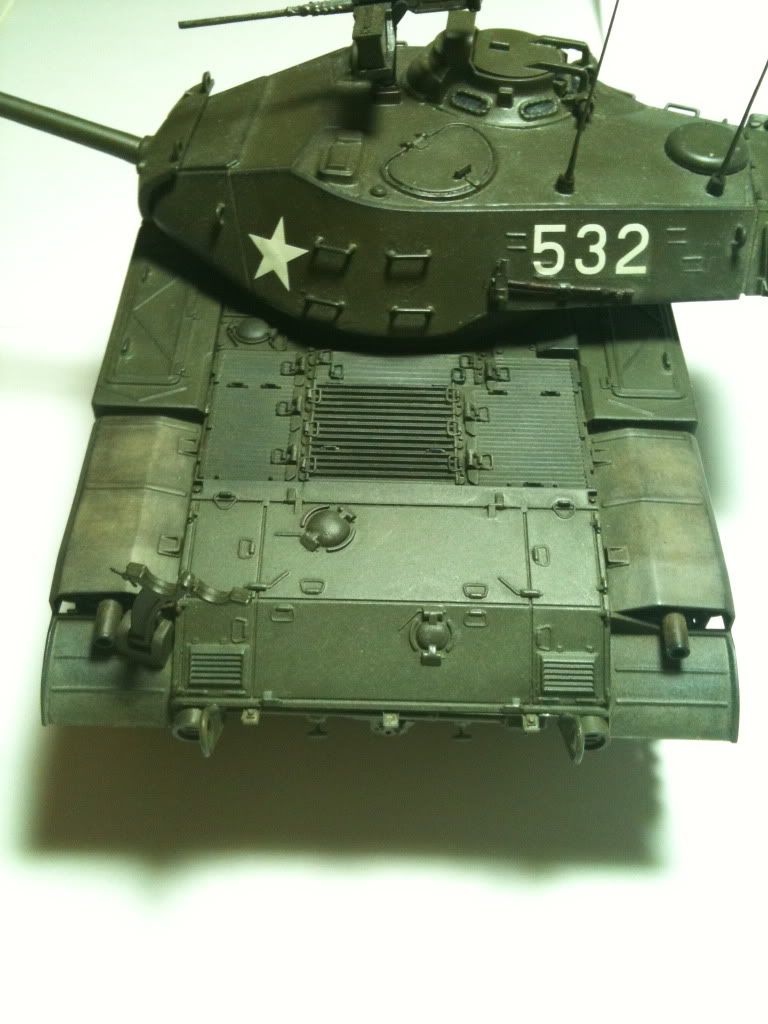 :550:0]
[View:/themes/fsm/utility/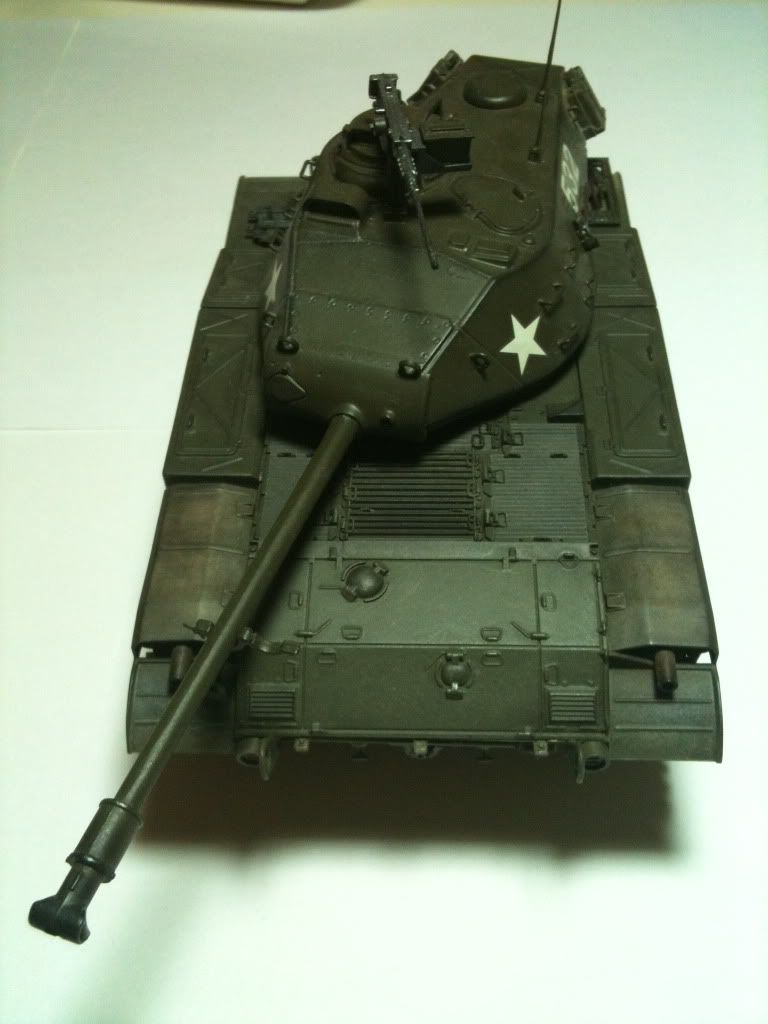 :550:0]
[View:/themes/fsm/utility/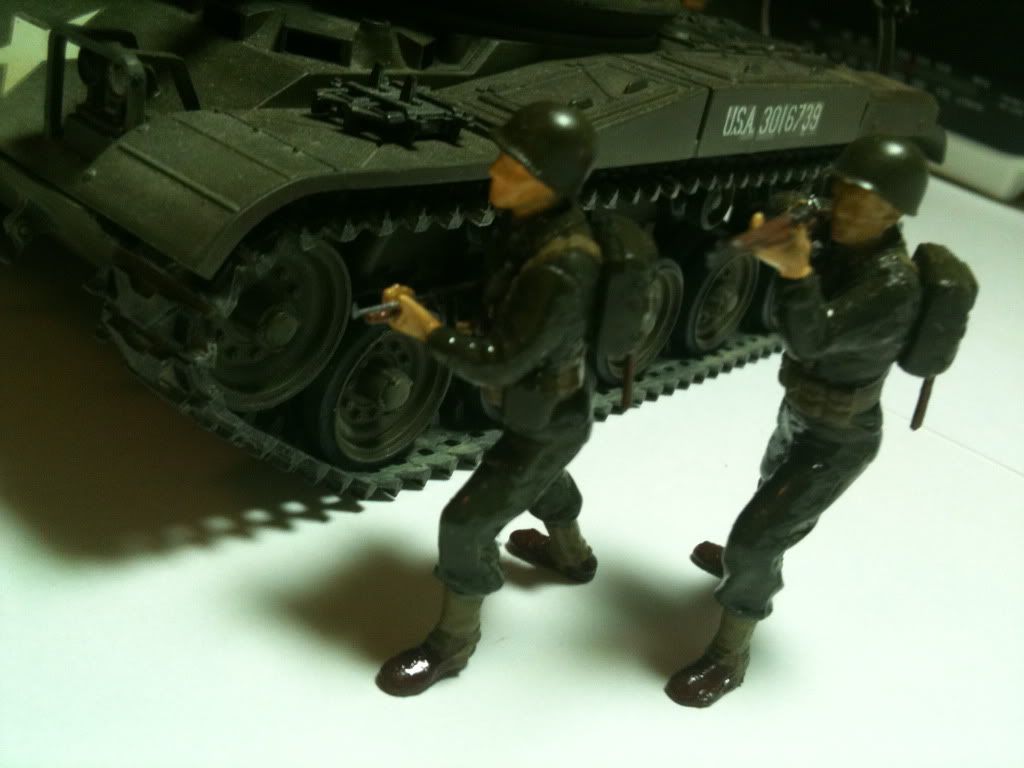 :550:0]
[View:/themes/fsm/utility/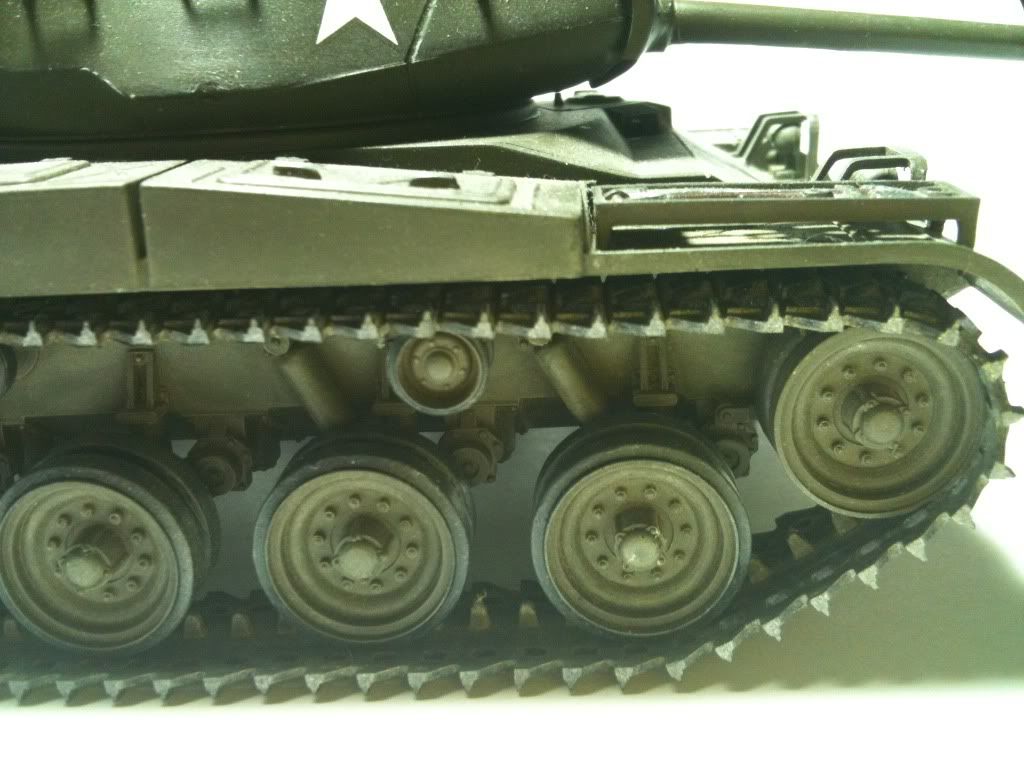 :550:0]
[View:/themes/fsm/utility/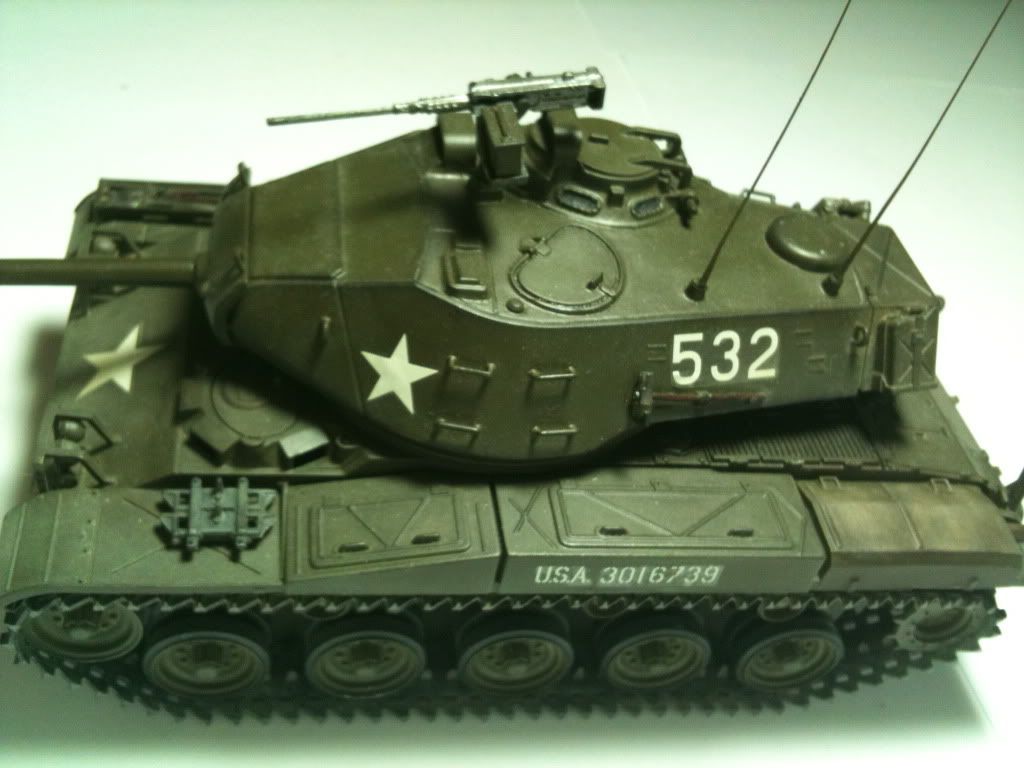 :550:0]
[View:/themes/fsm/utility/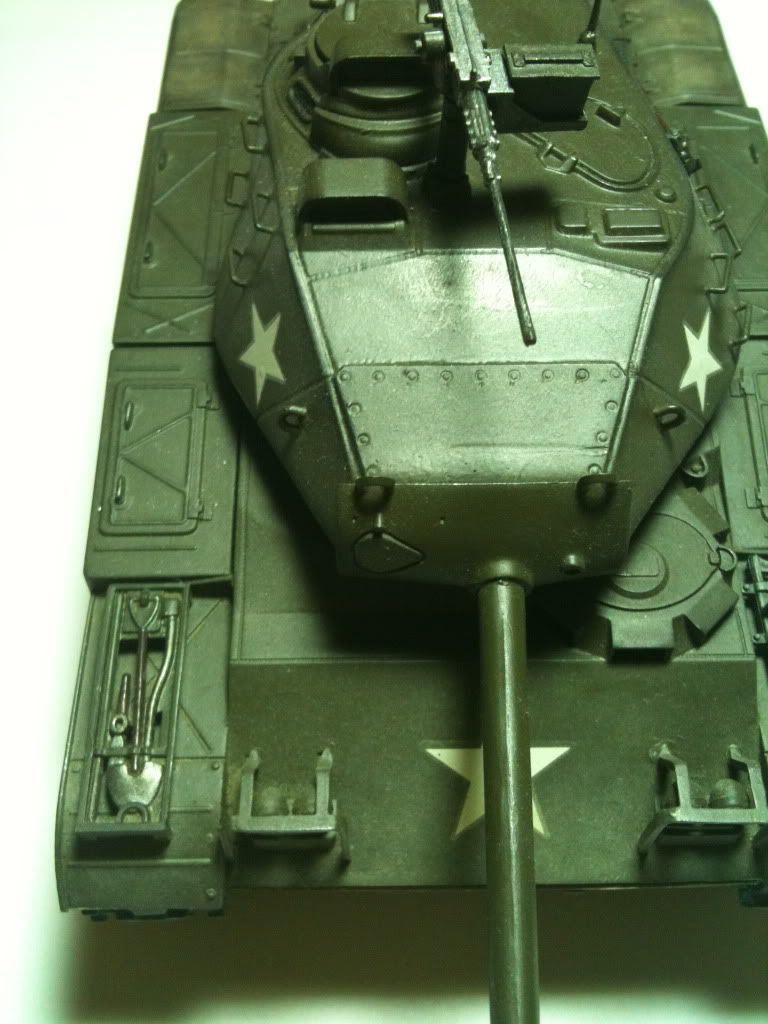 :550:0]
Please post any comments and give me a head up of what I still have to work on. :)