Hi Guys with the jumbo out of the way I have started on my next project. Continuing with this summer's Sherman theme my next project will be a M4A3(105). For this build I mostly have all of the details parts and molds on hand, which will save a lot of time. I will need to fabricate the tank's 105mm gun and mantlet, as well as the other 105mm fittings.
For the base kit I will be using this old rotomold JD M4A3 that I acquired in a trade.
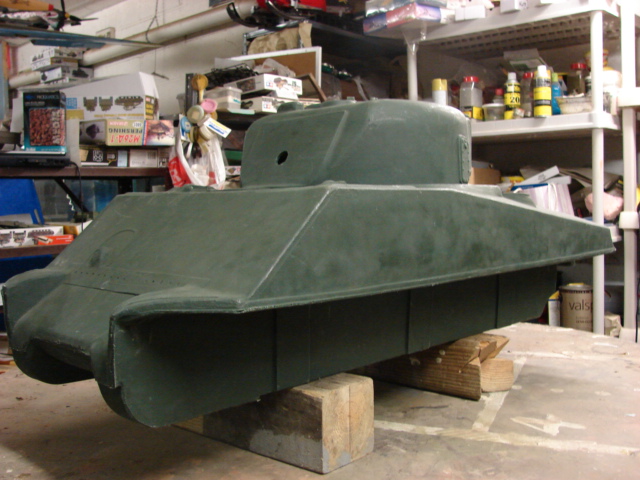
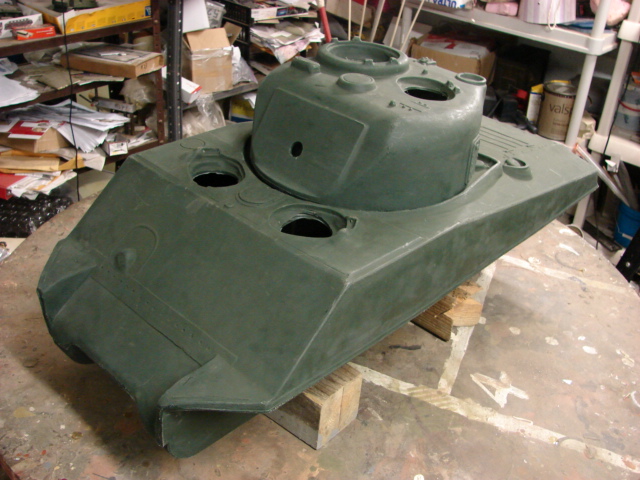
For those who are unaware of the kit, these kits were offered by the action figure collector James Desommine back in early 2004. The kit is made entirely out of rotomolded plastic.

These kits first came with a solid set of VVSS suspension, rubber length tracks, and two sprockets and roller wheels. The details that came on these parts were very poorly detailed and all needed to be replaced.
On the hull itself most of the hull fittings and details were molded onto the bottom portion of the tank's hull panel. This panel would be removed leaving a large hole on the tank's bottom resembling the Flintstones mobile.

On the tank's sides there would be three slots molded in that would indicate where to mount the suspension. and on the tank's rear plate two large plastic blocks were molded in to the wall that would be to affix the idler mount shafts.
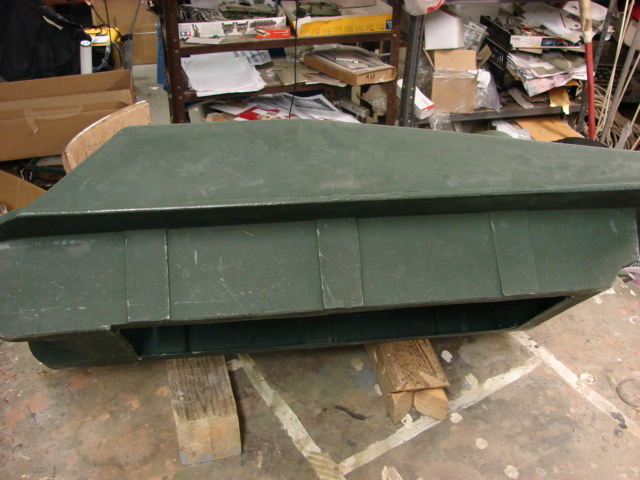
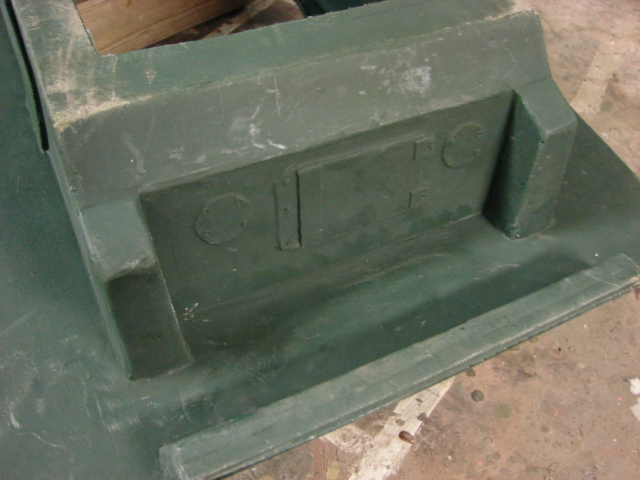
The rest of the tank's details were very basic, which will all be removed and replaced. once the build begins


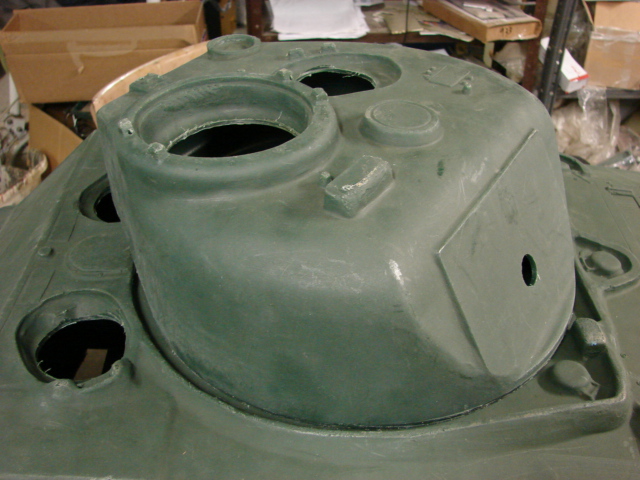
Back when these kits were released almost all of the detail components that are currently on the market didn't exist. So these kits became unpopular.
One of these Sherman kits was my first rotomold vehicle kit,
http://eastcoastarmory.com/forumPic/Mvc-058s.jpg
http://eastcoastarmory.com/forumPic/MVC-028S.JPG
http://eastcoastarmory.com/forumPic/MVC-013S.JPG
and after building one I saw the potential that they have to offer. I always found these kits to be very workable and adaptable. The hull of my last M4A3E2 Jumbo build started as one of these hulls
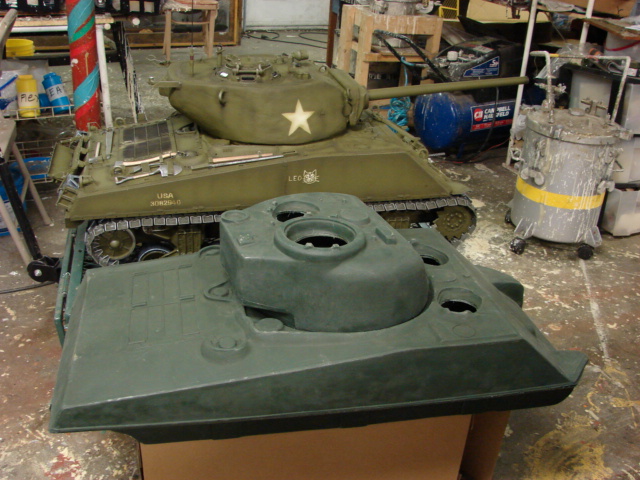

Today Plastic Panzers offers a reworked version of this kit.
To first start this model I had to first remove all of the molded in details as I mentioned above.
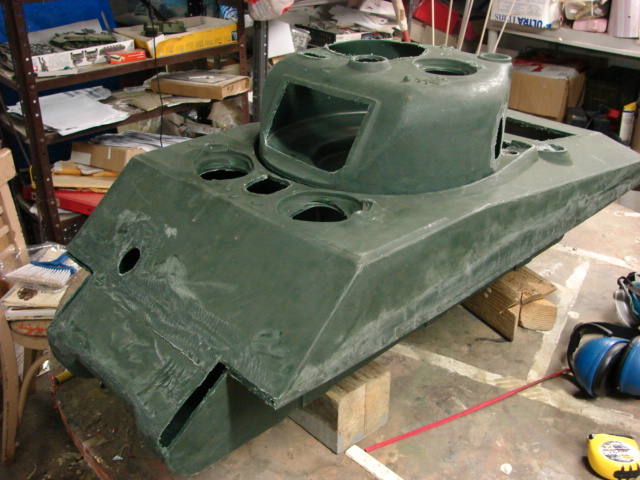
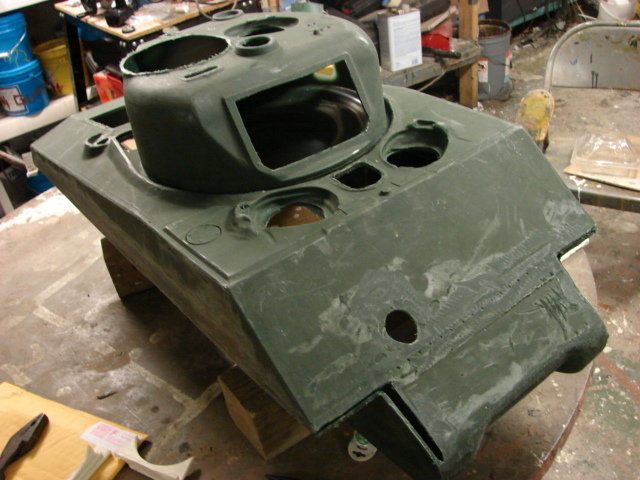
Like on the jumbo the kit's molded in grills were removed and will be reworked and made to be functional. They will be reattached later in the build. The fuel caps will also be functional so the molded in versions were removed as well.
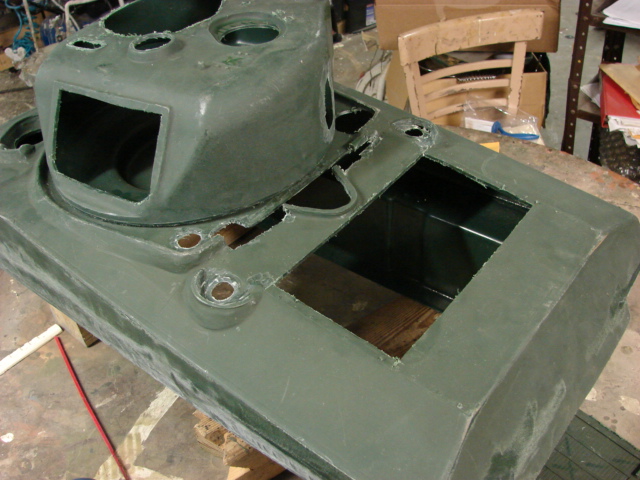

The entire rear wall panel was removed and will be replaced.

On the tank's turret the molded in split copula was removed and one of my late war copulas will be added later in the build.

After the hull was gutted I began to replate the missing portions of the hull. To do this I use 1/4 inch thick plywood. After the plywood is added the wood panels are soaked in fiberglass resin which removes the wood grain, makes them stronger and weather proof., After this step the wood becomes like plastic.

Before I replace the floor board the lower hull has bulk head strips added. These strips help to give the hull more structure, these strips also received the fiberglass treatment. All panels are mounted to the hull via counter sunk bolts, which will vanish after the body work is complete. The added ¼ inch to the lower hull will also give the tank a better fit with the functional suspension when added.
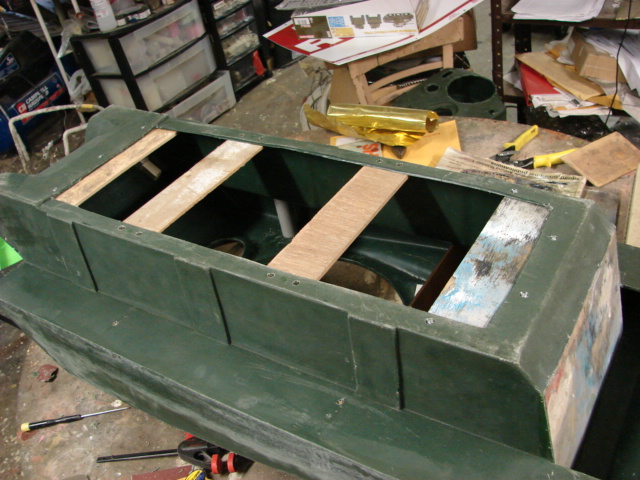

The rear plate is now a clean plate and will be an easy base to add the details.
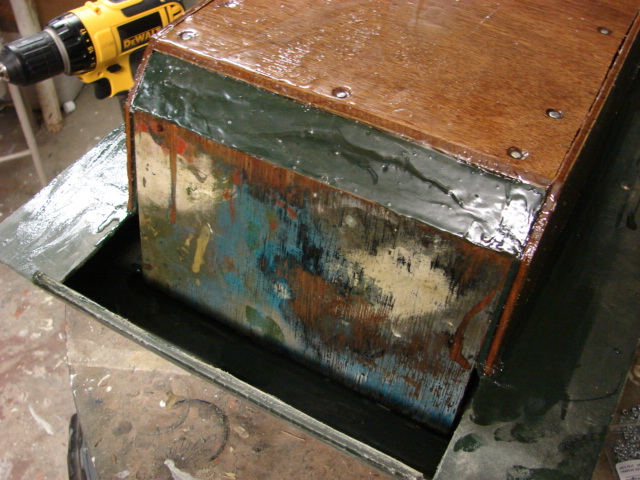
The three molded in side strips were removed and the entire lower hull was plated over up to the transmission cover. I did this to not only cover up the gaps left behind from the strips but to also give the transmission cover the proper indent that it requires.
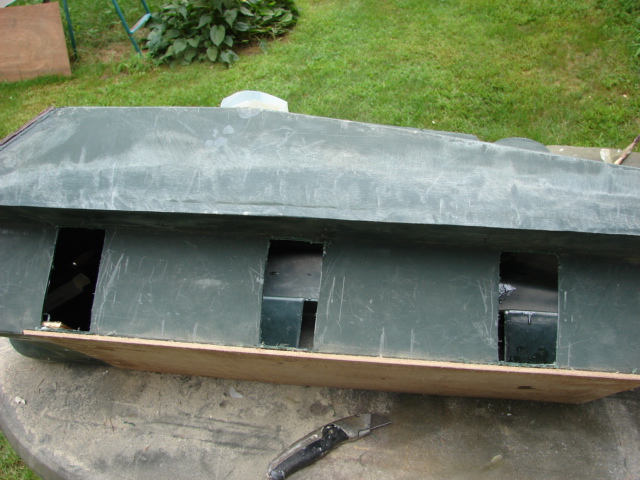
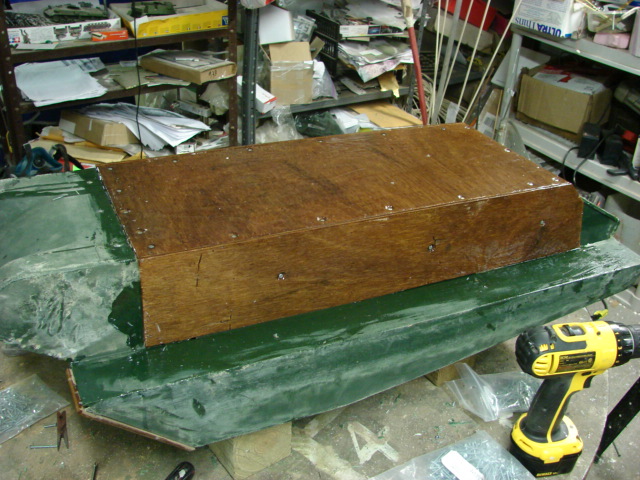
The tank's front armored plate was also plated over for the tank's transmission cover recess.

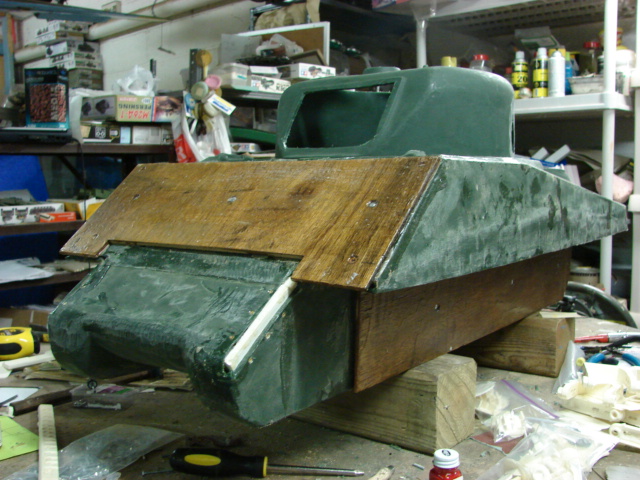
Once the weather clears up I can sand down the panels and perform the body work on the rear deck and the transmission cover.
A project start video was also posted on youtube, http://youtu.be/Fe6wNn0--eA
More to follow