SEARCH FINESCALE.COM

Enter keywords or a search phrase below:

my sherman build

4406 views
22 replies
1 rating 2 rating 3 rating 4 rating 5 rating
  • Member since
    December 2004
  • From: ohio
Posted by vonryan on Tuesday, July 24, 2012 10:14 PM

I HATE THIS NEW WAY TO POST PICTURE'S "UGH" used img/ then Direct still this crap where's my pic's???

Clay

  • Member since
    July 2010
  • From: Tornado Alley
Posted by Echo139er on Tuesday, July 24, 2012 10:20 PM

There ya go bud. Posting pictures is the same as it used to be. You just need to click "Use rich formatting" and then you will see the screen with the insert image option like before.

Good job by the way

  • Member since
    December 2004
  • From: ohio
Posted by vonryan on Wednesday, July 25, 2012 7:36 PM

thank you sssoooooo much Echo

Clay

  • Member since
    March 2003
  • From: Western North Carolina
Posted by Tojo72 on Wednesday, July 25, 2012 8:03 PM

coming along nice,lots of detail there.

  • Member since
    July 2006
  • From: San Francisco Bay Area
Posted by bufflehead on Wednesday, July 25, 2012 11:02 PM

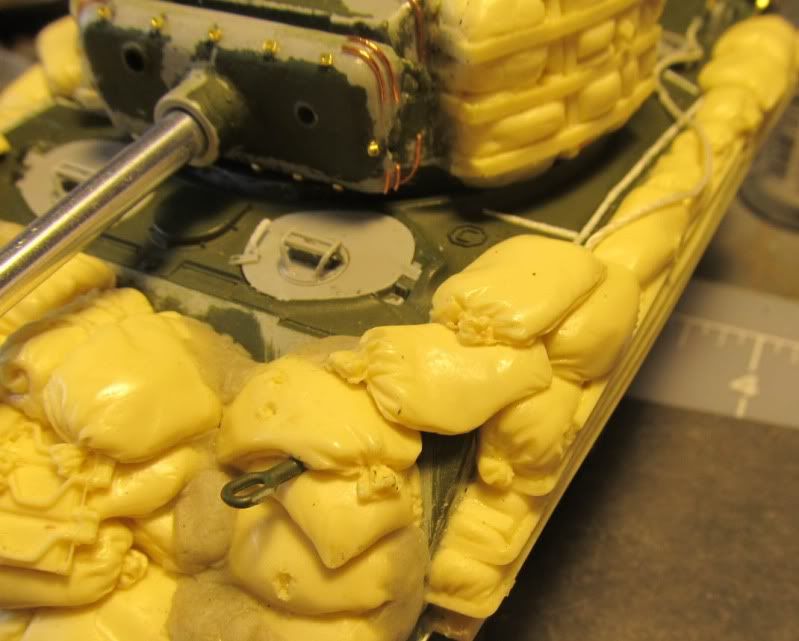
Wow!  That's a lot of sandbags!!  Luv the detail Clay!

Ernest

Last Armor Build - 1/35 Dragon M-26A1, 1/35 Emhar Mk.IV Female


Last Aircraft Builds - Hobby Boss 1/72 F4F Wildcat & FW-190A8


  • Member since
    November 2009
  • From: SW Virginia
Posted by Gamera on Thursday, July 26, 2012 10:03 AM

Yeah nice work, she's going to look cool with the OD tank and the tan sandbags.

"I dream in fire but work in clay." -Arthur Machen


  • Member since
    July 2004
  • From: Texas
Posted by wbill76 on Thursday, July 26, 2012 4:46 PM

Looking good Clay, nice work on all the details and add-ons. Yes

  • Member since
    December 2004
  • From: ohio
Posted by vonryan on Friday, July 27, 2012 1:20 PM

thanks Tojo72, bufflehead,Gamera,& wbill76. now times are hard and i need to use the DML tracks ugh anyway on another sherman build i used them but i had to remove two peaces of track from the band. do you have to do this with all the DML tracks?? and is there a better way of painting them other then connecting them and painting them then putting them back on? the fear of this is a brake on the glued  band and the thing. not being able to glue it back together. any ideas

Clay

  • Member since
    March 2006
  • From: Right Side of a Left State
Posted by Shellback on Friday, July 27, 2012 5:29 PM

IMO , the best way of doing tracks is to assemble , paint them and then put them back on the tank . Leave the drive sprocket off of the axle and engage it in the the tracks at the drive sprocket location and then slide it and the tracks on .

  • Member since
    December 2004
  • From: ohio
Posted by vonryan on Friday, July 27, 2012 6:27 PM

dang good idea Shellback. guess my heads been up my butt for this problem:)

Clay

  • Member since
    July 2006
  • From: New Jersey
Posted by redleg12 on Saturday, July 28, 2012 5:51 AM

I have cut and glued banded track in the past. I tried to put the seam under a road wheel and glued it to the road wheel also. Where you have to be careful is US track is tight so make sure everything is good and dry before you put tension on it.

Rounds Complete!!

"The Moral High Ground....A Great Place to Emplace Artillery."

  • Member since
    December 2004
  • From: ohio
Posted by vonryan on Thursday, August 2, 2012 4:50 PM

thanks Mike i need that idea just to keep everything tight you can't have sag on U.S. tanks 

no idea what i'm doing with these pictures so here i go again hope it works.

here's my update

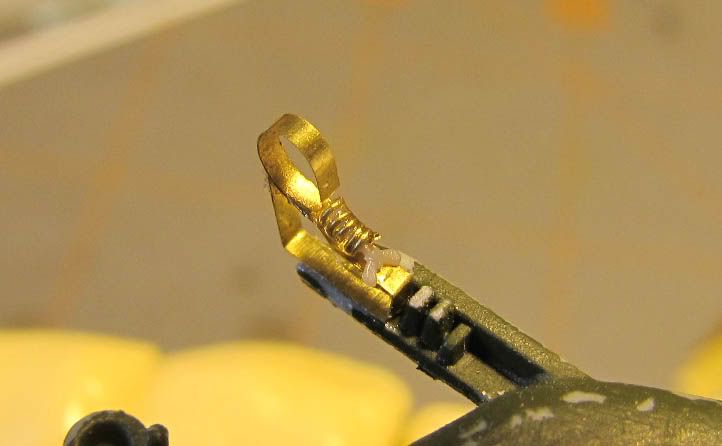
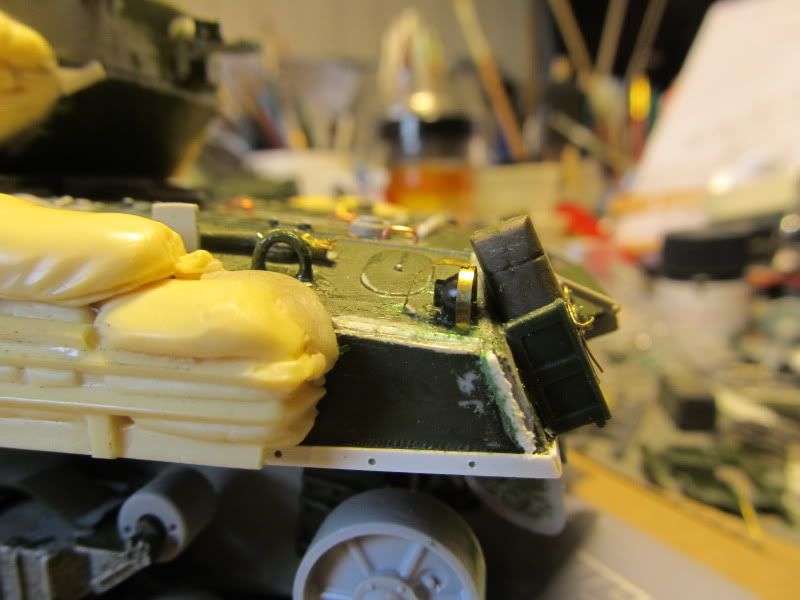
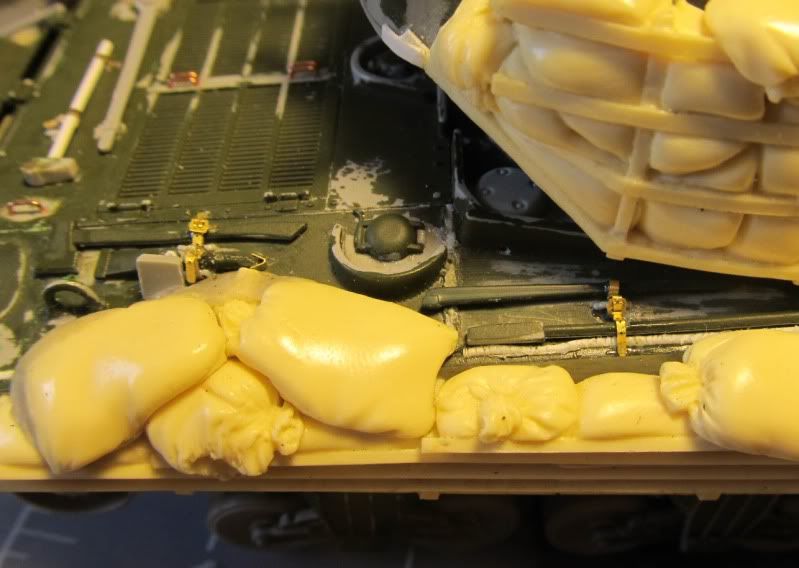
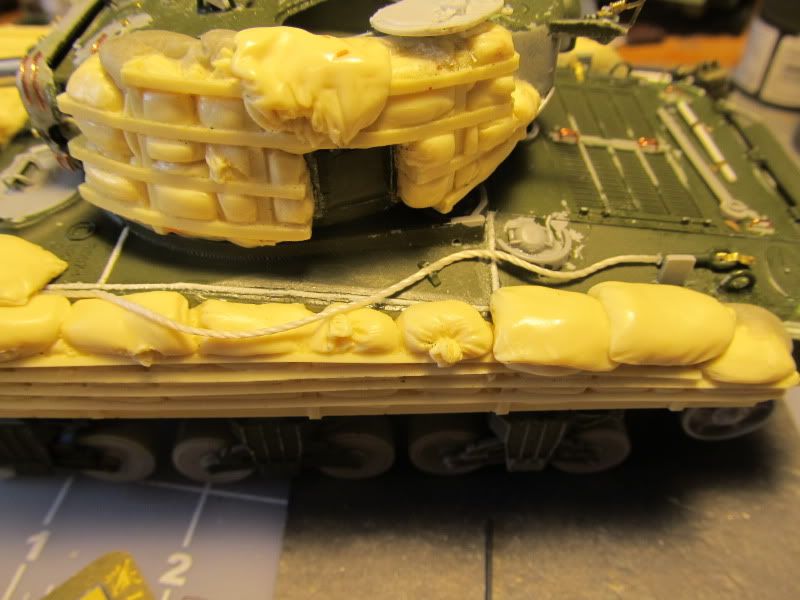
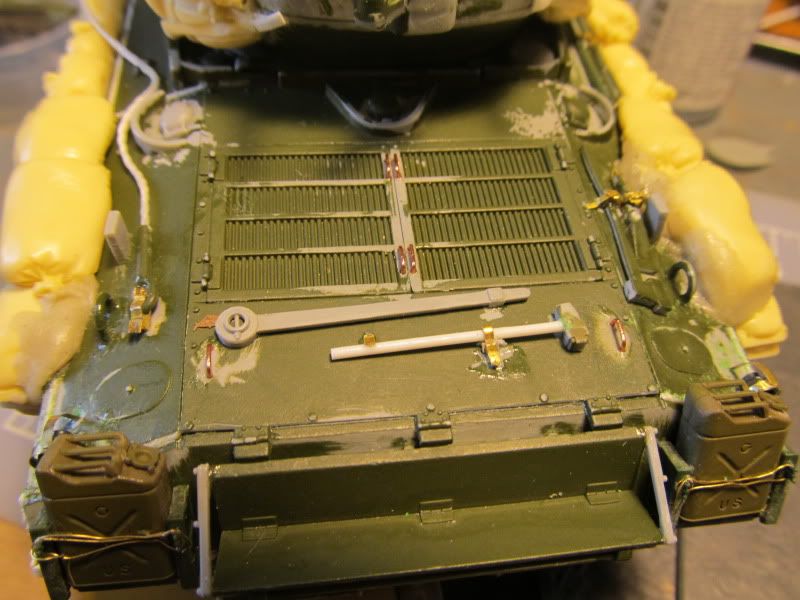
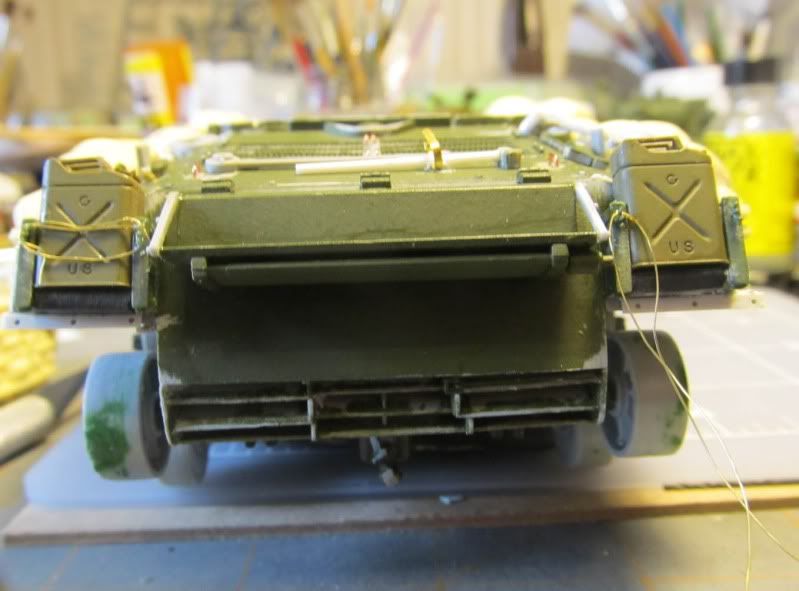
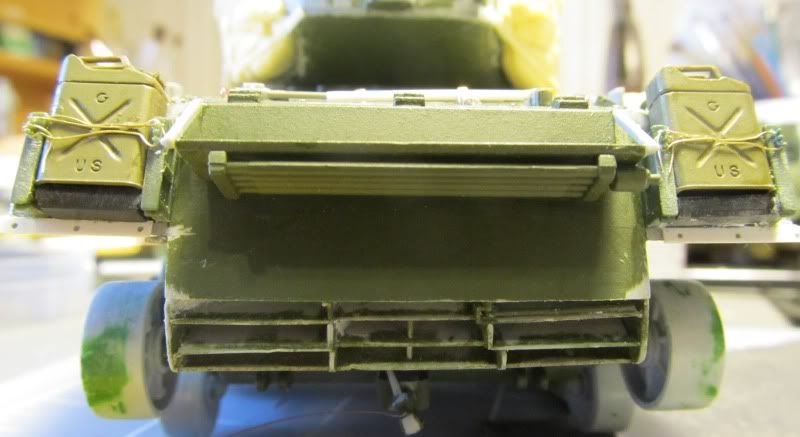
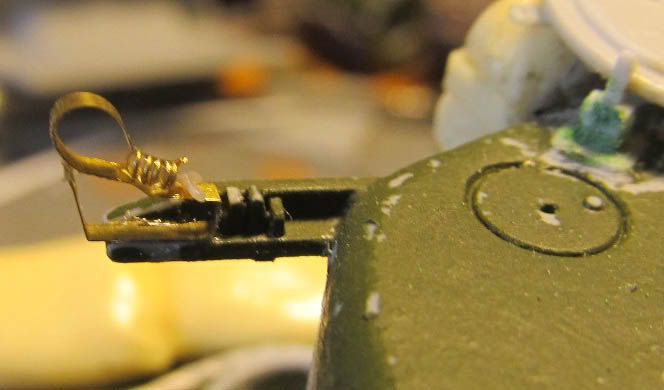
i scratch built my duce mount. the kit one's are sssooooo off it's not funny. made the tail light covers also, tie downs and made new hammer handle added tow cable and stuck the end under the sandbag also reworked the exhaust deflecter by one. just need to add the metal to both side's of it. now my builds will never be as pristine as others but i try. as always thanks for looking in and all comments welcome.


Clay


  • Member since
    July 2006
  • From: New Jersey
Posted by redleg12 on Thursday, August 2, 2012 7:21 PM

Impressive.....most impressive

Rounds Complete!!

"The Moral High Ground....A Great Place to Emplace Artillery."

  • Member since
    July 2004
  • From: Texas
Posted by wbill76 on Thursday, August 2, 2012 8:57 PM

Nice scratch work there Clay, lookin good!

  • Member since
    December 2004
  • From: ohio
Posted by vonryan on Thursday, August 2, 2012 10:20 PM

thanks a lot for the kind words Mike and Bill.

Clay

  • Member since
    March 2006
  • From: Right Side of a Left State
Posted by Shellback on Thursday, August 2, 2012 11:19 PM

Hmmm , never seen the fuel cans setting in the spare tracks holder b4 .............looks goodYes

  • Member since
    November 2005
Posted by T26E4 on Thursday, August 2, 2012 11:33 PM

Nice work so far Clay. May I make a tweak suggestion?  The oval grouser box lids at the rear corners of the engine deck? They should be filled.  DML's error when they re-used the hull from the M4A2 which had these. The later M4A3 that you're building did not have these hatches.  In later iterations of the M4A3, DML instructs the builder to fill the oval hatch seam.  Hope this helps.

Roy Chow 

Join AMPS!

http://www.amps-armor.org


  • Member since
    December 2004
  • From: ohio
Posted by vonryan on Friday, August 3, 2012 7:46 AM

holy crap i was going by a picture that i had seen. but i just can see a small line behind the gas can. line bump there's something there. but now it could be anything. i better get it figured out before i fix the lifting rings. or this could be a mess. thanks Roy for the heads up. i'll get it done one way or another.

Clay

  • Member since
    December 2004
  • From: ohio
Posted by vonryan on Friday, August 3, 2012 9:35 AM

man i can't buy a straight line. i cut the tracks down 4. on the right side. and the left side by 3. and forget straight lines. all dragon kits you have to work on getting shermans tracks even between the hull and the tracks. rear up or front down. UGH!! easier rear up.  


Clay


  • Member since
    October 2009
Posted by PANZERWAFFE on Sunday, August 5, 2012 2:44 PM

Love all of the scratch work and little bits, that M2HB bracket is really cool.  That is a lot of sandbags, don't let Patton see that.  They are going to look great with paint on and will add lots of interest.

Rob

  • Member since
    December 2004
  • From: ohio
Posted by vonryan on Sunday, August 5, 2012 3:30 PM

Thanks Rob. yea Patton would have SH^% his pants:) glad you like. i'm waiting for some parts that i've ordered from tiger models to get this thing to paint. so i started back on my 105mm sherman and my M4A3 76 w more pic's soon.

Clay

  • Member since
    February 2003
  • From: Allentown, PA
Posted by BaBill212 on Sunday, August 5, 2012 3:41 PM

Looking very good Clay,,,,,,,,,    Thanks for sharing !!!

Enjoy the ride!


JOIN OUR COMMUNITY!

Our community is FREE to join. To participate you must either login or register for an account.

SEARCH FORUMS
FREE NEWSLETTER
By signing up you may also receive reader surveys and occasional special offers. We do not sell, rent or trade our email lists. View our Privacy Policy.