SEARCH FINESCALE.COM

Enter keywords or a search phrase below:

Armor Painting Tutorial, Part 1 Camouflage

4123 views
6 replies
1 rating 2 rating 3 rating 4 rating 5 rating
  • Member since
    February 2007
  • From: Calgary, Alberta, Canada
Armor Painting Tutorial, Part 1 Camouflage
Posted by T-rex on Monday, August 6, 2012 2:14 AM

Got back to modelling after losing my job, helps to clear my head and forget, fortunately with two model contest coming up, and a load of model, I got started on my two lastest kits.

Two Trumpeter Tank Destroyer, The E-10 Prototyp the new SU-152

Both are the same scale, and were (or could have be) Fearsome adversaries.

The size of each is very noticeable.

This Tutorial is to show the basic of my method for painting and finishing scale models, they are base off FSM articles, tips I heard for other expert, as well as from the Forum.

The Tutorial will be two parts, the first will be camouflage with the E-10, while the single coat scheme, will be with the SU-152.

1.The First step is of course to finish assembly, this included adding all PE part, sanding, gap filling and finale touch up, equipement tools and wheel will be added later, At first, I was thinking of adding the side skirt later, but for a perfect camo, it needs to stay on.

Most of what you see came with the kit, all the PE parts (except the handle bars, there just bend copper wire) and one of the tow cable is a piece of rope. The putty on the front is to cover the spot where the headlight went, I removed it because this prototype possible wasn't fitted with one.

2. Before the primer goes on, I need to add a coat of Metal Primer. This Tamiya product adds adhesion to the PE parts so when the primer (and paint) comes off, it won't peel off, it will stay on.

Then comes the Primer, Tamiya grey will do nicely.

Give it at least 12 hour to dry, don't add too much, you may regret it.

Thats all for now, next step will come soon.

Feel free to add comments and additional advice.

Magellan Dufour

Working on: Trumpeter SU-152 (1/35) Trumpeter E-10 (1/35) Heller Somua (1/35)

"The world is your enemy, prince of a thousand enemy. And when they'll find you, they will kill you... but they will have to catch you first ''

  • Member since
    December 2004
  • From: ohio
Posted by vonryan on Monday, August 6, 2012 6:02 AM

sorry for the lose of your job T-rex.will  pray for you and yours. now WOW  AWESOME BUILDS this hobby will REALLY clear your head forsure great start.

Clay

  • Member since
    August 2005
  • From: Los Angeles, CA
Posted by corvettemike on Monday, August 6, 2012 6:53 AM

Sorry to hear about your situation, I will be watching this since camo always was one of my weak points be nice to get some sort of perspective on how it's done.

Rise my brothers we are blessed by steel in my sword I trust...

Arm yourselves the truth shall be revealed In my sword I trust...

Havoc Models

  • Member since
    July 2004
  • From: Texas
Posted by wbill76 on Monday, August 6, 2012 12:49 PM

Sorry to hear about the job situation, that's always rough. Sounds like you've got plenty of bench projects to keep your spirts up though, look forward to seeing the rest of the tutorial for these two. Beer

  • Member since
    September 2010
  • From: Qubec, Canada
Posted by Ben323 on Monday, August 6, 2012 8:45 PM

I'll be watching ! I read that issue of FSM and I tried it and I failed at itBig Smile. So im really looking forward to seeing how you do this camo and maybe, with the knowledge I get from you, I'll try again!

Thanks for making this tutorial! Much appreciated for inexperienced modlers (aka me)

Ben K.

  • Member since
    February 2007
  • From: Calgary, Alberta, Canada
Posted by T-rex on Tuesday, August 7, 2012 2:52 PM

Thanks for the comments guys, really kind of you.

Now back to the tutorial, and the fun begins, Paint!

4. In my opinons, its not so much the assembly that makes the model look good, but the painting and the finishing, and it all starts underneath. A black undercoat is applied thought the model, (especially at the bottom, this is where the light touches the less, and shadow is found the most. Also it helps to darken the tone of the next coat of paint, (as well as for the Pre-shade). I decided to use my Badger 350  possibly for the last time on this coat.

It is also a good way of finding missing errors on the model, note the hole on the front is completely gone.

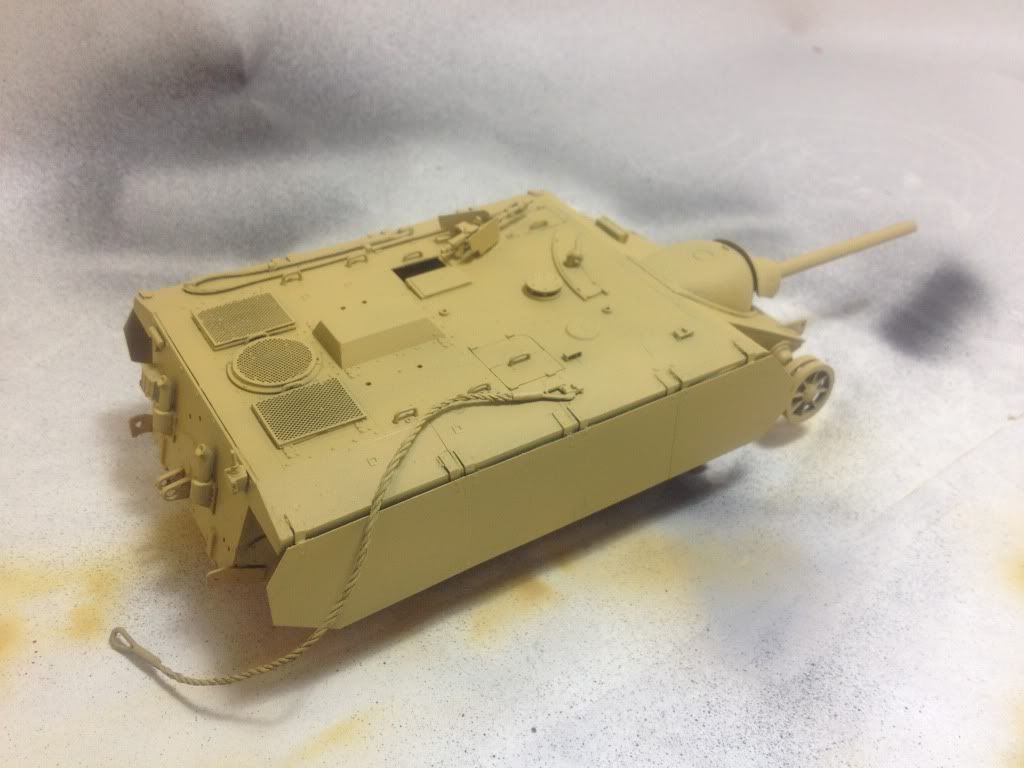
5. Now comes the Base coat, Dark yellow (desert yellow will do too), but I'm out of that color, so I'll just mix some up with brown, buff and flat yellow. Tamiya acrylics are easy to work with. 

I'm also excited to use my new Airbrush, Badger 175 dual action, this is a good airbrush for more advance models like myself, thought its alittle harder to get use to the dual switch (one controls airflow, the other is paint flow). So I practice a bit with it, to see how it works.

It works Fantastically, flow is smooth and control is simple, the trick I fine is don't rush, and stay in control of your flow, its easy to screw up with this thought.

I though that for a base coat like this it would be good to go high pressure, high paint at a distance. (don't come close, the paint builds up fast) but actually for pre shading, your suppose to avoid the panel lines so the black under coat shows alittle, and with less airflow and paint flow. So I other words I put alittle too much paint all around the model.

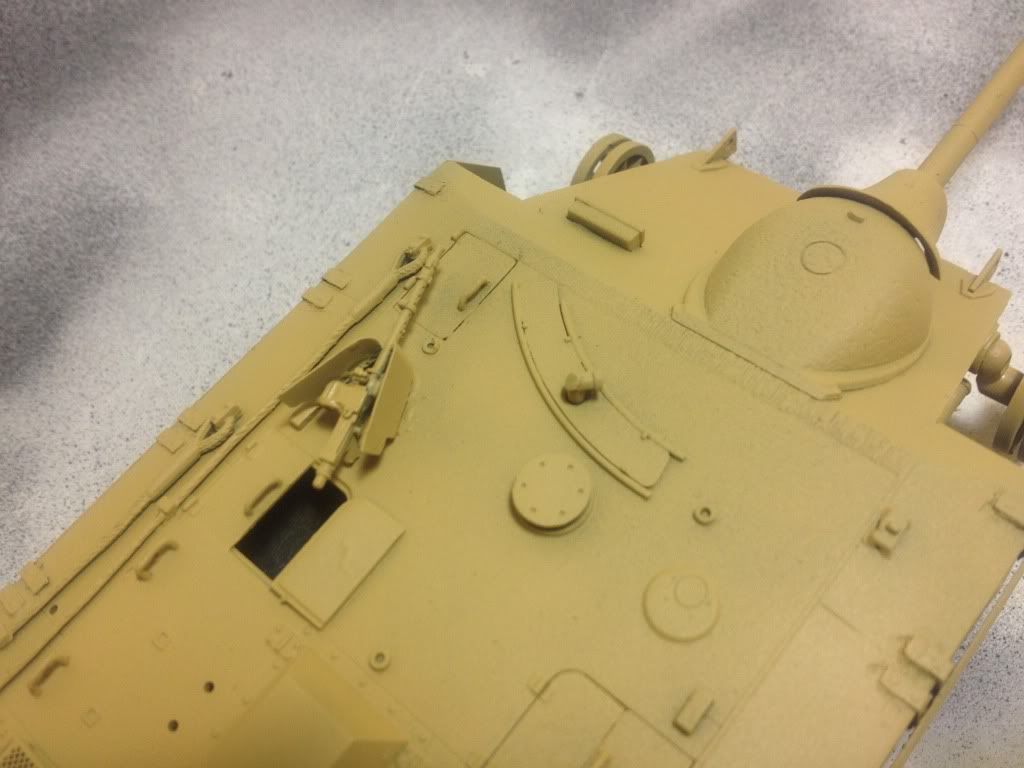
Another Small problem is the Model has the wrong skin texture called ''Orange Peele'' (called this

surface and creates this texture, is not a screw up (not for a tank anyways steel sheet is not smooth) but if

this was a Chevrolet Camero, I would not be happy.

6. Now for the Camouflage which for this tank is not a problem, it was never made, so it never had an assign camo scheme. I mean, I could follow the paint instruction from the kit (it comes with two) however, I like to be creative, and I want to make something that makes this tank stand out from my collection, so I will got with the larger spot camo scheme.

First come the green. (a mix of green and a touch of olive drap to darken it alittle)

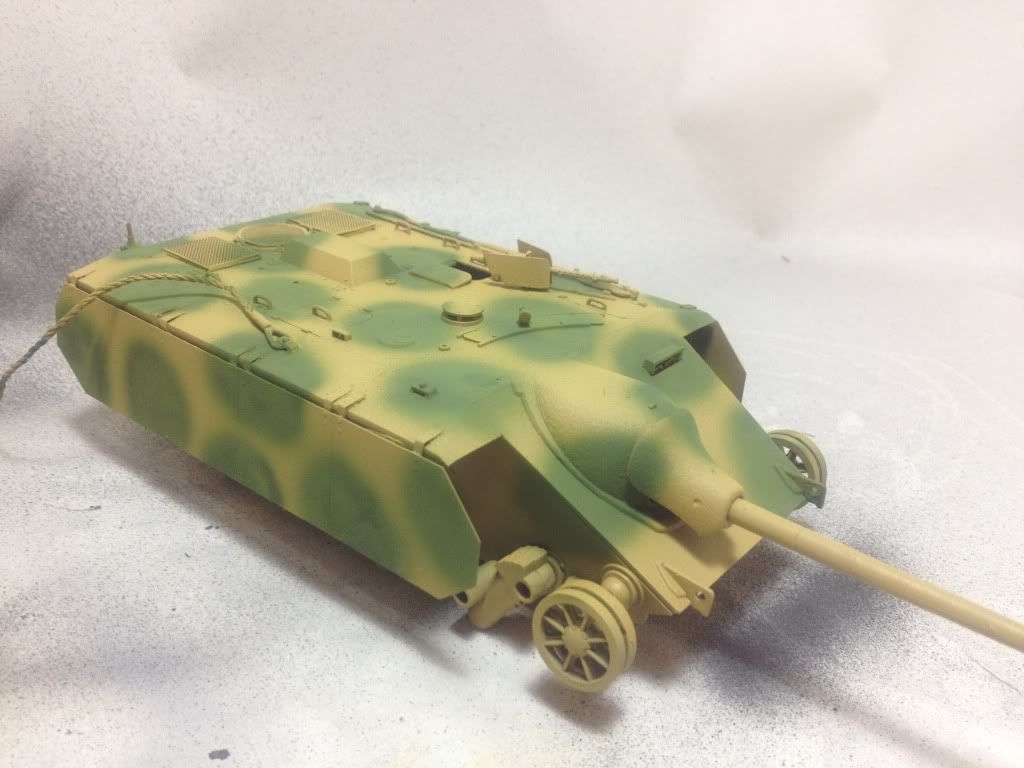
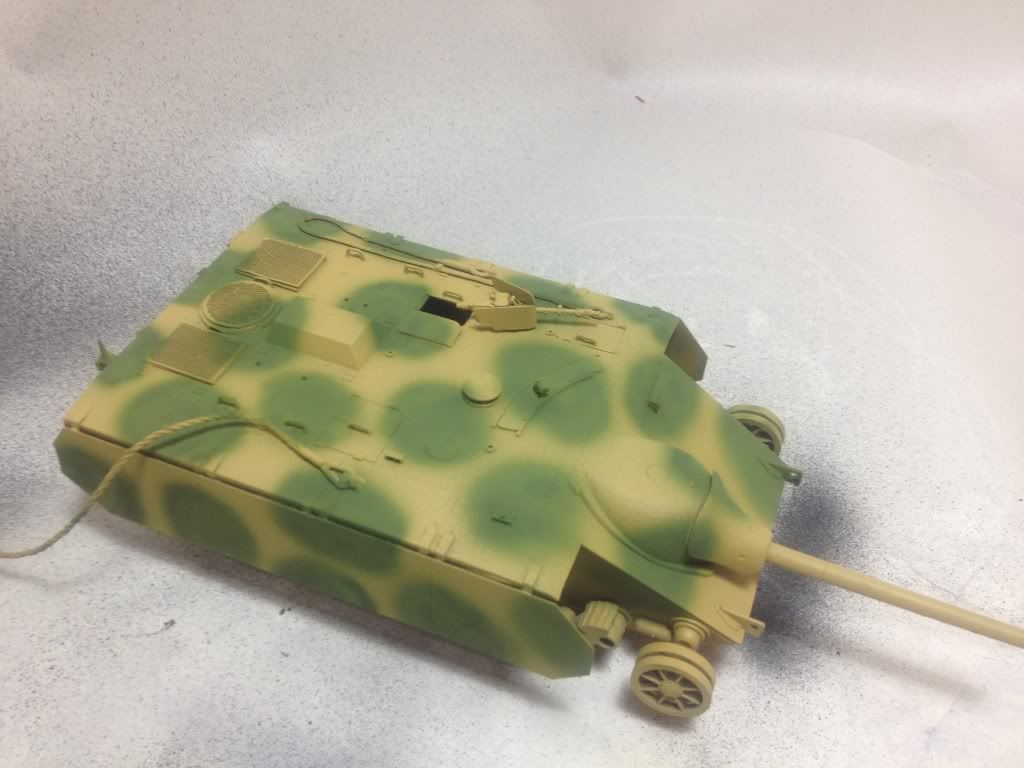
Then, slightly smaller brown spots over the green, kind of little a bulleye. This brown mix is flat brown, and a drop of hull red for a red brown look.

Note I remove the paint on the barrel, it would have been red primer on instead (Red Hull).

Well I think thats all for now, I will be posting the next steps soon, my only recommendation is to make sure you apply right the first time, I think I need a bit of touch ups on certain spot, also, avoid thick coat of paint, remember, its better to apply several thin coat rather than one tick coat. This is why I hate lacquer spay paint, it always adds too much, plus its stinks.

Next time, finishing painting, and adding the decals.

Working on: Trumpeter SU-152 (1/35) Trumpeter E-10 (1/35) Heller Somua (1/35)

"The world is your enemy, prince of a thousand enemy. And when they'll find you, they will kill you... but they will have to catch you first ''

  • Member since
    July 2004
  • From: Texas
Posted by wbill76 on Tuesday, August 7, 2012 8:08 PM

Very nice, love the camo scheme! One small note on the gun barrel, those didn't receive the standard red primer. They instead received a dark grey (almost black) lacquer-based heat resistant primer, so even though this is a what-if vehicle, you should consider that primer color for context's sake. Looking forward to the next round of updates! Beer

JOIN OUR COMMUNITY!

Our community is FREE to join. To participate you must either login or register for an account.

SEARCH FORUMS
FREE NEWSLETTER
By signing up you may also receive reader surveys and occasional special offers. We do not sell, rent or trade our email lists. View our Privacy Policy.