WIP A13 Mk. II Cruiser Tank Mk. IV Part 3
I have addressed the warp upper part and went on to other sections of the build
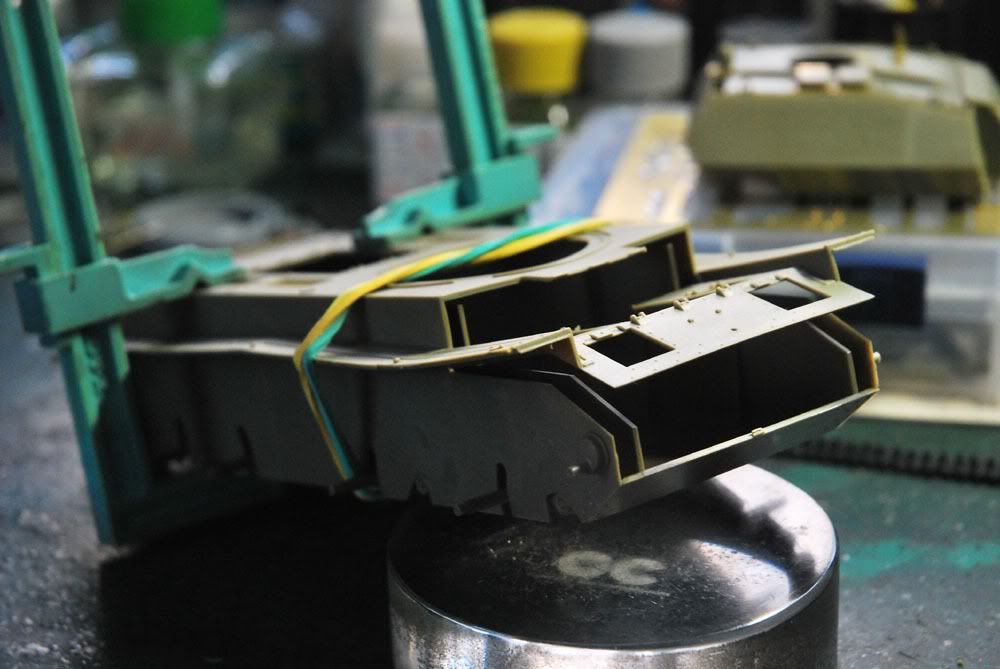
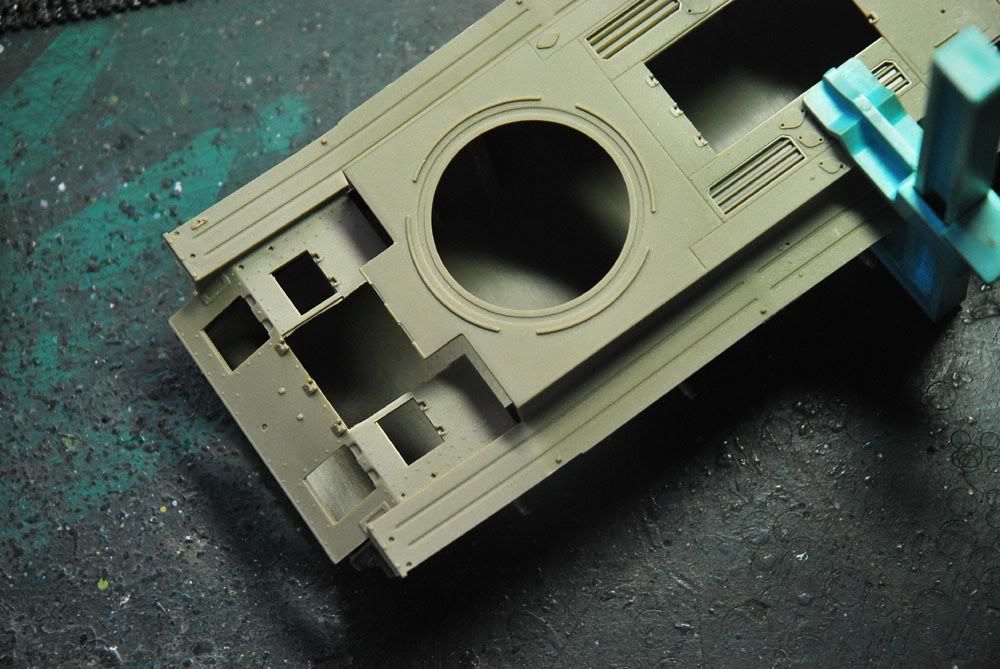
The upper hull has the front part warped but luckily it is warped symmetrically meaning the whole front area is warped upwards without any side twisted. This made the correction less complicated.
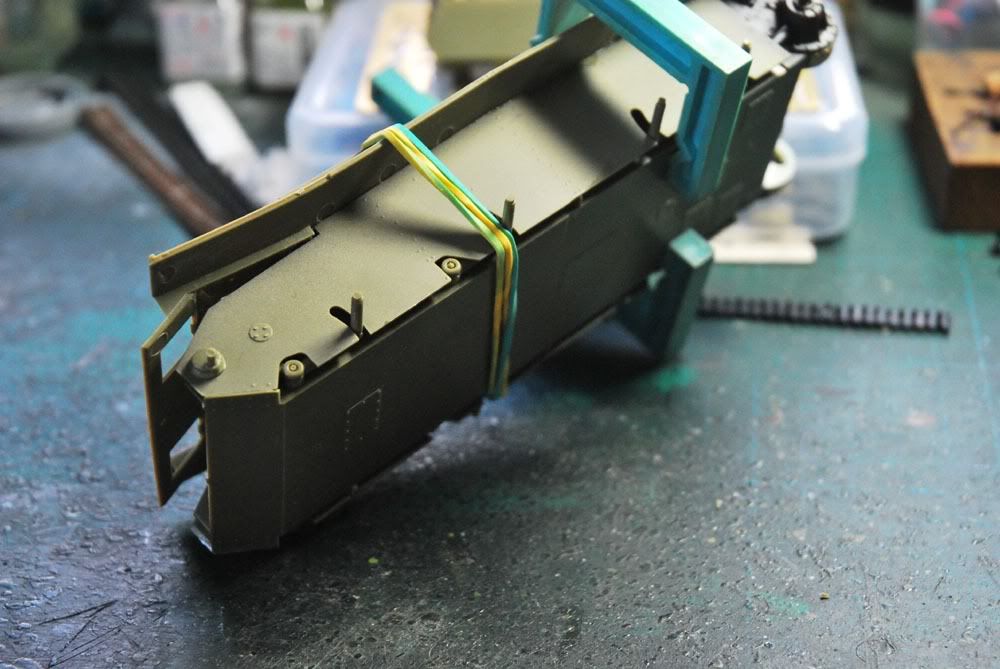
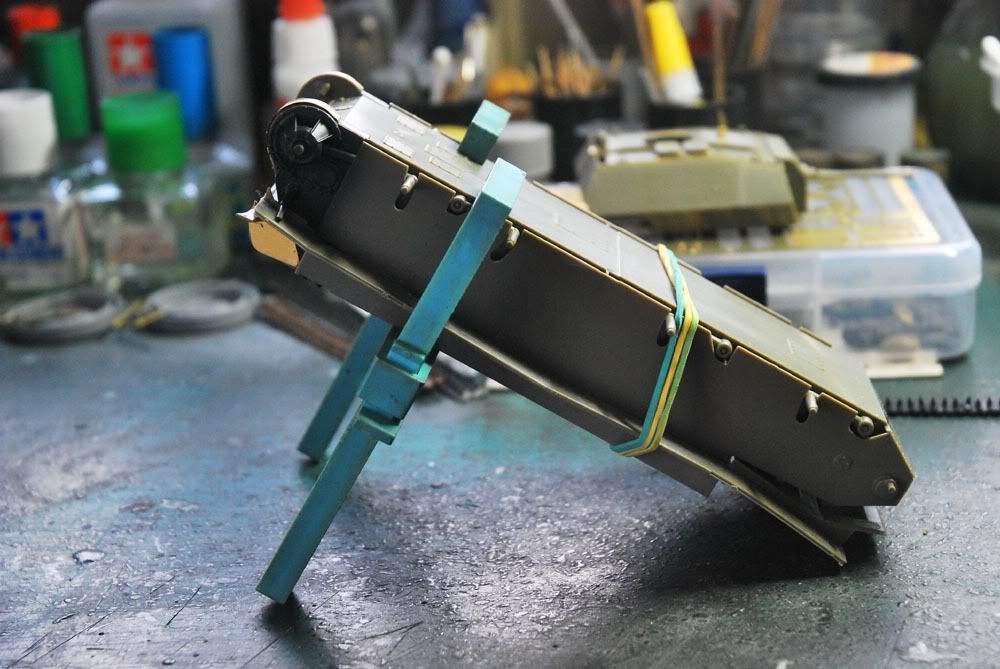
I cemented two thirds of the rear portion and left the warped front to be cemented later. I held it down with two X-Acto vise and two reliable rubber bands.
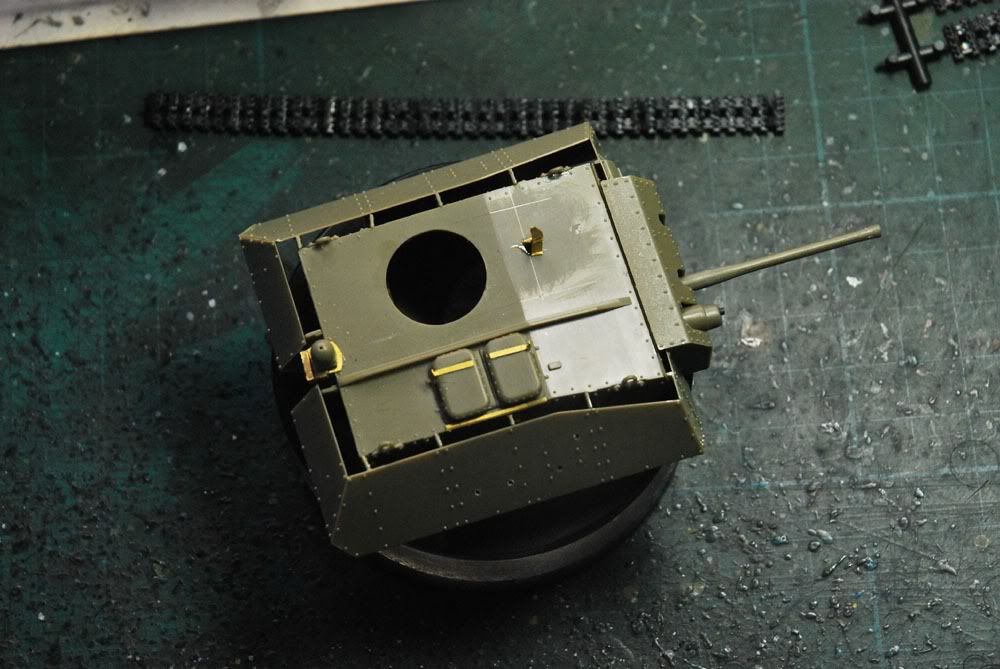
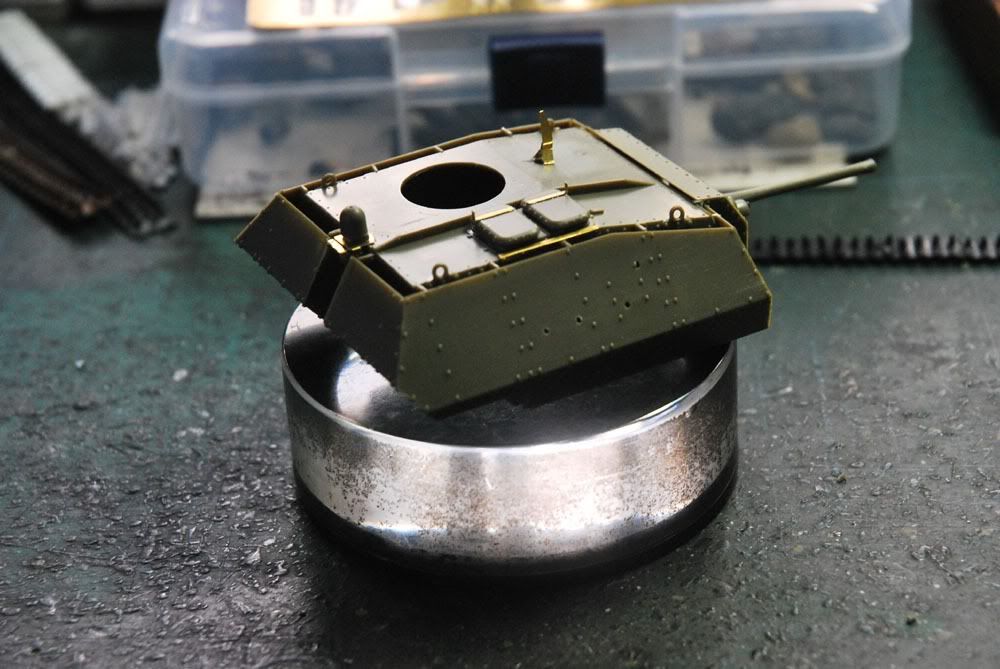
Meanwhile the turret is now complete including the two cupolas. The PEs has been attached and all the a[dd-on armor. Fit of the bevelled ends are amazing.
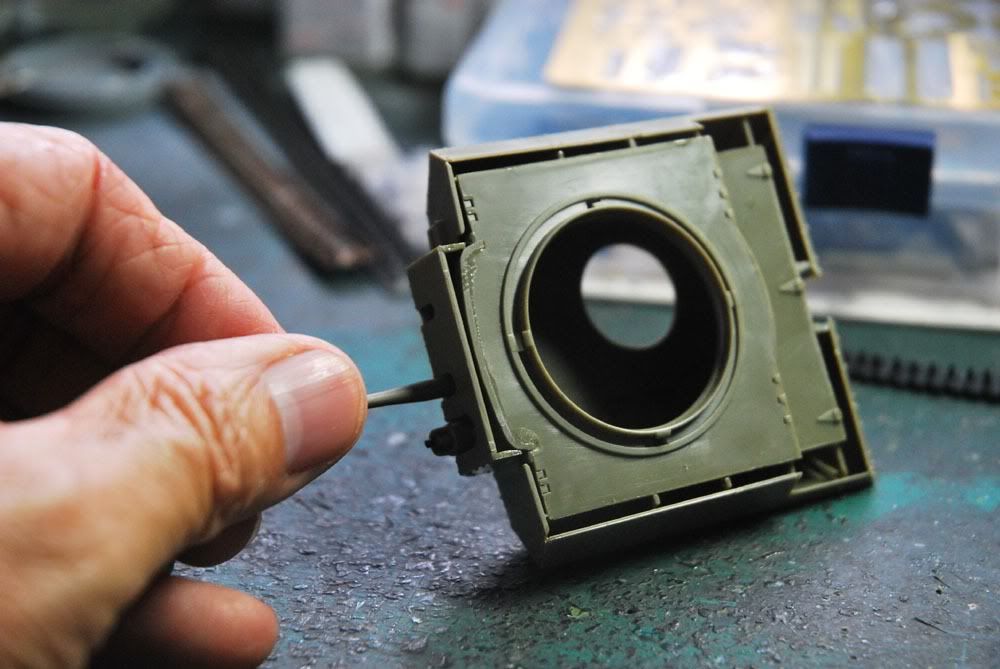
Looking at the bottom of the turret, there are four lugs for mounting ang lockig the turret the the upper hull but the hull has no slot. There is no indication on the instruction about it. After trying it on, I found out I had to prees the turret down to attached it. It is quite simple really that they forgot about it.
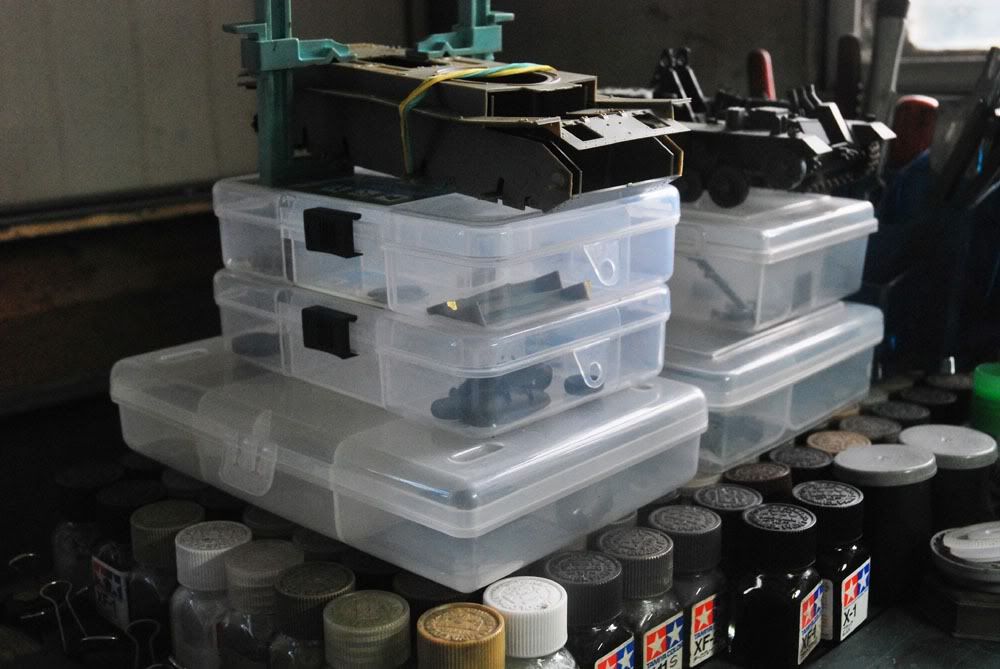
There are the plastic cases where I keep small parts. One case per model.
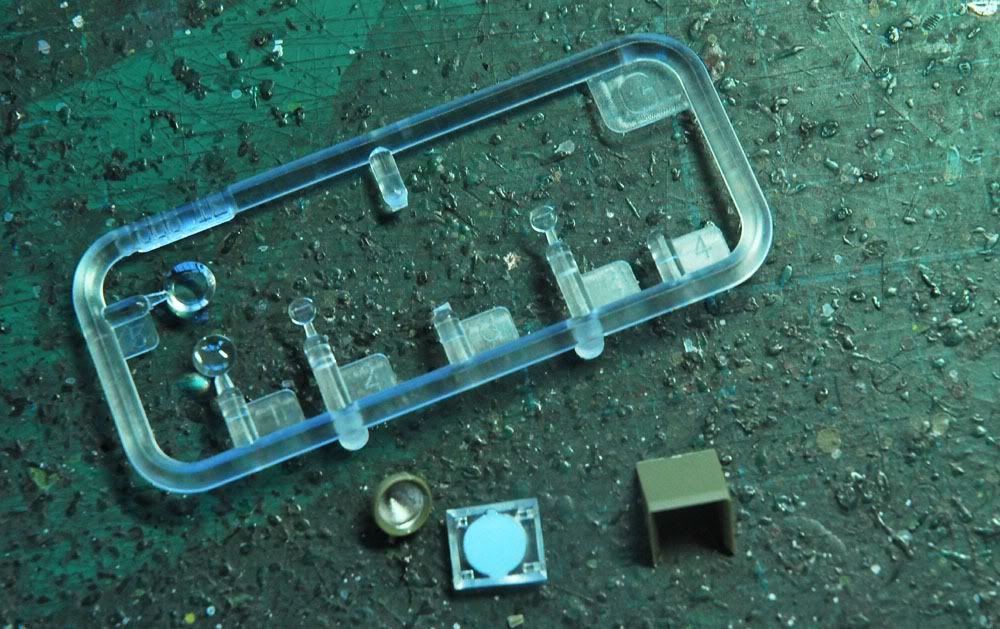
While waiting for cemented parts to dry, I masked the single headlight with Gunze liquid mask.
I wil now cement the front warped portion of the hull ad see what will happen. Until next post.