SEARCH FINESCALE.COM

Enter keywords or a search phrase below:

PzBeobWG ausf G dragon 1/72 fake tank wip

1886 views
9 replies
1 rating 2 rating 3 rating 4 rating 5 rating
  • Member since
    October 2008
  • From: italy
PzBeobWG ausf G dragon 1/72 fake tank wip
Posted by bsyamato on Wednesday, October 3, 2012 10:03 AM

Another little armor for my little tank collection Tongue Tied

As i see after an observation tank for artillery support and sight.

It's my first dragon kit of ever with new features for me, as the metal hull Indifferent ...why a metal hull? Also included a metal rope, and this is relly good!

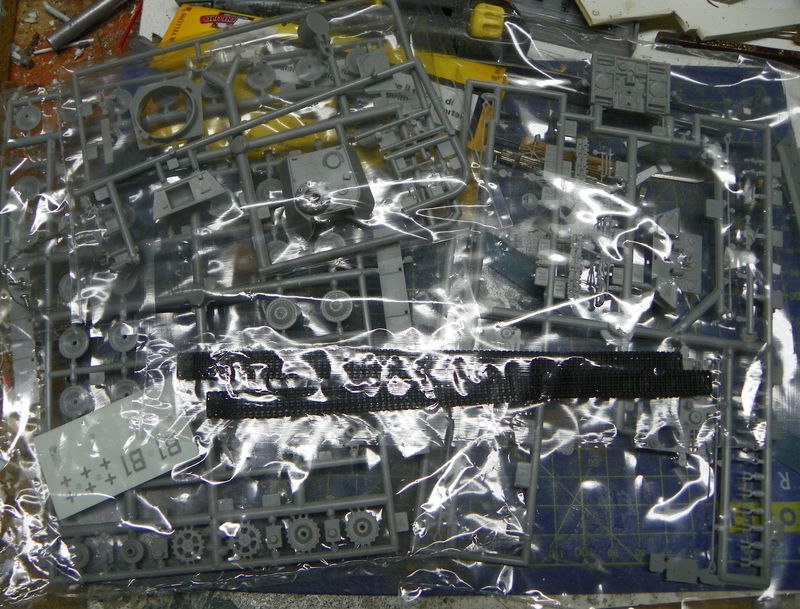
Unfortunately for me, the kit comes with vinyl tracks Sad

Instructions seems not so accurated ,in  some case wrong pieces names and some missing step!

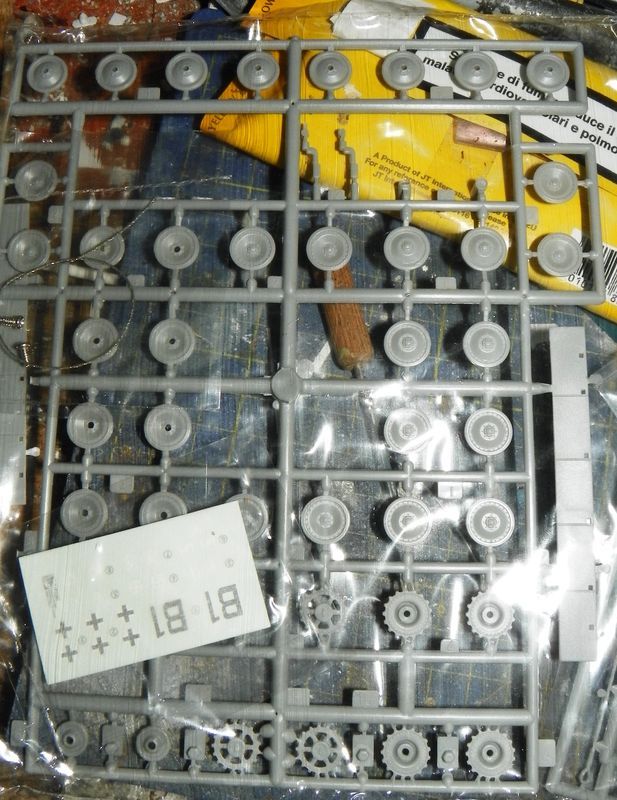
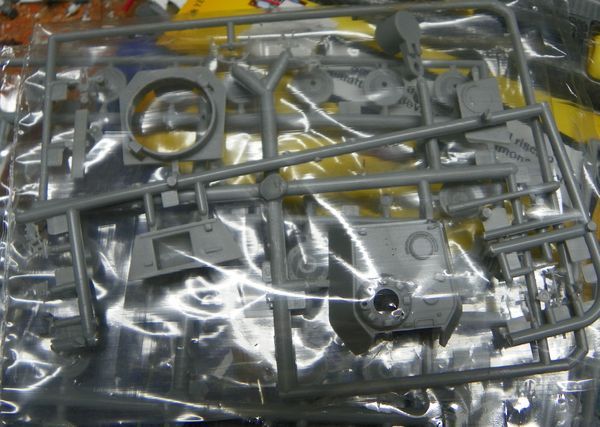
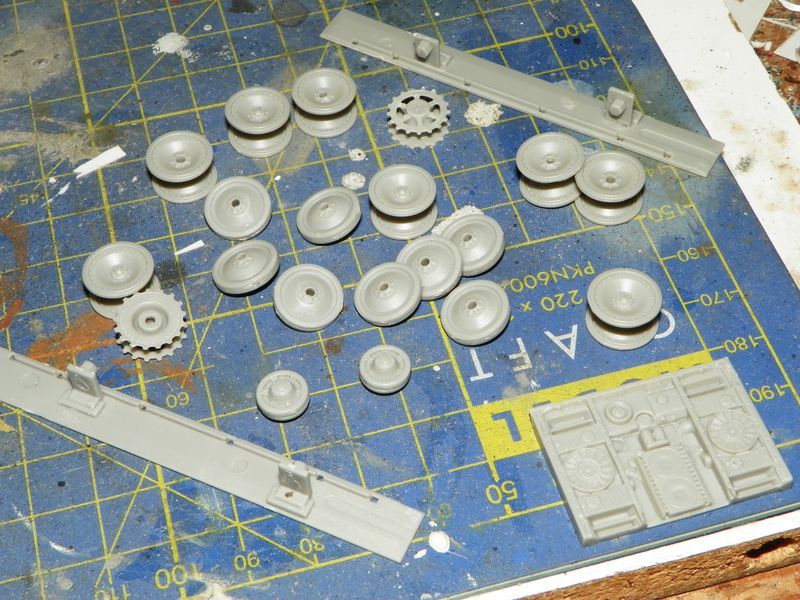
So.. here the sprues:
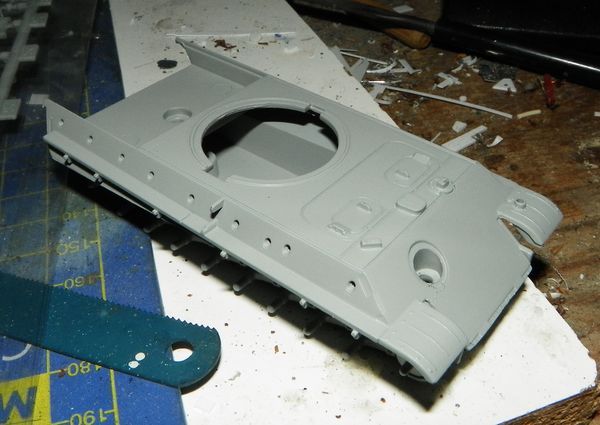
Already started the sub assemblies

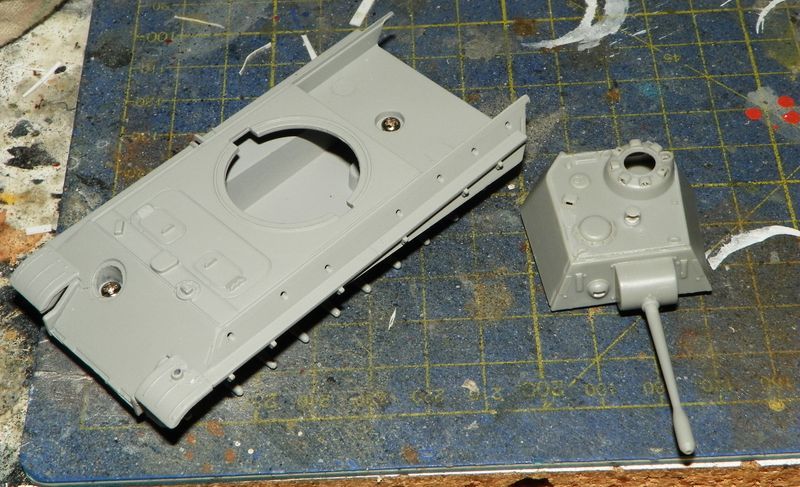
the turret with fake gun
upper and lower hull is fixed with two screws.. actually one .. i break one Embarrassed will glue after with CA glue and putty
At the next

  • Member since
    July 2004
  • From: Texas
Posted by wbill76 on Wednesday, October 3, 2012 7:34 PM

Sounds like the usual Dragon treatment in terms of the instructions! Big Smile The metal hulls were added to give the finished kit some weight...but IMHO are just a complication in terms of having to work with the upper and lower hulls. Look forward to seeing what you do with it.

  • Member since
    September 2006
  • From: Australia
Posted by Blitzwing on Wednesday, October 3, 2012 10:53 PM

I've seen a few of your planes Bsyamato so I'll definitely be following this one with interest .

URL=http://picasion.com/]

  • Member since
    December 2002
  • From: Fort Knox
Posted by Rob Gronovius on Thursday, October 4, 2012 12:54 AM

FYI, the metal hull may deteriorate over time. I built the Panther G with metal hull (the same hull as your kit) when it was first released in the early 2000s along with the Sturmtiger with metal upper hull. Both have sat virtually untouched in a glass display cabinet since completion.

The front Panther hull, where the upper and lower hull meet, has started to split and the metal is actually crumbling away, creating a gap at the seam.

The Sturmtiger, sitting inches away from the Panther, looks as good as the day it was built.

  • Member since
    October 2008
  • From: italy
Posted by bsyamato on Friday, October 5, 2012 5:02 AM

so bad things about the metal hull .. Sad will try to done another protective layer before to close it. Thinking that best way is to totally remove screws and close the screws housing with some putty to clompletely isolate the nude metal. 

Last night also started the academy fuel set!! i brought the set for the working fw-200 condor diorama, soon will put some thread about Big Smile

here with the latest supply

as i realized after was a totally german low cost furniture Propeller (got the Beob at 8€) 

  • Member since
    December 2002
  • From: Fort Knox
Posted by Rob Gronovius on Saturday, October 6, 2012 9:30 AM

Some photos of someone else who had similar problems.


  • Member since
    October 2008
  • From: italy
Posted by bsyamato on Saturday, October 6, 2012 4:46 PM

OMG!! i hope mine don't turn so in future Indifferent

some little update:

throw away screws and glued with CA glue the hull. filled the holes with enamel paint. After will seal with molliput the screws housing 

and painted wheels ,turret and side skirts with MM sand

I will leave at least 3 days before second coat , i had problems in the past with model master enamels Sad

  • Member since
    September 2006
  • From: Australia
Posted by Blitzwing on Monday, October 8, 2012 4:54 AM

Wow I can't say I've ever seen die cast metal do that before. I hope the same doesn't happen to my Tamiya 1/48 scale tanks.

URL=http://picasion.com/]

  • Member since
    December 2002
  • From: Fort Knox
Posted by Rob Gronovius on Monday, October 8, 2012 12:10 PM

No, we had some discussions about the Tamiya hulls vs the Dragon hulls. Tamiya Tiger I I built 10 years ago is doing fine. Cheaper Chinese manufacturing standards than Japanese ones.

The split in the bottom picture is what has happened to the front of my hull; the two metal pieces warping, separating and crumbling away. I don't have it as bad as the top photo, but I haven't tried to rectify it like he probably did.

  • Member since
    December 2011
  • From: Cicero New York
Posted by mike-mike on Monday, October 8, 2012 12:19 PM

Wow .that's too bad about those hulls. Something to keep in mind.

Just passing the time while waiting for the mothership.

JOIN OUR COMMUNITY!

Our community is FREE to join. To participate you must either login or register for an account.

SEARCH FORUMS
FREE NEWSLETTER
By signing up you may also receive reader surveys and occasional special offers. We do not sell, rent or trade our email lists. View our Privacy Policy.