Fire Mission
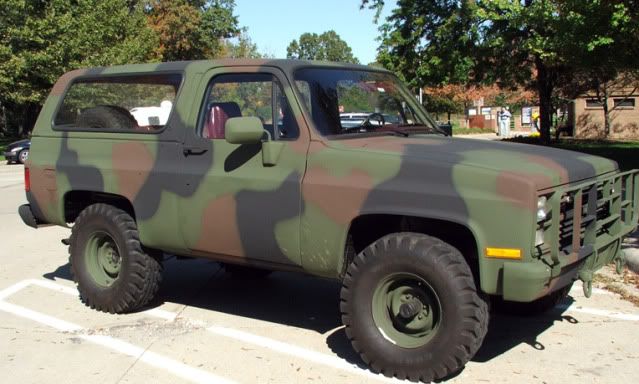
M1009 ¾ Ton Commercial Utility Combat Vehicle
Introduction
The Chevy Utility vehicles were introduced in the 1980s as an interim replacement of the M880 series vehicles which had replaced the old WC series. The CUCV were eventually replaced in combat units by the HMMWV but served many roles through the early 2000s

Background
While serving as a battalion Assistant S-3 I had a M1009 in place of a HUMMV. Though not suited perfectly for combat use, HQ34 served me well through many training exercises.
Build
I will be using a Miniman M1009 resin kit for this build

The kit is well made with numerous details and is excellent casting with almost no fisheyes or voids. The instructions are picture based and similar to styrene kit instructions. The parts themselves require very little cleaning with the exception of removal of casting blocks. The kit is mostly resin but also includes soft metal parts, clear lenses and windows, photo etch parts, decals and a pressed paper front brush guard.
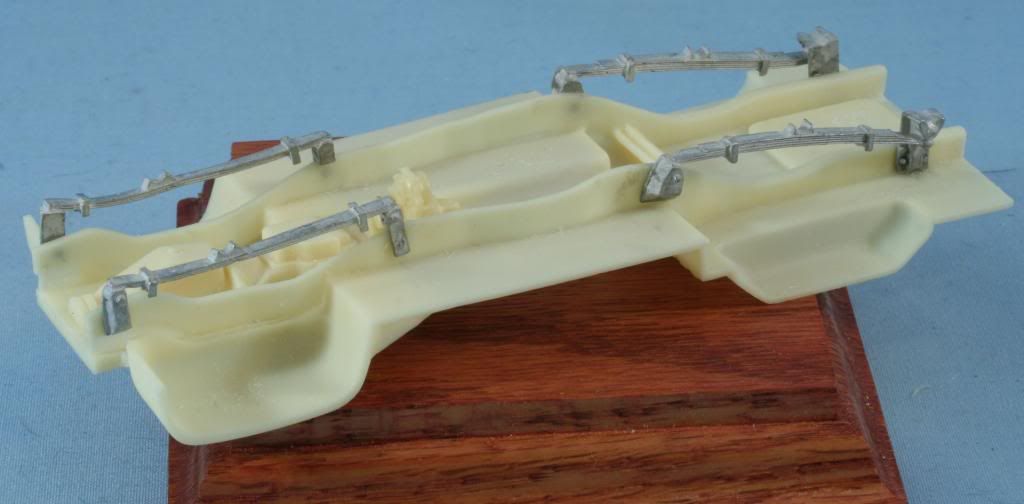
Step 1 is to install the white metal leaf springs and the resin transfer case. I installed the transfer case after removing the casting blocks from the floor panel and the case. The floor board has pin holes to spot the white metal leaf springs. The holes needed to be cleaned with a drill bit to comfortable fit the springs, which were then installed

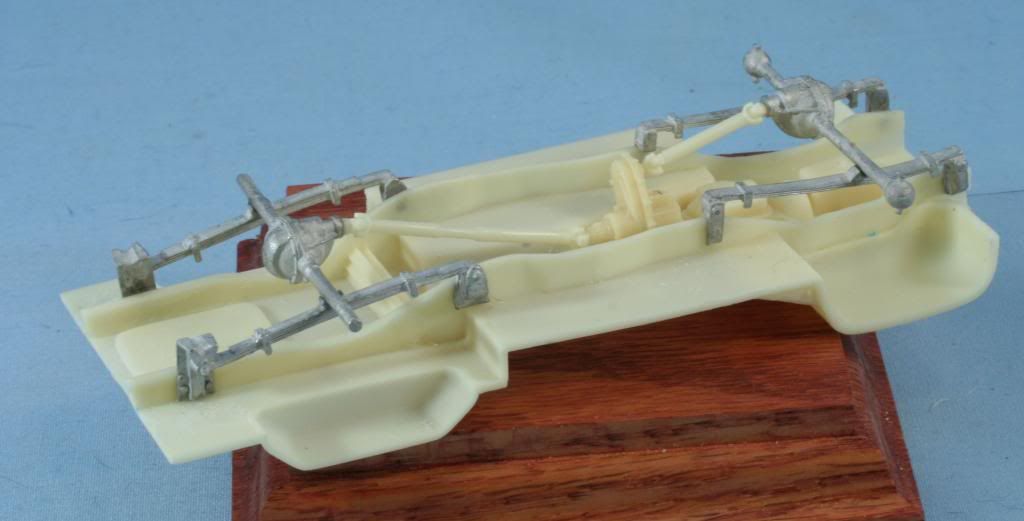
Next step is to install the universal drive shafts. The axels are white metal while the drive shafts are resin. Care needs to be taken to center the axels for proper tire alignment and proper rotation to install the universal. The front assembly fit perfectly but the rear universal needed some slight trimming, which I did on the transfer case end, in order to get proper fit.

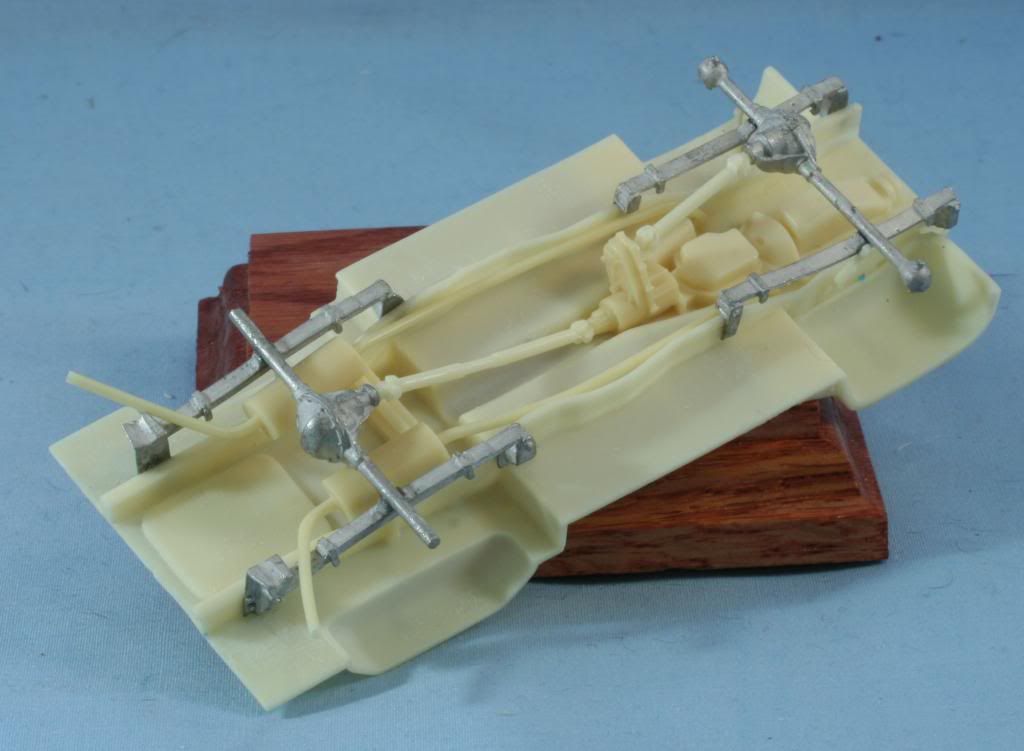
Step 3 installs the shocks and the dual exhaust system. Removal of the exhaust systems from their pour blocks needs to be do done carefully to avoid breaking the exhaust pipes, which are long and thin. First I installed the shocks, which fit in a pin- hole on the floor-board and a pin on the axel. The shocks were slightly shorter in length than the line up pins. In order to install, I lined up the pin on the axel and shortened up on the line up on the floor-board which required a new pin hole to be drilled. The exhaust has to be threaded under the rear axel and the front end lines up with a pin-hole in the floor board while the tailpipe rests on the rear block of the rear leaf spring. Once threaded these parts lined up perfectly and fit well.

The first three steps complete the undercarriage. Step 4 requires the tires to be assembled, which I will skip until final assembly. At this point, the undercarriage assembly will head to the paint booth, as the bottom will be basically black with steel for the exhausts. The top is the inside of the vehicle and the floor inside was a NATO green.
As always feel free to leave a comment either positive or negative
Rounds Complete!!