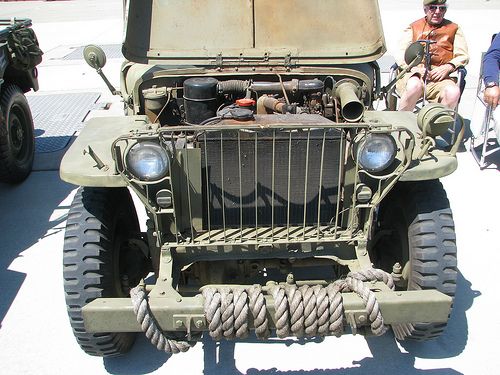
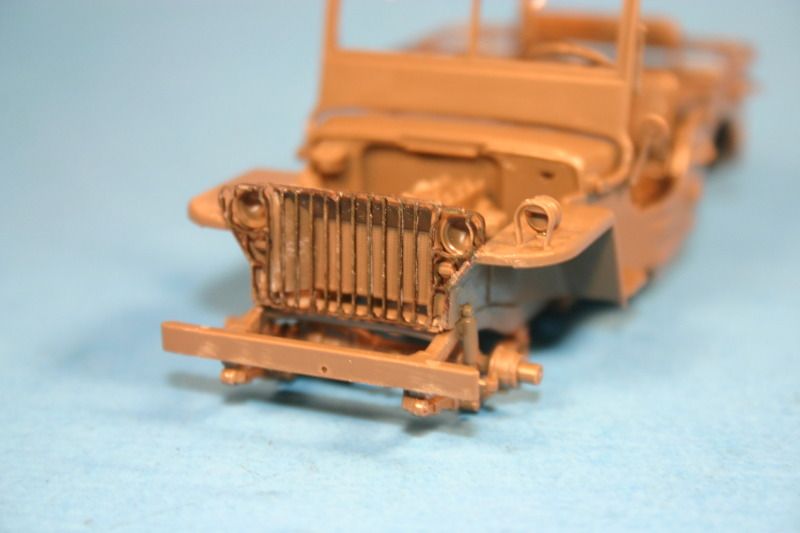
I seem to be continuing on my jeep kick lately. Up next is an early Willys MB with the original design welded slat grill before the Ford designed stamped grill was standardized for production.
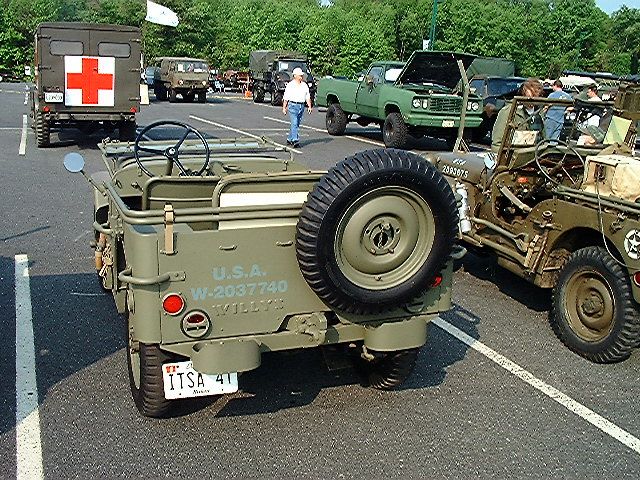
Here are a few pics of one. Along with the welded grill, there was also a Willys logo on the rear plate and no fuel/water can holder. 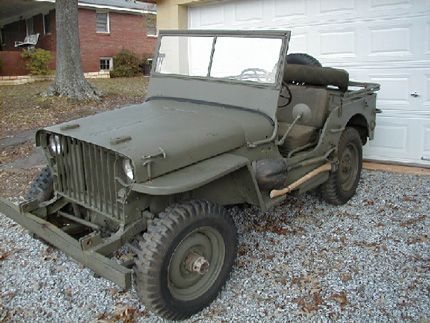
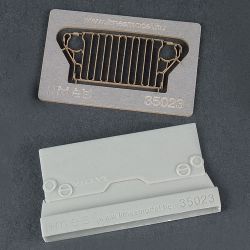
For the conversion, I am using the Tamiya Willys MB kit and Lymes Models Willys MB Slat conversion set. 
Here she is so far. 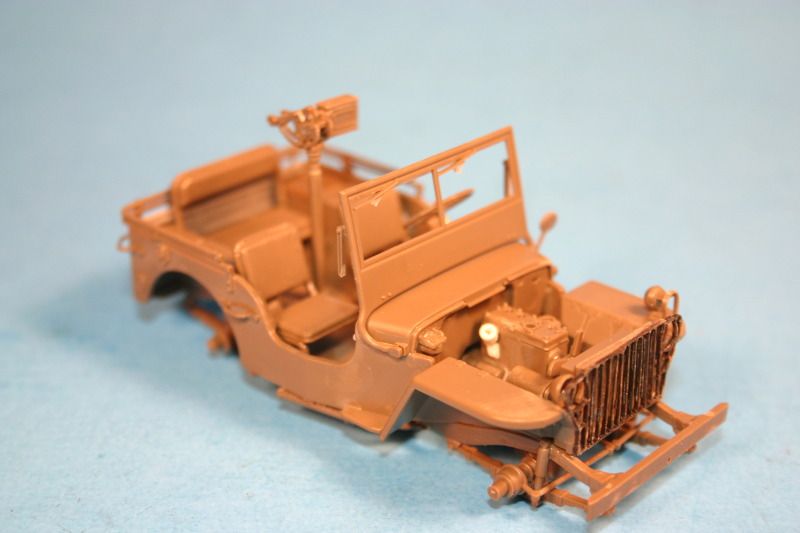
I have also added the hand operated windshield wipers and added the ignition coil and distributor to the right side of the engine, which Tamiya neglected. I also added the side wall supports below the dashboard, brake and clutch pedels, and various smaller bits and pieces throughout 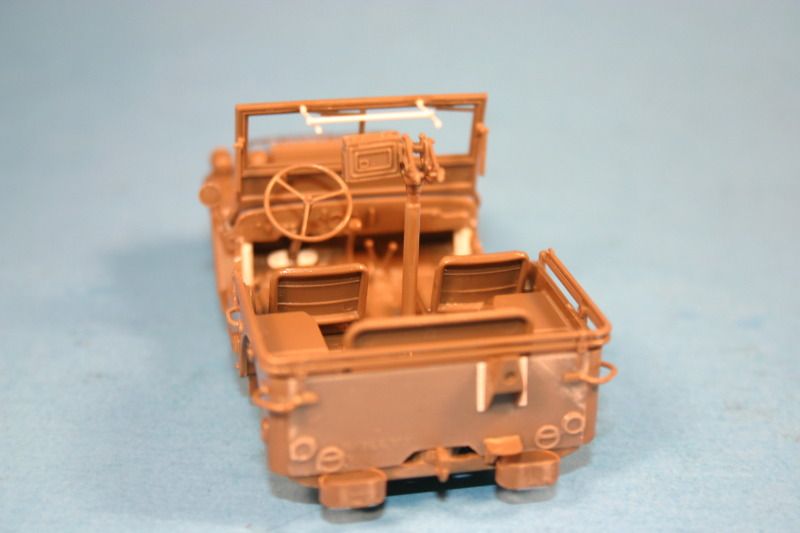
The Lymes Models set contains a laser-cut paper grill and a resin rear panel with raised Willys logo. The grill is very nice and has fine details, but it is very, very fragile. I broke it a couple times in handling and applying it to the model. I used superglue to attach it. I also found that saturating it with superglue and letting it dry well, then sanding it left it very smooth and hard as plastic. It came out great. There was no issue with the resib rear plaet either. It fit the Tamiya kit perfectly.
More to come later as it gets further along.
As always, all comments are welcomed.
Gino P. Quintiliani - Field Artillery - The KING of BATTLE!!!
Check out my Gallery: https://app.photobucket.com/u/HeavyArty
"People sleep peaceably in their beds at night only because rough men stand ready to do violence on their behalf." -- George Orwell