SEARCH FINESCALE.COM

Enter keywords or a search phrase below:

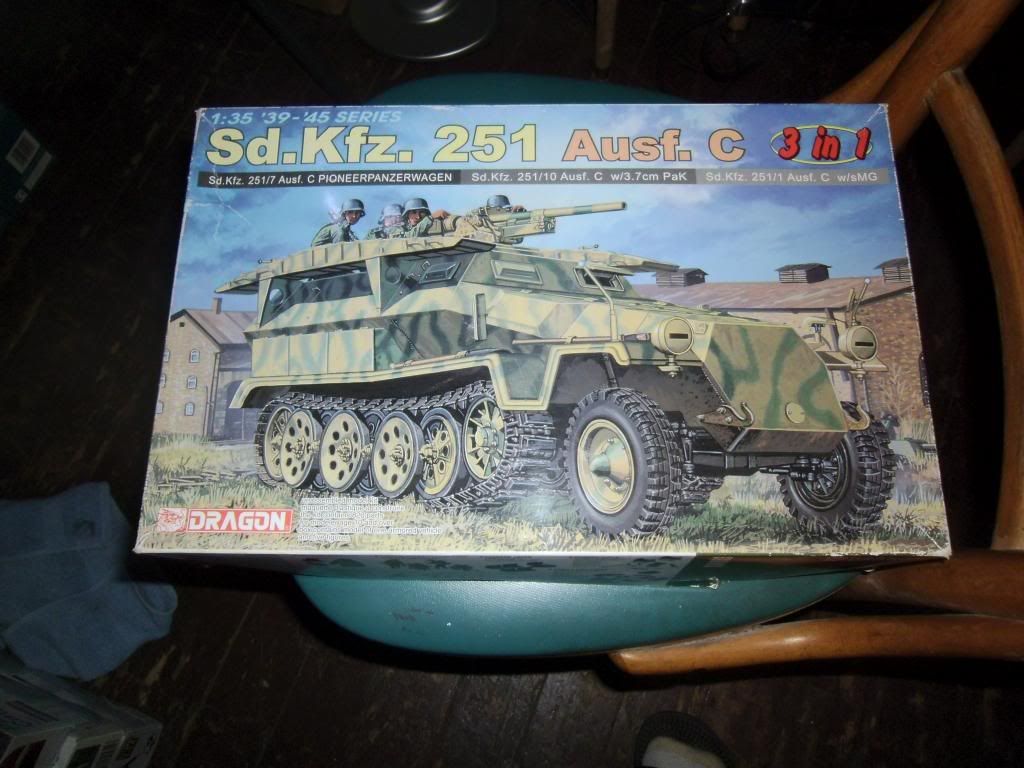
Dragon Sd.kfz. 251/7 Ausf. C

2257 views
6 replies
1 rating 2 rating 3 rating 4 rating 5 rating
  • Member since
    December 2002
  • From: Bury St Edmunds, Suffolk, England
Posted by Bish on Tuesday, January 29, 2013 3:35 PM

Nice, haven't seen a 251 on here for a bit. I've got this kit as well, so will be watching.

I am a Norfolk man and i glory in being so


On the bench: Airfix 1/72nd Harrier GR.3/Fujimi 1/72nd Ju 87D-3

  • Member since
    August 2012
  • From: Parker City, IN.
Posted by Rambo on Tuesday, January 29, 2013 3:27 PM

Thanks for the help guys! I'm going to build this up as the /7 pioneer version dry fitting the sides I can see that there might be some gap issues along the front corners and rear corners only slightly tho.

Mikeym.. Thanks for the heads up on the ammo bins I was thinking about using the 3.7 cm Pak and ammo bins for another build but I will check out the Tamiya kit you are talking about for that one.

Clint

  • Member since
    September 2006
  • From: Australia
Posted by Blitzwing on Tuesday, January 29, 2013 3:39 AM

I built the pioneer version of this year ago and if memory serves correct I had some problems with gaps on the corners of the rear hull. Keep the updates coming.

URL=http://picasion.com/]

  • Member since
    March 2004
  • From: Kincheloe Michigan
Posted by Mikeym_us on Monday, January 28, 2013 9:31 PM

I would suggest if you do the 3.7cm Pak armed version do not use the ammo boxes included they are incorrect though the ammo locker does look like it is large enough to hold 3.7cm ammo. And also do not use the ammo either as that is not correct either as it looks like a .50 cal ammo round. BTW 3.7cm Pak ammunition is actually the same size as the 3.7cm Flak ammunition and if you want some correct ammo boxes look no farther than the Tamiya boxing of the 3.7cm Pak. I compared the boxes with some Armorscale 3.7cm Pak ammunition and they were the right length for the boxes.

Rambo

So I've been working on this for awhile just starting to get things fit together here's where I'am at
The Eduard PE set adds a lot of nice interior bits if i had to do it again tho i wouldn't have used the gauge cluster the kits is nice enough and the Eduard one is being a bit of a challenge. Also there are two supports behind the seats that Eduard has included to replace the kits being that they are thinner they was a pain to bend even in my etchmate but I think I'm going to go with the kit pieces seeing that they offer bolt detail on both side and are alot sturdier for later handling.

Here just seeing how things are going to play with each other seems good so far

Another question this is the drive housing does it fit flush againts the body or does it stick out like this? it woult fit any closer to the body with out thining the nubs it slides over

and last the front end all workable thanks to Bills instructions on how to keep it that way


On the workbench: Dragon 1/350 scale Ticonderoga class USS BunkerHill 1/720 scale Italeri USS Harry S. Truman 1/72 scale Encore Yak-6

The 71st Tactical Fighter Squadron the only Squadron to get an Air to Air kill and an Air to Ground kill in the same week with only a F-15   http://photobucket.com/albums/v332/Mikeym_us/

  • Member since
    November 2003
  • From: Tennessee
Posted by cpd934 on Monday, January 28, 2013 8:40 PM

I have the same kit in the stash. I'll be keeping an eye on your build.

  • Member since
    July 2004
  • From: Texas
Posted by wbill76 on Monday, January 28, 2013 8:35 PM

Off to a good start Clint, keep us posted on your progress! The hub shouldn't sit flush, you have it correct.

  • Member since
    August 2012
  • From: Parker City, IN.
Dragon Sd.kfz. 251/7 Ausf. C
Posted by Rambo on Sunday, January 27, 2013 6:56 PM

So I've been working on this for awhile just starting to get things fit together here's where I'am at

The Eduard PE set adds a lot of nice interior bits if i had to do it again tho i wouldn't have used the gauge cluster the kits is nice enough and the Eduard one is being a bit of a challenge. Also there are two supports behind the seats that Eduard has included to replace the kits being that they are thinner they was a pain to bend even in my etchmate but I think I'm going to go with the kit pieces seeing that they offer bolt detail on both side and are alot sturdier for later handling.

Here just seeing how things are going to play with each other seems good so far

Another question this is the drive housing does it fit flush againts the body or does it stick out like this? it woult fit any closer to the body with out thining the nubs it slides over

and last the front end all workable thanks to Bills instructions on how to keep it that way


Clint

JOIN OUR COMMUNITY!

Our community is FREE to join. To participate you must either login or register for an account.

SEARCH FORUMS
FREE NEWSLETTER
By signing up you may also receive reader surveys and occasional special offers. We do not sell, rent or trade our email lists. View our Privacy Policy.