SEARCH FINESCALE.COM

Enter keywords or a search phrase below:

Sd.fkz 251/17 ausf. D Finished

1529 views
9 replies
1 rating 2 rating 3 rating 4 rating 5 rating
  • Member since
    January 2014
Sd.fkz 251/17 ausf. D Finished
Posted by radfahrer on Friday, January 24, 2014 2:42 PM

Hey everyone,

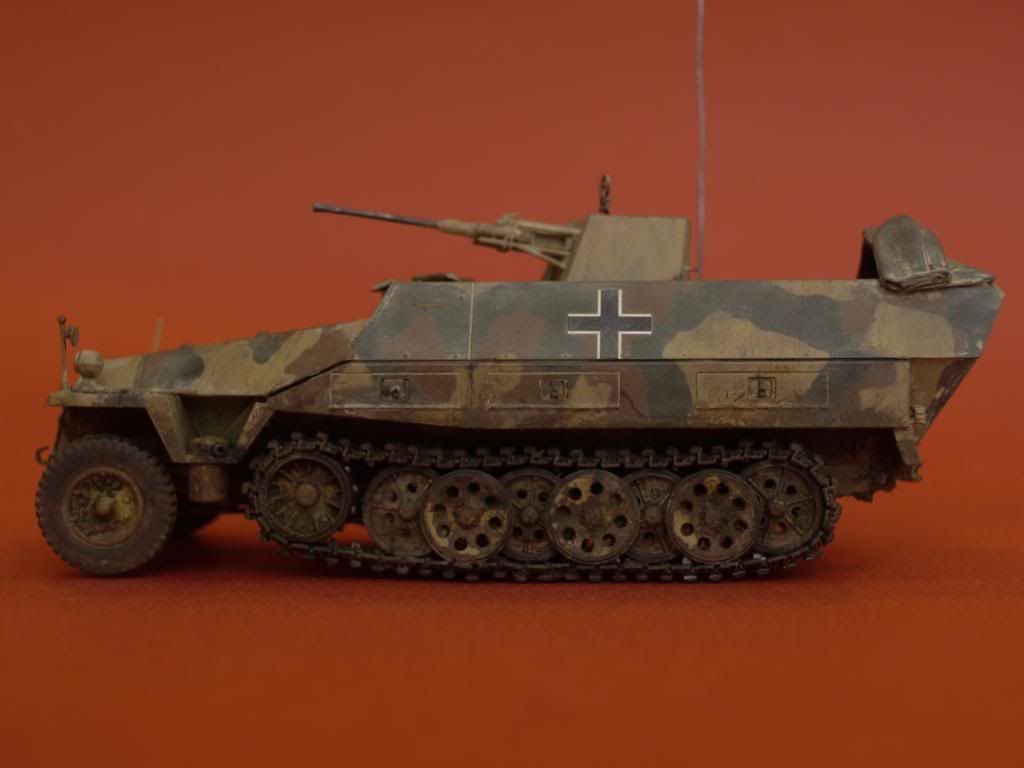
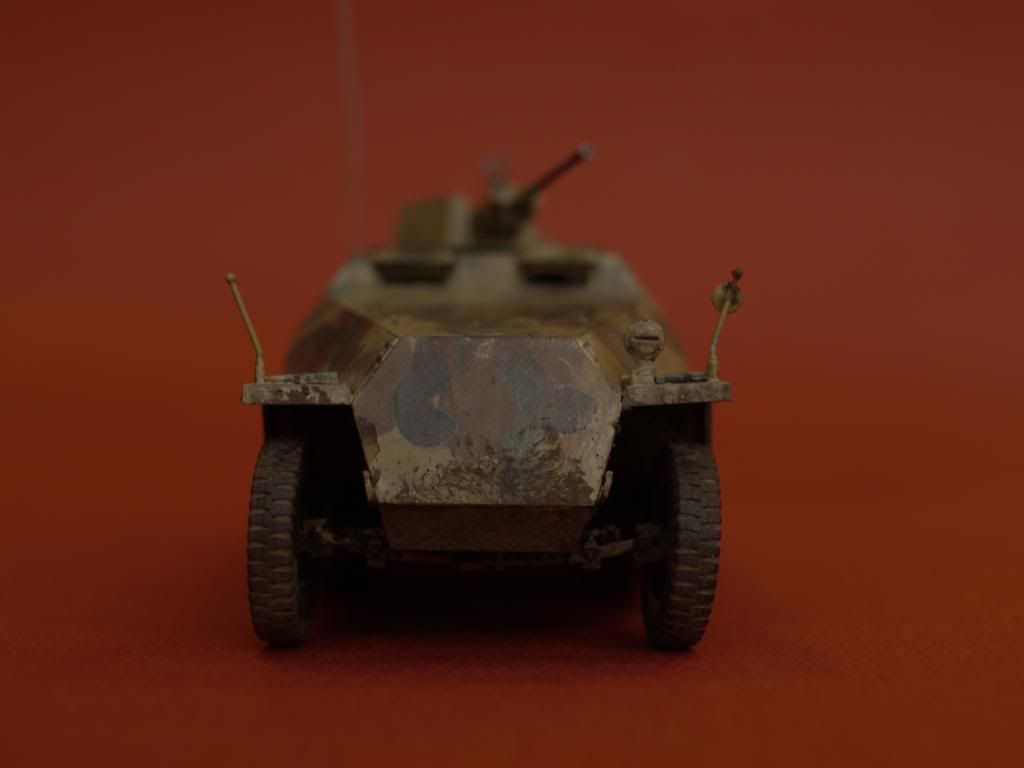
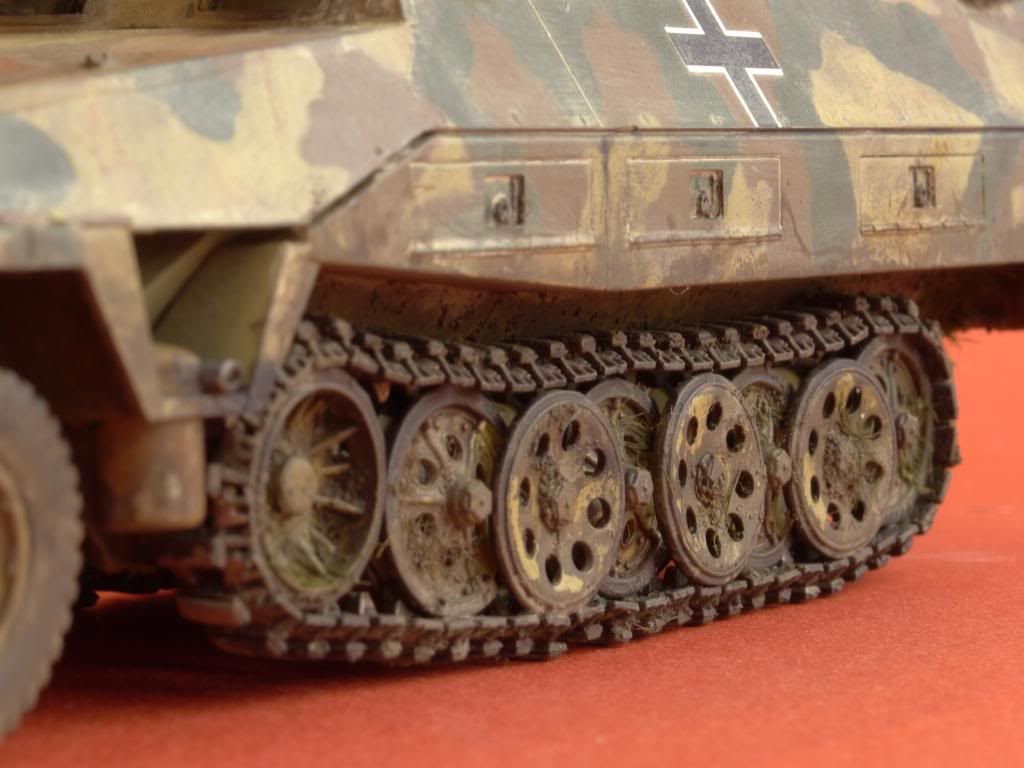
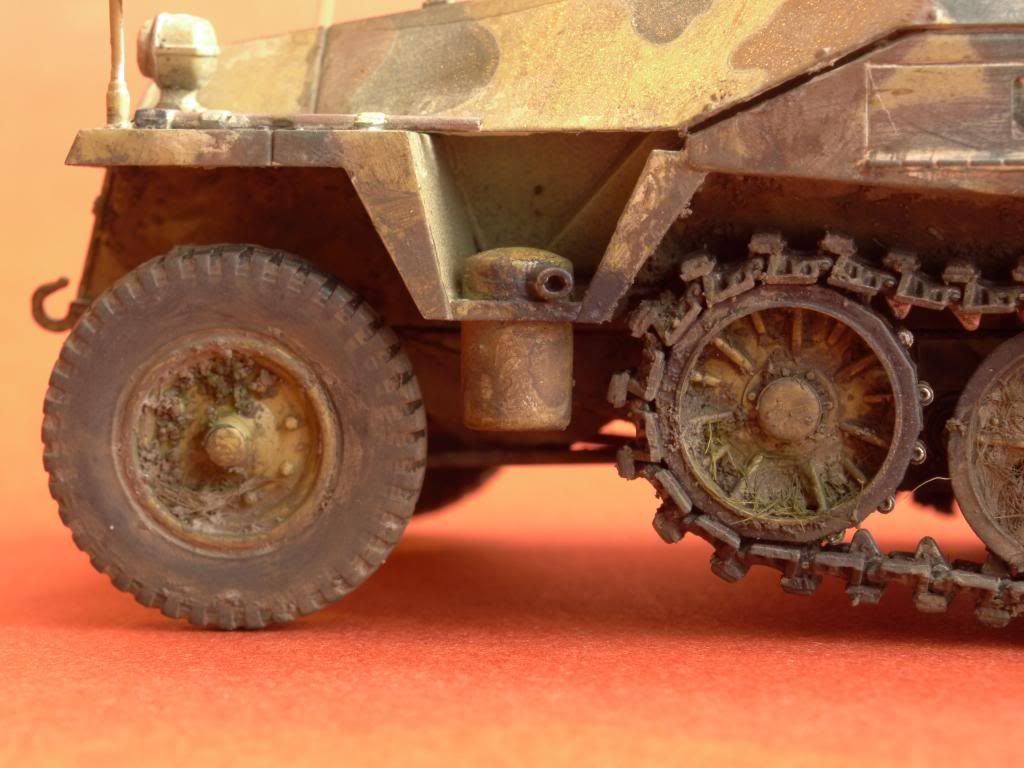
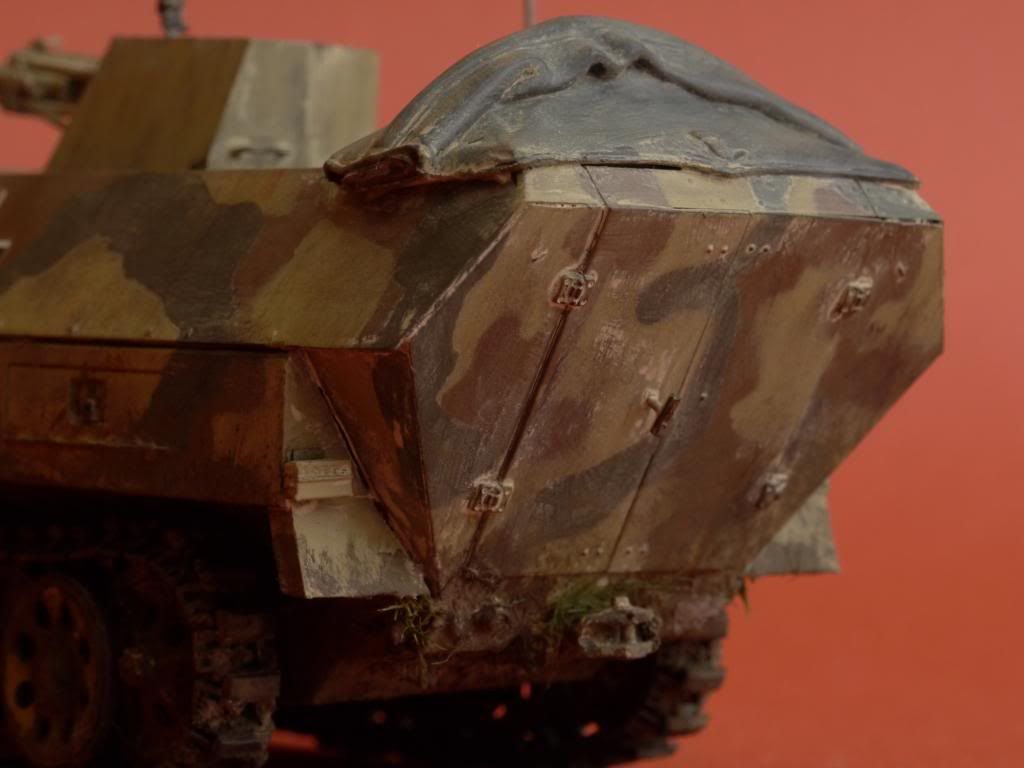
Started this kit years ago, but moved to a new state, left the model kits back home. A recent bicycle accident has me back home for a bit, so I went down and found this kit on it's way to completion. At the time I had finished construction, and interior painting. Interior was weathered, outside had to be weathered. I had applied pigments and done some dry brushing but never sealed with any dull coat. I decided to remove most of the pigments, give it a gloss coat and do another wash or two before I start any mud on the lower hull. Here it is after a gloss coat:

[/URL]

[/URL]

[/URL]

[/URL]

In the last shot you can see one of the problems I had with the camo. I used silly putty to mask off the various colors however I applied the paint a little too thick.. oh well. Good to get back into the hobby I have missed it. Tonight i'll be applying washes.. and maybe start on some lower hull dirt. Thanks for lookin'!

  • Member since
    January 2014
Posted by radfahrer on Saturday, January 25, 2014 11:40 AM

Added some pin washes to bring out a few small details, and did a little highlighting with an 8B pencil. I like using a thick B pencil for this as you don't have to push very hard on the pencil, and it let's you 'draw' on the scratches and chips:

[/URL]

[/URL]

In this photo you can see two things that I learned from this build. If you look closely at the decal of the german cross, you can see that some of my dust pigment mixture has lined the edges of the decal. This shows how important it can be to closely trim your decals, and to also insure they are sealed with a good gloss coat before you do any weathering. Also another thing in this photo to spot, the large sink hole in the interior. Back when I built the model I wasn't so focused on filling in holes, however... I have some ideas for creative stowage to add to this apc to cover them up. Next up, weathering the lower hull.

  • Member since
    January 2014
Posted by radfahrer on Saturday, January 25, 2014 3:08 PM

Ok time to get dirty.

First thing I do is make a relatively thick wash of burnt umber, black, and green acrylic craft paint. Key to making this wash is not using too much paint; it's much easier to change the color if you've only used a few drops.

The two techniques I like to use when adding mud and dirt are to work dark to light, and to work from the crevices outward. This dark wash is adding my darks to the mud shading, and is getting into all of the nooks and crannies. It may look like a lot of liquid, but you can always use a dry brush to soak up excess.

Or you can dab at the wash with a paper towel. This will create an irregular pattern for it to dry.

 ]

Guess what this is? No, not cat vomit, it's woodland scenics fake snow mixed with various colors to make a lighter shade of mud than the washes. When your washes have dried, glob this onto the road wheels and wherever you think mud would go. I looked at some real reference photos for inspiration.

All of this is getting a little heavy on the road wheels, so once it all dries I wet some spots with a small brush, and use a q-tip to rub off some of the mud. This brings out the original colors and creates a great contrast for the dirt.

Now I use pigments to blend the lower hull with the upper. I use tamiya weathering sets, but you can also mix your own colors by cutting up pastels. I have a couple from a cheap set that i've mixed in the clear plastic cap.

After some pastel dusting, I add some more texture to the weathering. This time it's woodland scenics "Static Grass Flock". It comes in a huge tub that'll last a lifetime. The grass is gold colored, so I mixed in some green paint to give the lower hull some color.

To tone down the green, I dab a bit of the darker wash hues over top of the grass to blend it all in. All blended in, the layers are staring to work together.

Thanks for reading!

EDIT: some weird stuff is happening when I post the pictures.. so somehow my text is a giant link. anyone know whats up?

  • Member since
    April 2005
  • From: Gothenburg
Posted by JohanT on Sunday, January 26, 2014 3:36 AM

Hi radfahrer;
No clue what is happening to your texts but the pictures and your comments are coming across OK
!
Very good and instructive blog Wink
Your results speak for themselves, nice going!

Thank you for sharing!
Very Best Regards
Johan,  

  • Member since
    December 2002
  • From: Bury St Edmunds, Suffolk, England
Posted by Bish on Sunday, January 26, 2014 5:13 AM

When you copy the link in Photobucket, use the Direct Link rather than the IMG code option. But then you need to use the 'Use rich formatting link and then the post pictures link.

Nice work on the weathering. Is this the Dragon kit.

I am a Norfolk man and i glory in being so


On the bench: Airfix 1/72nd Harrier GR.3/Fujimi 1/72nd Ju 87D-3

  • Member since
    January 2014
Posted by radfahrer on Sunday, January 26, 2014 10:43 AM

Ahh got it! Was wondering what the rich formatting option was for. Yes it's the Dragon kit. Went together well, has a nice interior too with some PE parts supplied.

  • Member since
    December 2002
  • From: Bury St Edmunds, Suffolk, England
Posted by Bish on Sunday, January 26, 2014 10:47 AM

I built that kit myself a few years back, I have a bit of a thing for 251's. It is rather nice.

I am a Norfolk man and i glory in being so


On the bench: Airfix 1/72nd Harrier GR.3/Fujimi 1/72nd Ju 87D-3

  • Member since
    March 2013
  • From: Puebla, Mexico
Posted by garzonh on Sunday, January 26, 2014 2:29 PM

What a nice build and instructions to do it your own.

Thanks for the sharing the secrets.

Everything looks nice and even, specially for that size.

Kudos my friend!

  • Member since
    January 2014
Posted by radfahrer on Sunday, January 26, 2014 2:53 PM

Edit.. making sure I figure out images before posting

  • Member since
    January 2014
Posted by radfahrer on Sunday, January 26, 2014 2:59 PM

Glad you can follow along Garzonh that's the best compliment to receive when trying to make a step by step photo series, thank you. This is the first time I've taken step by step photos of weathering. I usually get so into it I forget to document the process.

She's finished! Did a final dull coat over everything, and added some little details to the interior.
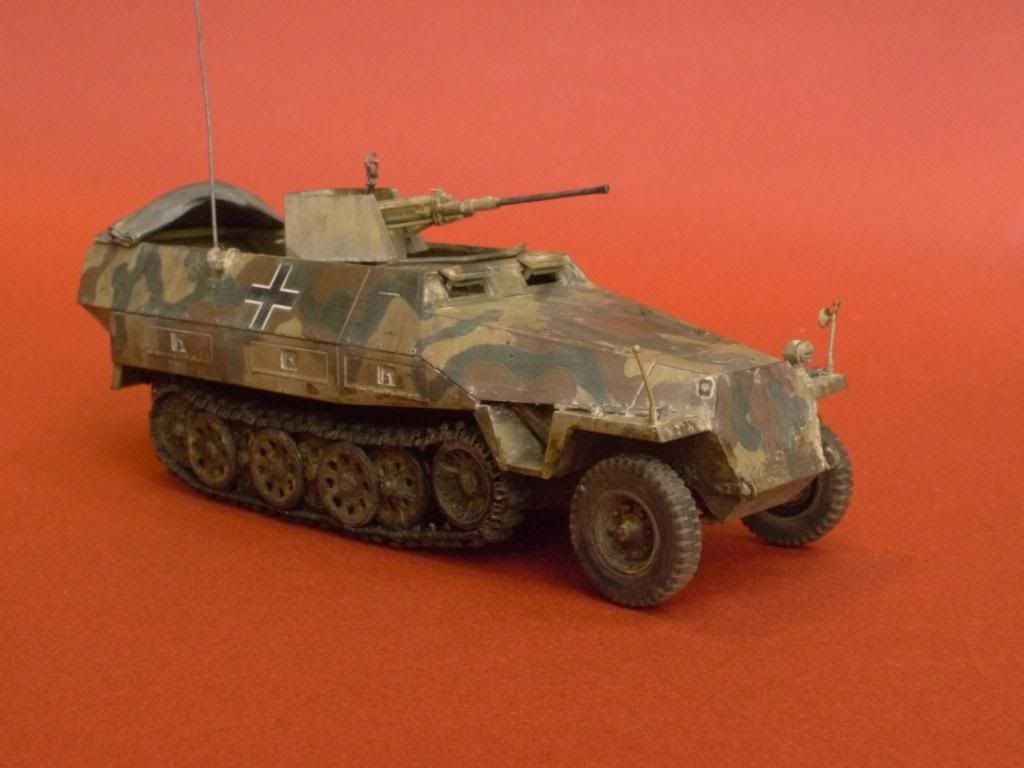
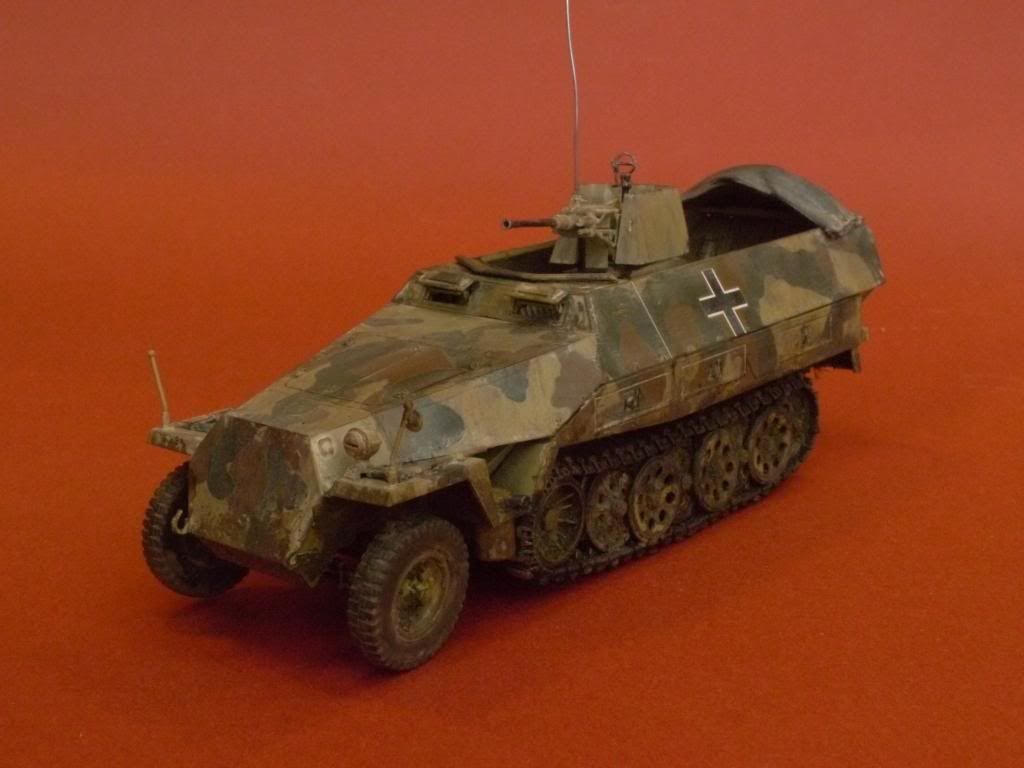
Some twigs I gathered outside a while ago made perfect logs. The crew needs to keep some dry firewood
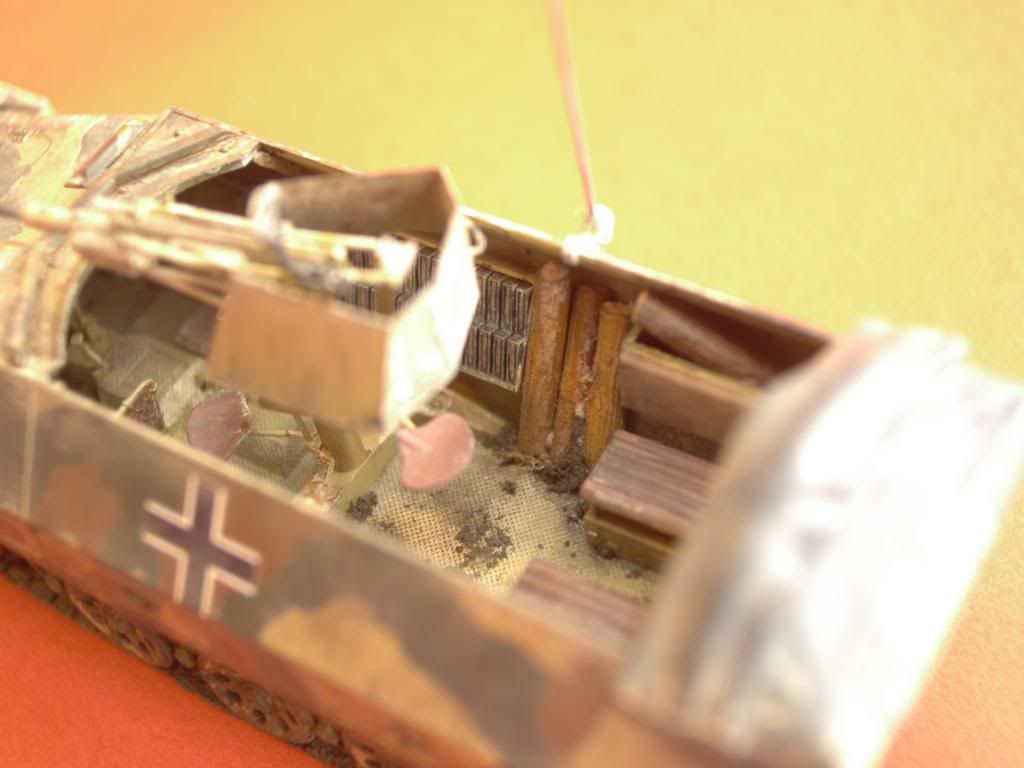
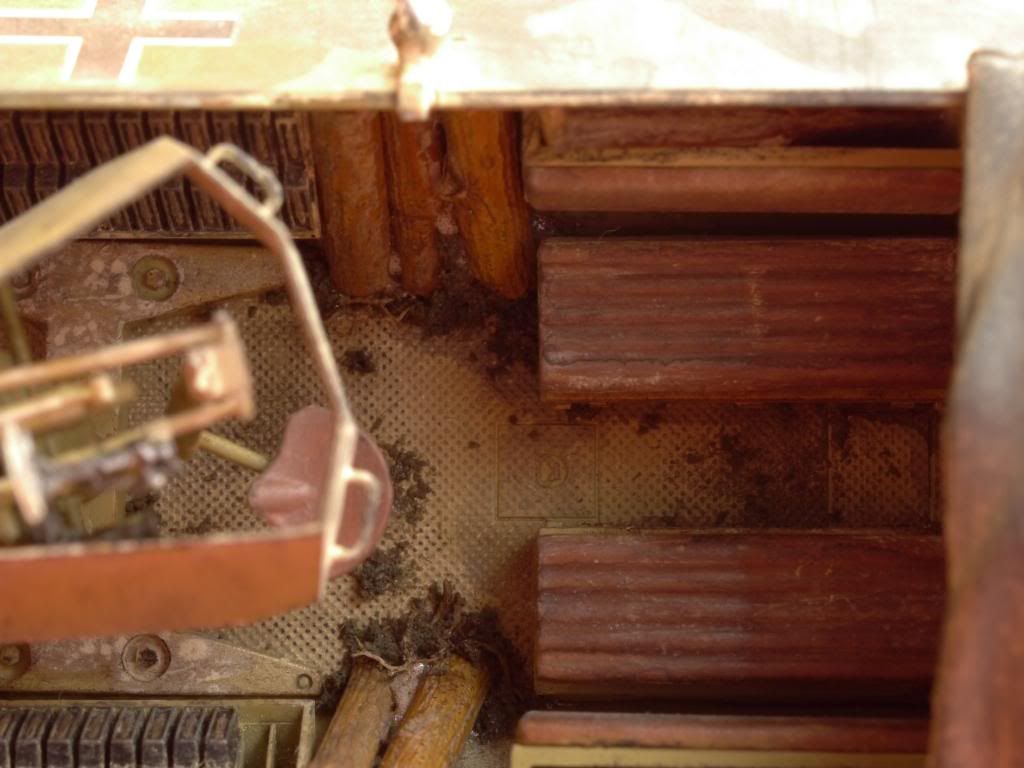
I'm happy with the way this one turned out. I usually have so much fun weathering that I get carried away and all my vehicles turn out so filthy! I tried a more minimal approach this time and couldn't be happier with the results. Thanks for looking!

JOIN OUR COMMUNITY!

Our community is FREE to join. To participate you must either login or register for an account.

SEARCH FORUMS
FREE NEWSLETTER
By signing up you may also receive reader surveys and occasional special offers. We do not sell, rent or trade our email lists. View our Privacy Policy.