As above. But a some additional from me. If you're doing smaller (as in not long) pe stuff, you might consider the 2" Hold 'n' Fold. It's about $25, and does a lot of the smaller stuff, and can be held up for "eye level" work.
Make sure you clean your pe stuff before you remove the parts from the fret. I use lacquer thinner, others used alcohol.
Annealing the parts can help you bend them easier, if you don't over do it. Heat the parts over a candle until it glows red, then let it cool slowly back to room temperature. If you use a propane torch (like I did the first time), you'll either melt the parts or make them harder not softer.
Bathing the part in vinegar for a few minutes will etch the part and help the glue and paint adhere better.
I have a variety of tweezers and pliers, including a very fine pointed needle nose tweezer, a straight ended eyebrow tweezer, a round nose plier, and one of the most valuable, a flat nosed square ended plier (make sure the jaws aren't serated).
Bill
==========================================================
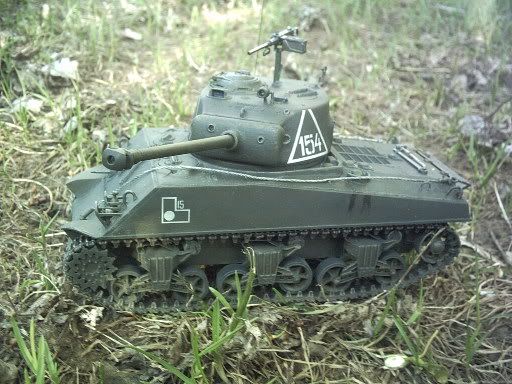
DML M4A2 Red Army
==========================================================


==========================================================
-- There is a fine line between "hobby" and "mental illness". (Author unknown)