SEARCH FINESCALE.COM

Enter keywords or a search phrase below:

Dragon's Sd.Kfz. 234/2 - Completed

1974 views
9 replies
1 rating 2 rating 3 rating 4 rating 5 rating
  • Member since
    May 2012
  • From: Pennsylvania
Posted by pilotjohn on Monday, March 16, 2015 9:05 PM

JayF;

Thank you.  Let me tell you what got me.  First here a screen shot of step 2 from the instructions (I hope this is not illegal to post the instruction picture):
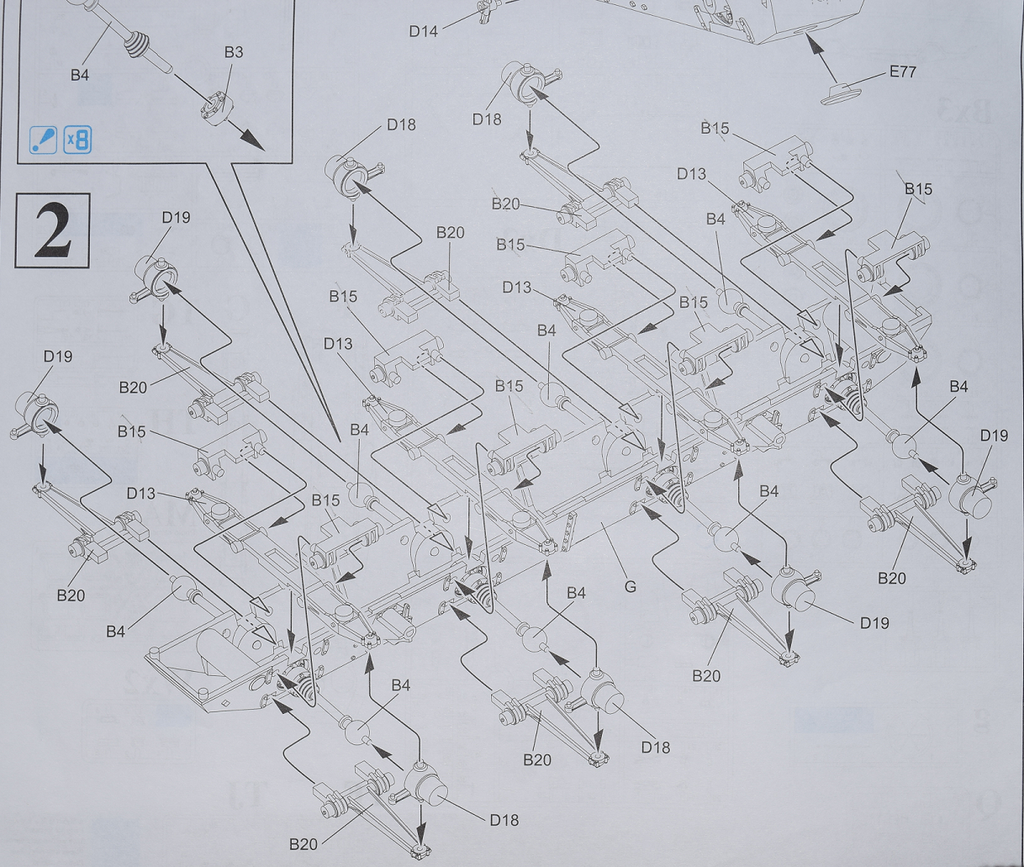
Once I spent some time figuring it all out it wasn't too bad.  It was basically x8 for one assembly. 

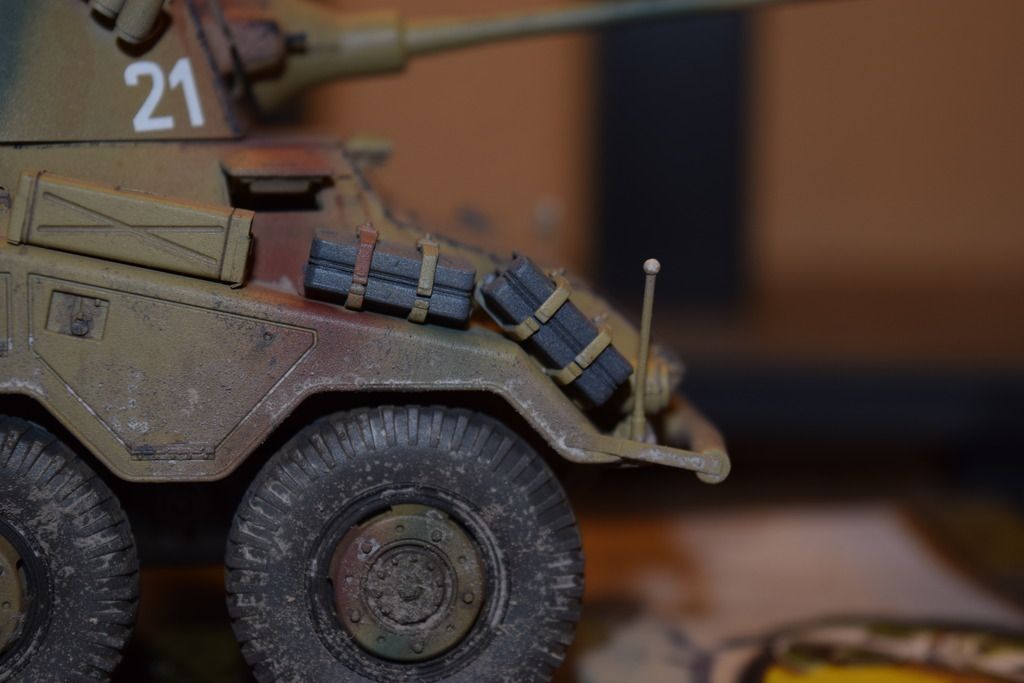
There was a photo etch piece for each jerry can and that seemed to make the straps that wrap around each can to be just a bit too short.  When seen from the side there is a small gap:
Lastly, the view slits can be positioned open and there are a couple of small clear parts that need to get cemented into the window piece.  Keeping the clear part "clear" from all the painting and weathering was a challenge too.  It is a little tough to see:

The antenna that the star piece sits on is very delicate and I broke it try to get it off the sprue and sanded smooth.

Hope that helps.

John

  • Member since
    January 2014
Posted by JayF on Monday, March 16, 2015 3:08 PM

I must say it's a very nice Puma you've built ! Very cool !

The Puma is easily my favorite WWII AFV (just look at my avatar ! Stick out tongue)

I'm tempted of buying this Dragon kit, as I think it's the best kit available in this scale, as others are simply variation of the poor Italeri kit.

How was the assembly ? Is it worth getting ?

  • Member since
    December 2002
  • From: Bury St Edmunds, Suffolk, England
Posted by Bish on Sunday, March 15, 2015 2:18 AM

John, I know what you mean, that's one of the joys of Dragon kits. Eagle was telling me about his /4, 8 parts for each wheel. I have a similar thing going on with the Jagdpanther with internal torsion bars and well detailed axle arms all of which will be out of sight.

I really should add some wheeled armour to the collection and am getting rather drawn to the 234's.

I am a Norfolk man and i glory in being so


On the bench: Airfix 1/72nd Harrier GR.3/Fujimi 1/72nd Ju 87D-3

  • Member since
    May 2012
  • From: Pennsylvania
Posted by pilotjohn on Saturday, March 14, 2015 7:56 PM

Bish;

Thanks.  I was drawn to the nice box art.  I enjoyed the build, but there were soo many parts to the suspension that aren't seen it is kind of a shame.

John

  • Member since
    December 2002
  • From: Bury St Edmunds, Suffolk, England
Posted by Bish on Saturday, March 14, 2015 6:06 PM

That's a nice looking build, nice to see some German wheeled armour.

I am a Norfolk man and i glory in being so


On the bench: Airfix 1/72nd Harrier GR.3/Fujimi 1/72nd Ju 87D-3

  • Member since
    May 2012
  • From: Pennsylvania
Posted by pilotjohn on Saturday, March 14, 2015 6:05 PM

Thank you for the compliment.  I used a 50/50 mix of Vallejo acrylic neutral grey and German grey and applied it with a very fine pointed brush along the lines.

John

  • Member since
    November 2012
Posted by udel09 on Friday, March 13, 2015 5:14 PM

Looks Great!  What color did you use to bring out the panel lines?  

  • Member since
    November 2010
  • From: Florida-West Central
Posted by Eagle90 on Monday, March 9, 2015 5:52 AM

Hey John, I think she looks awesome!  I love the 234 variants!  I have the /1 and /2 from Italeri finished and I'm just about done with the /3 from Testor's.  I have Dragon's /4 to build for the 1945 GB and I must say it is intimidating compared to the Italer/Testors kits!  The camo turned out great too!  My /1 and /2 are int hat scheme, but I did the /3 in plain ole Dark Yellow.  Not sure how I'm going to do the /4 yet.

Great work!

Eagle90


  • Member since
    December 2012
Posted by RX7850 on Saturday, March 7, 2015 9:40 PM

Nice work. I like the understated weathering and chipping.

  • Member since
    May 2012
  • From: Pennsylvania
Dragon's Sd.Kfz. 234/2 - Completed
Posted by pilotjohn on Saturday, March 7, 2015 7:34 PM

I picked this kit up before Christmas and have been working on it ever since.  I wanted to try just using acrylics to see what I could do and I think it turned out pretty well.  It is out of the box with no added stuff.  All the weathering and chipping and painting is acrylic.  I used pigments and white glue for the mud and tried some dot filters with light and dark mud.  Also some rust streaks with Vallejo acrylic light rust and dark rust.  I picked the three color scheme as I like it and the simple markings so it is not authentic.

If you have seen my thread in the photography section you will note that these pics are with my new camera which I am learning with lots more to learn for sure.

John

JOIN OUR COMMUNITY!

Our community is FREE to join. To participate you must either login or register for an account.

SEARCH FORUMS
FREE NEWSLETTER
By signing up you may also receive reader surveys and occasional special offers. We do not sell, rent or trade our email lists. View our Privacy Policy.