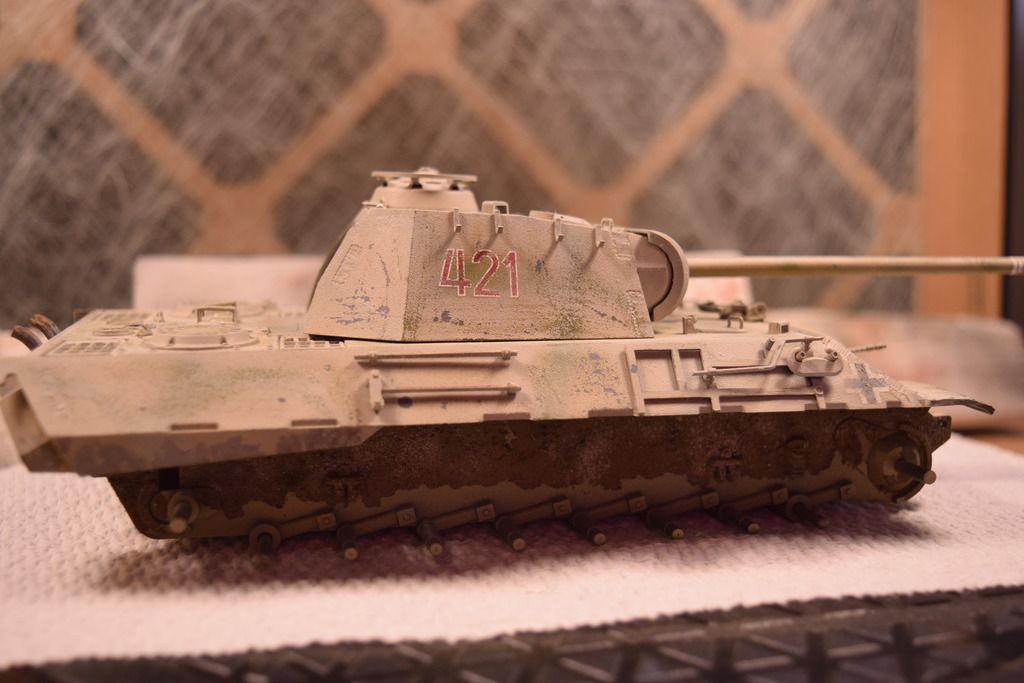
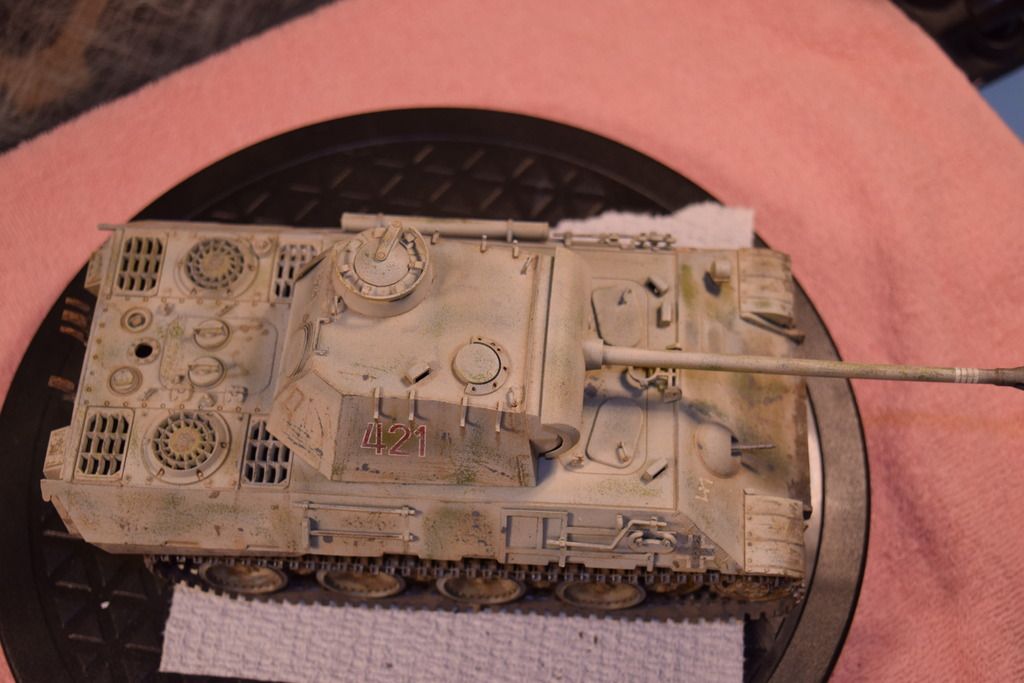
I know this kit has been discussed and it is not up to the more modern standards, but I wanted to experiment with some whitewash and it was only $20 at the LHS. All in all in turned out pretty well. I learn something with each build. My photography is still not the best.
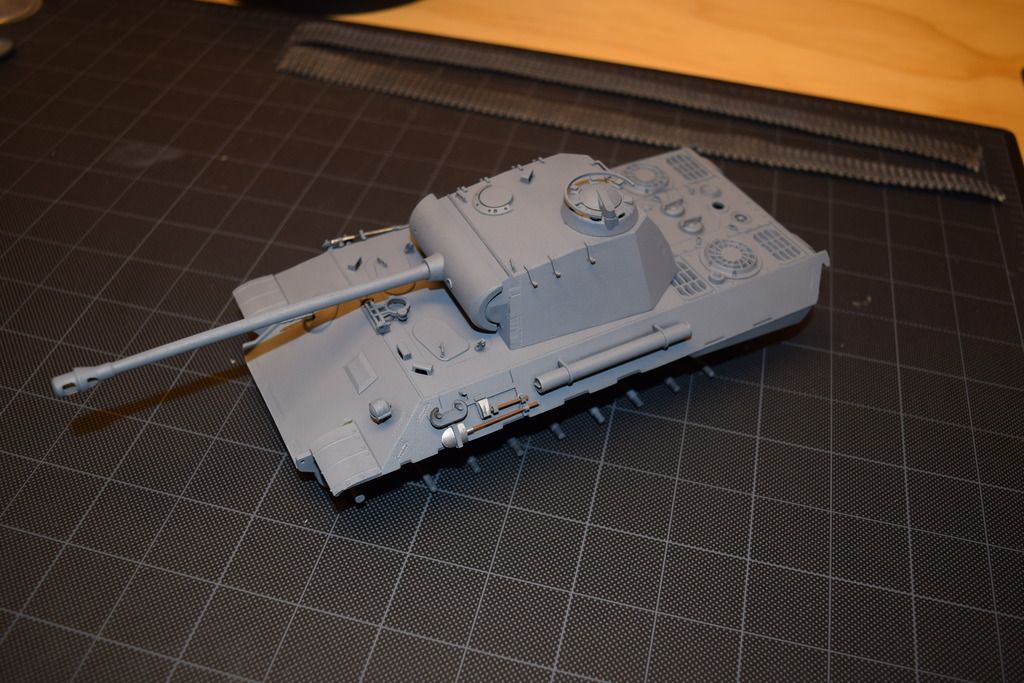
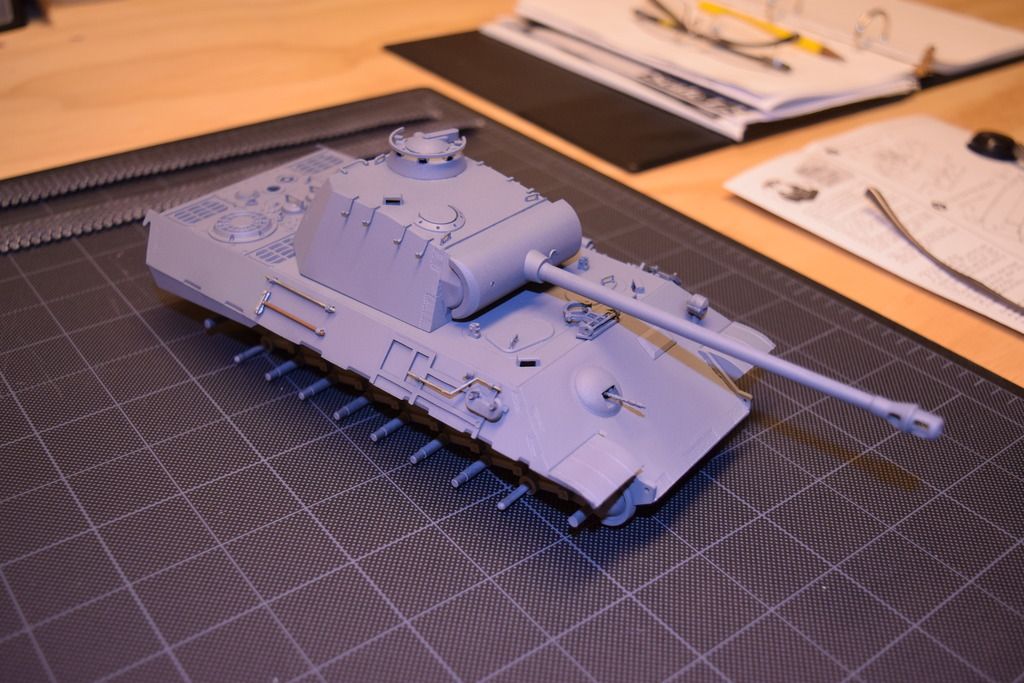
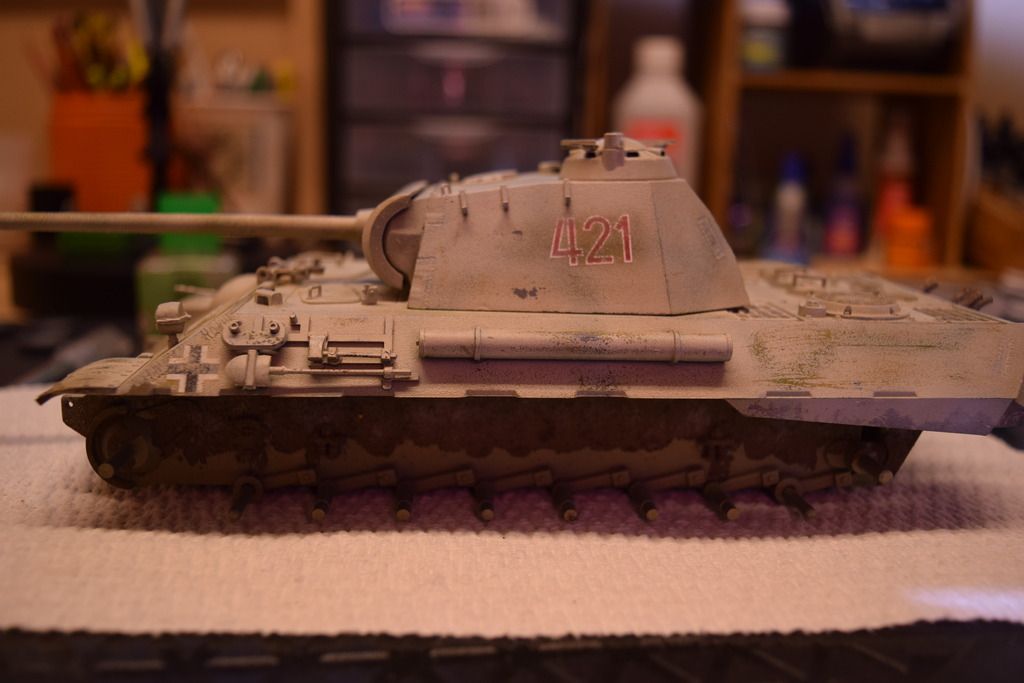
After giving it a primer coat of Schwarzgrau with Vallejo's polyurethane primer, I put on Vallejo's Model Color Neutral Grey and a drop of Model Color Flat Red. I picked some of the hand tools to put on and hand painted those and attached them. I chose to leave off the spare tracks.
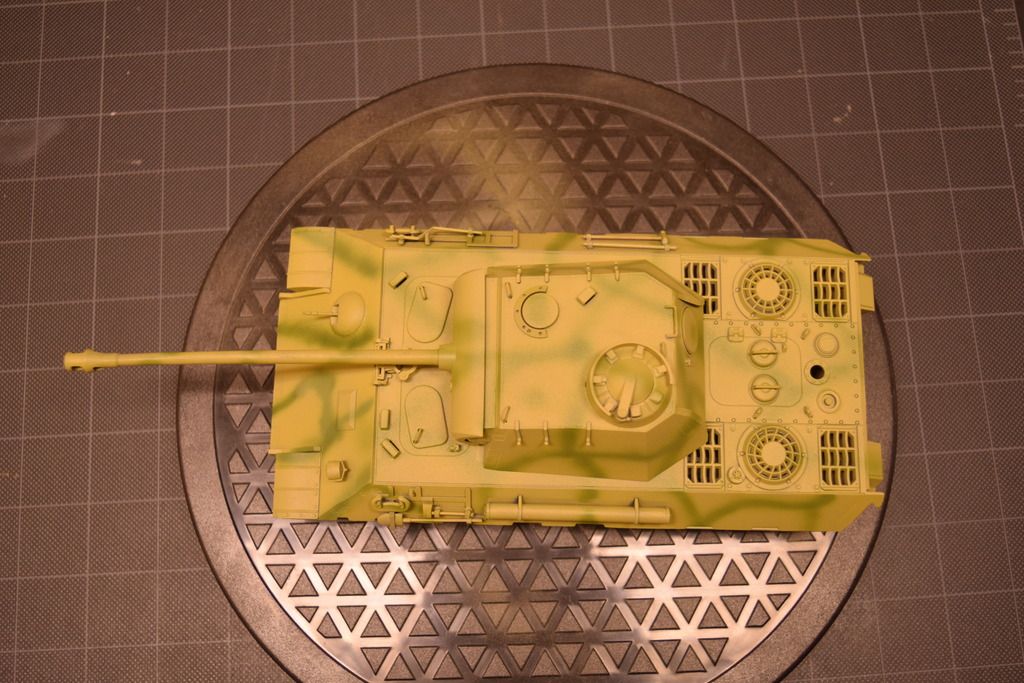
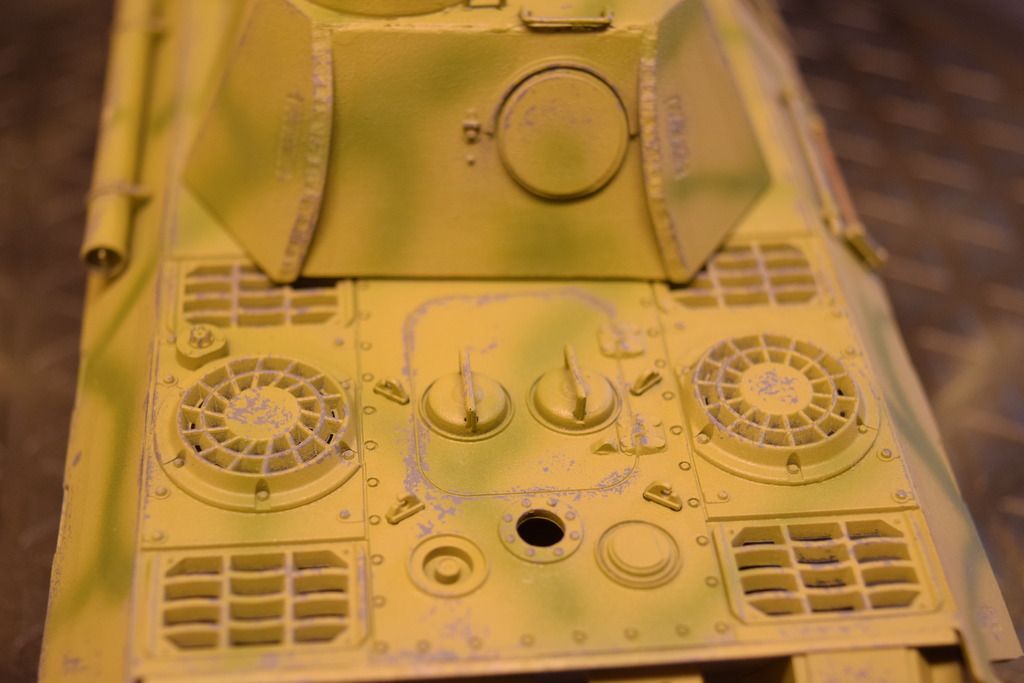
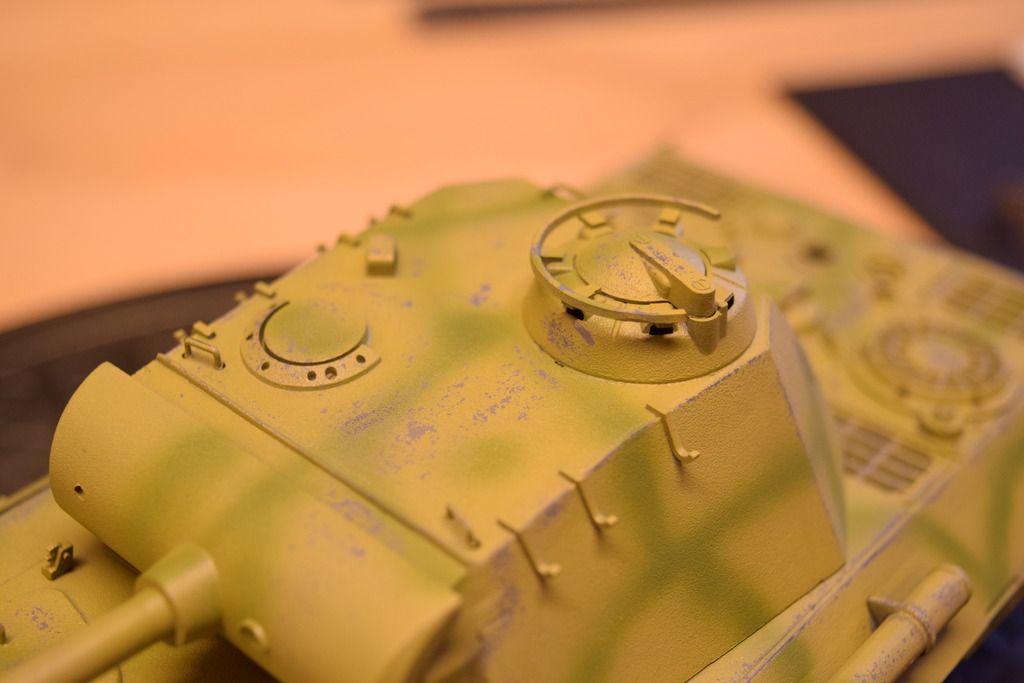
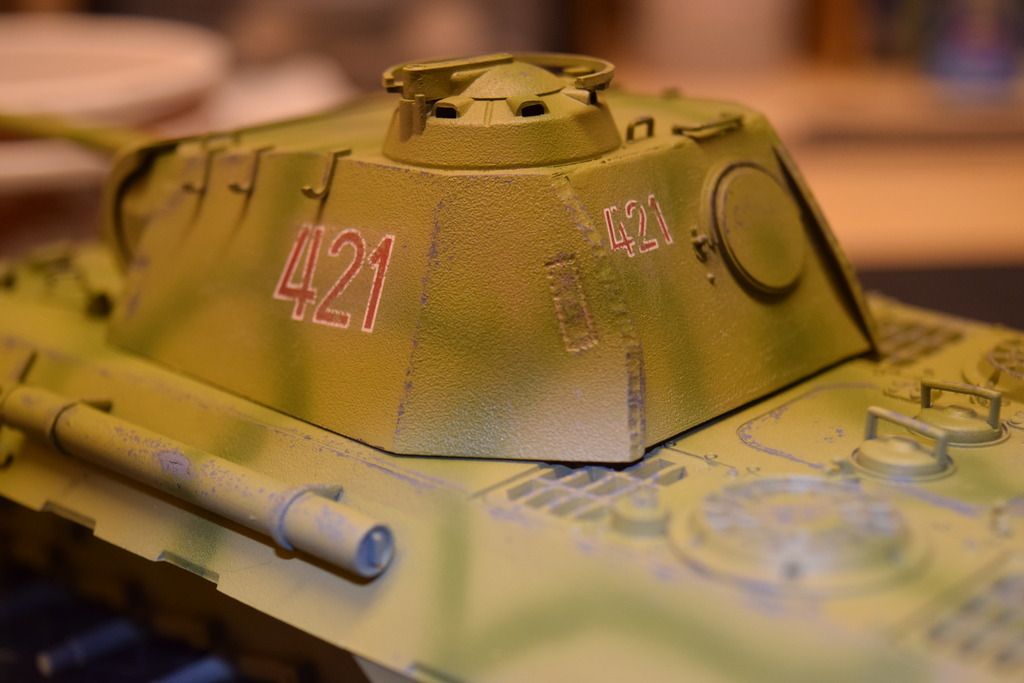
Then I applied the hairspray and let it dry. The I sprayed on my version of Dunkelgelb (Vallejo Model Color Dark Yellow and Model Color German Camouflage Beige). After that dried for a day, I sprayed on the green lines with Vallejo Model Air RLM82 Camouflage Green. I tried to do what the box art showed.

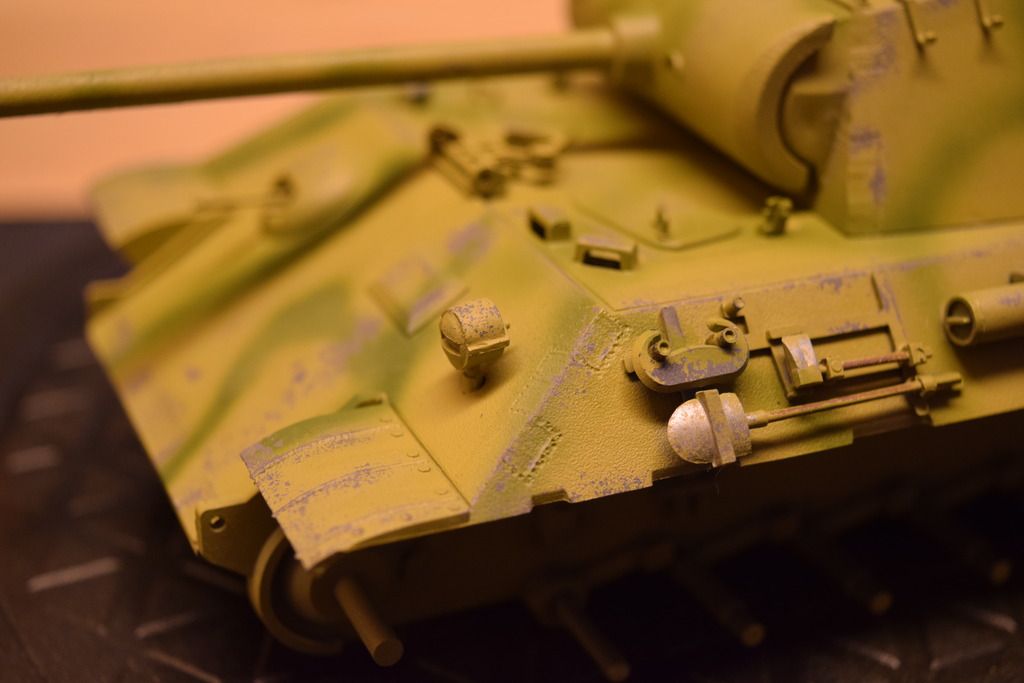
I gave that a day to dry and then went to work with the chipping. I had read Mike Rinaldi's book, so I was curious to see if the chipping would work after a couple of days of drying the acrylics and it was just fine.

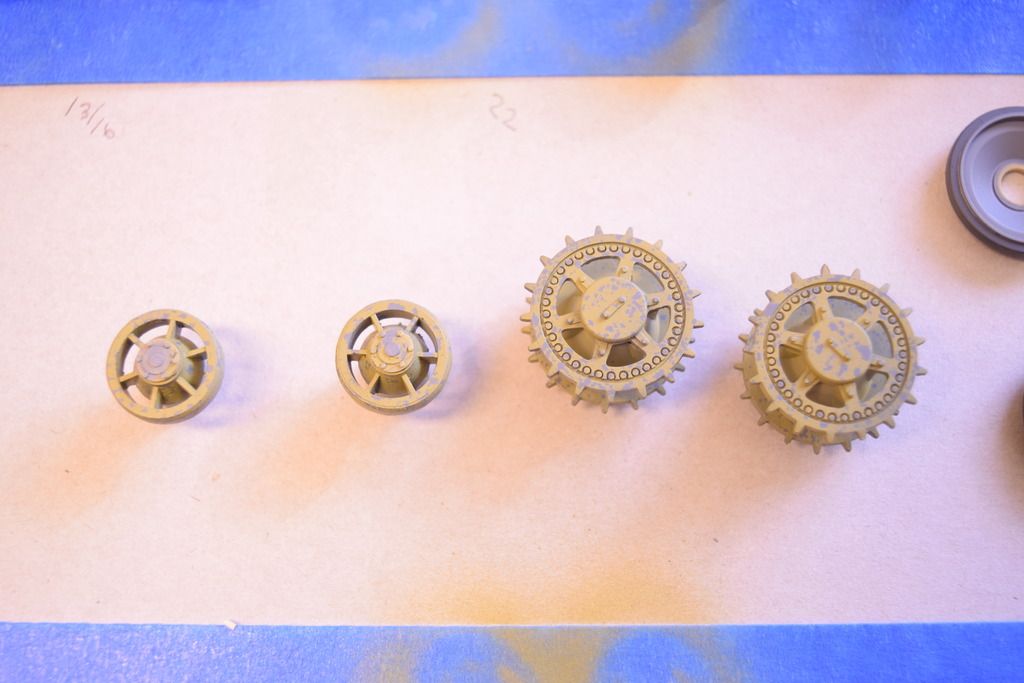
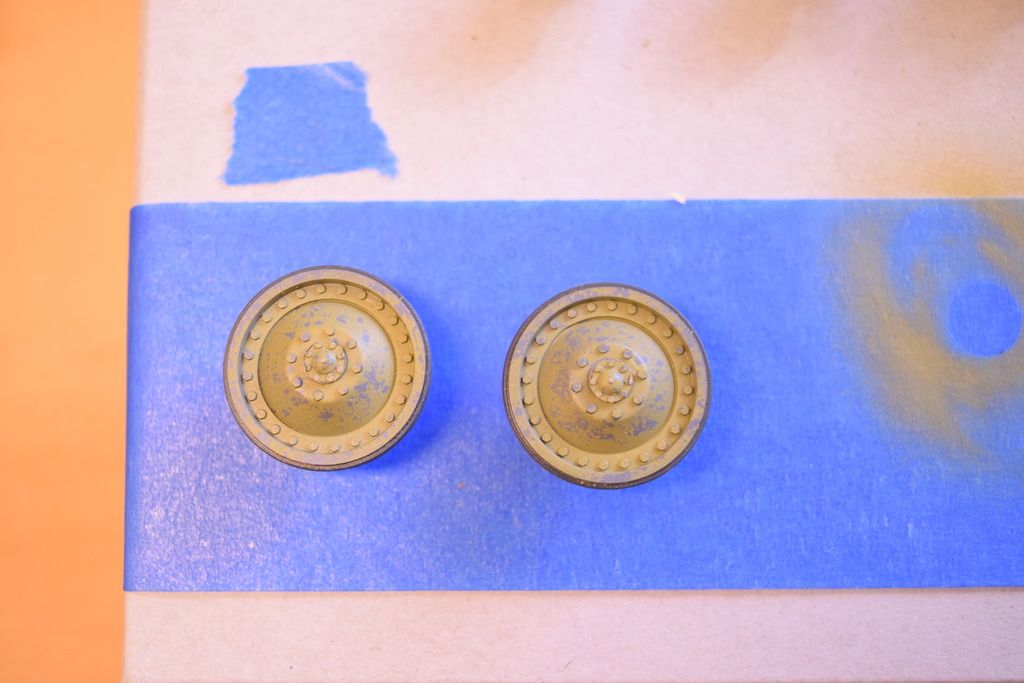
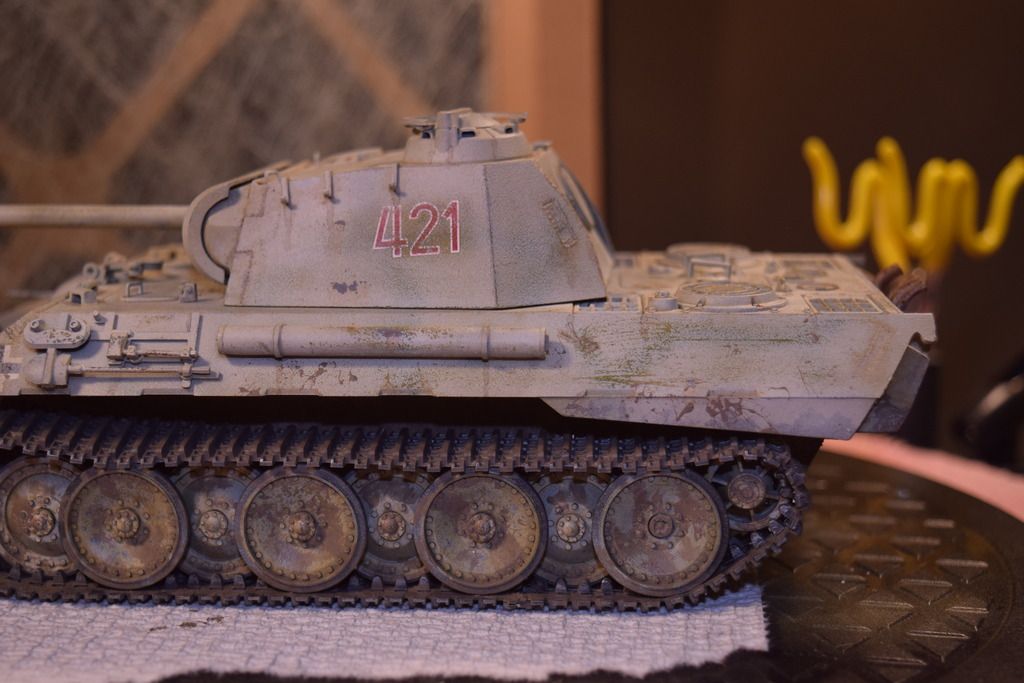
I did the same hairspray technique on the wheels. The road wheel rims were Vallejo Model Color Dark Rubber
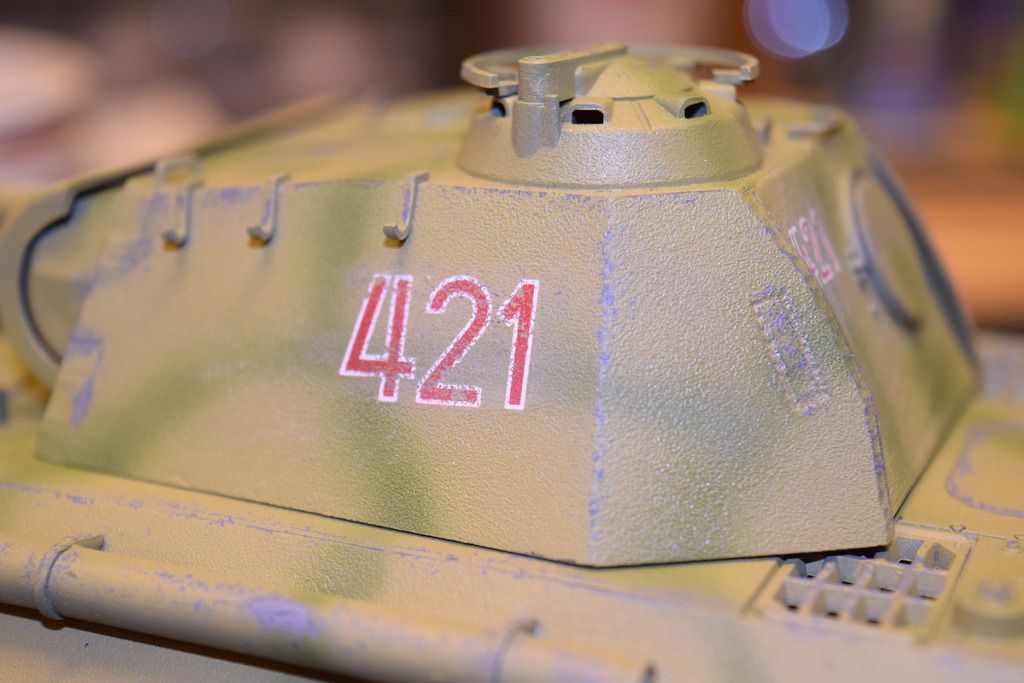
Next the decals and I knew that I wanted to try to get a faded look. I applied them and let it dry for 24 hours and then took a very fine grit sand paper and slowly rubbed them until I started to get some of the color to come off. I then took a more abrasive paper and slowly kept working on them until I got the look I wanted.
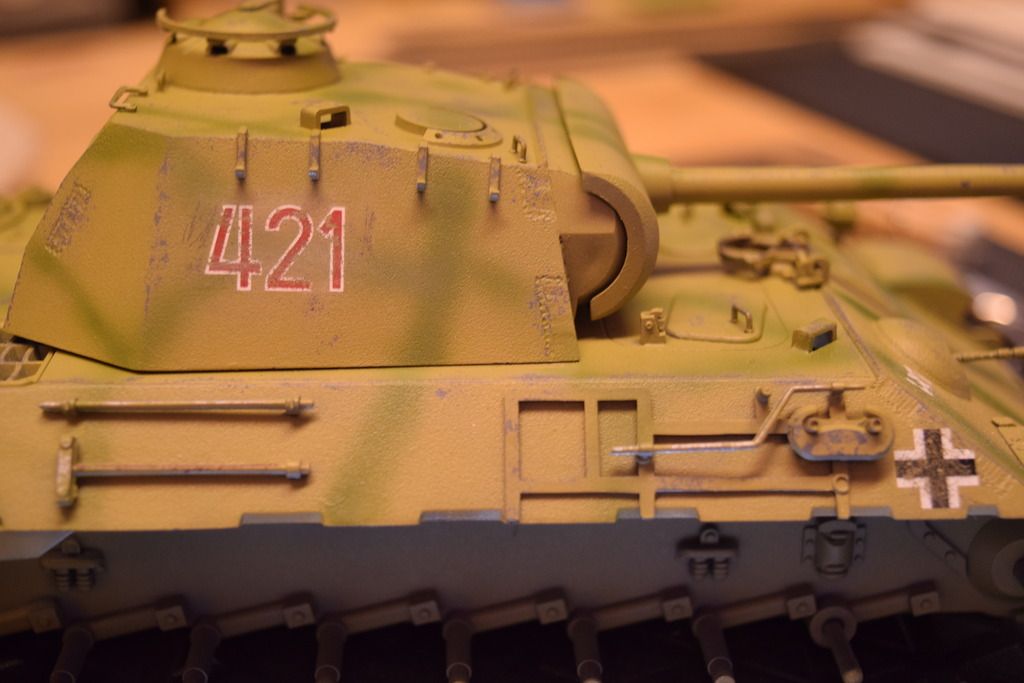
I was feeling pretty good about this and then I hairsprayed again but I tried a different brand and with an aerosol instead of a pump spray. I let that dry and then applied the whitewash of Vallejo Model Color Flat White thinned with an acrylic medium. I let it dry for 24 hours and ran into my first real problem. The white did not want to come off. I am not sure what happened, but I applied lots of water and lots of force with a old brush with the bristles cut down and started to get some success. I added a couple of drops (or more as needed to get it to work) of Testor's Acryl Airbrush Cleaner and it started to work pretty well. I actually got all the way down to the primer in a couple of places. I then added some earth pigments to the lower hull behind the wheels.
The tracks were primed with Tamiya rattle can white. Then I sprayed on a mix of Model Color Natural Steel and German Grey. Then I sprayed on a thin mix of track rust pigment and matte varnish.
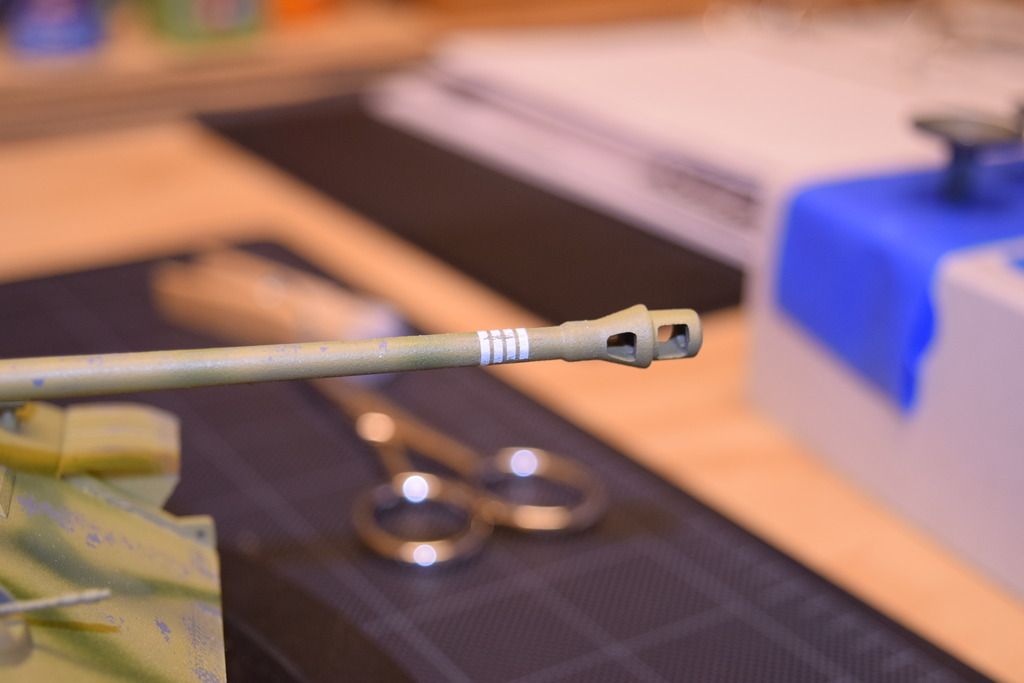
Then I applied a burnt umber oil pin wash to bring out the lines. Then acrylics to get some rust effects and the streaking and oil stains. Some smoke pigment for the end of the barrel and some more rust pigments for the exhausts. Finally I applied the thin mud to the tracks by mixing some Elmer's Clear Glue and Earth pigments. I dry brushed some Vallejo Model Color Natural Steel to some of the track areas. Some mud stains on the sides and front were down by holding a brush with the mud in front of the areas and hitting it with an airbrush to get the splatters. I tried to be subtle and got some decent effects.
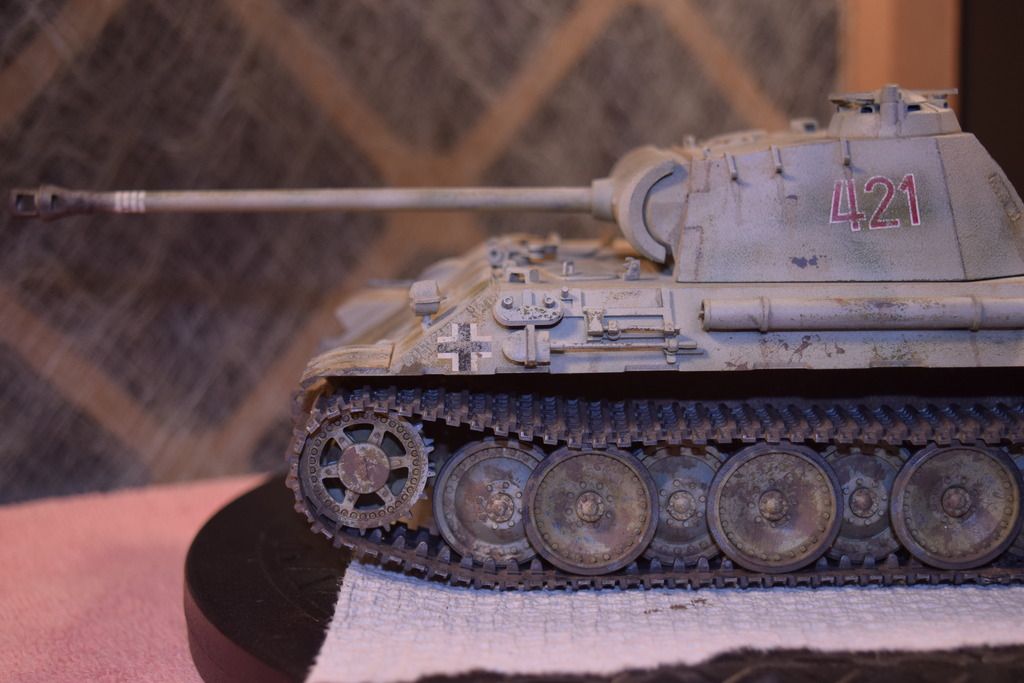
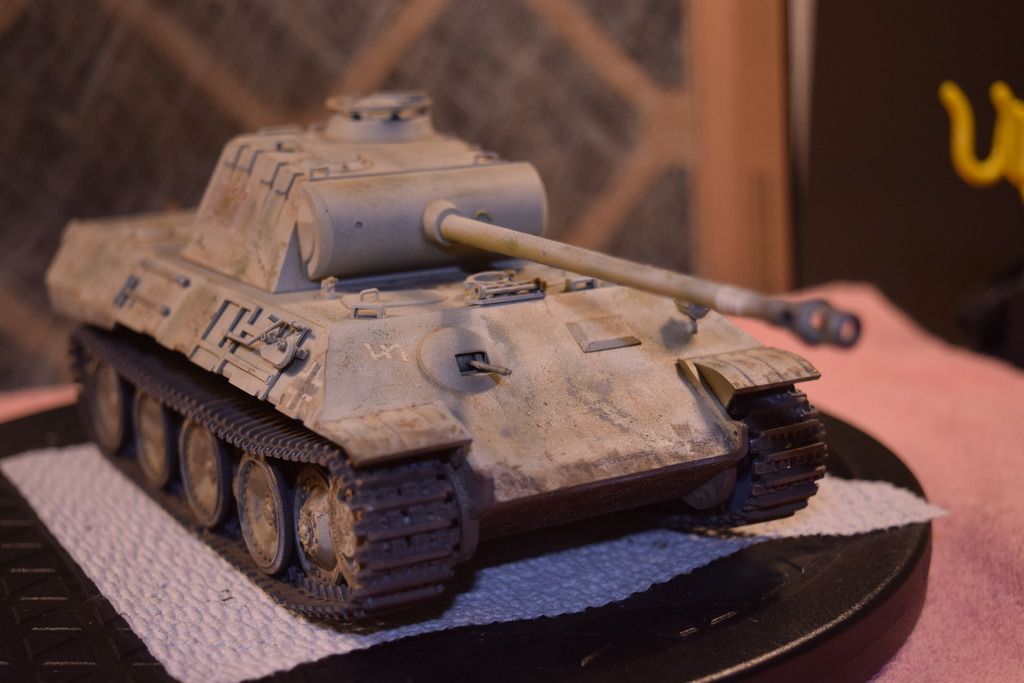
The kit is pretty basic, but I had a great time trying all the new techniques and for the price you can't go wrong by using it as a starter when trying some new things. The tracks are pretty bland so I needed the mud to cover them up. I think I am ready to start to try these new techniques on a better kit next time.
John