SEARCH FINESCALE.COM

Enter keywords or a search phrase below:

1/35 tamiya Horch A1

7094 views
18 replies
1 rating 2 rating 3 rating 4 rating 5 rating
  • Member since
    January 2012
Posted by catdude01 on Tuesday, April 5, 2016 7:28 AM

Thank you! sometimes the old kits are surprisingly fun, and less stressing and demanding like the new ones with all the PE parts, resins, etc. Its good to built a quick kit from time to time to restore the "Karma". jeje

  • Member since
    July 2004
  • From: Sonora Desert
Posted by stikpusher on Monday, March 28, 2016 1:11 PM

Great work and beautiful finish! Yes I like your step by step progress shown here. Ya gotta love the Tamiya classic 1/35 vehicle kits.


F is for FIRE, That burns down the whole town!

U is for URANIUM... BOMBS!

N is for NO SURVIVORS...

       - Plankton

LSM


  • Member since
    January 2012
Posted by catdude01 on Monday, March 28, 2016 12:31 PM

here the final result, thank for looking! (^^)/

  • Member since
    January 2012
Posted by catdude01 on Monday, March 28, 2016 12:30 PM

Wet mud effect was also added but just minimal in wheels on some areas around the vehicle.

The metal parts from the hood cover are in a grayish-blue hue color, to simulate a replacement from and older vehicle.

  • Member since
    January 2012
Posted by catdude01 on Monday, March 28, 2016 12:29 PM

For the very muddy effect I used again a set of Ammo of Mig Earth Nature, Dust and the european and light dust to achieve this colors. Also added to the recipe micro balloons and Acrylic medium gel. Maybe Tonight I add some hints of burnt umber here and there, very diluted, just tabs to simulate some wet lines due to oil or grease stain on the wheel nuts.

  • Member since
    January 2012
Posted by catdude01 on Monday, March 28, 2016 12:27 PM

I worked the wheels and retouch the rust areas with orange rust. Need to add the next layers of mud, but I'm out of micro balloons, so in the meantime I will continue with the small things.

  • Member since
    January 2012
Posted by catdude01 on Monday, March 28, 2016 12:26 PM

I wanted to represent a the truck in a very muddy conditions.

second run on the mud part. This time I use some products from AMMO. The Earth nature effect for the color, and European and Light Dust pigments again. The picture are for a few minutes after application last night, they will tone down during the morning.

  • Member since
    January 2012
Posted by catdude01 on Monday, March 28, 2016 12:17 PM

Just a test fitting of the wheels, looks good to me.

  • Member since
    January 2012
Posted by catdude01 on Monday, March 28, 2016 12:17 PM

started with the dust and mud effect. Results are mixed...so probably tonight I try wet mud effect .

For the mix I used fine white sand, European and light sand pigments and for gluing, acrylic polymer.

  • Member since
    January 2012
Posted by catdude01 on Monday, March 28, 2016 12:15 PM

Last night I worked on the rust streaks on the already done chipping step. This will be done with a rust color(Humbrol) very diluted, or with the ready mix rust streaks colors from AK or Ammo. This are the results. Next another dullcoat to seal the work, then dust and mud.

  • Member since
    January 2012
Posted by catdude01 on Monday, March 28, 2016 12:13 PM

After decals and chipping I sealed all in dullcoat for the next step, filters. For this I use Burnt Umber in oils diluted in mineral spirits.

After 4 coats (leaving to dry 10 minutes between each) this are the results.

  • Member since
    January 2012
Posted by catdude01 on Monday, March 28, 2016 12:12 PM

After avoiding for too long the figures, I started it. Men, how much I hate this figures, they are really poor quality, I just hope that they look better with the painting.

  • Member since
    January 2012
Posted by catdude01 on Monday, March 28, 2016 12:11 PM

Later I sealed with some Flat clear coat. Next Decals, I found that they were too old and start breaking in the water. Left a second set in the water overnight with Microset, and that one survive.
I wanted to show a really wear-out vehicle, so started doing some chipping using a sponge and fine brush.

  • Member since
    January 2012
Posted by catdude01 on Monday, March 28, 2016 12:10 PM

I leave the kit overnight and during the morning started to remove the silly putty. You can see some paint start to peel out, but not much, a careful sanding solve this.

  • Member since
    January 2012
Posted by catdude01 on Monday, March 28, 2016 12:09 PM

Here the kit with the first layer of Tamiya Dark Yellow. (3-4 layers were applied adding more white between them.)

  • Member since
    January 2012
Posted by catdude01 on Monday, March 28, 2016 12:08 PM

I leave the kit for 12 hours (not really needed, its acrylic) and start covering the color with a putty like bubble gum called Silly Putty. Its a great product, never leave grease or residue to the model.

  • Member since
    January 2012
Posted by catdude01 on Monday, March 28, 2016 12:07 PM

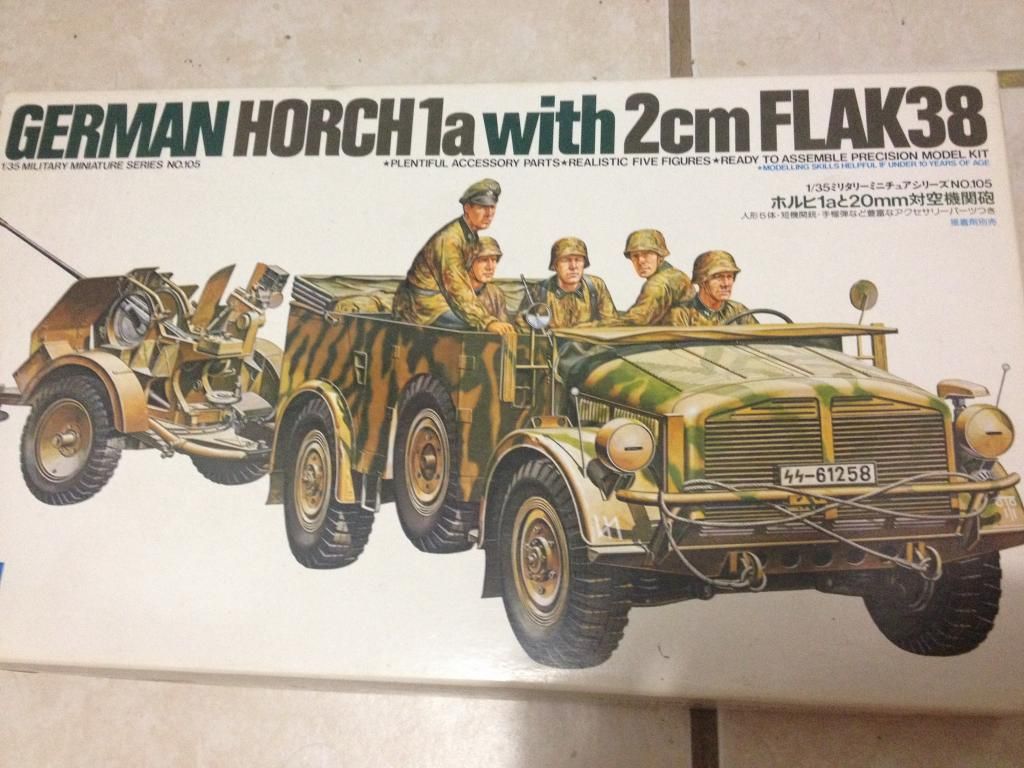
Later I use Tamiya Thin primer to coat all the model .(I left the figures for later)I wanted to give a similar camouflage as in the box art, so I started giving the green color using a green set of acrylics colors from a popular Russian gun name company ;-) The set offer the base, shadow and light color, so I applied accordingly in that order to the kit. Sorry for the bad picture, some issue with the light at that moment.

  • Member since
    January 2012
Posted by catdude01 on Monday, March 28, 2016 12:07 PM

The flak gun took me more time due to the small pieces and the cleaning was more delicate to avoid breaking parts. I drill the gun tip as well. Pictures are great reference to double check if your cleaning was good enough. I you inspect really close this picture you will find some seam lines still there. I went back and take care of it.

  • Member since
    January 2012
1/35 tamiya Horch A1
Posted by catdude01 on Monday, March 28, 2016 12:03 PM

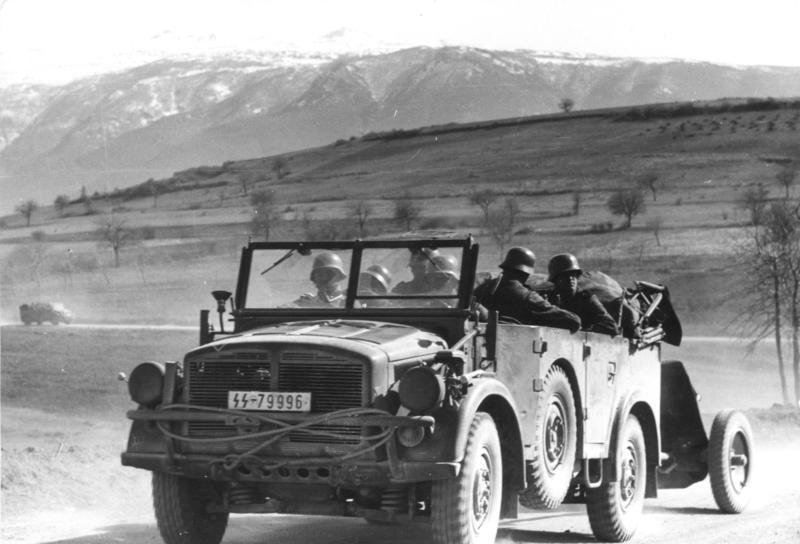
Hi Guys! during the last few weeks I was frustrated with the results of a complex PE kit and lost my "Karma". so I decided to comeback to the basics. Start a kit OOB, and looking on my stash found this really old model kit from Tamiya, the Horch 1A.
Horch was a car brand manufactured in Germany by August Horch & Cie. a curious thing I found looking information for this model is that the company Still Exist as AUDI.
Audi is the Latin translation of horch, from the German verb "Horchen", which means "Listen" The Audi name was proposed by a son of one of his business partners from Zwickau.
Also found that this is the Horch 108 1A.


Tamiya 1/35 Horch1a with 2cm Flak38
 

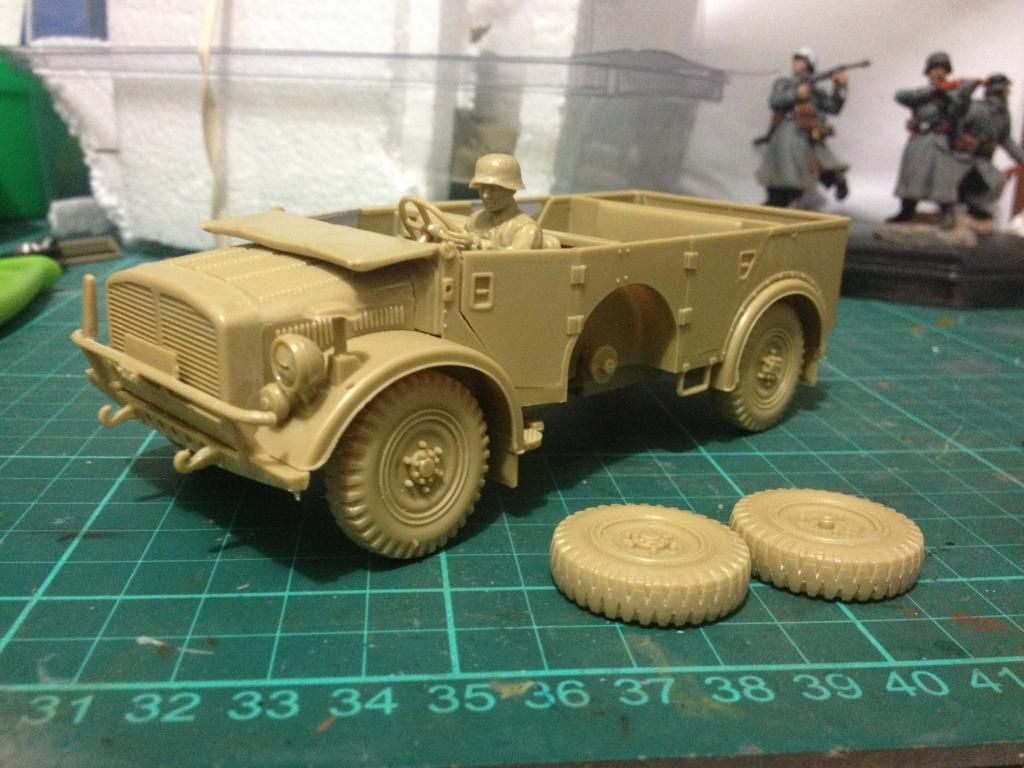
I started this model in a weekend and this was the result in 4-5 hours of building. lot and lot of injectors pins were cleaned from doors, wheels, floor and under the chassis. I added some Mr.Surface to the interior of the doors to give them some texture, but later I decide it to remove it most of it.
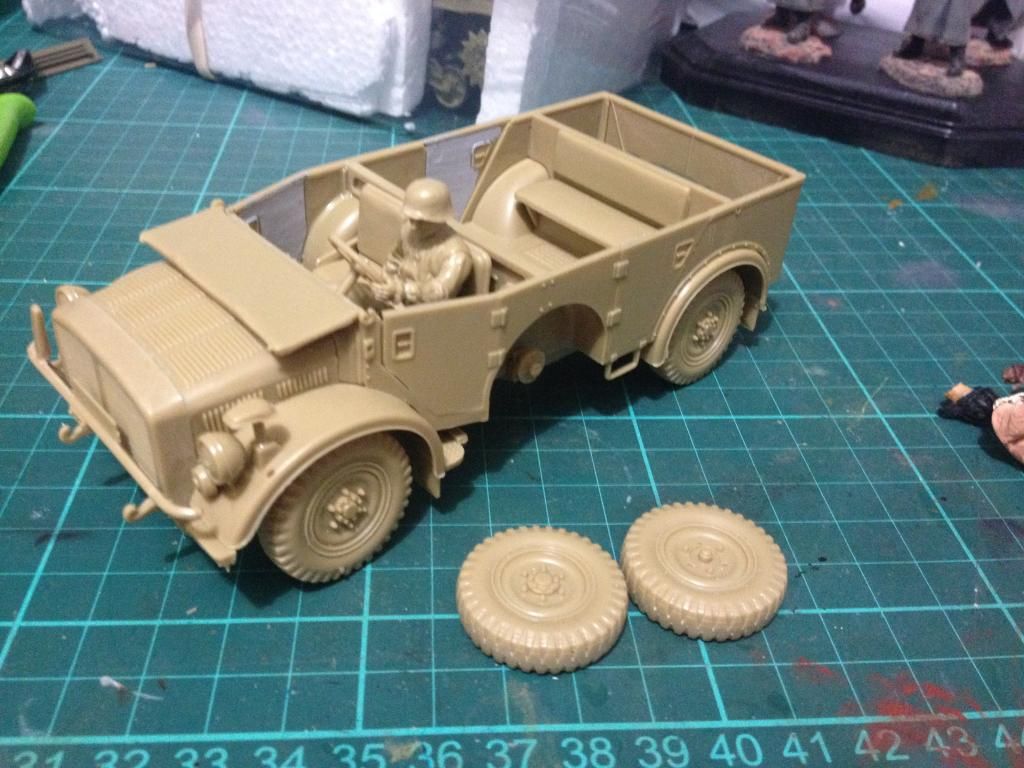
 .

JOIN OUR COMMUNITY!

Our community is FREE to join. To participate you must either login or register for an account.

SEARCH FORUMS
FREE NEWSLETTER
By signing up you may also receive reader surveys and occasional special offers. We do not sell, rent or trade our email lists. View our Privacy Policy.