Been working on this for a while for the 1942 World at War GB, and thought I would post here as well. Here is the kit:

I believe this kit is OOP, and has been in my stash for quite a while. Construction has been typical Tamiya, with good fit and low part count.
Put a coat of Tamiya Nato Black, and then the base coat of Russian Dark Olive by Mission Models Paints. Here are a couple of quick pics.
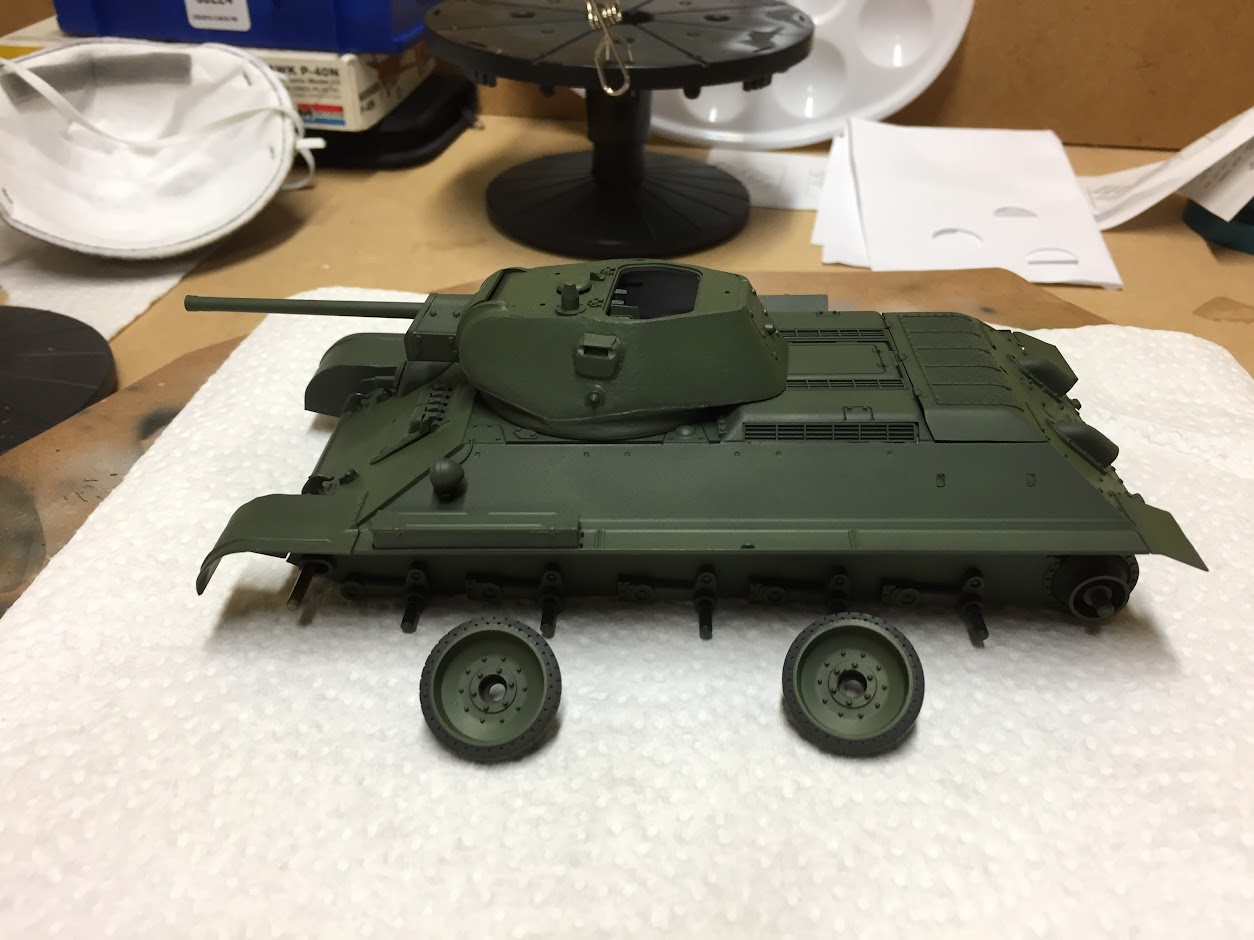

I did a little work on the inside of the turret even though it will initially be buttoned up. I plan to attach the turret hatch with white glue so I can remove it later if I do the commander figure.
I have to say that I am very pleased with the MM paints. They are very forgiving. There were a couple of spots where I got heavy handed, but you would never know when the paint dried. I used the Poly additive, and it seems to self level the paint. I will be buying a lot more of these paints in the future.
The vinyl tracks that came with the kit were not great, so I ordered this from China, and received it a week ago.

Here is a picture of one pair of links done, and one of the pins,

I also finally got around to making the tow cables after cutting off the plastic cable pieces.

finished the tracks this week. Here is a close-up. The links are molded quite well. There are 36 pairs of link per track. De-spruing and clean up was easy due to the sprue connections being quite fine. Getting the pin into the track was initially fairly frustrating, but I learned how to get the links set up just so, and the second track went together quickly. Test fitting shows the tracks do not sit on the road wheels, but a little CA will take care of that. These tracks are SO much better than the vinyl kit tracks.

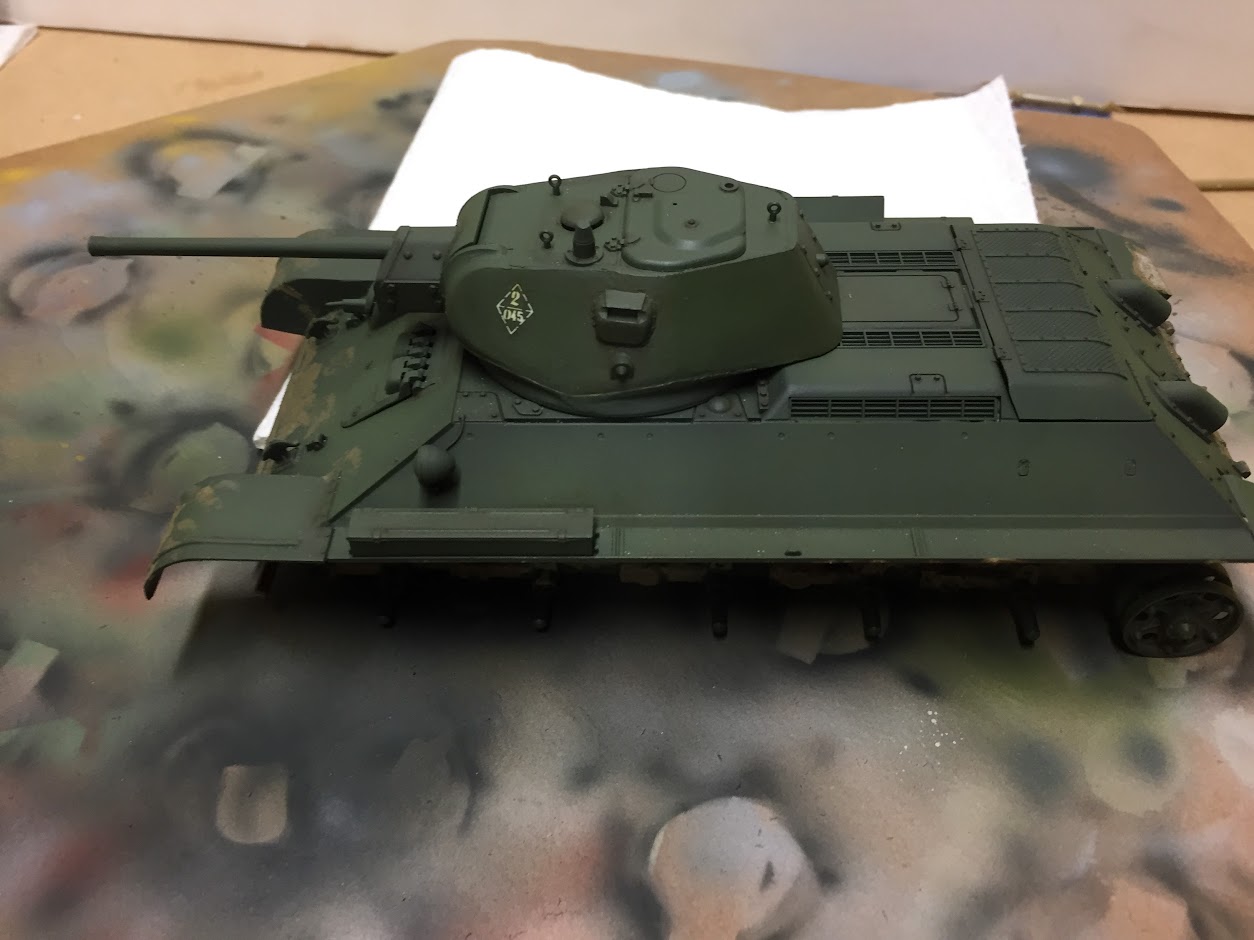
Here is a side view. Decals (all two of them) are on. There are slogans included with the kit, but I read on Missing-Lynx that slogans were really only used for propaganda photos, so I stuck with simple unit designations. Did a pin wash, and attempted a dot filter. Dot filter will have to be done again, as I think I took too much of the oil paint off. Easy enough to try again. Made a mud "slurry" with PVA glue, mud color Polly S paint and some dirt from the garden. Looks good as dried mud, so I may make up another slurry with a darker shade for wet mud.
Here is a front view:

The tracks are a little tight, and "float" just a little above the road wheels:

I think a little CA on the tracks at the first and last road wheels will look right. Pictures of T-34's in the field show no track sag between the road wheels, so getting the track to sit on the wheels will work.
Now here is where I need some help. I was planning to place bed rolls on the side of the tank where there are holes in thr model for placement of gas tanks I am not including. I didn't stress filling the holes since they would be covered, and they are very visible.
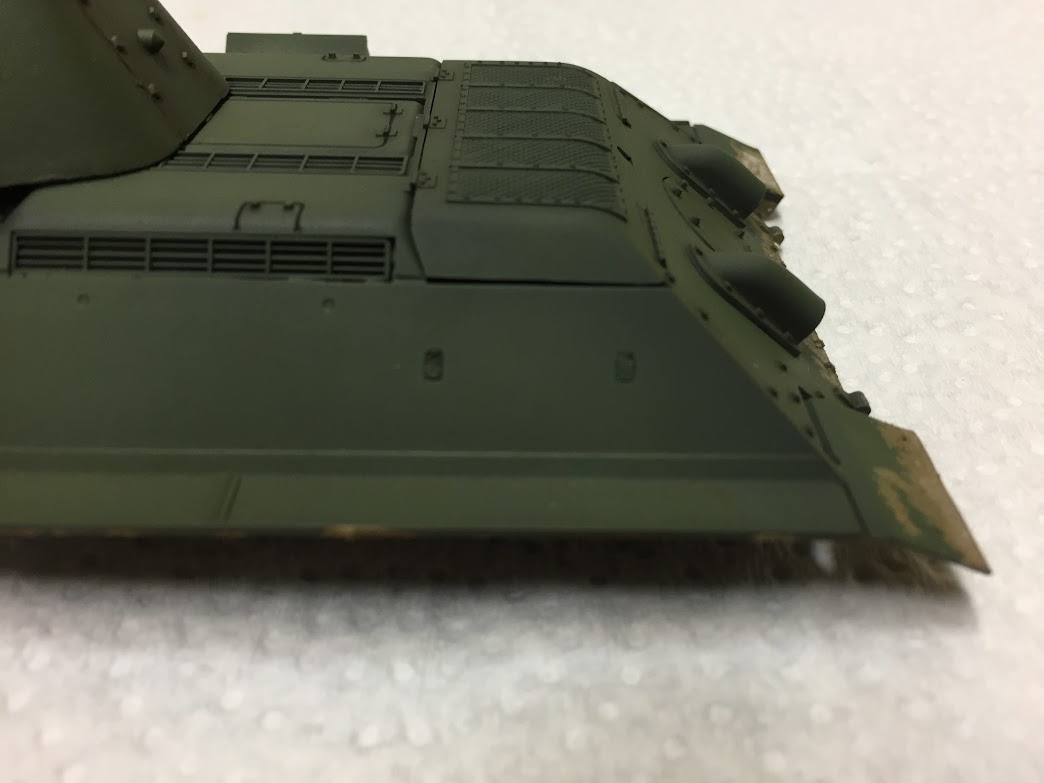

My concern is that there is no attachment point for the bedrolls. They would just magically appear on the side of the tank.
So my question is, do I do a proper job of filling the holes and try to figure out where else to put the bed rolls, or rig up brackets as a field modification? Were field modifications like I am thinking of done?
Any feedback would be greatly appreciated.
Thanks for looking,
D