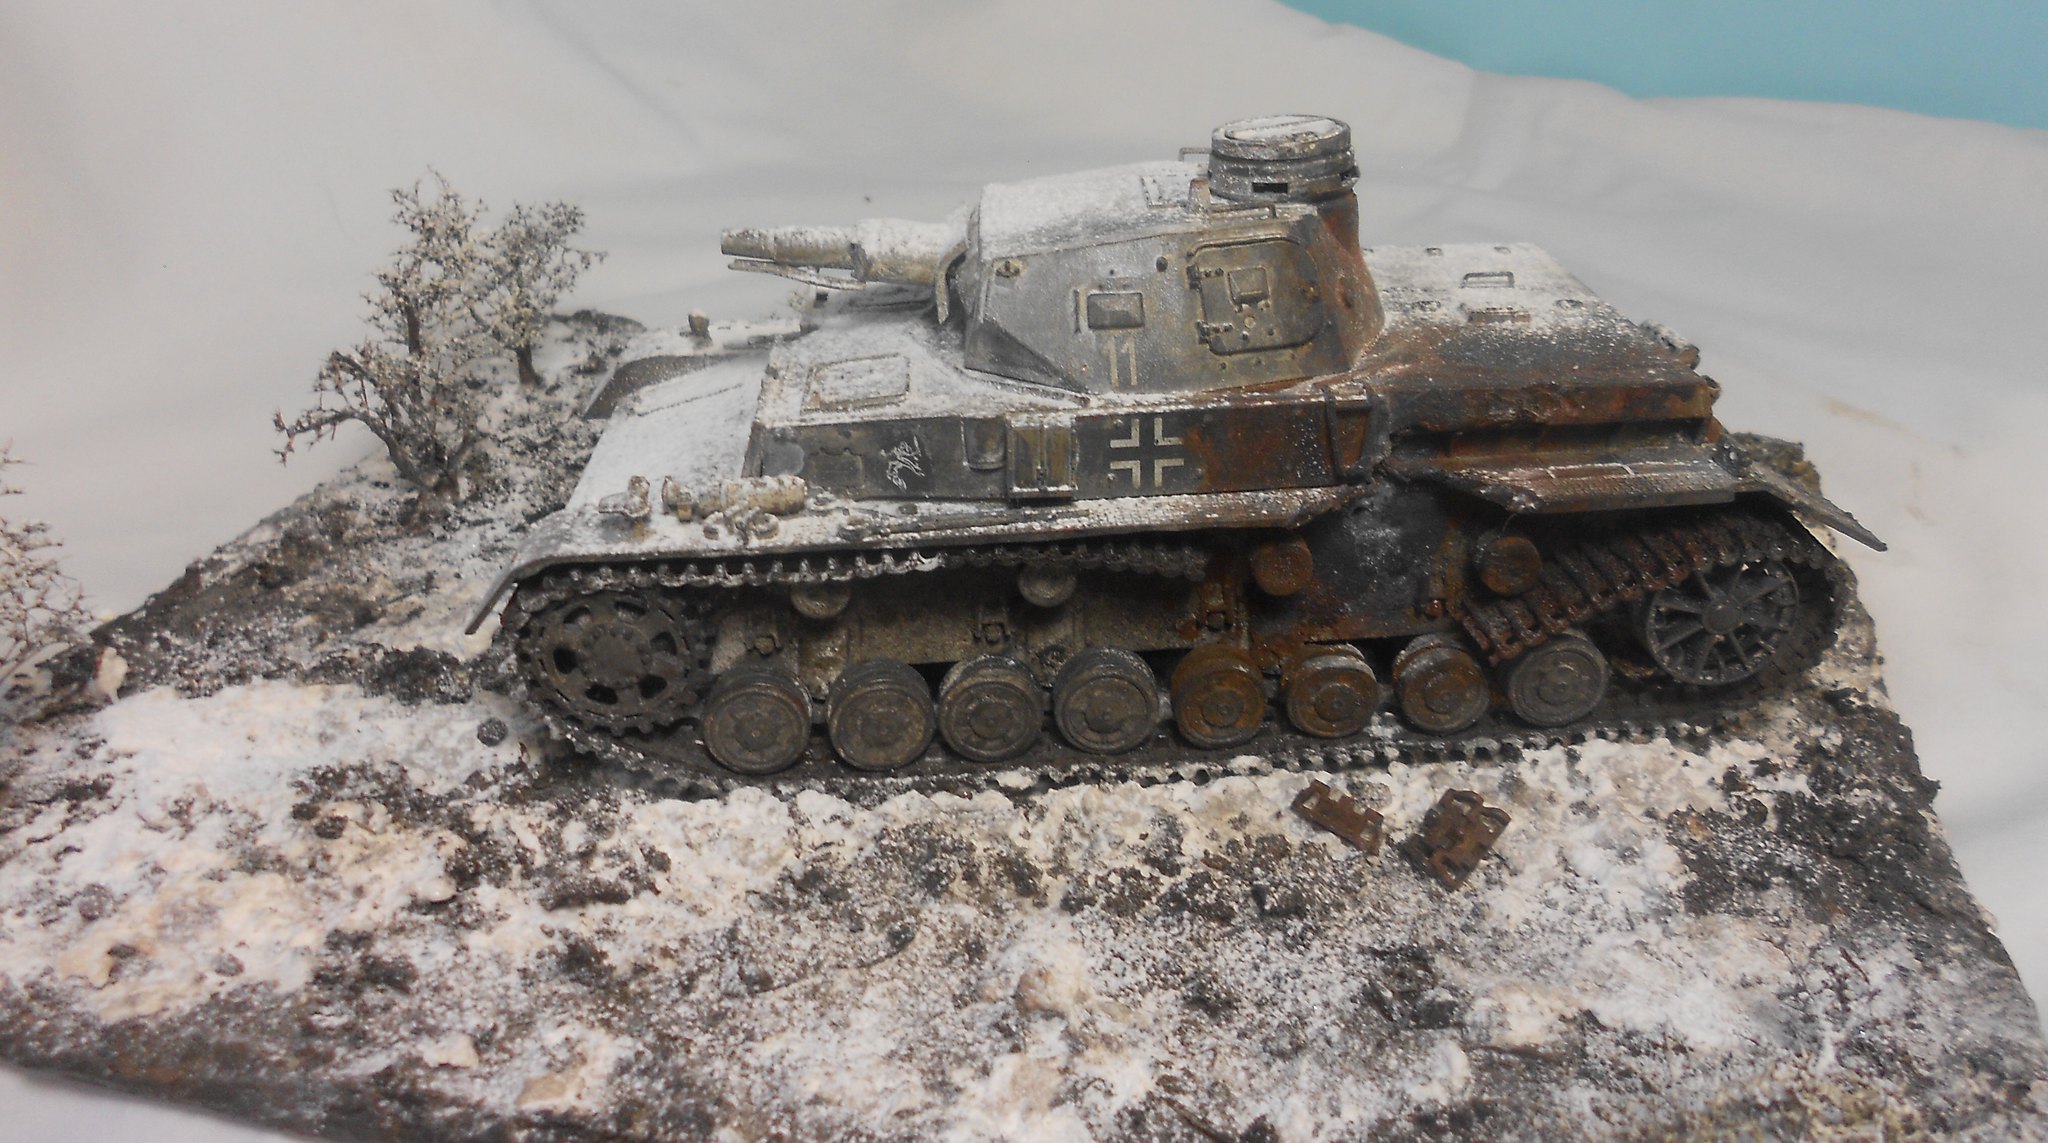
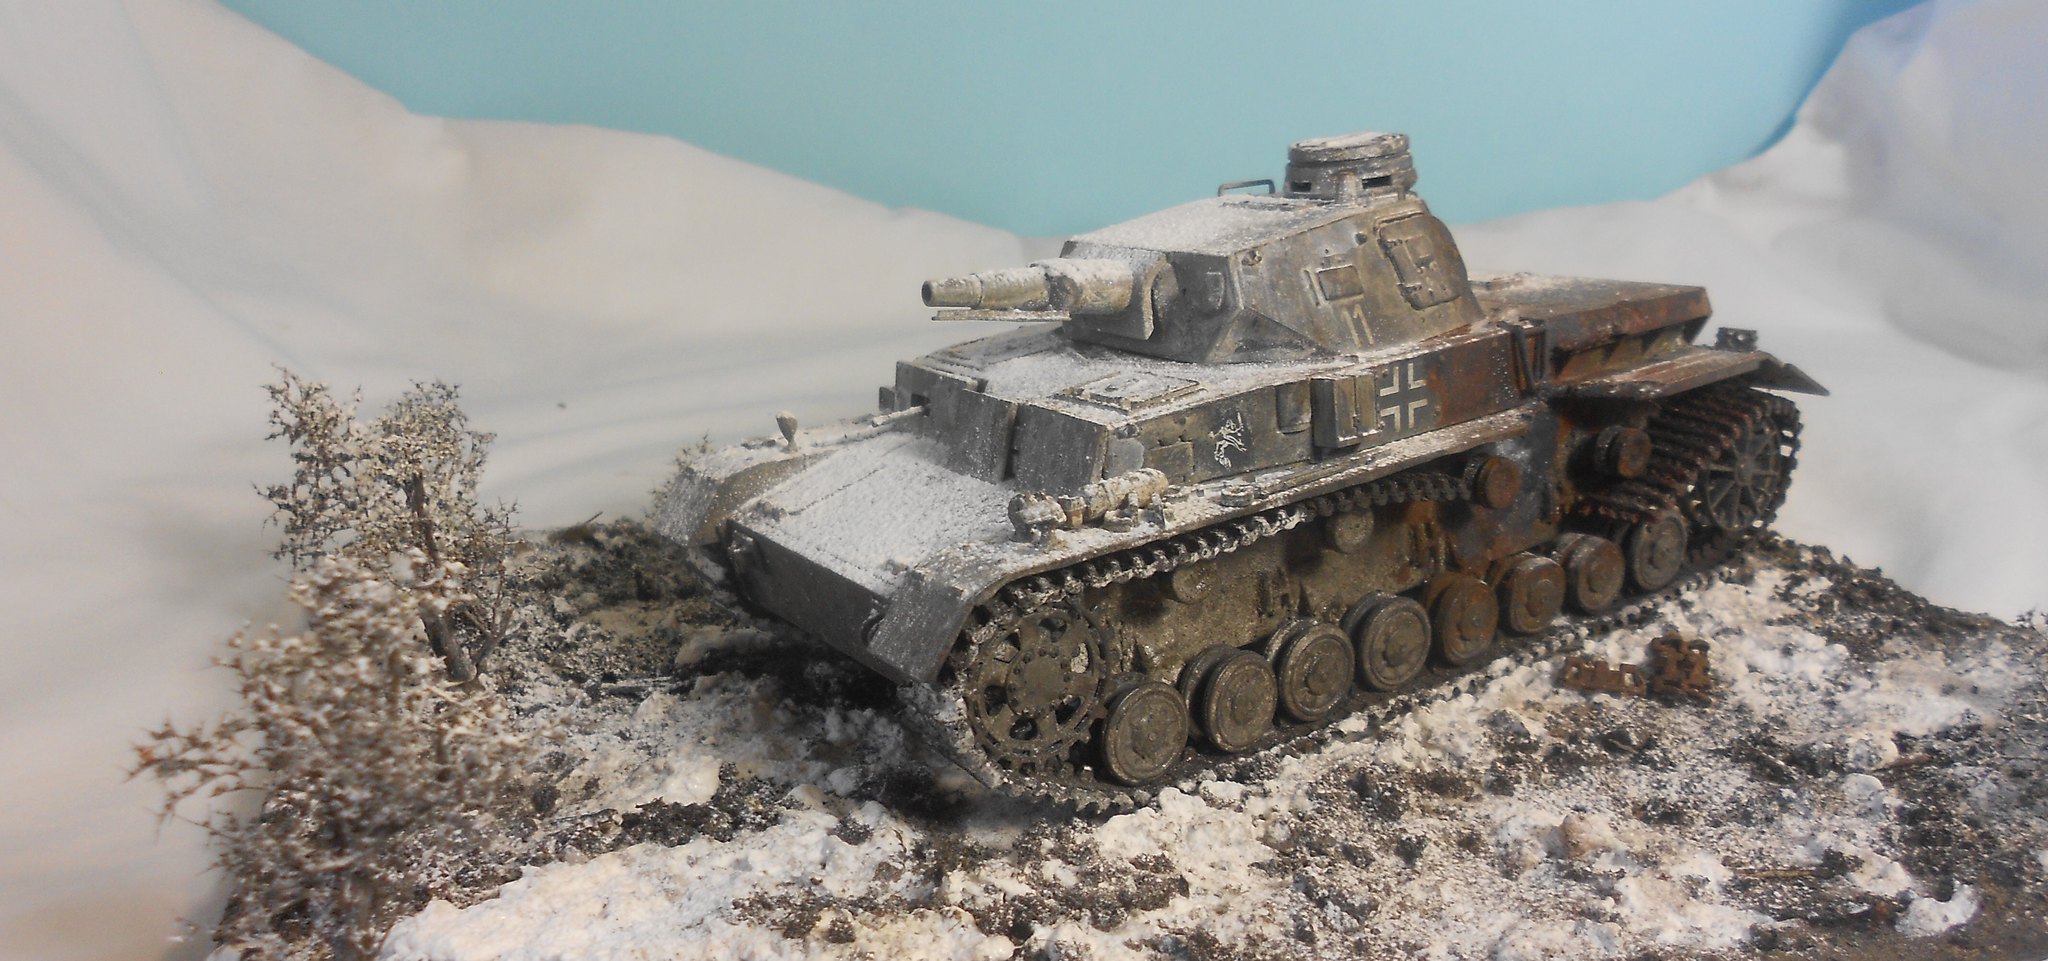
Tamiya 1/35 Panzer IV D
Paints: Golden High Flow, Vallejo Model Color, Iwata Medea Com.Art
Weathering: Wilder and Gamblin “FastMatt” oils, Sennelier and Gamblin pigments, Vallejo acrylic washes.
Rust Modern Masters Metal Effects “Oxidizing Iron Paint”; LifeColor Matte Black, Golden Black Glaze, black & white pigments.
Base: Sculptamold on plexiglass. Pigments, Precision Ice and Snow wash and snow.
This is the final post from a “World at War: 1942” Group Build on Finescale Modeler. I was doing some proper “multi-tasking” in this project and perhaps there are some things of interest for the good citizens in the wider FS community.
Let me say just a bit about the kit. The Tamiya Panzer IVD is one of the best early Tamiya armor kits – I can see why it remains widely available – cheap. The detail, especially on the applique armor is quite respectable. It has markings for a tank in the 11th Panzer Division which was up to its neck in Barbarossa. It went from the Balkans, to the drive on Kiev with AG South, to Operation Typhoon with AG Center. During the Soviet winter counter attack the division was driven back toward Rzhev, suffering some anxious moments. There were not a lot of Panzer IVDs in Russia during 1942, but you can bet any that survived Typhoon would have been kept in the line. This timeline made the kit a good subject for an extended exercise in winter weathering and battle damage which is covered below. I might add that the base coat was a brew made from Gold High Flow acrylics sprayed over black and white Stynelrez primer. (High Flow doesn't sell specifically military colors, but it's the best water based acrylic I know of for airbrush use and, as Golden's market is in the art world, it is made to be mixed.) I did a lot of looking into the color and concluded I needed something very dark and, if not neutral, then actually a little warm – maybe just a bit of green. According to some of the war game boards I consulted, the usual “cool” blue tinted Panzer Grey isn't accurate. (I had Vallejo's Panzer Gray Primer for a sample and it is warm.) Precision wasn't absolutely required. Thomas Chory, a Czech author of a book on Wehrmacht AFV camo, commented that the Panzer Gray tanks soon oxidized, lightening the color, which amplified what he called a light gray “patina” created by rain, dust, dirt etc that created a very effective camouflage. After creating a kit that had something like that patina, I had a very good model to untidy.
Below is the description of my project for Finescale Group Build.
OK: enough dead Panzers in the snow.
 left by Eric Bergerud, on Flickr
As I feared, the overall project doesn't work. I got too ambitious. But everything was worth it anyway. I wanted to practice a number of winter effects. If you count the beans, in the Nazi-Soviet War there was a full year of winter – throw in six months of “in between.” Anyway, if one wants to do Eastern Front subjects, especially if put in dios (or “vignettes”) it's a good idea to get acquainted with winter weathering.
I'd like to briefly explain how I approach weathering. Mig Jimenez is right that it's impossible for any of us to make a small thing look like a big thing. He uses this observation to defend the use of considerable “artistic license” for armor modelers. He agrees that not many real world AFVs really looked like (to use Rinaldi's phrase) “tank art” - but argues that it's great fun to make that a goal. After all, there were thousands of AFVs in WWII alone and no doubt some did look the part of something that could be placed in a museum of modern art. (As I've found, there's a whole genre of photography and painting that specializes in rust and rusty things. And that stuff is intended for galleries.) So, if a modeler wants “wow factor” there is history to support the effort. However, I think most history supports the conclusion that war is the enemy of art. I'm a military historian by trade and have seen thousands of photos of WWII war machines of all types. I think most weapons, unless brand new or just overhauled (quite a few items really) would have shown considerable fading, lots of smudging where crew walked around and a good bucket of dust, petro stains, grime and dirt. (I do not believe that in the front line there were clean tanks, trucks, jeeps or soldiers. Same is true with ships, but if you spend six months on one model, aggressive weathering takes nerve, even if history is on your side.) In any case, I try to evoke with my efforts (humble enough) the way something might have actually looked. So no one will every describe anything I do as a treat to the eye. That certainly means I won't write any books or win any prizes – but neither would have happened anyway.
I tried to do several things on this project and each worked in its own way – just not together. First I wanted to make extensive use of oils to turn a very dark gray tank into a kind of grimy light gray – and no blue tint. Here's where I started from and ended up.
 DECals by Eric Bergerud, on Flickr
 diowos2 by Eric Bergerud, on Flickr
I wanted to use whitewash. But I didn't want a deep winter dio. So that meant I was looking for a whitewash that was largely worn off as opposed to one largely white with big chips. There are a number of ways to do this and I used tank mules to experiment. I finally decided to go back to my Medea Com.Art opaque white. Com.Art is wonderful paint but too fragile for straight up work on styrene. (Some day I'll put GAC 200 hardener in it – be neat if it worked because Com.Art sprays like a dream from a brush.) So I gave the tank a light brushing of white, let it dry, and carefully wore it away with a brush and water. No chipping fluid required. (AK now makes a fading white that also needs no hairspray or chipping fluid.) I should have taken a close-up before the snow dusting, the photo above shows the effect pretty well. I could have left more on, but I knew there was going to be snow on top of it eventually.
I wanted to do a knocked out tank. Knocked out tanks, judging from a blizzard of photos online, come in all varieties. I didn't have an interior for the kit (nor the time) to do a really wrecked Panzer. (Whitmann's Tiger had its turret blown off in his last fight – you get the idea.) I could have simply put a hole in it – many a dead tank looked like that. No fire, but the crew all casualties. But I wanted to try for some serious fire damage which would be rust and black dusted with white/gray soot. So I imagined a likely enough scenario. A tired Panzer IV southwest of Moscow in late February 42 runs into an ambush or is simply outflanked by Soviet tanks or anti-tank guns and takes two hits just below the turret – right where some ammunition is stored. But perhaps the shell supply is low. The tank dies but isn't blown up. And here's what I got:
 damage by Eric Bergerud, on Flickr
I did the damage with a hot knife. It's a pity the fenders weren't thinner, but I didn't see the need early. The rust is done with Metal Effects an “Oxidizing Iron Paint” from Modern Masters. I've used this before and I like it. (Craft types do too – several You Tube videos but none for models. Comes in different colors – faded bronze etc.) It does take some getting used to. It's a water based thick paint (smells bad, but cleans with water) that has real rust as its pigment. You activate the stuff with a blue liquid that comes with it. (About $12 for a life time supply.) The color varies greatly depending upon how many coats you use and how activator is put on. Originally all of the rust looked pretty much like the muffler:
 rear by Eric Bergerud, on Flickr
After rusting the damaged area I dabbed some LifeColor Matte Black around the periphery and used a Golden Black Glaze over almost everything else. (The glaze is very translucent.) Then some dabs of black pigment, and a little white pigment. Pretty happy overall.
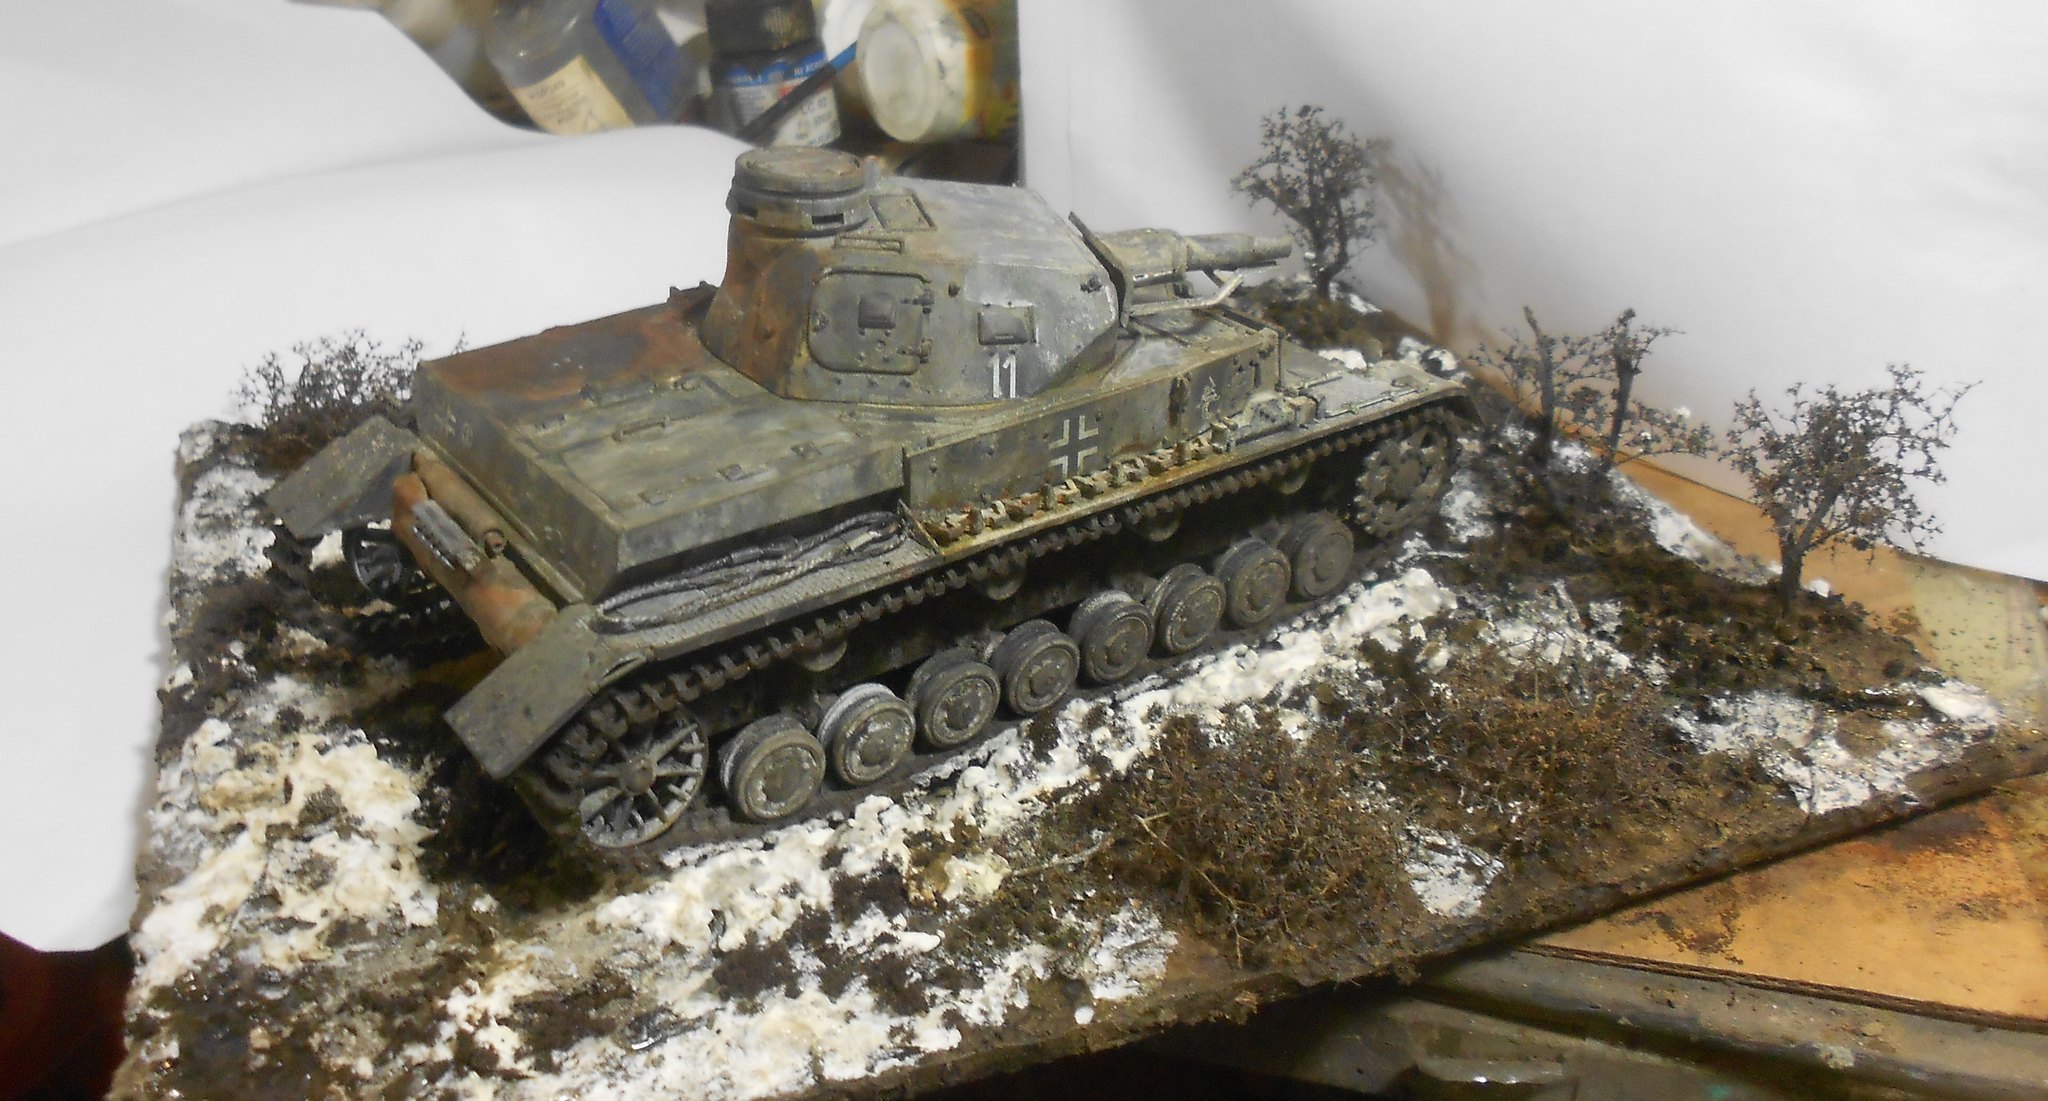
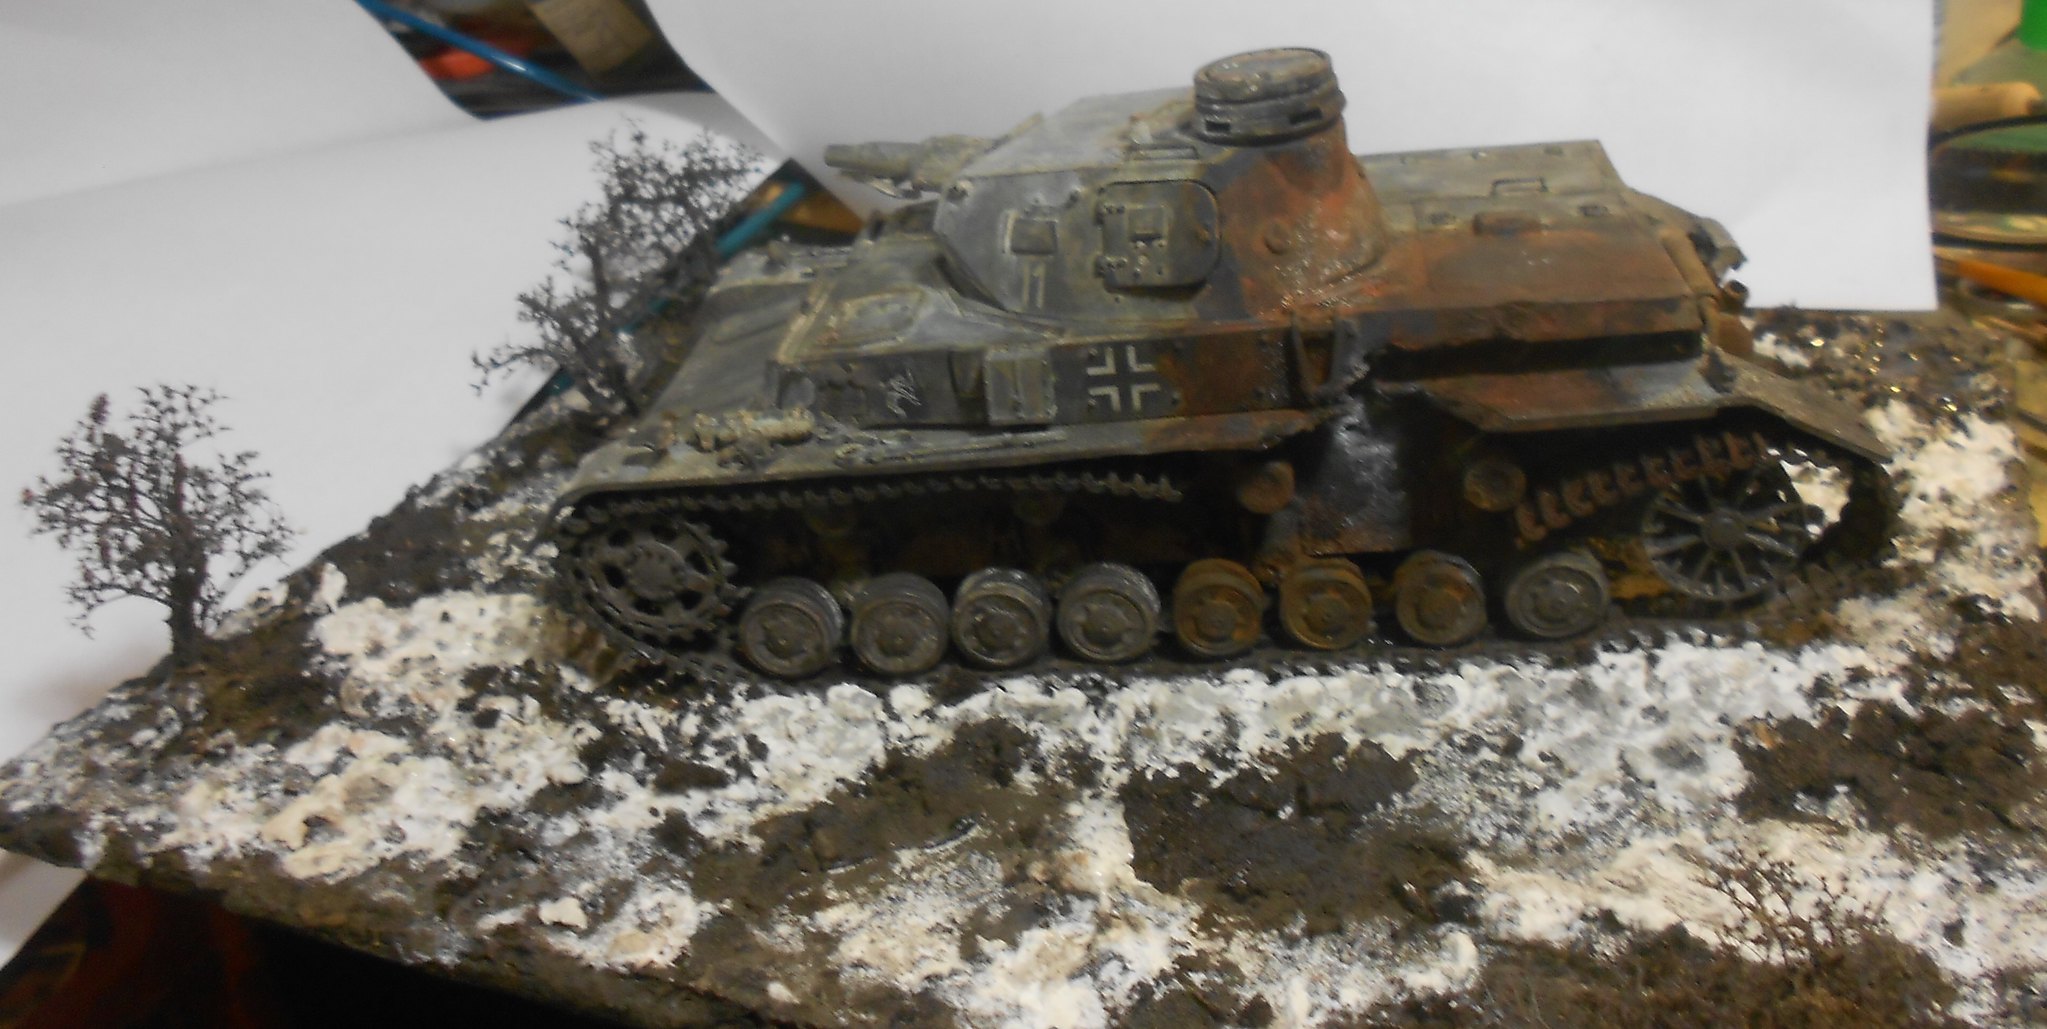
I did want a base. I was trying to emulate a rural area with some small trees and foliage in the few weeks between winter and spring – but before the full Russian thaw or “rasputitsa” which would have called for mud galore. (I grew up in Minneapolis Minnesota which has terrain and a climate very like that of Moscow, so this is familiar stuff.) So I used Sculptamold on top of a piece of plexiglass. I mixed burnt umber paint into the first batch and then sprayed it lightly with gray and gave it a good dust of several pigments. (My pigments are from the art houses Sennelier and Gamblin – made for professional painters and cost about one quarter what something from Mig or AK would run. I have white, black, yellow ocher, sienna and umber – that will make any earth color imaginable. I have other fading colors in the very useful Tamiya weathering sets and some house brand stuff from Micro Scale. Actually pretty useful for fading green or blue.) I also put on the brilliant flock made by Scenic Express. It comes in about a thousand colors – this was forest floor mixed with a dull pasture brown. The foliage is made with Scenic Express “Super Trees” - a kind of dried lichen from the Norwegian tundra that is far better than anything you can buy or make with wire. I wanted the dark ground to have a lot of snow – the remnant of what had been a deep cover that was thawing, freezing, thawing, until you've got a lot of thin snowy areas with some revealed ground. To achieve this I added another small helping of uncolored (bright white) Sculptamold, mixed a little thin with water. When snow is in the stage I wanted, it's dirty and it freezes so I applied both a Com.Art black wash with some Vallejo gloss varnish on the white Scuulptamold. I also built up more “snow” than I wanted in the middle so it would hide the bottom of the tank tracks. It didn't help the look, but I didn't want the tank to be “glued” to the base, and without some kind of “nest” it sits on top of everything – not too realistic for a 20 ton vehicle. So here's the base without snow dusting, with a close-up of some foliage after being dusted:
 diowoS1 by Eric Bergerud, on Flickr
 foliage by Eric Bergerud, on Flickr
And I wanted snow. This was a good chance to use Precision Ice and Snow's very impressive Krycell artificial snow. Here's where things kind of went off. I wanted a nice fresh dusting of light white snow. As expected this pretty much covered any remnant of the faded whitewash – or most of the weathering actually. What impressed me about Krycell in the past was its crystal like texture and scale effect that it has. However, even this stuff is not fine enough for a light dusting of powder to look like a light dusting of snow. That meant I had to lay off the damaged areas or that would have been lost too: not a price worth paying. So, it's a little like two dios at once: one with a snow dusting and one without. We could say that the snowfall came right before the tank was hit and some was melted – so we will. But that's not what things would have looked like. (Soot etc would have been evident over most of the tank and there would have been zones of ice or water between what remained of the snow and what was melted.) Should add that Precision makes a “Snow Effects” wash that is terrific. (It would have made a great white wash because it comes off easily.) It's on the front of the tracks, and would work very well for a vehicle that had been snowed but had mostly melted. Check YouTube – all of the videos from Precision are super. It would have worked nicely if I would have used it on an identical dio without damage on the tank and evenly applied. It would have worked even better if I used a lot more of it to show a tank with a proper snow fall on it. In retrospect I could have built up more snow on the right side at an angle to emulate a wind driven snow. And in retrospect I should also have gone in and done a final pin wash on the wheels. But frankly, it was time to stop. I've been thinking about my next project (maybe a Tamiya Wildcat dress for the dance at Guadalcanal?) and when that happens it's time to finish. And so I have. Here are some more pics of “Wrecked Tank in Russian Snow.”
Eric
 right-r by Eric Bergerud, on Flickr
 lft-ft by Eric Bergerud, on Flickr
 front by Eric Bergerud, on Flickr
 left by Eric Bergerud, on Flickr
 right-r by Eric Bergerud, on Flickr
 right by Eric Bergerud, on Flickr