mrmike
Turning the wheels is a great way to add interest to the vehicle. I dug my kit out to see what else the suspension involved; are you planning to modify the steering linkage (kit parts A-22)?
Looking forward to your WIP!
Mike
Mike, the steering linkage did in fact need to be modified. Here is the regular fit before modification. As you can see, one side is too short to reach and the other is too long.
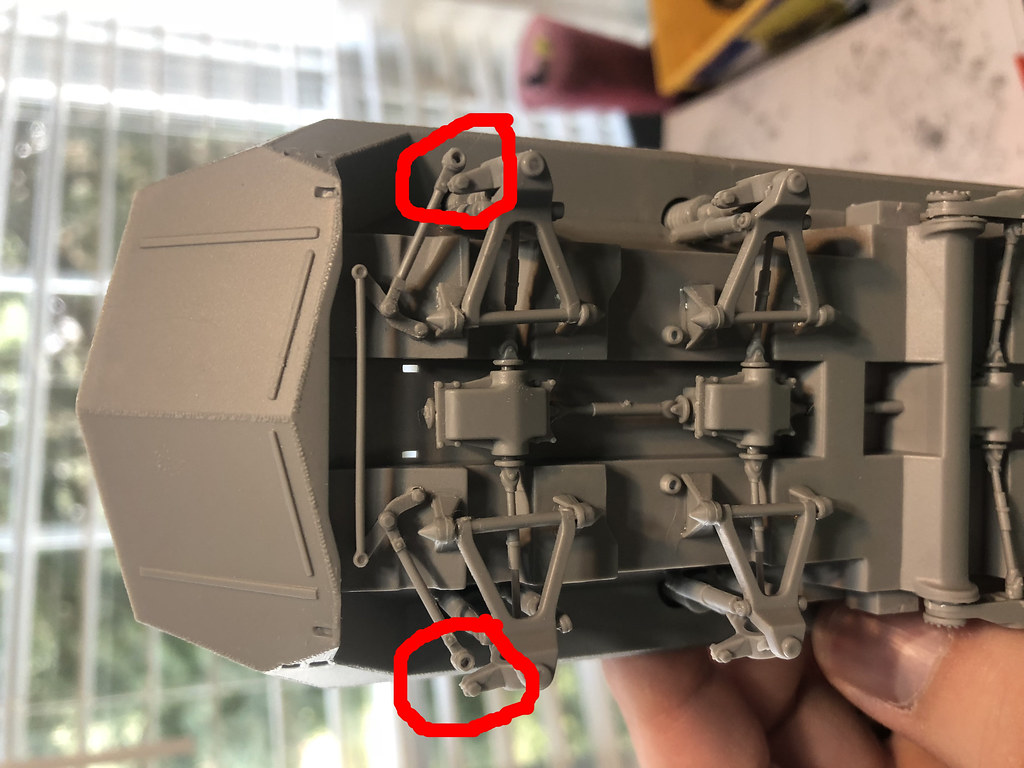 Untitled by Josiah McDonald, on Flickr
I decided to slice the part into the obvious separate parts that made sense to me. but instead of "cutting" I went for more of a "slicing" to keep the lengths the same and not have to add details back such as the bolts and what not.
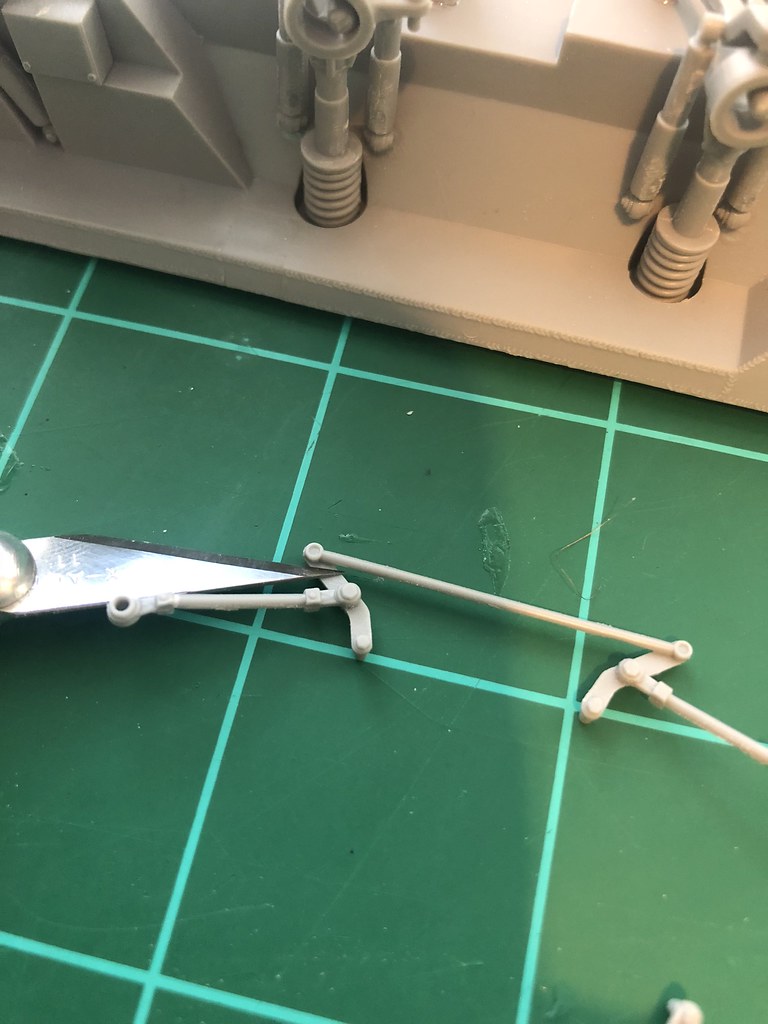 Untitled by Josiah McDonald, on Flickr
Here I have the part broken down and compared to the original. Luckily, A-22 is used for both axles so it's doing the same thing twice. I did the 2nd axle first since it is less visible and wanted any mistakes to be more concealed. One thing I learned doing the first one, is that on the underside of the arm that attaches to the tire, file off the tab that is closest to the underside of the vehicle, if you don't do this, the arm that attaches to the vehicle won't swing far enough so the connect rod will be too long. On the first axle I had to cut a couple millimeters off of this connect rod to get it to fit right, I still think it looks fine but definitely gave me a 'scare'.
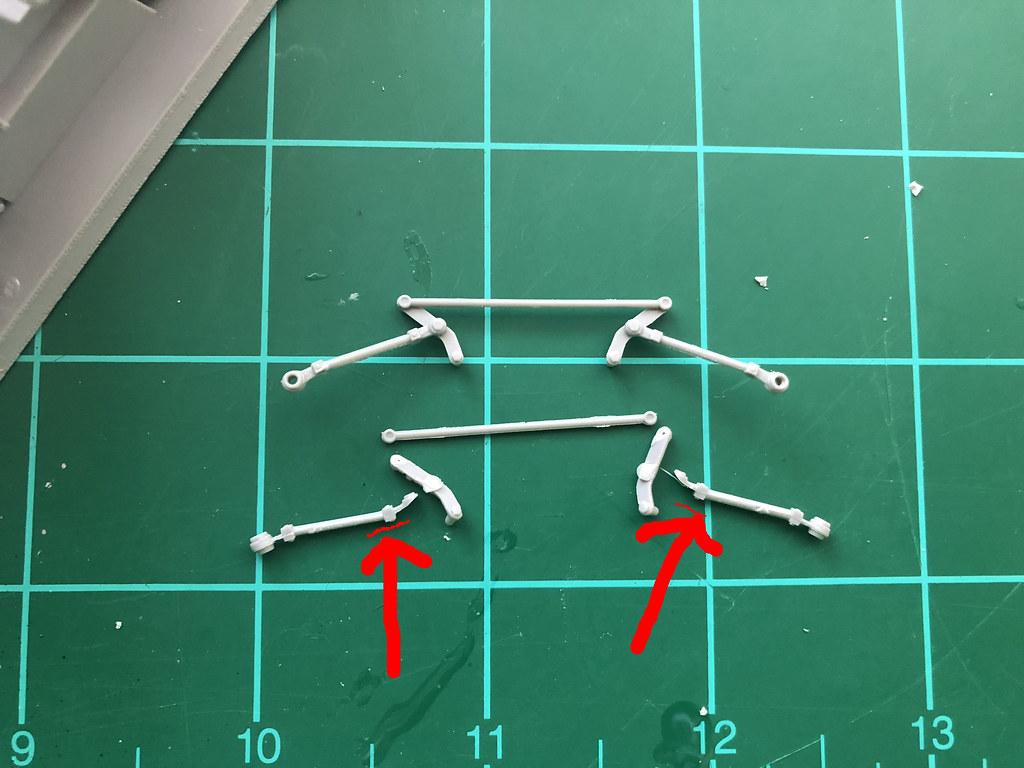 Untitled by Josiah McDonald, on Flickr
The steps which I put it back together went by relativey quick. You can see the first go around completed already to see where the steps are leading too. Thankfully all the 'pins' of the arms that go into various holes are tight fitting so you can snap them in and turn them slowly, getting every fitted together without having to use glue until the end.
I started the arms that attach to the underside of the LAV first. I placed them in the rough position I thought would work.
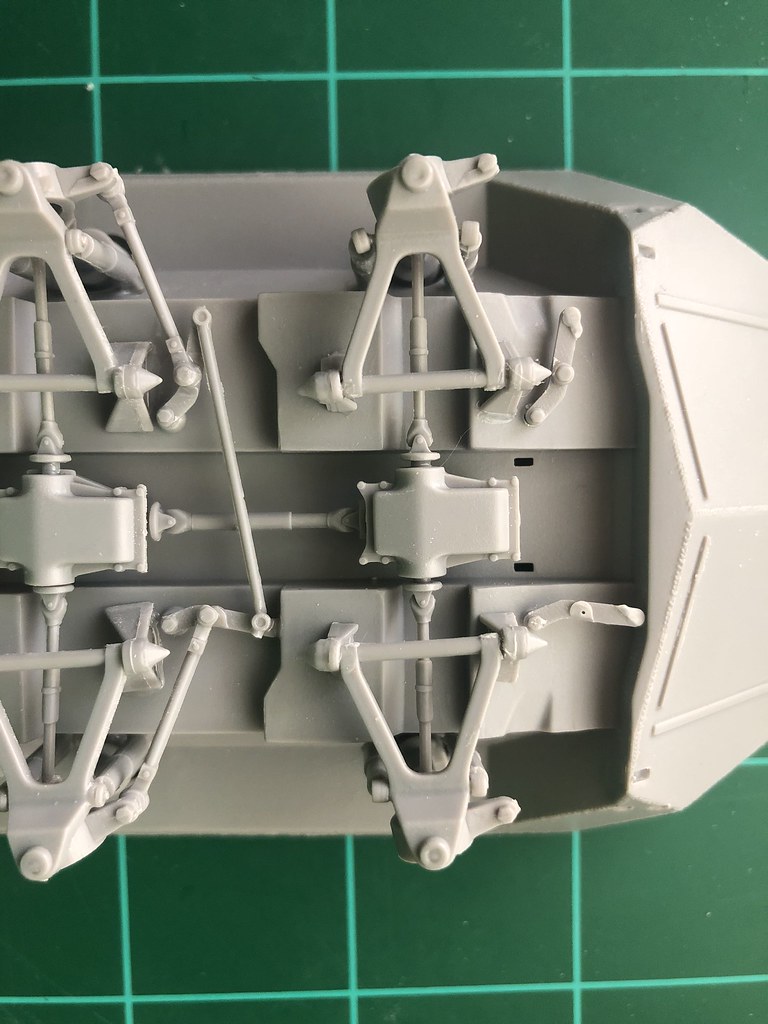 Untitled by Josiah McDonald, on Flickr
Next I placed the arms first on the rod that the tire attaches to, at this point the part is upside down so may need some glue, but mine was snapped pretty good to the attachment it goes into so that wasn't need while I was getting everything together. once everything was in place and set I glued everything together.
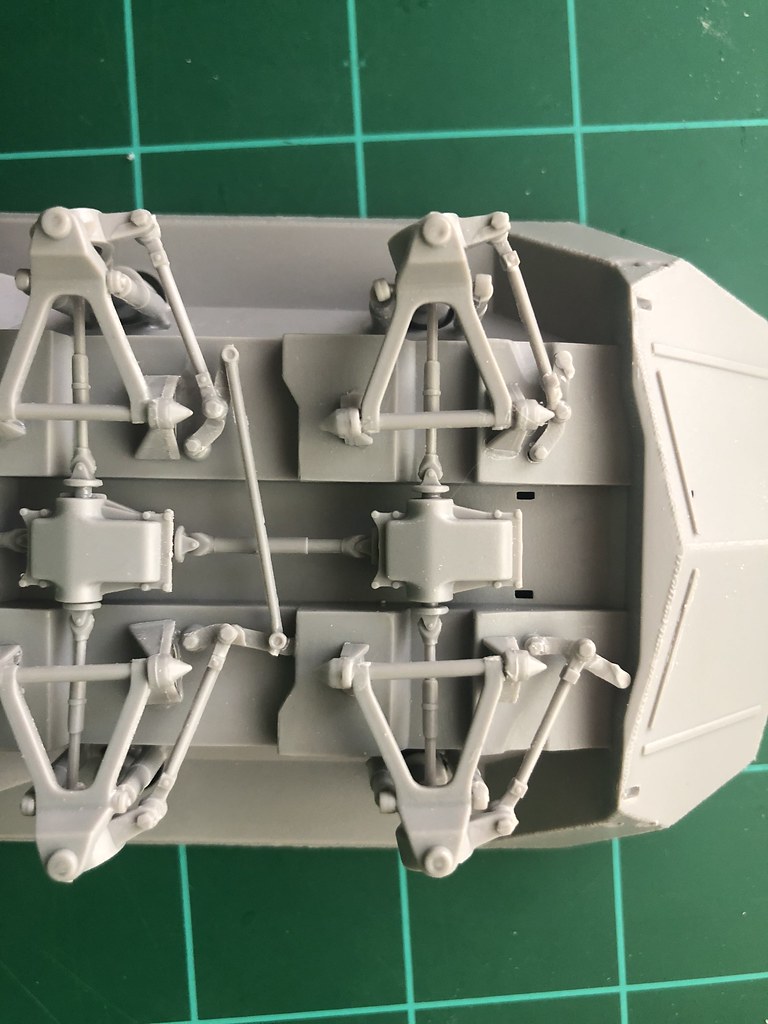 Untitled by Josiah McDonald, on Flickr
Last step was to place the connecting rod. The front axle I did not need to make modifications to the length of the connecting rod because I filed off those tabs I previously mentioned.
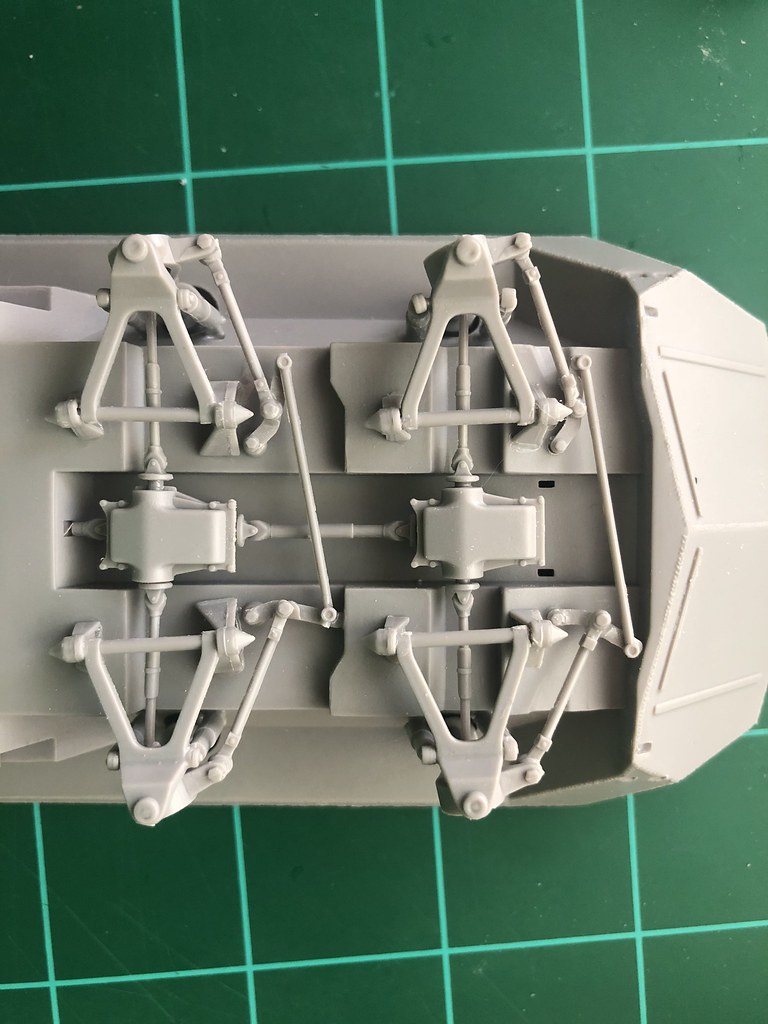 Untitled by Josiah McDonald, on Flickr
I'm not sure if mechanically this is how this part actually works, but it seemed like what would "work" at the time, and looks the part to me.