My first armour build of the year is somthing we don't see often. As far as i know, this is the first kit in this scale in plastic of this vehicle. The only option before this was the Accurate Armour resin kits. The only extras i am adding as some metal tracks from masterclub and light guards from Accurate Armour.

First look at this kit showed that the detail is superb, both inside and out. Whats there is spot on. Of course, as with any kit, there are isues. Most are minor and many people would probably not even notice. But, for those who may be interested, i will point them out as i go along.
And one of those issues was obvious as son as i looked at the instruction. Step 2 has you fit the tillers, and they show them with the right tiller forward and the left tiller slightly back.

They can be positioned in any position you like, but the instructions don't indicate this. Without a driver in the seat, the only way to show them for me is both back with the brakes on. Easy fix.

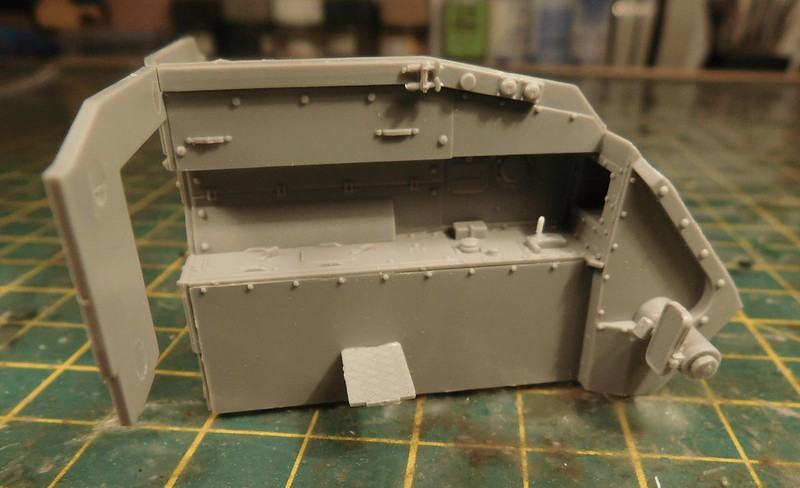
I knew before i started that painting the interiour after it was built would be tricky, especially the driver/comanders compartment. Fortunatly the kit is made in such a way that sections can be put together and painted before fitting. In the hull, i added the panels on the lwer side walls as well as the panels around the back which goes around the fuel tanks.

The first section i put together was the front wall of the main compartment with the left side of the crew compartment. As i mentioned, the detail thats there is first class. But one problem is whats not included. The box at the front should hold the drivers night driving device. This is not included.

And for a vehcile in use in the 90's, there should be a stowage rack for the driver and commanders SA-80's. I had to scratch a lever for the gear range selector as the kit one flew off my tweezers into the great beyond.

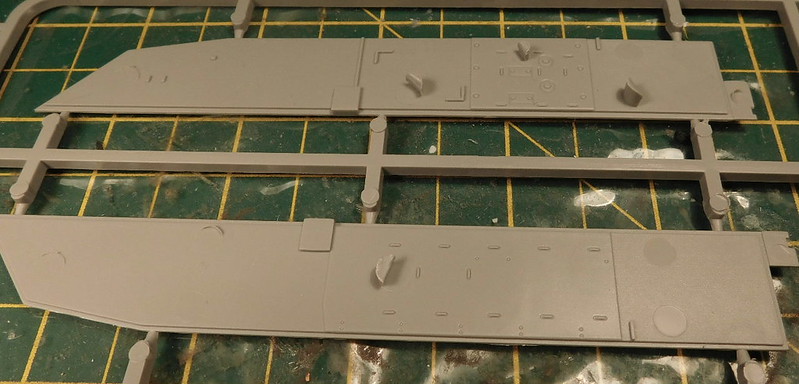
The kit does come with some pretty lethal looking pour stubs. Most are not an issue, but a few are. The are the upper sides of the hulls, the middle stub on the upper piece and the one on the lower piece are both in visible areas.

As are theres around the hole for the rear door.

Once cleaned up, the upper sides were fitted.


Made a start oin one of the Masterclub tracks. These are nice and go together well, and the detail is perfect. better than Fruils IMHO. I have lost a couple of the resin tracks pins but hopefully have enough spare.

And finally a small selection of bits and pieces that will be painted before fitting. The kit does come with parts which would allow you to build different configirations as well as vehicles from different times. But as with the tillers, the instructions don't tell you this. It comes with 4 radios, though they tell you to fit 3 but then tell you to fit 4 antenna mounts ![Confused]() . I will just be useing 1 radio and antenna.
. I will just be useing 1 radio and antenna.

Enjoying this so far, goes together well. My guess is that the issues will be down to the vehicle they used as a referance source, but they don't seem to have looked any futher. But nothing major.