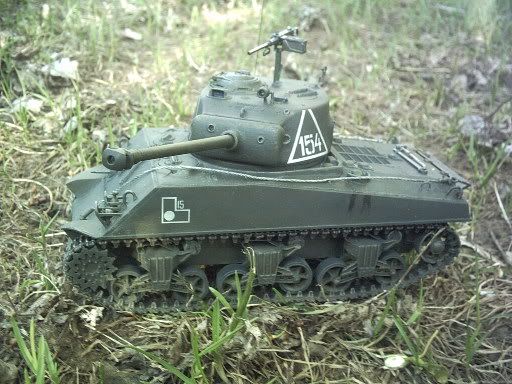
Check out my sig picture. It's the Tamiya Pzkpw II F/G. I think that's the one you're talking about. This guy took about a year and a half and $170 to do (including reference material, paints, etc. I used Friul tracks and an Eduard pe set on it. I also carved the molded rim on the idlers down and put scratch built rims on them. I carved off the molded on storage bin on the right side, filled the resulting hole in the hull and the back of the box with styrene, and glued the box back on. Just gave a little seperation and definition to that part of the hull. It was my first attempt at detailing a kit. I really enjoyed doing it, had a lot of fun, and I think it came out pretty well for a first attempt.
If you go with am tracks, be warned that the kit drive sprockets have the wrong spacing on the teeth. I replaced mine with a set of Friul sprockets. You can also cut off the teeth under the tracks and glue little replacement points of plastic in between the links. (Not what I wanted to do!) FSM had an article on detailing this kit about 3 years ago. I used it as the basis for what I did. I'll try and find the issue. I didn't have much luck finding detailed reference material on it. I got several books that had a few pictures (both WWII era and museum pieces) in them, but nothing detailed. I couldn't even find one that had a picture of where the engine sat in the hull, and being totally inexpierenced with tanks, didn't want to hazard a guess. There is a link that was posted in the forum with lots of data on lots of tanks a while back. It had more info on the Panzer II than I'd found anywhere (including detailed shots of the engine compartment). I'll see if I can find it and repost it in this thread.
Good luck. I'll give you whatever help I can.
Bill
==========================================================

DML M4A2 Red Army
==========================================================


==========================================================
-- There is a fine line between "hobby" and "mental illness". (Author unknown)