SEARCH FINESCALE.COM

Enter keywords or a search phrase below:

67' Dodge Coronet R/T with working headlights!

1868 views
4 replies
1 rating 2 rating 3 rating 4 rating 5 rating
  • Member since
    October 2008
  • From: Windsor Ontario Canada
Posted by -Tiny- on Wednesday, December 3, 2008 5:10 PM
Thanks for the complements!
On the go...Trumpeter 1/72 Tupolev Bear Soviet Heavy bomber...Tamiya 1/48 RAF DeHavilland Mosquiot Mk.II
  • Member since
    May 2008
Posted by zgator on Tuesday, December 2, 2008 10:01 PM
I can't beleive you didn't win something. Very nice build!!!
  • Member since
    October 2008
  • From: Windsor Ontario Canada
Posted by -Tiny- on Monday, October 20, 2008 3:38 PM

Actually, its not hard at all.  The trick is finding the right guage of wire to use in combination with the heat shrink.  If the right combination is used, you don't even need glue, they'll press fit together...give her a try sometime, you will not be dissapointed.

What is a pain, is using the metal braided covering, which I used on my 70 Road runner pro-street...thread comming shortly.

On the go...Trumpeter 1/72 Tupolev Bear Soviet Heavy bomber...Tamiya 1/48 RAF DeHavilland Mosquiot Mk.II
  • Member since
    October 2007
  • From: Inland Northwest
Posted by Summit on Monday, October 20, 2008 3:25 PM
Outstanding, Approve [^]Yeah!! [yeah] Thumbs Up [tup] I bet those "Russel" ends are a bear to put on the Rad hoses....I could not imagine even trying that. And the windshield washer fluid is really cool... Thanks for sharing....now off to go check out the 32 ...
Sean "I've reached nearly fifty years of age with my system." Weekend GB 2008
  • Member since
    October 2008
  • From: Windsor Ontario Canada
67' Dodge Coronet R/T with working headlights!
Posted by -Tiny- on Monday, October 20, 2008 3:18 PM

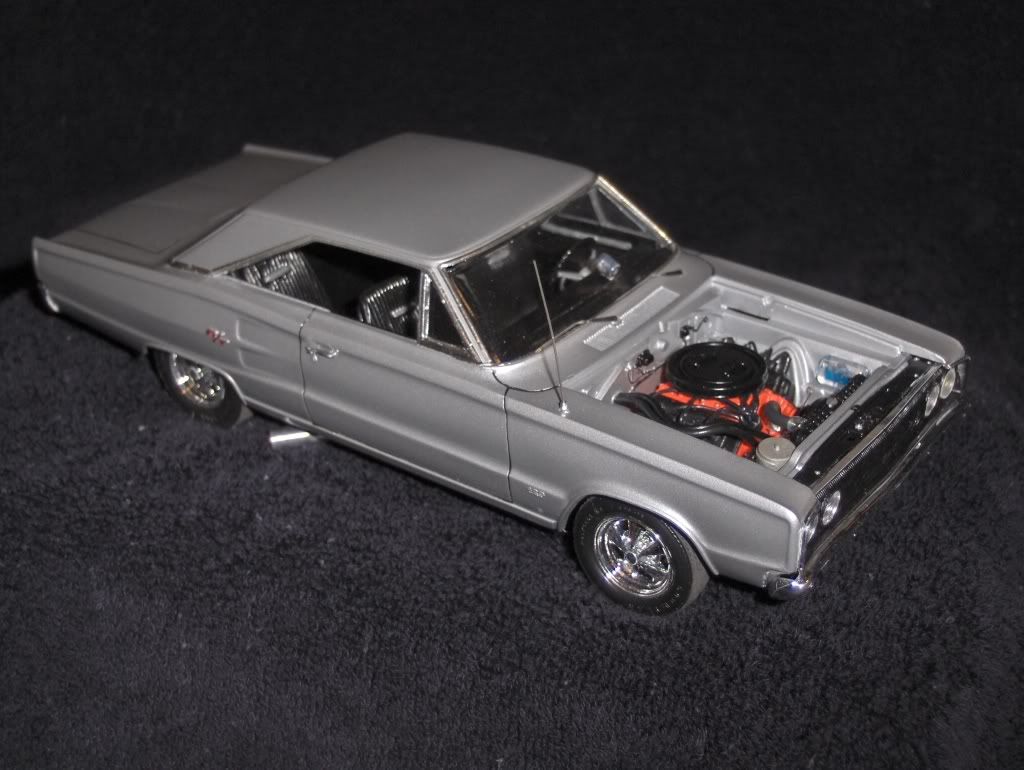
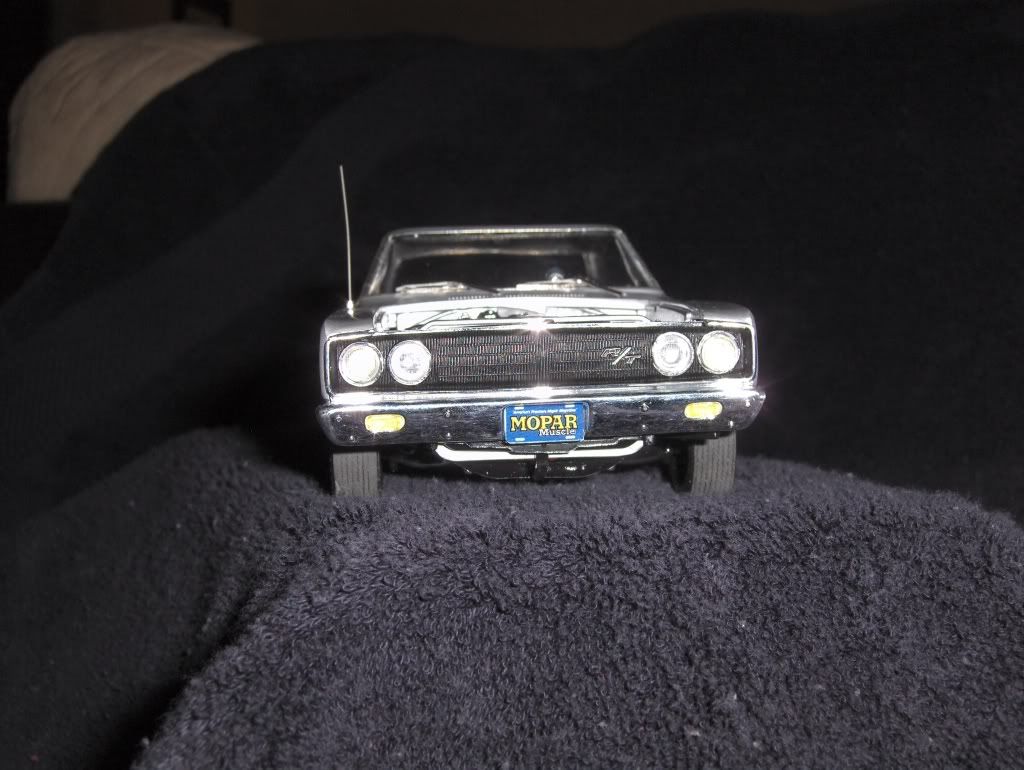
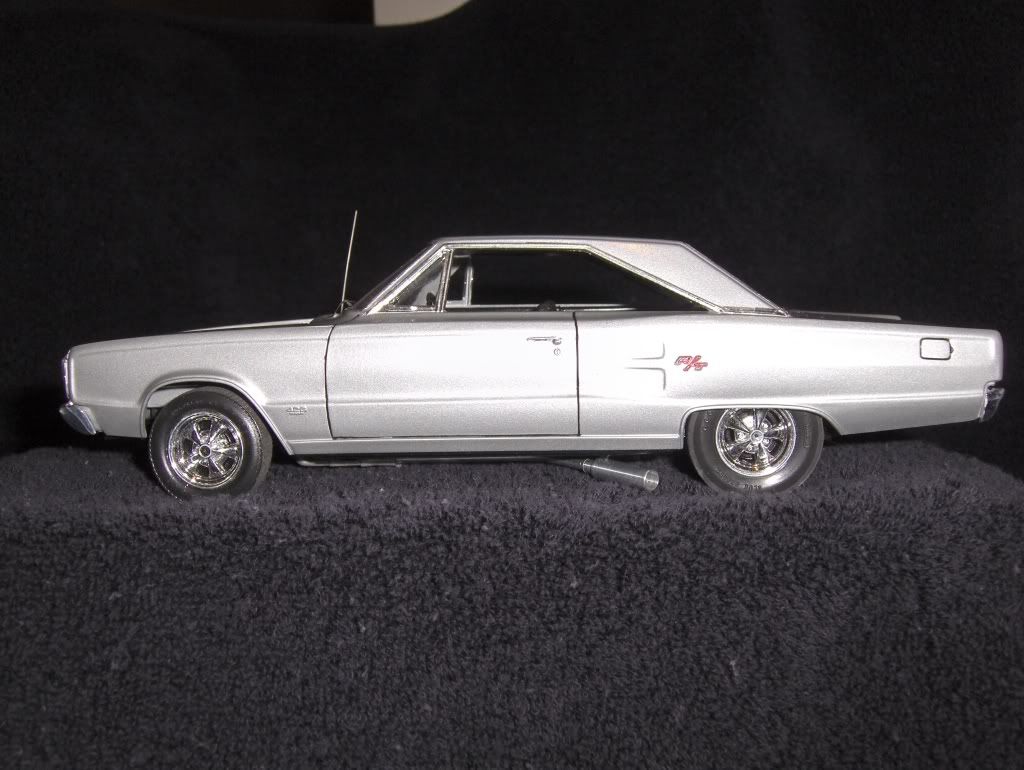
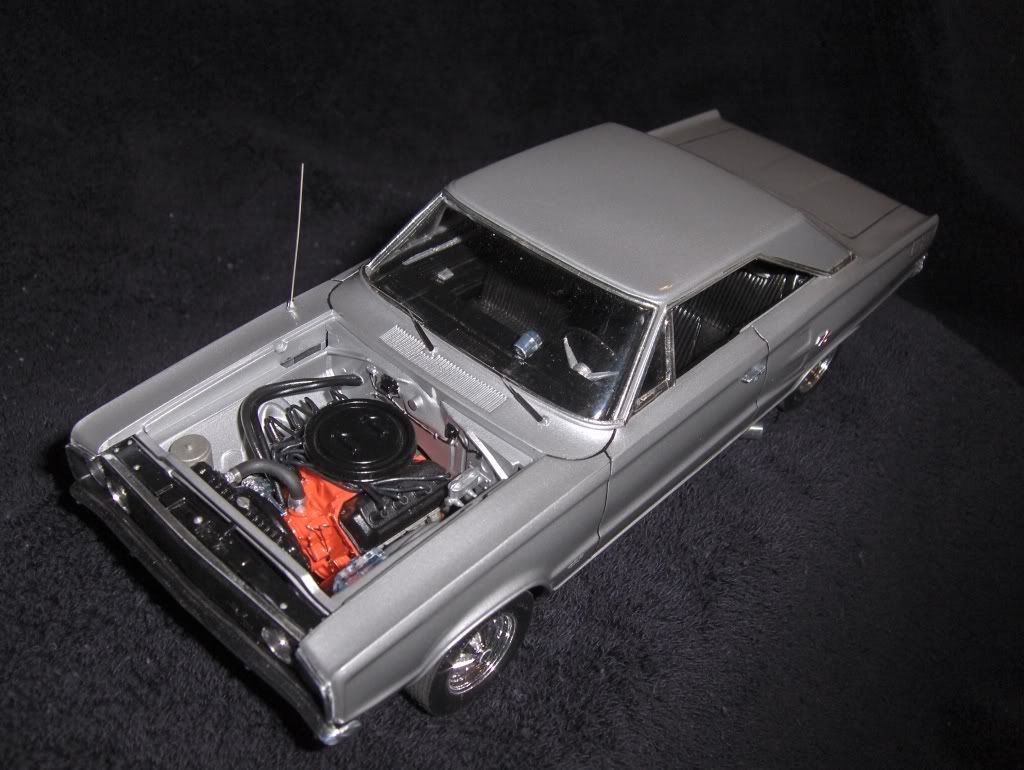
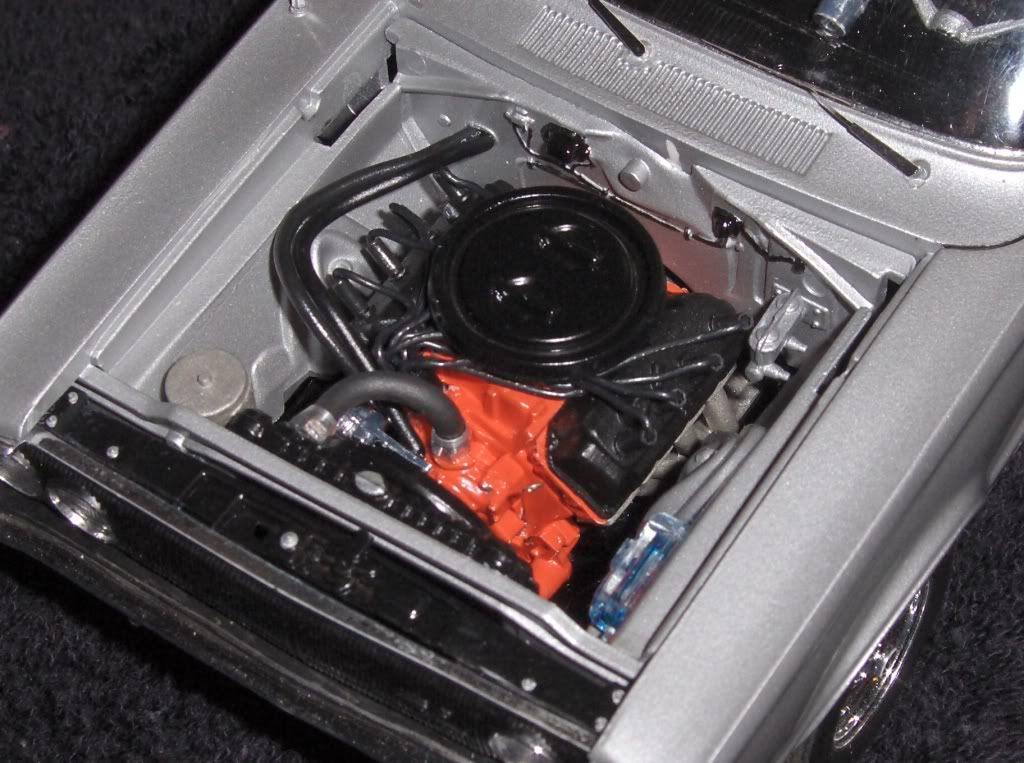
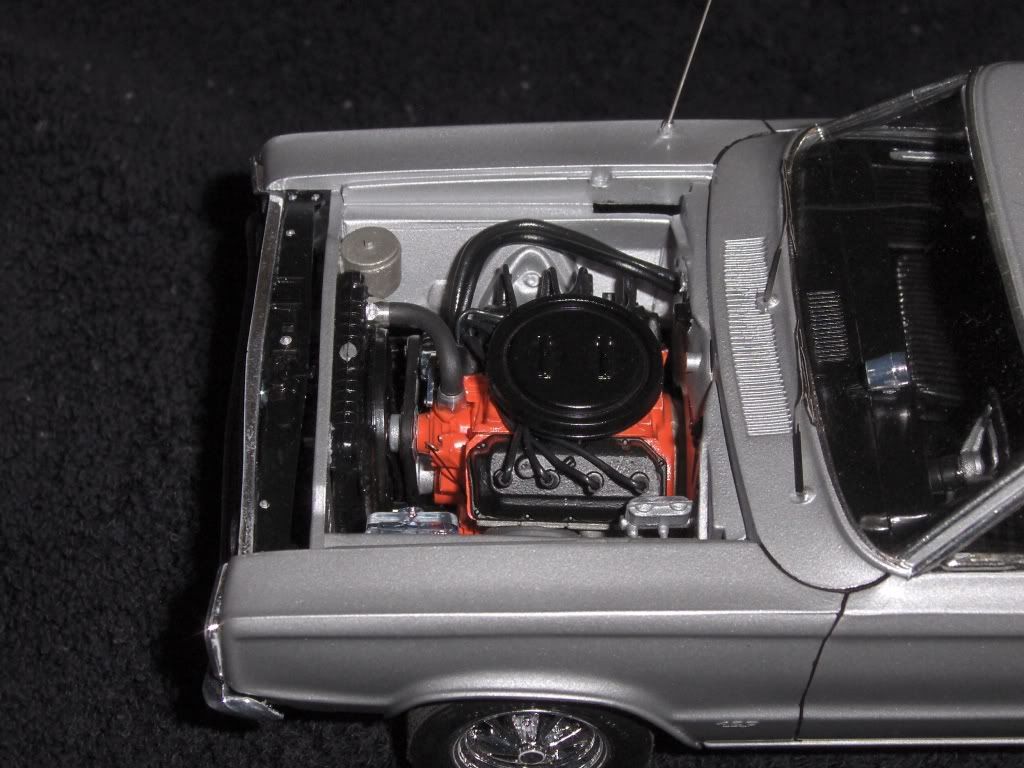
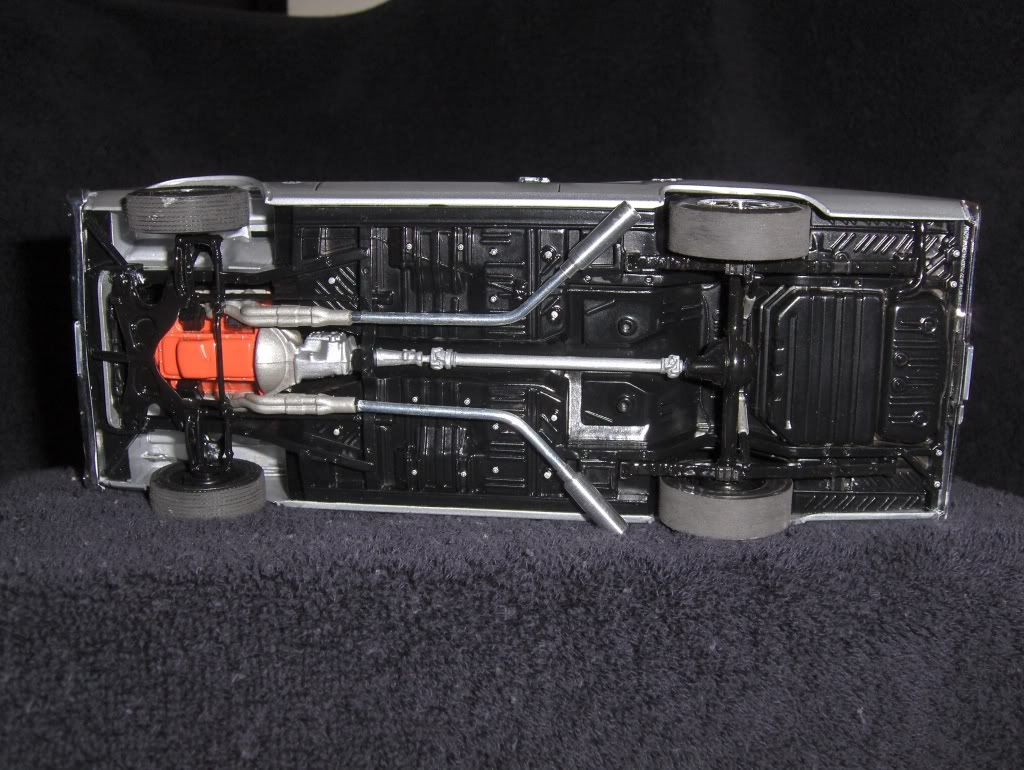
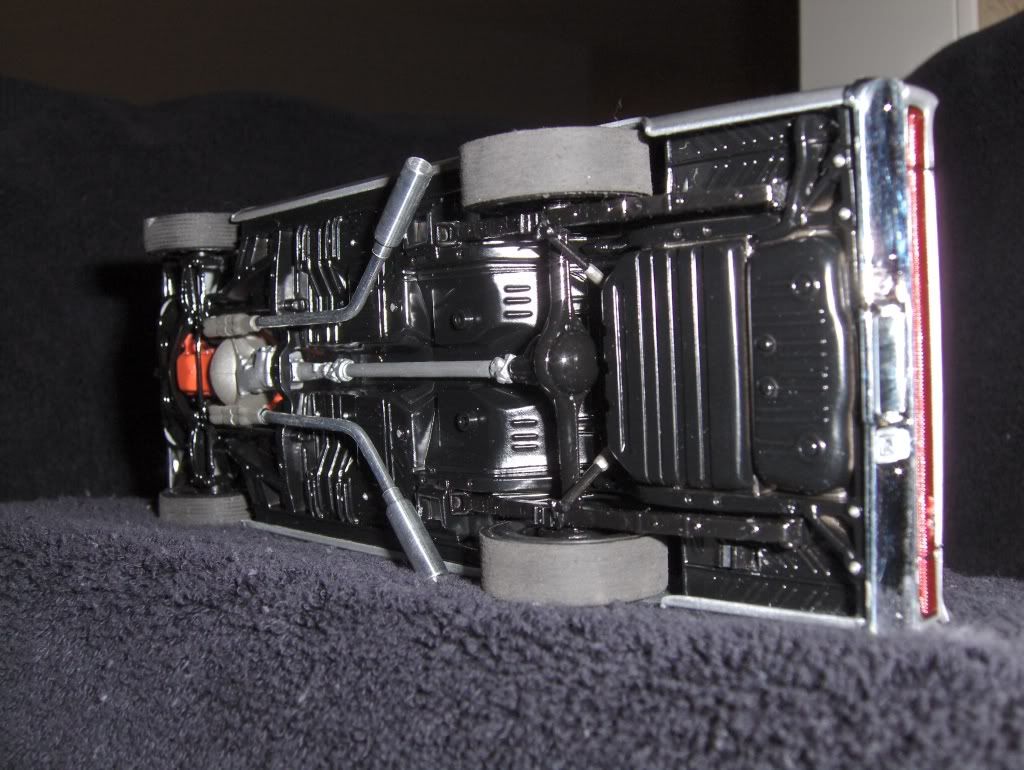
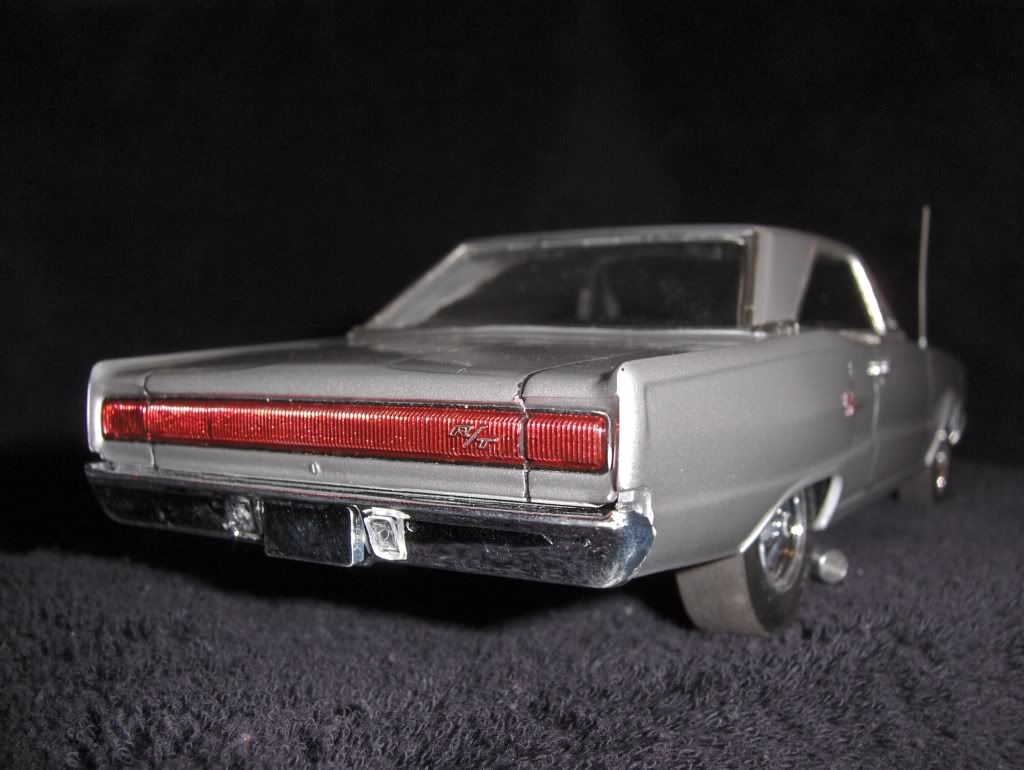
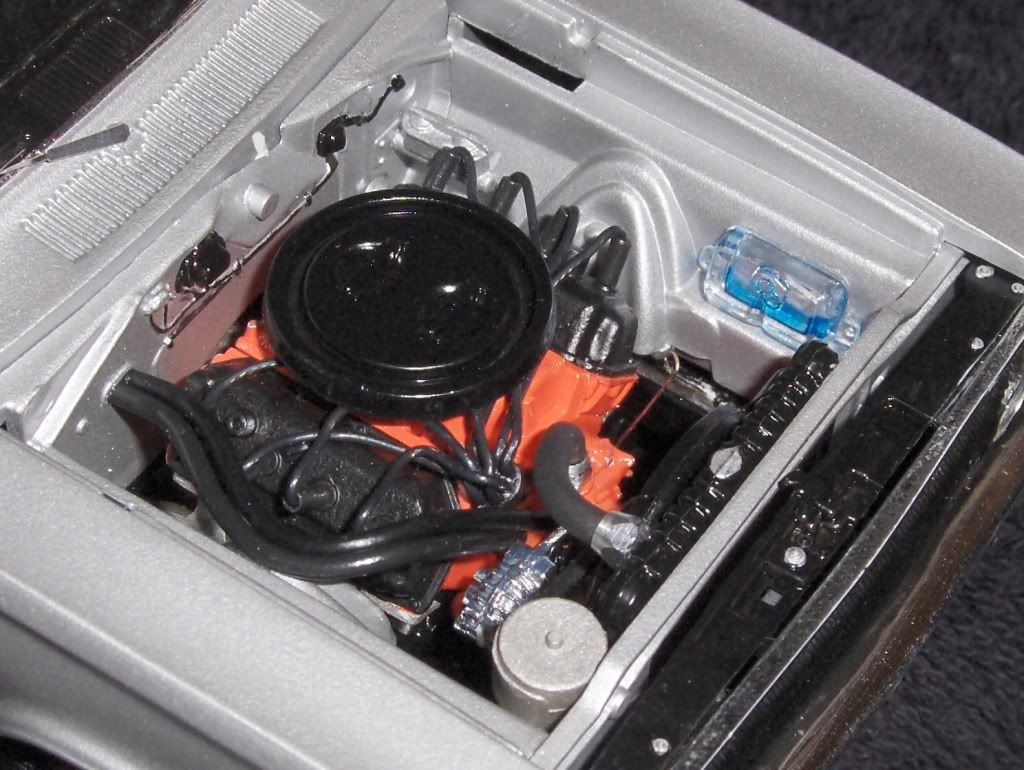
Me again...Here's my 67' Dodge Coronet R/T.  Although you can't see it in the pics due to my camera's intense flash, this model has working headlights!  I was feeling ambitious one day so I took a trip down to my local surplus store.  I bought two small white LED's, some wire, a small switch, a battery terminal and a battery.  To tell you the truth, I can't remember what kind of battery I used.  anyhoo, I drilled out the headlight buckets and mounted the LED's with some two part epoxy.  I borrowed a soldering iron from work and attatched the wires, running them along the inside pannels to the trunk.  The switch was mounted back there as well, it is barley visable in the chasis, its between the rear frame rail and the inner quarter pannel...stealthy!  The battery mount was than mounted and everthing was soldered.  It turned out so great, it surprised the heck out of alot of people at the model show in London Ontario...didn't win anything with it though.   It's actually quite brite, you could use the thing as a flash light in a pinch.
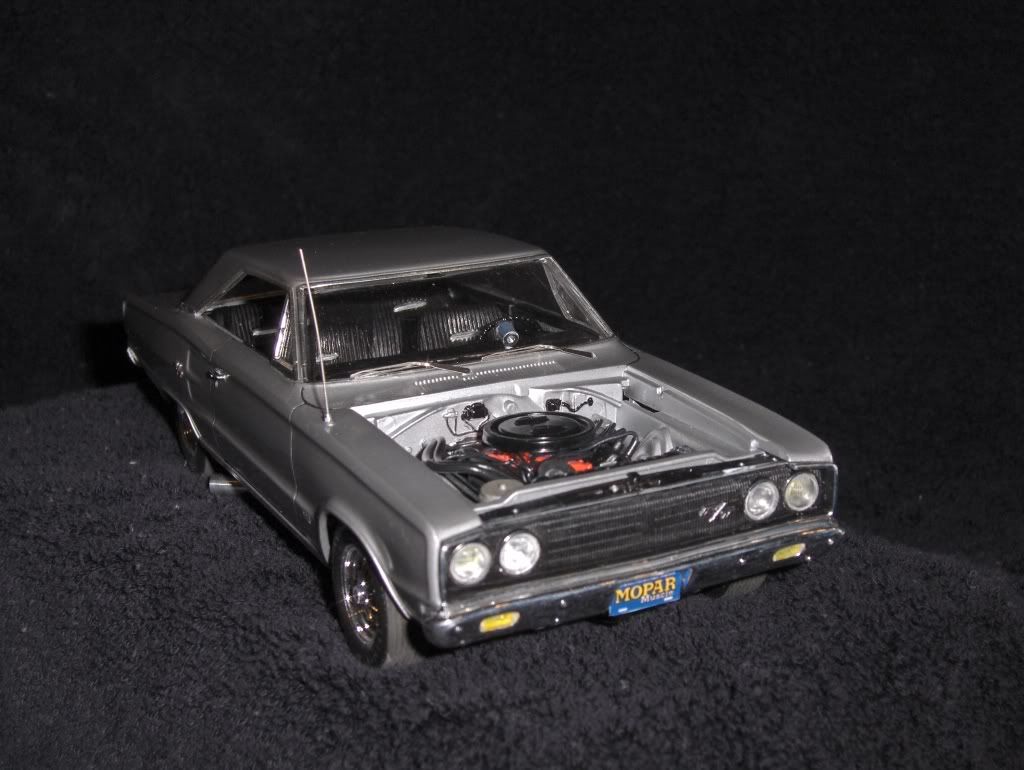


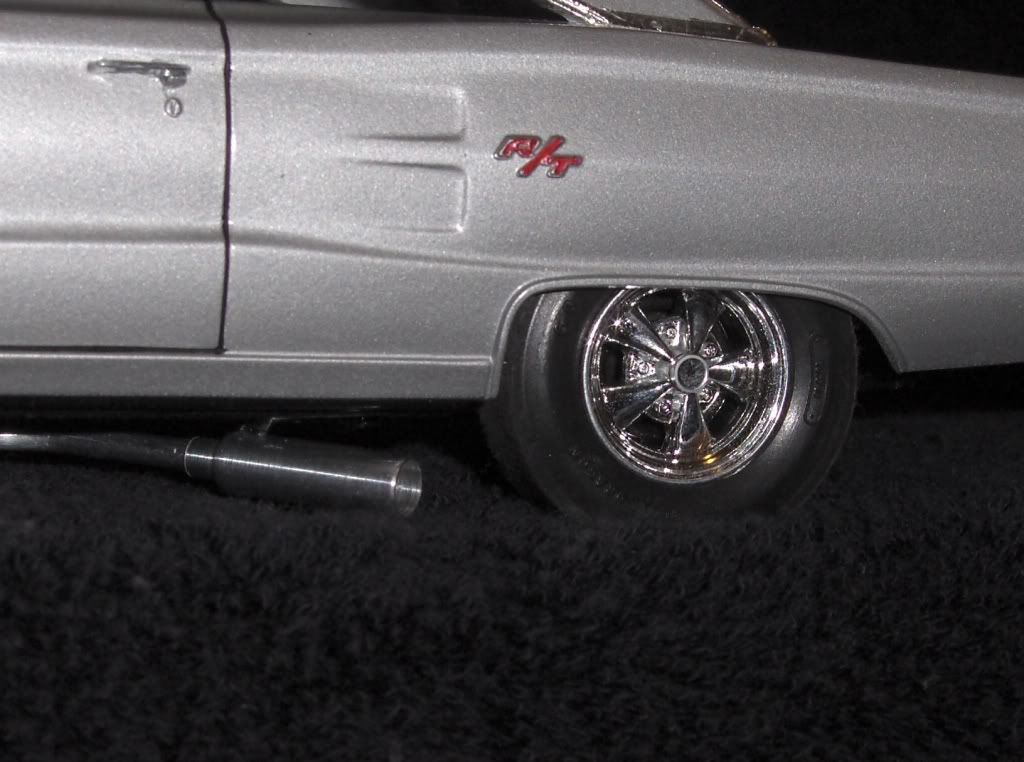
I didn't use as many aftermarket parts on this one, just the tail pipes, bare metal foil for the chrome and rad hose using wire and heat shrink with aftermarket attatchments.  I fabbed up a dip-stick using fine guage wire and also added an antenna.  If anyone has any questions on how to attempt this headlight jazz, don't hesitate to ask.  Stay tuned! 


On the go...Trumpeter 1/72 Tupolev Bear Soviet Heavy bomber...Tamiya 1/48 RAF DeHavilland Mosquiot Mk.II
JOIN OUR COMMUNITY!

Our community is FREE to join. To participate you must either login or register for an account.

SEARCH FORUMS
FREE NEWSLETTER
By signing up you may also receive reader surveys and occasional special offers. We do not sell, rent or trade our email lists. View our Privacy Policy.