With the start of the Formula 1 season fast approaching, I thought I'd do this one as a quick out of the box project while waiting for the paint to dry on a couple of other aircraft & ship projects.
Typical of the Revell Germany F1 kits, it's molded in relatively soft gray plastic and is a bit light on molded detail. Some of the parts, particularly the wings and other aero pieces are too thick. But the overall fit looks to be excellent and the kit appears to capture the complex shapes of the body and suspension pretty accurately.
Two sheets of great looking decals provide markings for the roll-out scheme and for several specific races for both Schumacher and Rosberg.
Like the other Revell 1/24 Formula 1 kits, it's basically a glorified curb-side model with a basic, but nicely-molded engine. The bad news is that the ends of the exhausts are all you can see of the engine once the body shell is glued in place. Can't quite figure out why they do it that way. It would seem that Revell could save some tooling costs (and sell the kit for less) by not bothering with the motor. Don't know why they don't just do them like the old Reynard Indy kits that just had a rear gearbox/suspension piece. If you're tempted to cut the engine cover off the body to show off the engine, then there's tons of scratch-building required to add the missing pieces like the rear bulkhead, radiators, shrouds, and other various pieces of plumbing. Maybe one of these days when I'm bored and looking for something to do...
Spent an evening doing some dry-fitting and figured a few things out that take exception to the assembly sequence called out in the instructions:
- The lower front body and front suspension can all be built as a subassembly and then installed as a unit into the finished body shell. The subassembly just has to be painted black and then have the carbon-fiber decals applied to the suspension arms.
- Likewise the engine/rear suspension can also be assembled, painted & decaled as a unit before installing on the chassis floorpan.
- It's a bit tricky and a tight fit getting the upper body shell over the engine/rear suspension while trying to line up the exhausts with the openings in the rear of the body. In dry-fitting and playing around, I found it's a lot easier if you leave the plenum/airbox off the top of the engine. No big deal, since you can't see it anyway once the body is in place.
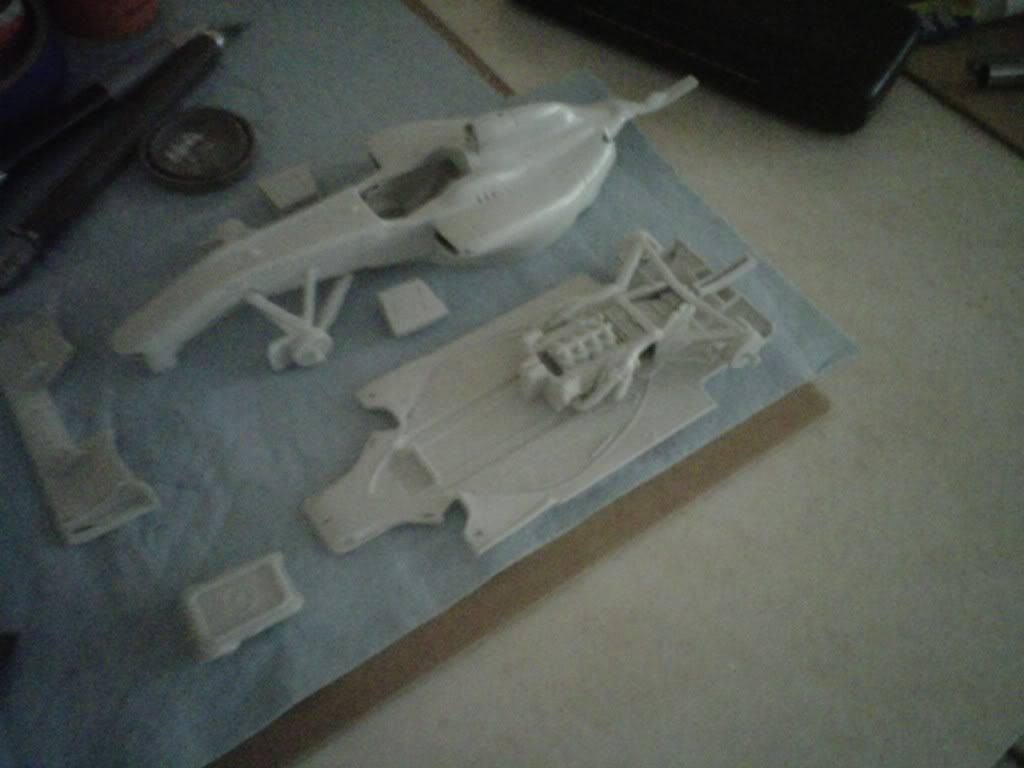
- I figured out there was enough clearance to install the cockpit and radiator subassemblies after the lower side pod pieces were glued in place. This makes masking & painting the body a lot easier. BTW, I was pleasantly surprised at the execellent fit of the lower side pods, even with their compound curves.
Here's a quick camera phone picture from my dry-fitting session. More later.
Mark