SEARCH FINESCALE.COM

Enter keywords or a search phrase below:

1/25 Revell Dodge Viper GTS -- WIP

6061 views
4 replies
1 rating 2 rating 3 rating 4 rating 5 rating
  • Member since
    October 2012
Posted by SuperGiantEgg on Monday, October 22, 2012 4:07 AM

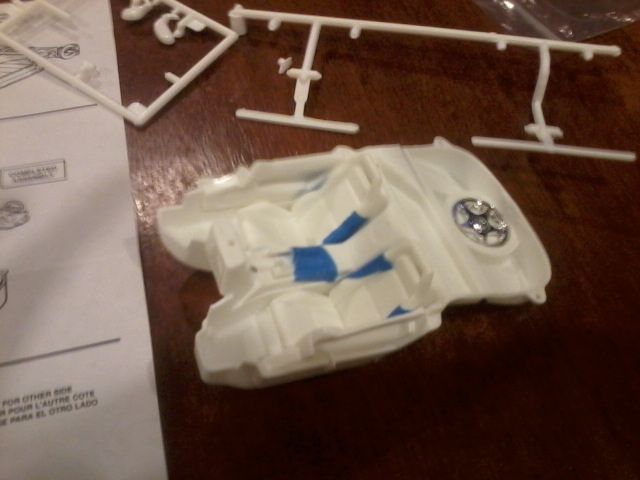
I painted the interior pieces a black based and used pastel and oil wash to add variations to the monotone black paint scheme. i also used various different gloss clear coats to really distinguish the carpet from the leather, and plastic from metal, etc. using reference materials from google images

  • Member since
    October 2012
Posted by SuperGiantEgg on Monday, October 22, 2012 4:04 AM

Here's a build update. I finished the body work and started priming and painting the parts. I also decided to do a diorama using sandpaper and a display case i ordered online.

  • Member since
    October 2012
Posted by SuperGiantEgg on Tuesday, October 16, 2012 11:54 PM

haha, that's a really good point. i did like 4hrs of body work on it last weekend. most fit issues are solved. i did have to be creative with the engine parts. after i get the pieces primed i am going to upload some pix. i want to try some of the techniques mentioned in this site because the viper has a ton of blacks, and i want to bring out variations in it to distinguish metal from plastic, etc.

www.straightlinemodeler.org/paintblack.html

  • Member since
    June 2010
  • From: Australia
Posted by OctaneOrange on Tuesday, October 16, 2012 10:49 PM

i also remember building a kit into a white blob with foggy clear blobs. it's a wonder any of us who built models as a kid even touch them nowadays. i've never built the revell viper (although i have one, or maybe it's AMT) if you can't get the hood to sit right, don't be scared to glue it shut, after all, how often do you open the hood to check out the engine detail?

  • Member since
    October 2012
1/25 Revell Dodge Viper GTS -- WIP
Posted by SuperGiantEgg on Sunday, October 14, 2012 12:59 AM

I once built this kit as a kid after being sold on the beautiful suggested build pix on the side of the box. I think it was the first car model I ever built.

After opening the box, I remember being disappointed that the model required paint, glue, and skill to complete. I tried my best non the less and ended up with a white piece of lumpy plastic with foggy windows. Ah, those were the days. Smile

That was over a decade ago. Now, at the ripe old age of 21, I decided to give this kit another go. I want to see if I can fulfill a childhood dream and bring life to this kit once more.

The box finally showed up from ebay today! It was just as I remembered it. The same box and all. It even had the same racetrack printed on the bottom of the box.
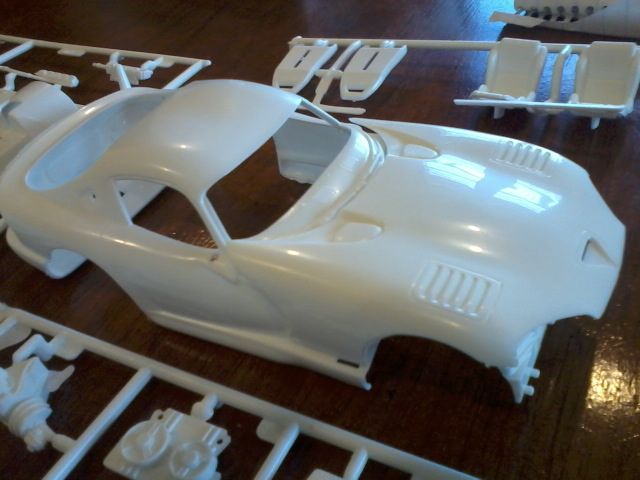
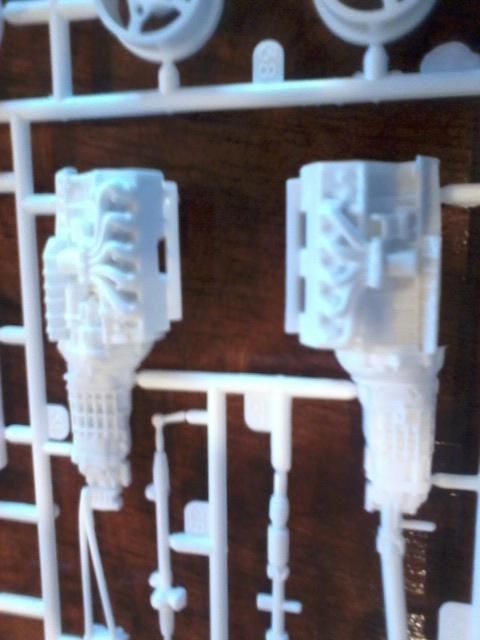
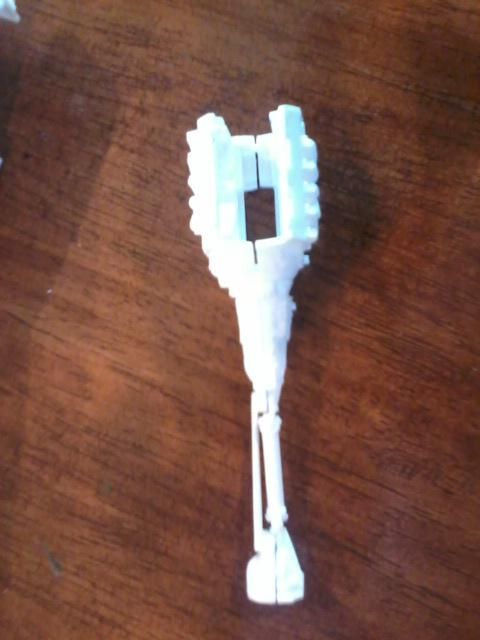
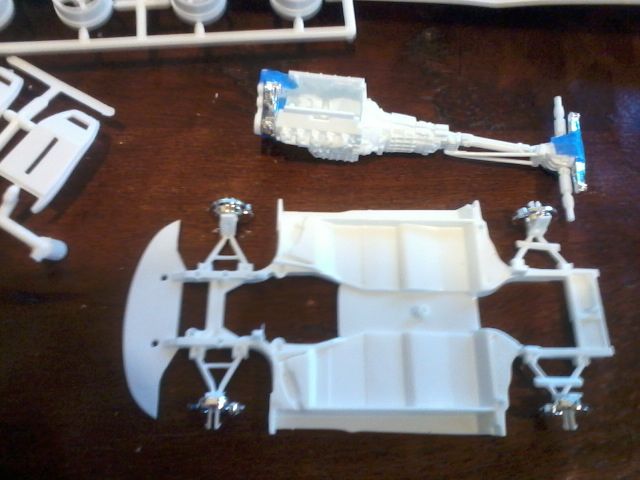
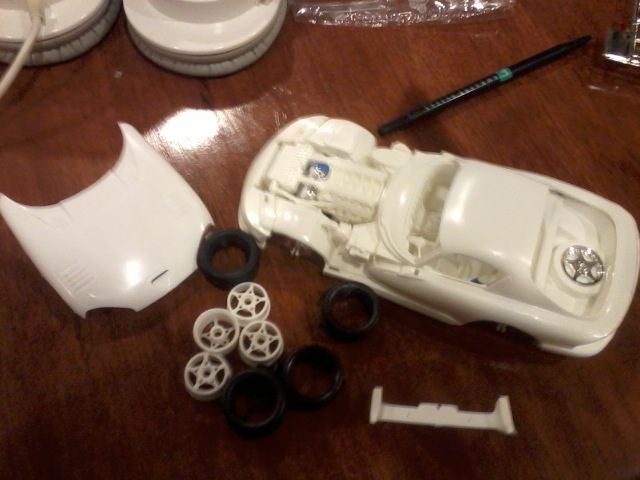
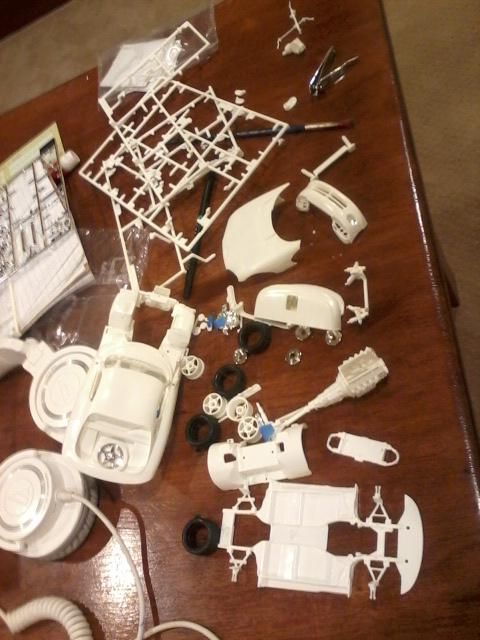
After putting the engine halves together, I realized that this kit have major fit issues. Thus, I did a quick dry fit build to learn about all the fit issues so I can come up with strategies to combat them. This will not be a shake and bake build. Sad

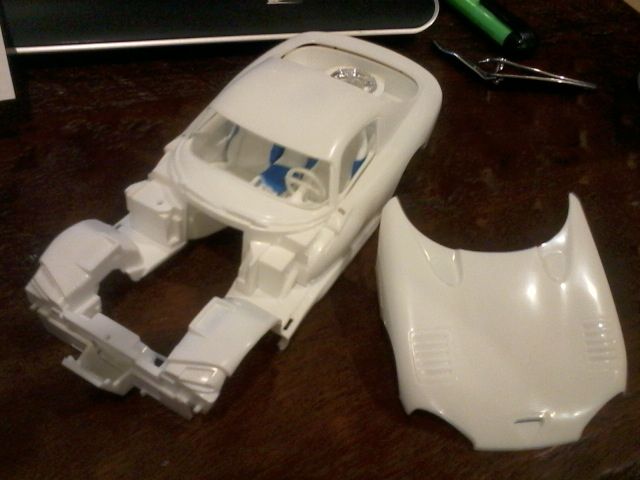
Now comes the hood. This is where I found the biggest fit issue. This thing just wont close. Hmm. Does any one have any advice? I don't remember the gap being THAT big. Perhaps I did something wrong?
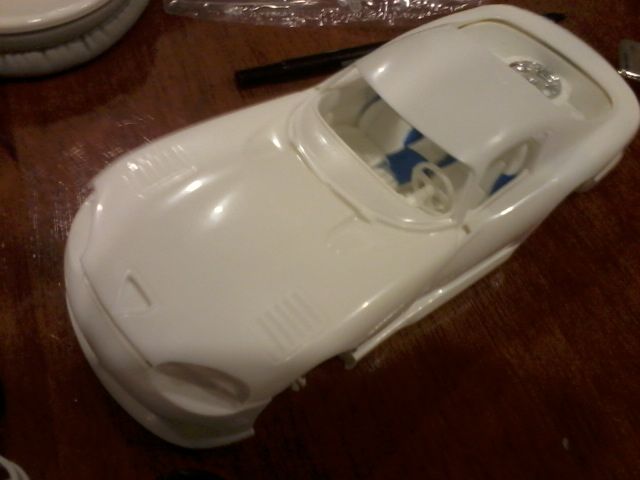
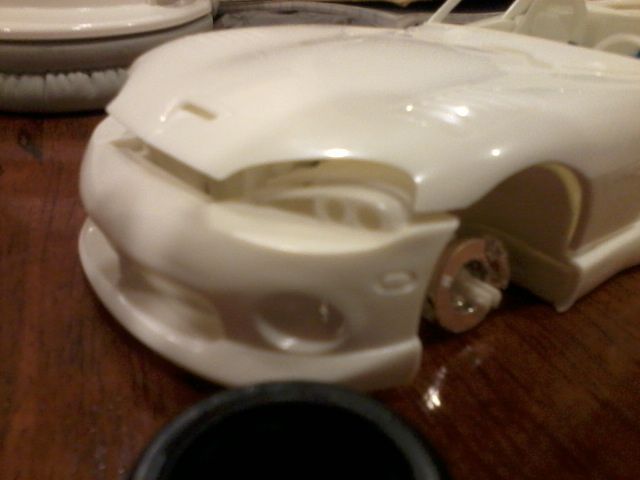
I took the pieces apart to find out where the fit issue was. Also, I am going to glue some smaller parts with the same paint scheme together to make my model into logical blocks that are easier to understand and work with.
JOIN OUR COMMUNITY!

Our community is FREE to join. To participate you must either login or register for an account.

SEARCH FORUMS
FREE NEWSLETTER
By signing up you may also receive reader surveys and occasional special offers. We do not sell, rent or trade our email lists. View our Privacy Policy.