SEARCH FINESCALE.COM

Enter keywords or a search phrase below:

Kurtis Kraft Indy WIP Tips & Tricks

1361 views
4 replies
1 rating 2 rating 3 rating 4 rating 5 rating
  • Member since
    December 2013
Kurtis Kraft Indy WIP Tips & Tricks
Posted by CodyJ on Friday, March 28, 2014 12:42 AM

Hi there. I am doing a WIP for the model of the famous Kurtis Kraft. I have built a few of these and have found many ways of improving and adding extras to make the model a more enjoyable experience to build, as well as creating a better final representation. There are after market parts (mostly resin) from many sources that include different tire/wheel combinations, better driver figure, and side panels. These are not always available on the market and are quite expensive. I wont be using these type of upgrades. I want to show what can be done with this kit without changing the majority of the kit itself.


Monogram is the model maker and the mold has not changed much since the first release. One of the only differences is the front rims have slots on the re-issues and the originals do not. These kits are unusual but not rare or expensive by any means. As far as Indy cars they are some of the cheaper kits aside from the 90's Amt's. The kit has 50 parts including fictitious scheme decals (not a genuine Kurtis scheme ever used), small sheet of clear styrene for the windshield, driver and mechanic figure, small tool box, and steerable front suspension. This car unlike most model car kits come in 2 halves. This is much like a fuselage of a model airplane. The kit is simplistic but can be made to be a very good representation of Indy winner.


The racing car I will be recreating is the "Filter Queen Special" driven by Rodger Ward in the 1956 Indy 500. Ward finished 8th in this car and would have to wait 6 more years to get his image on the trophy. Never the less the car is a well know scheme from the mid 50's, being represented in diecasts too.


The tools I will use for this project are fairly common and not much is unusual. I will be using Lacquers for the paint just because I am used to auto-body techniques so these are what I am most comfortable with. I will use Tamiya Metallic Red and Testors Lacquer clear coat. The Alclad Bottle is called "Hotmetal Blue" this will be used for the exhaust pipe. The pin vise and bits will be used to hollow out the side pipe. I will use the panel scriber to re-scribe the panel lines after priming. The rest are just glues and other common items.


To begin there are a few things you can knock off the list right away. One is Drilling out the end of the exhaust pipe. To do this I used 1.05mm bit to begin the drilling in the center. I then went to the 1.70mm then the 1.80mm drill for the final hole. This looks much better than before. Some Kurtis Krafts have the pipe on the driver side and sometimes bent down below the rear axle. Luckily the car I am replicating follows the kit's design exactly. After using metalizer paint I used Alclad "Hotmetal Blue" and airbrushed it very lightly on the collection area of the pipe system. I try to use it very subtle and let it blend into the silver. When using Alclad Paints make sure the air to paint ratio you are shooting is mostly air because this paint is very very thin to begin with. You don't want runs or heavy spots.


The tires are such a big part of this model, being an open-wheel race car that is. They are two half pieces which is a minus but have very good detail. First I glue both halves together and let them sit and dry. I then sand and smooth the seam as well as sand off the raised letters because I will be using decals instead of painting the letters. I then paint the whole piece the silver wheel color. I then tape off the lip and wheels and lay down the black. Next comes the decals. I use Solvaset by Walthers. I found wetting the surface and the putting the decal works best on flat colors. This is because decals tend to "float" on flat colors. The Solvaset tends to make the decal cling to the surface. After they are dried I spray a satin clear over the wheels to seal the decals as well as to make them look uniform. By nature decals are printed on a glossy film so the decals sometimes look glossy on a flat surface. By spraying the Satin clear it causes both elements to be a satin finish.


Next is the hood. This has a small cowl hump that many Kurtis Krafts never had. There is many ways to remove this but the best way I found is to flip the hood over, take body putty and fill in the small depression the cowl make on the backside. This way when I sand off the cowl there wont be hole there but the filler putty. This eliminates puttying later.


Next is the body. Like I mentioned before its more like joining two halves of a plane fuselage and a nose cone. After joining there will be a seam either on top, bottom, or both depending on your kit. I find using some primer first shows all the areas needing to be filled or sanded. I prefer using sanding sticks and sanding sponges to begin with. After filling with a bit of putty and doing some more sanding and priming I like to re-scribe the lines in the body panels. Using primer will fill these lines and I like them to be crisp so a light run with the scriber will keeps them sharp.


Unfortunatley the engine bay has no detail at all and with out major scratchbuilding it will not be a highlight of this model. However there is an interior part that does exist that can be improved. The seat in this car is rather bland and has points where the figure goes. I eleiminated the those points and used 1/16" styrene for a seat pad. I sanded and rounded the edges to appear like a cushion. I did the same with the head pad on top which shows true in photos of the cars.


Next thing to address are the generic decals that come with the kit. They are for a general may-have-been car. I obviously wanted something much more than this for this build. I went to Indycals.net and found around 7 different paint schemes that would fit this model. Micheal at Indycals is well known in the model world for his vast array of decals for nearly every Indy car you can think of. The scheme I finally chose was Rodger Ward's 1956 Filter Queen Special. I also used Indycals tire decals that are a correct fit for the era.


Paint was a fairly painless experience. I began with a light coating of Tamiya primer which I then sanded with 1500 to get a very smooth surface for the basecoat. I used a Tamiya Metallic Red for the base coat. I then applied the decals. After waiting a day or so for the decals to fully dry and set, I then gave the car a number of coats of clear lacquer paint. After the car was dry I painted the black padding around the edge of the interior. The rest was just assembly. Assembly was simple and easy. First the seat and interior parts, then the suspension and last were the tires. I am very pleased with the car and happy with the look that it captured. Hopefully some of these tips and tricks will help you get inspired or avoid some headache on your builds in the future of this classic Indy kit!


  • Member since
    November 2009
  • From: Twin Cities of Minnesota
Posted by Don Stauffer on Friday, March 28, 2014 9:08 AM

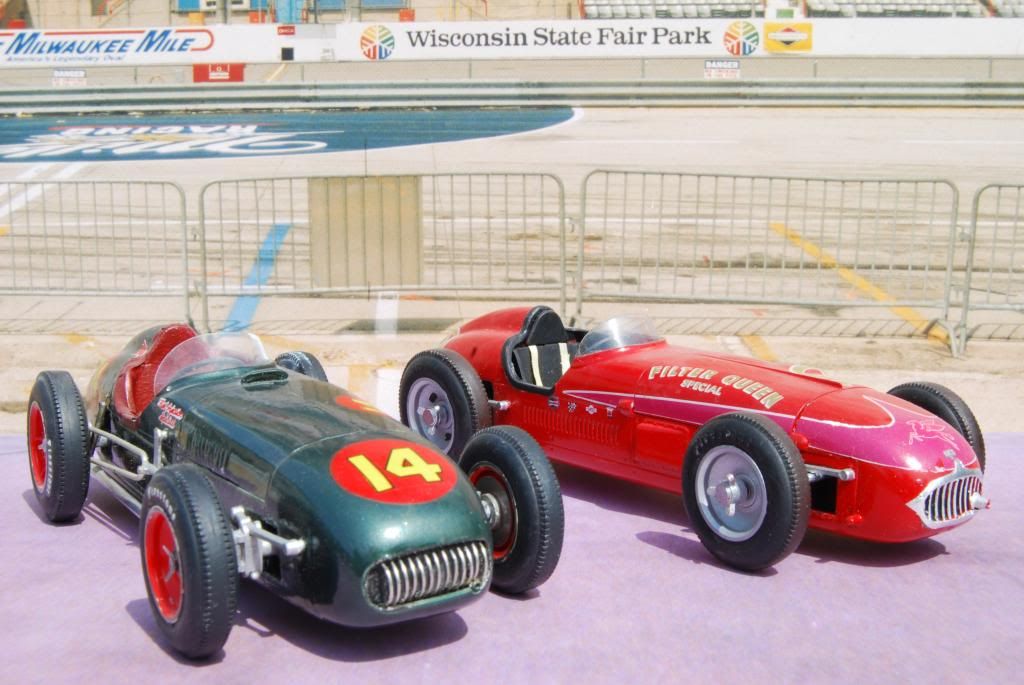
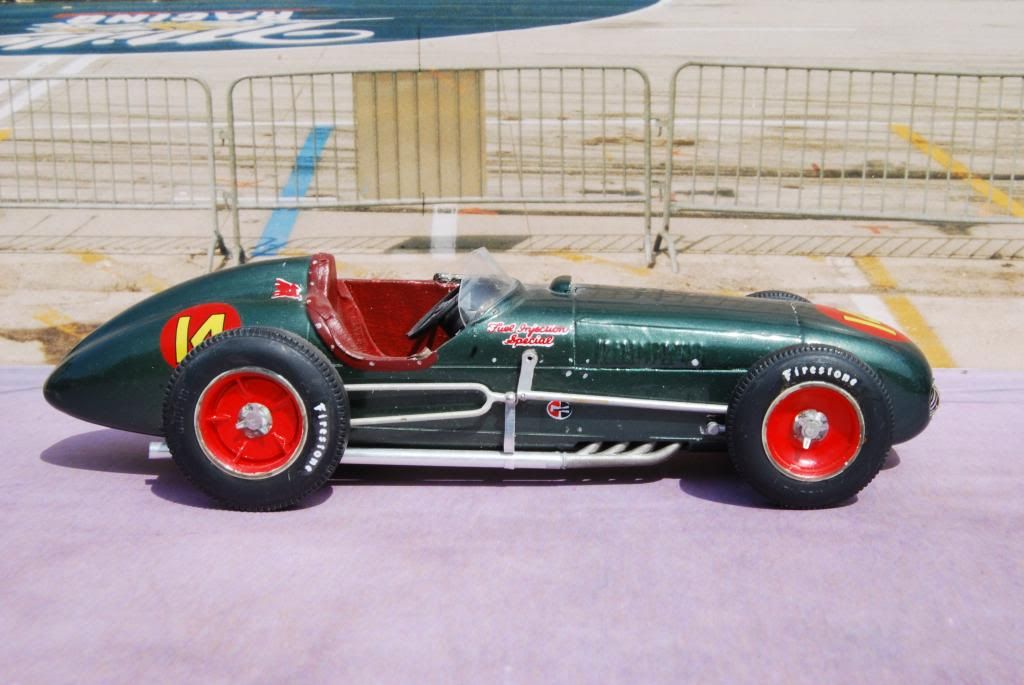
I think this is a much under-rated kit.  The suspension (probably because of the turnable front wheels) is a bit crude, but is easily improved.  I have built three different KK cars, including the first Vukovitch winner, photo below.

I still have  a couple more of the kits in my stash.

Don Stauffer in Minnesota

  • Member since
    February 2011
  • From: St louis
Posted by Raualduke on Saturday, March 29, 2014 10:54 AM

That's a great looking build. I noticed that set of drills on your bench.who makes them?

  • Member since
    November 2003
  • From: State of Mississippi. State motto: Virtute et armis (By valor and arms)
Posted by mississippivol on Saturday, March 29, 2014 5:41 PM

Wow,Cody, that's very nice!

  • Member since
    December 2013
Posted by CodyJ on Saturday, March 29, 2014 10:07 PM

Not sure.  I think generic because there is no brand name...

JOIN OUR COMMUNITY!

Our community is FREE to join. To participate you must either login or register for an account.

SEARCH FORUMS
FREE NEWSLETTER
By signing up you may also receive reader surveys and occasional special offers. We do not sell, rent or trade our email lists. View our Privacy Policy.