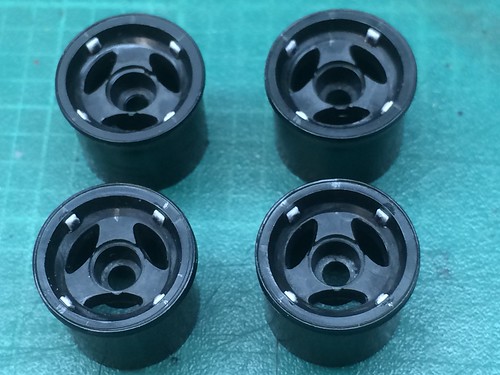
Huh, I never noticed the wheel weights; not paying attention again! I thought you were talking about those four beveled squares with the bolts on the rim. I added them to the 1/20 kit, but have no idea what they were supposed to be.
I used some PE stencils for the "Goodyear" logos on my kit's tires since the aftermarket set I used didn't have any molded lettering.
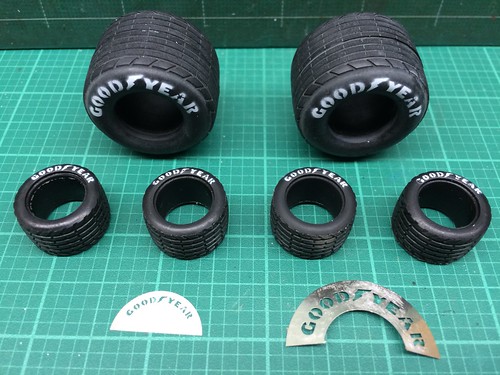
The slight overspray was OK since period photos show the same. I still need to scribble the handwritten notes on the sidewalls.
Keep going, you are making terrific progress!