I just started debugging the Ventura version of this kit to address the window and front bumper/ grill fit problem that's been mentioned in various modeling forums. The front window fix has been described with helpful photos in several forums but the only tips I have found to address the poor fitting front bumper/ grill (part 96) consists of written suggestions to cut up or totally omit the front bulkhead ("radiator core support" part number 6 on the instructions). At the risk of getting deep into the weeds and boring the heck out of most of my fellow car modelers here, I thought I would post some photos showing how I fixed his issue without completely butchering or omitting any parts.
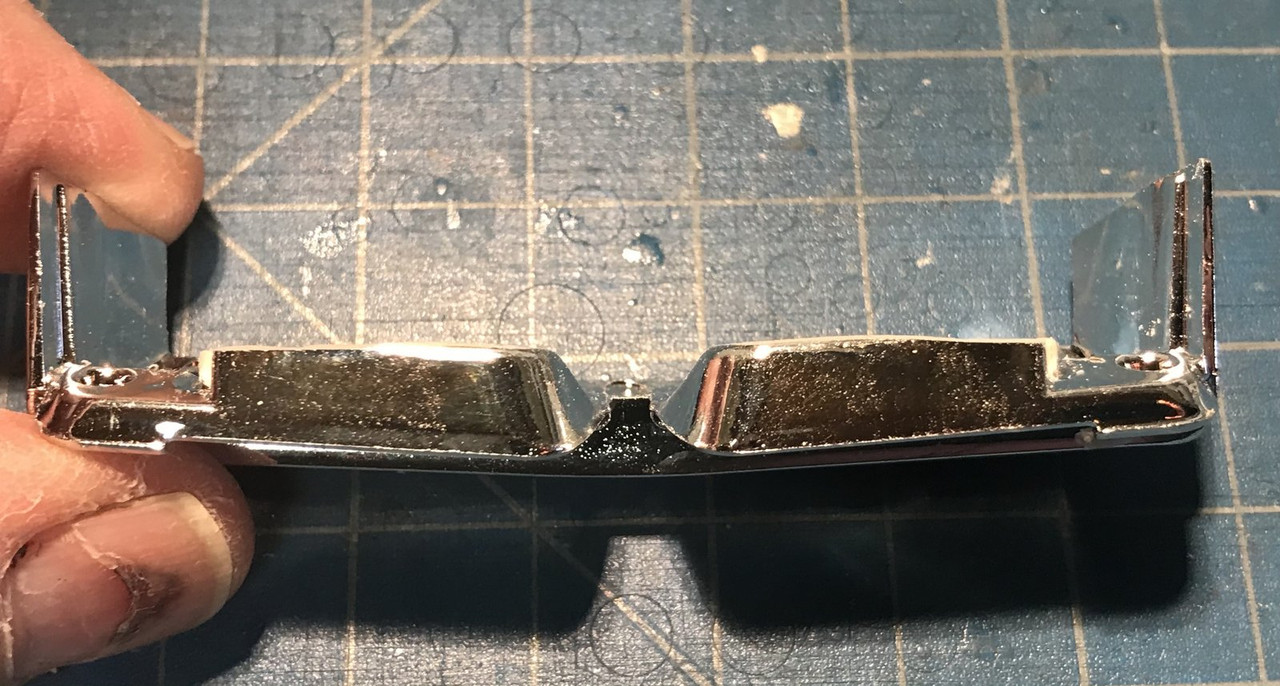
The photo below shows a slightly exaggerated illustration of this protruding bumper/ grill fit problem when fitting the parts together right out of the box:

First thing I did is to bond the front bulkhead (part 6) to the front of the chassis (part 3, which the instructions label as the "floor") as shown in photos below, taking care to position it so that the top of the bulkhead seats against the rib on the cross member on the body (part 1) at the front of the hood opening.
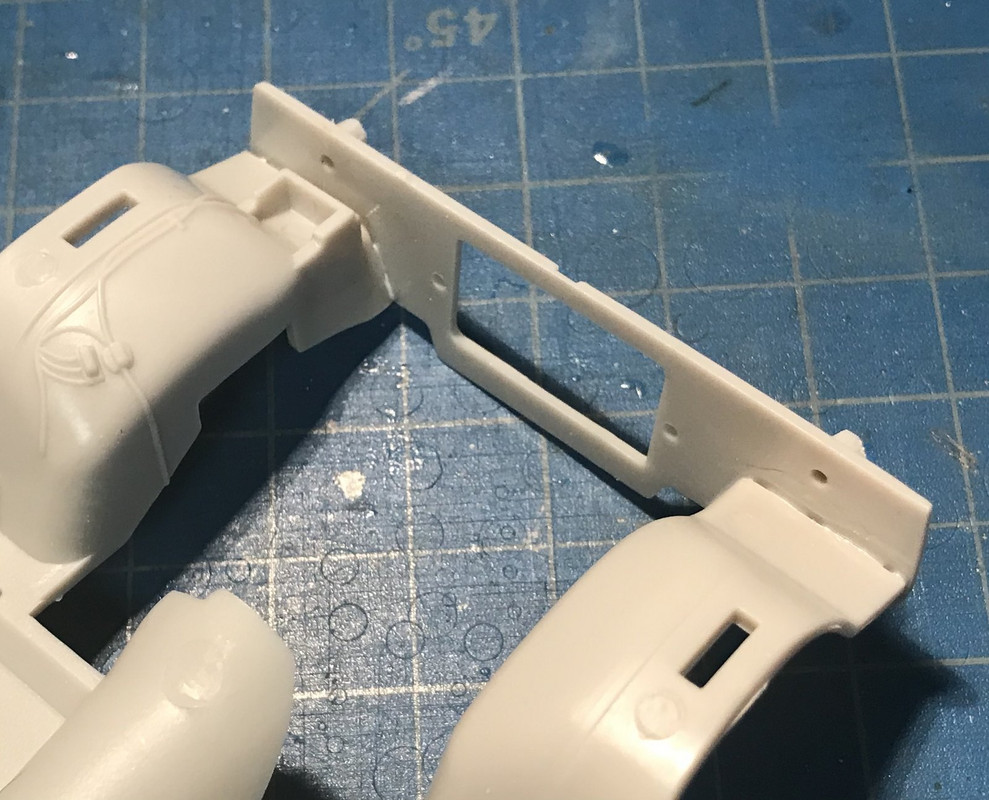

Be careful not to bond this bulkhead to the body while performing this first step!
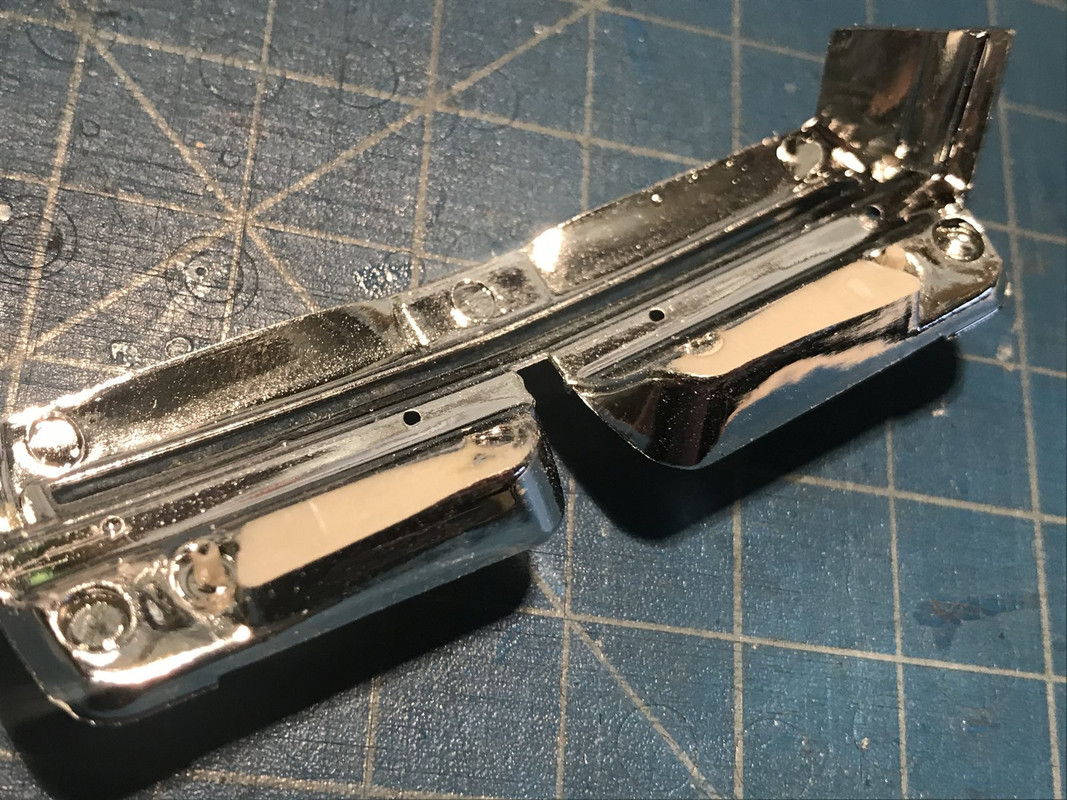
Step 2 is remove material at the rear of the two grill areas protruding form the rear of the bumper/ grill using an X-acto knife and a coarse sanding stick. I removed enough plastic so that the two protruding grill bumps are about flush with the ends of the two small bosses also protruding from the rear of the grill:
Step 3 is removal of material around the front of each of the two female socket bosses on the bulkhead using a knife and sanding stick as shown in the photos below. This is a "cut a little and check fit" process with the bumper/ grill and body.

The final reslt is a bumper/ grill that can fully insert into the body/ chassis assembly:


I have yet to complete painting and assembly of this kit so I hope to not find any surprises with this fix. I welcome any alternative fixes or suggestions on other ways to address this fit problem. Hope this is helpful to others assembling this cool kit.
John