SEARCH FINESCALE.COM

Enter keywords or a search phrase below:

Making realistic trees and bushes

32704 views
7 replies
1 rating 2 rating 3 rating 4 rating 5 rating
  • Member since
    June 2014
  • From: New Braunfels , Texas
Posted by Tanker - Builder on Sunday, November 20, 2016 8:50 AM

Even though five loong years have passed , this is good info . I only wish his photos had appeared . Now I do know the importance of pictures .This is , in text , similiar to what I was taught at a train show .

  • Member since
    April 2008
  • From: Fox Lake, Il., USA
Posted by spiralcity on Friday, February 26, 2016 8:21 AM

Pawel

Isn't it sad, that the OP put so much time and effort to post a detailed SBS and had to wait four years for a reply?


Maybe it was posted during a surge of other post and was quickly lost in the archives? There is some good info here and it is still relevant. These are the kind of old post that deserve resurrection. I'm an N-Scale train guy, so scenery is dealt with a lot on ohter forums I visit. It's good to see a nice thread on scenery here.


  • Member since
    March 2015
Posted by qlabs on Thursday, February 25, 2016 2:40 PM

I'm surprised no one else chimed in. There is some great info here and a great method and approach.
Big thanks to Phil for originally posting it, it's certainly helped me out Cool

  • Member since
    May 2009
  • From: Poland
Posted by Pawel on Thursday, February 25, 2016 10:21 AM

Isn't it sad, that the OP put so much time and effort to post a detailed SBS and had to wait four years for a reply?

All comments and critique welcomed. Thanks for your honest opinions!

www.vietnam.net.pl

  • Member since
    March 2015
Posted by qlabs on Thursday, February 25, 2016 8:52 AM

Thank you so much for posting this. I've been wanting to add some trees to a diorama I'm making and wasn't happy with the store bought one I picked up.
I'm going to take a crack at this method for sure!

  • Member since
    August 2011
Posted by Philter4 on Thursday, September 15, 2011 12:33 AM

Now for the last installment, the foliage.  This is the most tedious part of the process, and it is also the most time consuming.  I usually take a week or 10 days to do the bulk of the foliage and about another 3 or 4 days to do all of the detail touchup work.  


FOLIAGE


There are so many choices to making the leaves and flowers that I can't even begin to touch the surface.  All of the old model railroading materials such as lichen and foam clusters are still available but not used by many diorama makers, especially not of the quality of the that I see in the photos here, but they are the easiest to find. I have recently found products like Selkirk Scenery which is a huge step up from the old style model leaves and looks great in smaller scales but for larger scales it still has limitations.  For our purposes we want each plant to be as real as possible, on my dioramas I want someone who knows plants to be able to look as a model and identify the plant down to the genus if not the species.


To get this type of realism I have watched and learned from dollhouse sculptors, diorama makers for museums, and taxidermists, all of whom treat each plant as if it was a figure on the diorama.  Most of the model makers I have found were more then willing to help me with materials lists and suppliers, since learning I have come across many tricks to making different types of leaves, while out I always look for materials that look like a particular leaf or can be used as a template to create a compound leaf.  It just takes some luck to spot something that can make a totally new leaf type or make a different tree easier to complete.


MATERIALS

There are several types that I have found to be much superior to any of the typical modelling products.  The most useful for diorama making follow, in order of how good they look on the finished sculpture:


Preserved natural foliage

laser cut paper

hand cut paper

clay

plastic plants and silk plants


I'll take each one in the order above, starting with preserved natural foliage.  There are differences between dried and preserved so make sure you get preserved, it will last for years while dried foliage will eventually fall off the stem.  Michigan Toy Soldier and Military Miniature Warehouse both sell the most versatile preserved foliage, sesame bloom.  It is packaged by a couple of different brands, Hudson and Allen has a green shrubbery package, and Joefix Studios also sells sesame bloom packaged.  The other types that I have found useful are lepto for any round shaped leaves, Imported lepto for things like oliander and bamboo because it has lance shaped leaves, misty for pines and other type of evergreen foliage.  Here is a photo of some of the different types of preserved foliage.


I buy most in natural colors like greens and browns, a few in bright colors like lavender, yellow or red, I also sometimes buy white or bleached so I can color it the colors I need.  The bright colors make fairly good flowers for large bushes or trees in smaller scales, and great foliage for trees like plums or maples in fall colors.


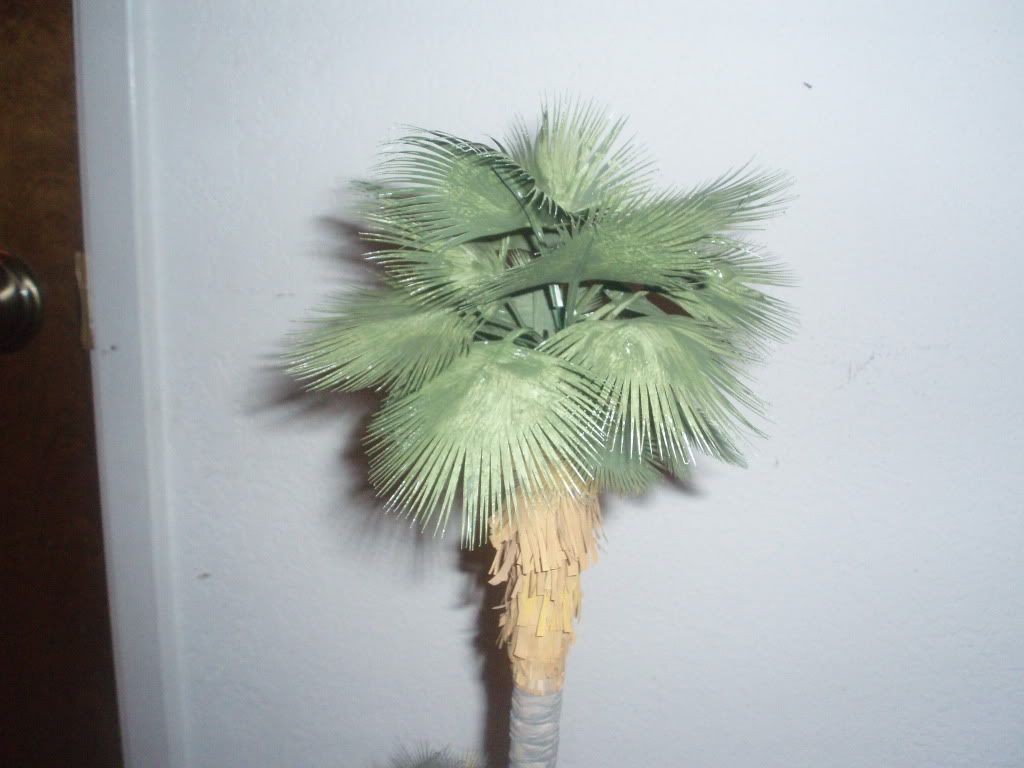
Next on the list is laser cut paper.  Many of you are probably familiar with the Noch or ScaleRama laser cut kits.  There are other brands, too many to list but they all have some that are perfect and others that aren't so good, but pick and choose and you will come away with some fantastic plants for the diorama.  For palm fronds the best I have ever found is by Hart of the South.  His fronds are too small for my scale but perfect for 1:35 or smaller scales.  I have all of mine custom sized for my diorama, it costs a little more but is worth it for the final product.  Here are some of my palms that are done in larger scale.
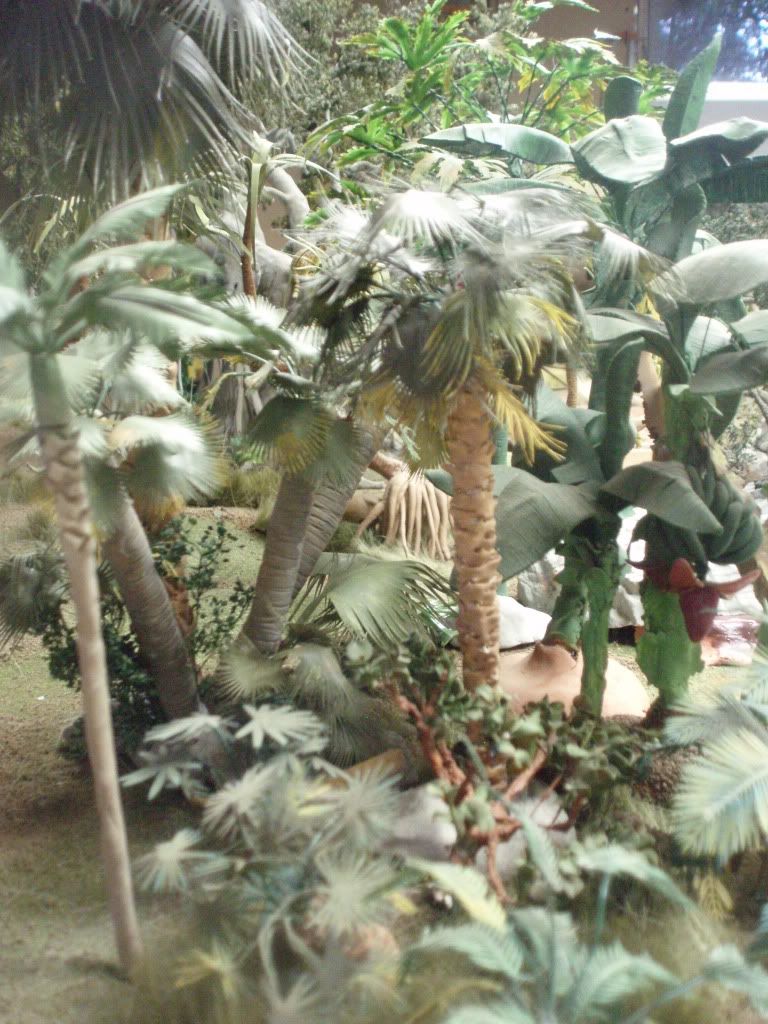
 

Here are some ScaleRama laser cut sugarcanes, I use them for reeds by the waters edge.


Hand cut paper is also very good for larger leaves and fronds,  I use them for palm fronds and banana leaves.  I have also used them for compound leaves for different ivy and papaya but this is very time consuming and I would not do them again if I didn't have a substitute.  Here are a few plants I made using paper cut leaves, the first is an umbrella plant, the second is a pair of large leafed dragon trees, they are on the left side of the photo.


Here is a paper cut date palm,
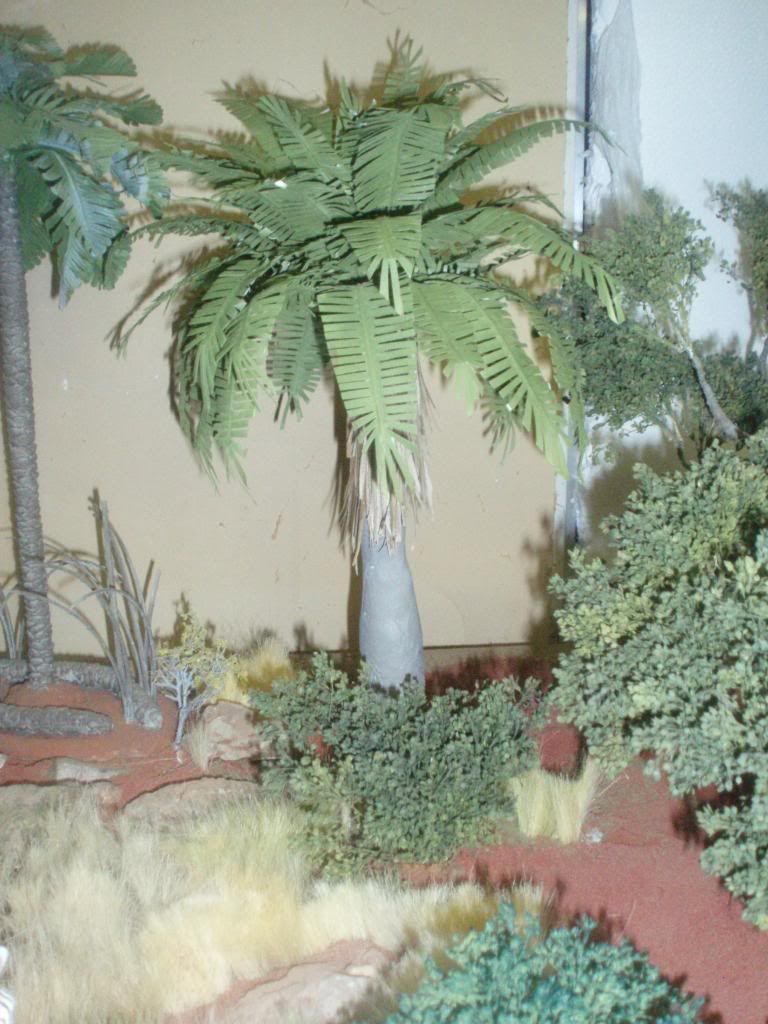
 

and a paper cut pandanus tree


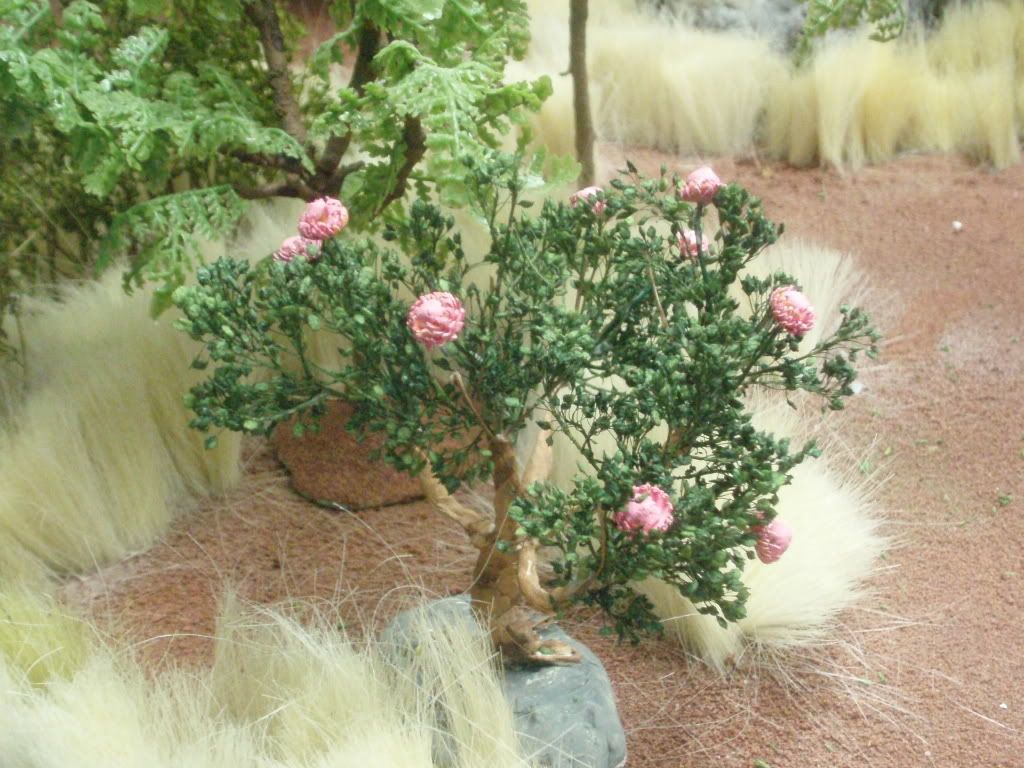
I also use clay to make some of the plants, here is a photo of a king protea that I made using clay for the stems and branches, sesame bloom for the foliage, and paper clay for the flowers.
 

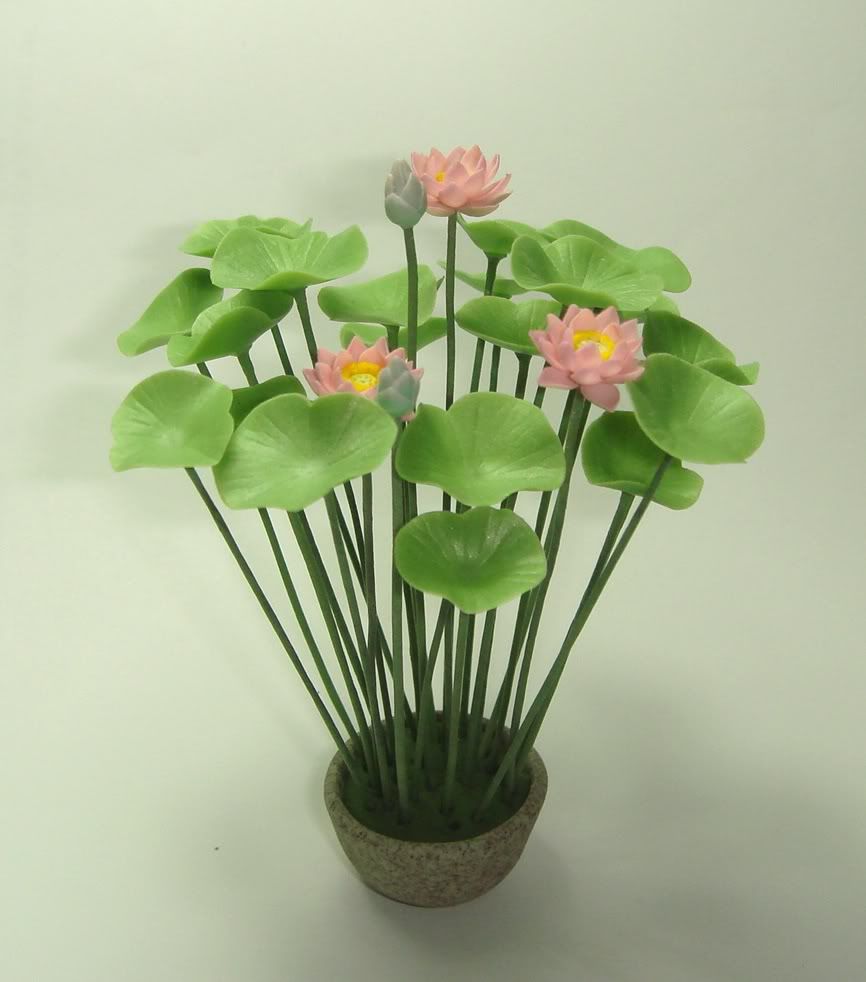
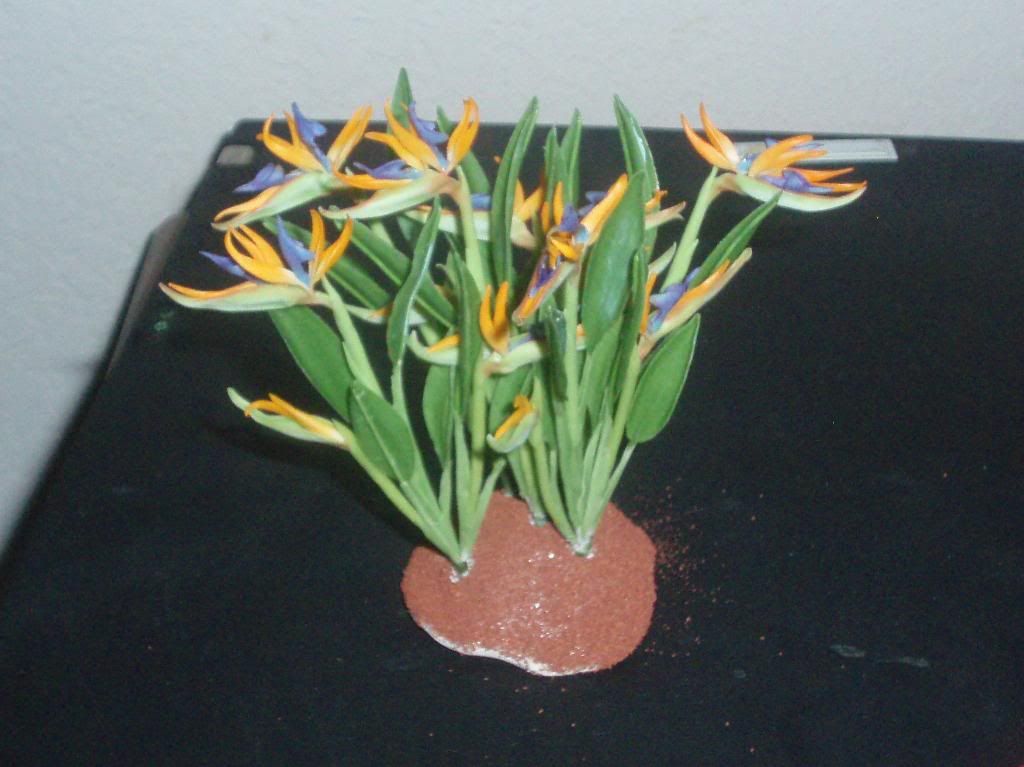
Here are two different flowers made by a pair of sculptors who do miniature gardens out of clay, the lotus is done by a woman in Thailand named Pim Sudari, she has helped me with tutorials and clay cutters for making my own flowers and clay leaves and the second photo below is a bird of paradise by one of her friends who I don't know personally but is another great sculptor.
 

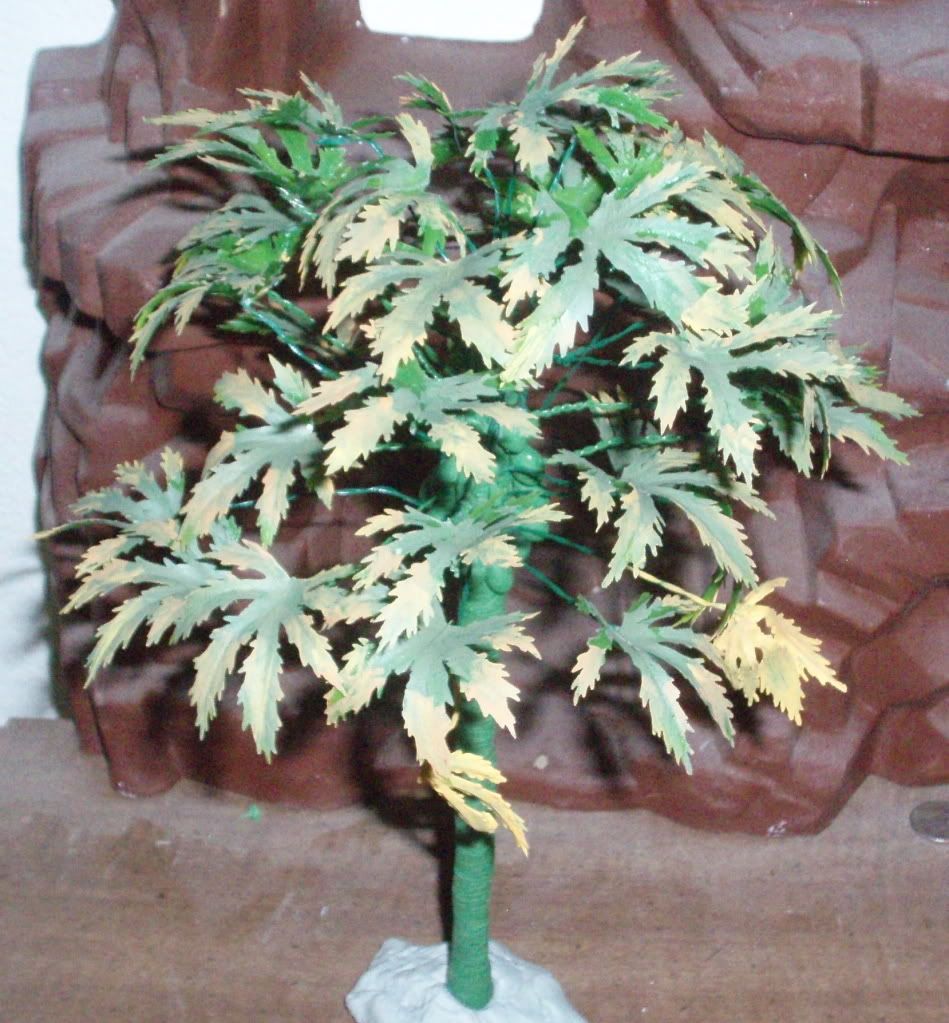
Finally I use plastic and silk plants from places like Micheal's and Joanne's, both are craft stores found nation wide.  I don't use these much, for certain plants like momosa trees or papaya, here is a photo of the the first papaya I made, since this one I have done much better on the trunk and branches but I don't have a photo of it by itself.
 

ADDING THE FOLIAGE

To attach the foliage is not rocket science, I just use PVA or super glue and start at the bottom and work my way around the tree and up.  A couple of suggestions, first smaller clumps of foliage take a lot longer to finish but look so much better, here is a photo of some of my first trees, I was impatient and tried to finish quickly by tying the sprigs together then gluing them to the branches, the look leaves much to be desired.


By separating the foliage into smaller pieces and gluing them on in small amounts it looks so much more natural.  Here is some of the sesame bloom cut into small pieces and the tree from the first two posts, first a close up before the final detailing of the outer branches,


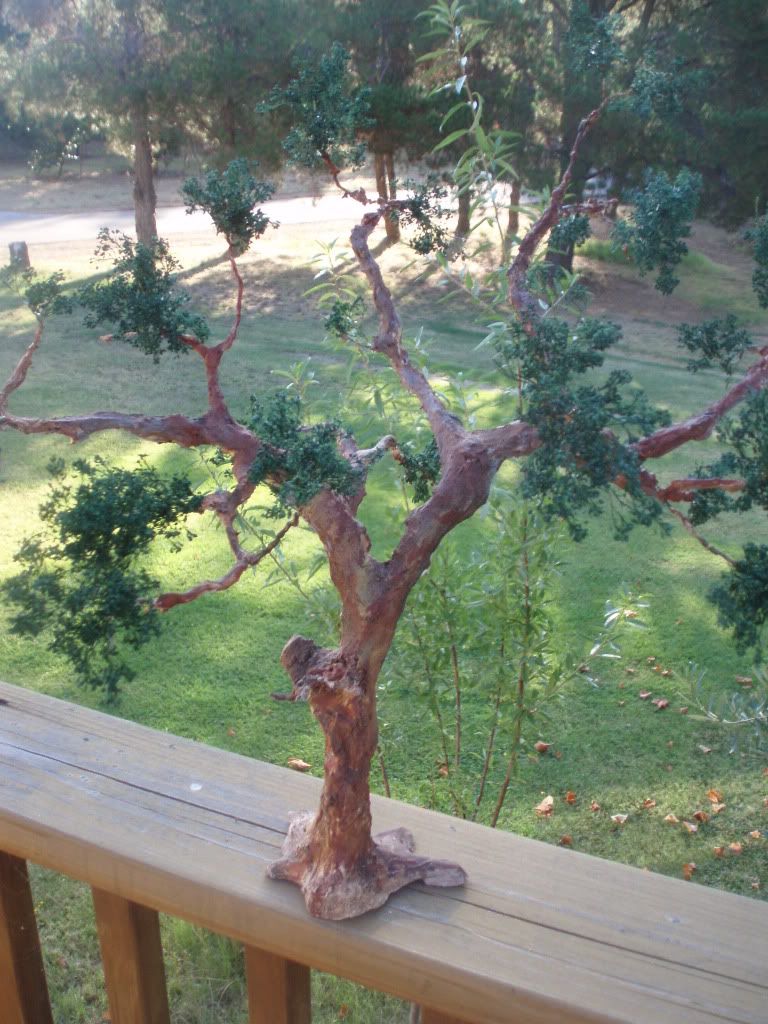
and the tree with the foliage attached and ready for the diorama.
 

I hope all of you who followed along can use this to help with your dioramas and sculptures, if you have any tricks or ideas to add please do, and if you have questions I will try my best to answer them.

  • Member since
    August 2011
Posted by Philter4 on Sunday, September 4, 2011 11:46 AM

PART II 

THE FRAME

Once you decide on the tree you are making the fun part begins, building the tree.  I am making a "typical" tropical forest tree, for this tutorial it doesn't matter and where it will go on my diorama very little of it will be visible, so I just want an example that shows the different techniques that I use to make a tree or large bush.  It took me almost 4 days to get this section done, by the time I get a full sized tree made I have at least 3 weeks into it.  I can save time on certain things, for instance while I am making this tree I am also making 2 others, one for a friends model train layout and another fig for my diorama.  You can make the frames of several at the same time and just store them somewhere until you need them, that way you can save 3 or 4 days on the next tree you need.  I usually make about 1/2 dozen frames at a time and even though I have about 20 medium and small frames for bushes and medium sized trees I only have 4 large tree frames so I made the second one for a later project.

The wire frame will be our guide to the shape of the tree.  I want a 25 inch frame so the end result will be a 30 inch tall tree once the foliage is added.  I start with thick wire that is somewhat flexible.  I use many different types, this choice was for securing horse wire to the posts because it is very flexible but strong enough to support the weight of the tree branches.  I cut 3 pieces 54 inches long.  The reason I cut the wire this length is to keep my tree right around 25 inches, the wire will be folded in half and then twisted so you lose some of the length when you are finished.  For most dioramas a few inches +/- don't matter, if it does then you will have to measure the tree after this first step.  When I finished this frame it was only 21 inches tall after I bent the main branches to the left and right to spread out the canopy, oh well, I didn't really want a 30 inch tree anyway!  After you fold the 3 wires in half,  take the bottom "U" shaped part of the wires and twist them together, then as you move up separate the first pair, this will be the lowest branch, keep twisting the other 2 until you get to where you want the next branch separation and finally twist each pair almost to the ends.  Here is a photo of the first step, at this point it doesn't stand on it's own but we will address that in just a minute.

From this base I then take 22 gauge florist wire and for each of the 3 larger branches I cut ten 50 inch pieces of this wire.  I just repeat the process above but the branches should have at least 4 or 6 pieces twisted together at the branch seperations.  Starting near the bottom of the tree, twist the wires up and around the trunk and then up the first of the branches, making the first separation after the split so each of these smaller branches will come off of the first large split.  When you are finished with the first set it should look something like this.

After all 3 main branches have been finished your frame will almost look like a winter tree.

The tree still doesn't stand on it's own, there are several things that you can do to make it free standing.  I just lean this against the wall for the photos, I don't care if the tree stands or not because I am going to secure it to the base and it wont be moved so I just cut a hole in the foam and glue the tree into place, if it is a tree that might be moved I use Sculpy clay and a rock mold or sculpting knife and make a base that has some texture to it.  If you are using a rubber mold be sure to put some baby powder down on the mold before you press the clay into it so the clay comes out easily and has the pattern of the rock showing, if it gets stuck in the rubber it is not only hard to clean out but pushing and pulling distorts the shape and pattern and you usually have to start over.  You can also just make a base out of the same material that the trunk is made from, in this example that is what I did so later I can just cut it off and put the trunk right in the model.  

THE SCULPTING

As with anything I write there are more then a few ways to get the same results, for the bulk of the tree I have about 5 different materials that I use, each one has it's advantages and disadvantages.  When deciding what material to use I ask myself what am I trying to achieve.  The different materials available are polymer clay, CelluClay, paper clay, air dry clay and wood putty and filler.  For all of the larger trees I use powdered wood filler.  It is strong, easy to work with, looks great and can be mixed to any consistency from a clay like thickness that I use for the base and trunk to a much more fluid thickness that I  just dip the small branches in and it coats them enough to look like bark.  Sculpy brand polymer clay is great for any small or medium project, it has to be baked in the oven so larger trees just don't fit, but I have used it for most of my model making.  CelluClay is a type of premixed paper mache'  that does not need any sort of medium like news paper to be mixed or hold the form.  It can also be mixed to what ever consistency you prefer, I mix it until it is clay like so I can sculpt it like clay.  It has the advantage over Sculpy in that it can be sculpted to very fine details but does not have to be baked and is less then half the weight when dry.  After dried it can be sanded, drilled, carved and painted so it is another material I use frequently.  Air dry clay is nice for fillers when you need strength and weight but can't bake it.  It is about as heavy and strong as polymer clay but air dries so for a bigger project where you have to add material to a branch or base but can't fit it in the oven use one of the brands like DAS from Germany, I use this brand with great success.  Finally the paper clay is the last choice for me.  It is an air dry clay made from paper like the CelluClay but doesn't have to be mixed with water.  I use this as a last choice for the branch tips or if I need bulk but not weight.  It is very light, cheap so I can fill a large area for low cost and when dry is fairly strong, but it will not take any stress on the piece, so if it needs strength for any reason DAS is a better choice if the structure will support the weight of the project.

Here is a pair of photos, the first is the base, I added "feet" to make the tree stand and the second is the tree with all of the material added.  Remember, products like powdered filler, paper clay and DAS harden really quickly so only use small amounts and mix what you can use in a couple of minutes rather then a lot so you are not wasting the rest.  For DAS and paper clay you can add water to the clay to keep it pliable for longer but as it hardens it begins to crack and crumble at which point it is no longer workable.

Now that I have the basic shape and bulk done I add some CelluClay to smooth out the parts where the filler didn't cover the wires or was too thin or thick in a spot, wherever you need to add some material to make the final shape ready for painting.  I also add any broken branches or holes in the tree.  I sometimes need a place for something to live so a hollowed out spot in the trunk can be simulated by just building up materials around the area that will be the hole and paint it black so it looks hollow.  Here is the finished sculpture of the tree, now it just has have details added, and here is what it looks like.

The whole time I was making this tree I left everything rough.  You have to study bark and decide how you want to make the bark for the tree species you are making.  It can be done like this tree, where the material that makes up the trunk and branches is not smoothed down, it can be carved into the tree with a hobby knife while the tree is still drying, it can be added later, I use a premixed Elmer's Wood Putty for this by just spreading a thin layer over the tree where I want rough spots on the tree frame.  For trees like palm or pine the easiest way to do this is with a sharp stylus tool or the edge of an exacto knife.  Just run the blade across the trunk for a palm scar or up and down the trunk and larger branches for other types of trees until the look is of linear bark.  For some trees there is a smooth trunk, for trees like this just smooth the trunk out with your fingers, it should not be glass smooth, even trees with smooth bark have a rough texture.  For a tree like a cork tree or paper bark trees use the Elmer's filler in places here and there, the look will be like areas of peeling bark but still attached in other areas.  If I am going to do this I usually paint  the tree first then paint the peeling bark a lighter shade of the same color to give the effect of older bark growing over the newer, fresh bark.

PAINTING

Now it is time to paint the tree to get ready to add the foliage  I use a mixture of colors, from darker to light in washes.  Normally I use acrylic paints but oils work just as well.  I use a mix of colors, mostly greys and brown tones.  The mix I use most is burnt sienna, burnt and normal umber, ocher and black.  I mix the colors with water in a ratio of about 3:1 water to paint.  The first layer I sometime mix at 5:1 so it is more fluid and I just drip this down the trunk from the middle of the upper branches and work my way down to the base.  I lit each paint layer dry between coats but the thinner paint needs to have at least 3 coats for the tree to be fully covered.  Once this is done I mix the other colors, giving less coverage and using it in random patterns.  It is very important to get the thicker parts of the tree well covered, but the branch ends and tips will not be seen so if you don't get all the way to the end with the paint don't worry, these will be hidden and if not you can paint them at the end as a touch up when putting the final details on the tree.

This is the end of part II, next I will go over detailing the tree and choosing and adding the foliage...

  • Member since
    August 2011
Making realistic trees and bushes
Posted by Philter4 on Thursday, September 1, 2011 10:38 AM


I would like to share with everyone the methods I use to make trees and bushes.  I decided on a 3 part post, if there are any questions between each section I will be happy to answer them, but I need a lot of time to make a tree so by splitting this post up into parts I can make a tree at the same time I am writing the post and anyone who wants to watch or try it themselves can follow along.

Just like any of the sculptures you make, a tree takes a lot of planning and research before you even begin so logically the first part of this will be planning the tree.  I have been very lucky in several aspects of sculpting, first I love to sculpt nature, mostly trees, but also larger species of bushes and flowers and just recently animals.  I also have had the opportunity to travel around the world to the tropics of Australia, Asia, Central America and I spend as much time as I can in Florida having lived there for 12 years I have a great base of friends who I still visit as much as possible.  When I was actively working (I am a 2 time multi organ transplant who is recovering from the most recent one which was a little more than a year ago) I also spent about 6 weeks a year in Hawaii, another place where I find subjects and scenes for my ideas.  


RESEARCH AND SELECTION

When I am ready to start a new sculpture I first have to decide what I am going to sculpt.  I have worked on whole scenes and individual pieces and for the purposes of this post I will be sculpting a single tree, in 1:22 scale since that is the scale of my diorama.  Any time I am surfing the internet and see a tree that I find interesting I save some images of it in a folder, and while deciding to make something I rely on my memory and photos I have taken.  For now I am just going to make a generic tree, it will be a tropical looking species so I start with some photos.


Here is an Aloe species I found while driving from my house to the beach one day in South Florida,


and a Pandanus on the way out to the Everglades.  These two trees are very similar but not closely related at all.


My favorite group of trees are palms, and I make a lot of different ones for myself, here is a clumping palm that was growing near the Pandanus tree above.


Even though they are not true palms, here is a group of palm like plants in a neighbors yard, a Madagascar palm and ponytail palm in bloom.

IMG]http://i225.photobucket.com/albums/dd31/philter4/tutorials/P8140266.jpg[/IMG]


These two photos show a strangler fig that is growing on a palm tree, the strangler is huge and the palm, while still alive is not going to win the long term battle between the two.  If you notice the strangler is starting to choke the palm at the first set of split boroughs, these will eventually cut into the palm, killing it.


Finally some seagrapes, I am actually making a scene for a friend that is a native hammock that will have seagrapes and some other native trees and bushes for a display in his store.


Detail of the seagrapes center.


ONCE YOU HAVE DECIDED ON A TREE

The next step is to draw out the tree you want to sculpt.  Sometimes I draw it in the scale I am working but at 1:22 if the tree is large I can't fit it on a normal sized drawing pad so I usually just sketch it in whatever is comfortable for me.  Here are a few examples, the first few are drawn from the trees above.  This is a scene with a palm as the centerpiece.


This is a couple of Pandanus, the first is the prop roots from the photo above the other is a Pandanus utilis and a large leaf dragon tree from Africa.


I also am going to make a strangler fig so I drew the base of the tree above just for some ideas that I could put on any species of host tree I decide to make.


This is an example of a tree I made a while back, the numbers are a count of the individual wires I need to cut to make the frame.  Normally I put a heavy duty wire that forms the support and basic shape, then I use 22 guage florist wire for the armatures and to form the branches and twigs.  Each wire is actually cut twice as long as I need and bent in half, giving me double the tips for the branch ends.  This particular tree took 112 wires plus the support so at the end of the build I had 224 tips to attach the foliage.

That is it for now, next we will start the framework and sculpting of the tree.


JOIN OUR COMMUNITY!

Our community is FREE to join. To participate you must either login or register for an account.

SEARCH FORUMS
FREE NEWSLETTER
By signing up you may also receive reader surveys and occasional special offers. We do not sell, rent or trade our email lists. View our Privacy Policy.