Hi Gil,
Interbellum expeditions have always been appealing to me. It even took me so far as organising some expeditions myself for 15 years mostly in North African deserts. I covered Marocco, Algeria, Tunisia and Libia.
In my research for these expeditions I frequently encountered reference to several Citroen raids. They were conducted with special half tracked vehicles designed by Mr. Kegresse.
From the early expeditions in "black" Africa they turned to an Asian adventure for the last expedition. This expedition split up and were planned to join again on the Asian side of the Himalayas. The group destined to cross the himalayas was called group PAMIR and consisted of lighter vehicles that could be taken apart when the roads became uncrossable. In the end only 2 from the total of 7 half tracks were taken across, the rest returned to France. Even the last 2 half tracks did not make the rendez-vous with the Asian group and had to be abandonned somewhere in Gilghit and the crew proceded to join the Asian group on horse back.
So far for a little historie.
I found a lot of photo's in several books I bought of the subject and a lot of reference on a website of a Danish association of Kegresse enthousiasts. Here I also found technical and spare parts manuals with a lot of drawings and pictures.
Also lists with all the different models and their specification. This helped me out to determine the scale of the original photos.
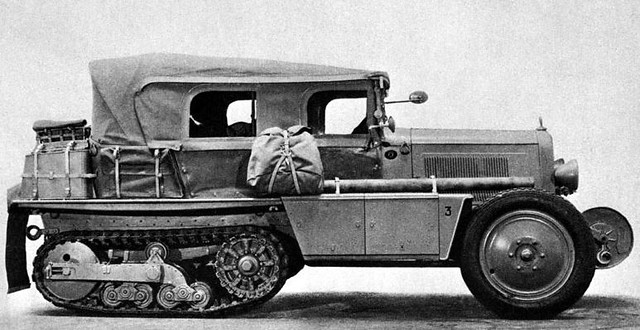
I started with a photo from the normal Kegresse P19 used in the Pamir group.![]()

I can import this image into my CAD software and scale it to make sure it is in real size. I always start in real size and scale down to the model scale I want, once the model is finished. I took the idler wheel and sprocked diameter as a reference to scale the picture.
Then I started drawing the overal dimensions like centre to centre distance for the wheels, position of the main parts like the hood, wind shield, radiator and so on.
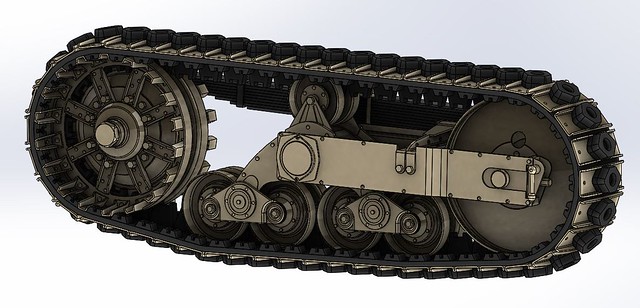
I decided to tackle the track drive system first because this seemed the most challenging and would be the decisive factor to go on and finish the build. Because this will be a working RC vehicle , everything had to work.

This gave the following result.
![]()

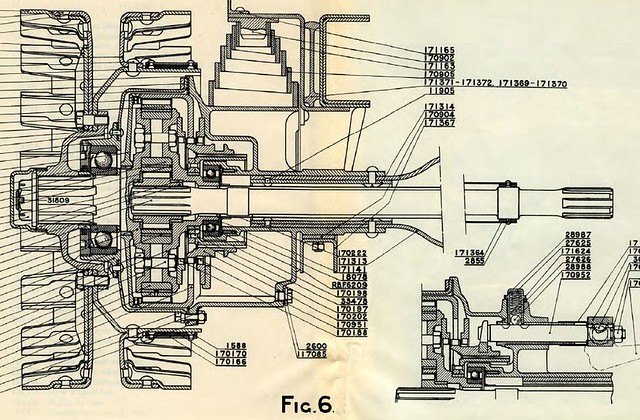
I was lucky to also find cross cuts in the technical manual to determine the thickness and build up of all the elements.

From there I 3D printed all the pieces, fitted them together and tested the assembly. It worked out fine.
In a next post I will take you further into the designing of the drive system with track and working differential.
If you have further specific questions, feel free to ask.
Bye for now.
Steven