SEARCH FINESCALE.COM

Enter keywords or a search phrase below:

1/32 Gee Bee R-1 (Lindberg) and R-2 (Williams Bros)

11367 views
6 replies
1 rating 2 rating 3 rating 4 rating 5 rating
  • Member since
    September 2013
1/32 Gee Bee R-1 (Lindberg) and R-2 (Williams Bros)
Posted by DeafAviator on Friday, September 20, 2013 4:00 PM

So here's a story for y'all...

My dad had a horribly built, motorized Gee Bee R-1 that he had gotten from a flea market or something like that (he's not too sure where he got it). It was full of massive gaps, done up in completely wrong colors (blue cowling and blue control surfaces - everything else was a yellowed flat white), and with black decals. Definitely NOT the Gee Bee R-model that we know of! The wires for the motor were loose in the fuselage - meaning the only way to turn the motor on was to tape a battery to the wire ends lol. 

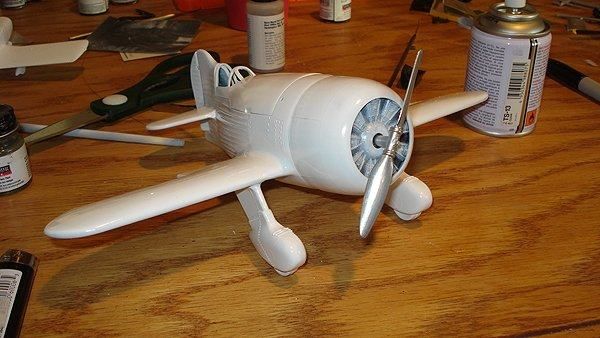
I offered to refurbish the kit and do it some proper justice, so I went to town on it and after about a month of pouring buckets of putty unto it and tearing up thousands of sheets of sandpaper (okay okay so I am exaggerating... but not by much!) I was able to get it to a somewhat reasonable shape.

Did some more sanding, filling, and re-shaping, and I went for a coat of Tamiya gloss white.

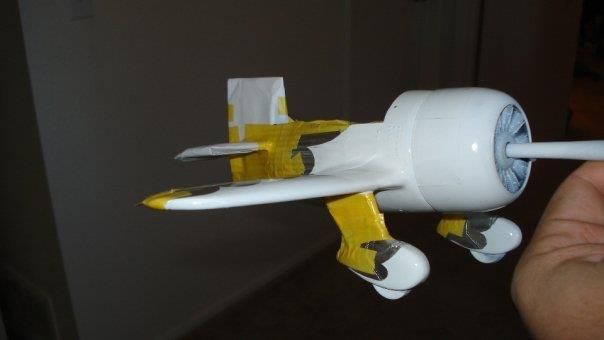
Masked off the scallops with Bare Metal Foil and the rest of the plane with tape and paper.

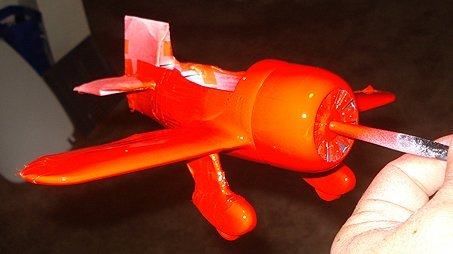
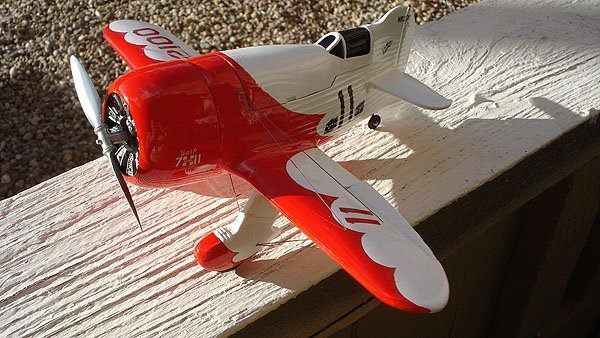
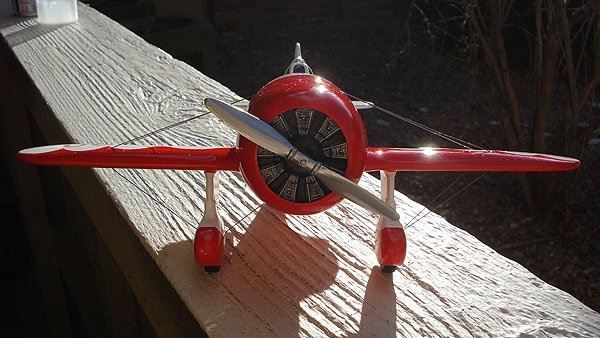
It's red boss, its RED!!! 

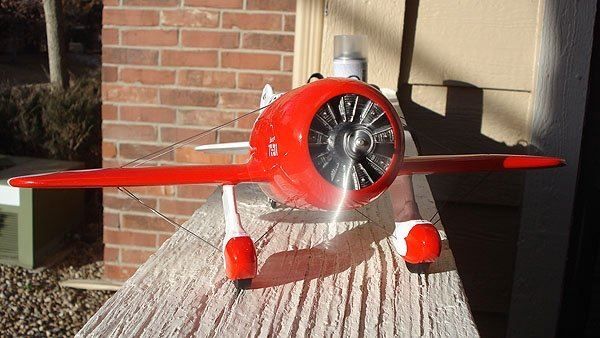
And the end result was quite nice... only problem is I still did not have all the correct decals - I think the black ones were supposed to be for the Gee Bee Z model but I am not sure. But at any rate, still FAR better than the original!! I installed a proper battery box with an on/off switch.


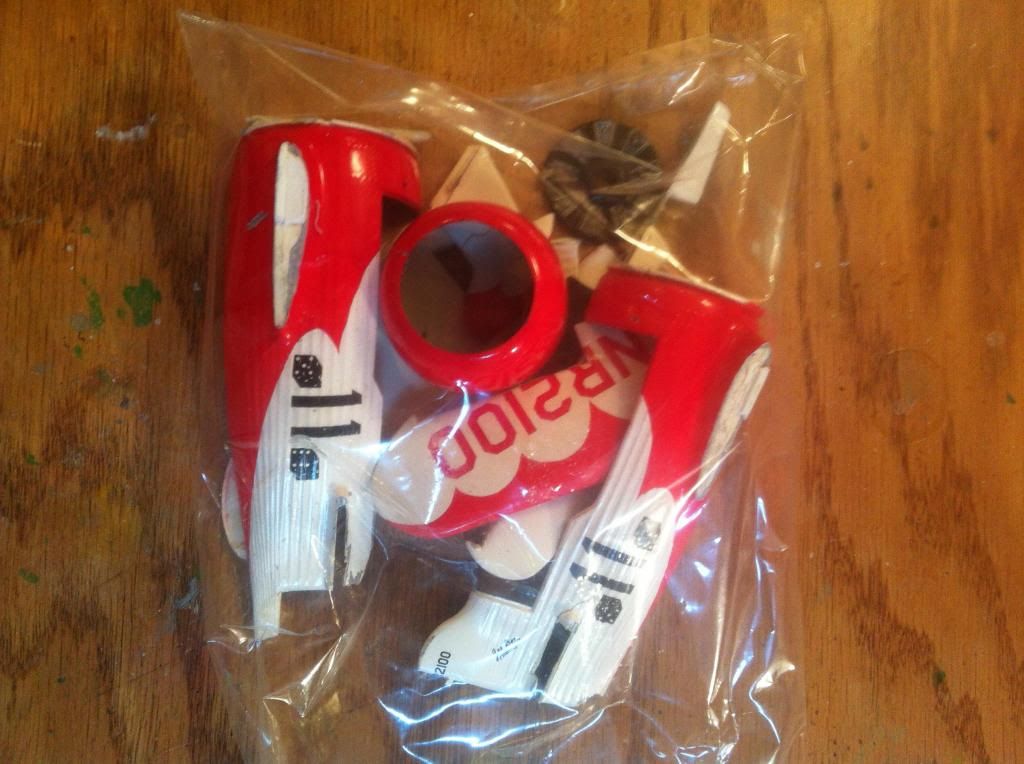
Aaaaand then it broke... dad had a furniture-moving mishap which resulted in the poor thing being crushed quite badly. Almost all the major parts had severe damage and it really was not going to be salvageable. 

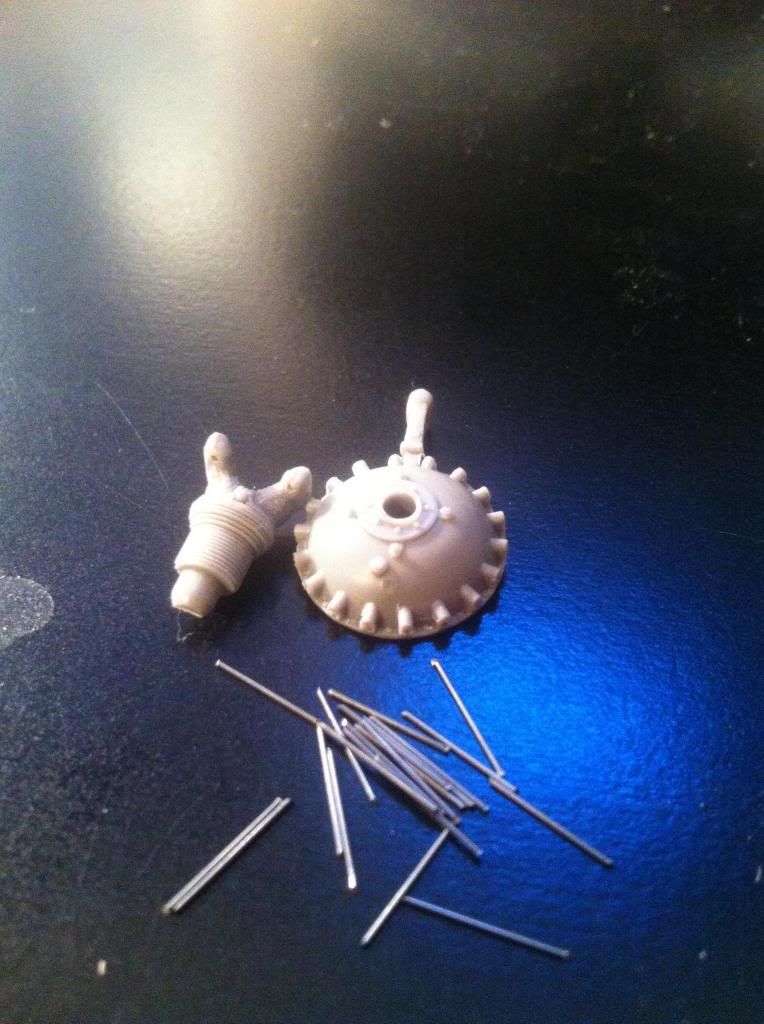
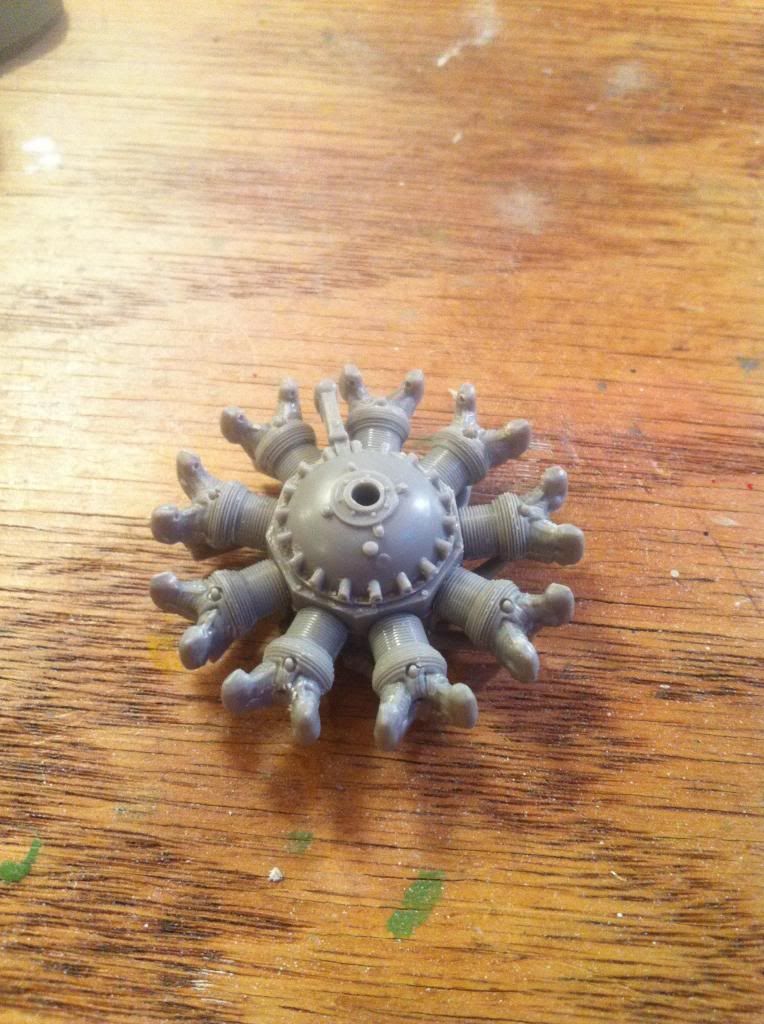
Poor dad was heartbroken - so I just had to build him a new one! I've only just started on it but here's the start of his Gee Bee R-2. The original was an R-1 but he and I both went to airshows watching the R-2 replica and from that, we have a sentimental soft spot for the R-2. Using the Williams Brothers kit in the same scale, I started with the nicely detailed engine. Something went wrong with the molding process - seems like the molds were not lined up correctly, resulting in round pushrods being split into offset halves. Intakes had the same problem. I decided to just carve/shape the intakes the best I could since they would hardly be visible once the engine was installed, and since the pushrods were front and center, I would tackle my very first attempt at detailing an engine! Everything I have done has always been out-of-box, and I have been wanting to get into detailing things a little more now that I've got some practice under my belt. so this was a good opportunity to give it a try. First task was to chop off all the pushrods and cut new ones from .015 music wire. Probably should've gone a little larger but that's the only size I have so I settled on that for now. No sense in going out and buying super-specific sizes when I don't even know how this would turn out! 

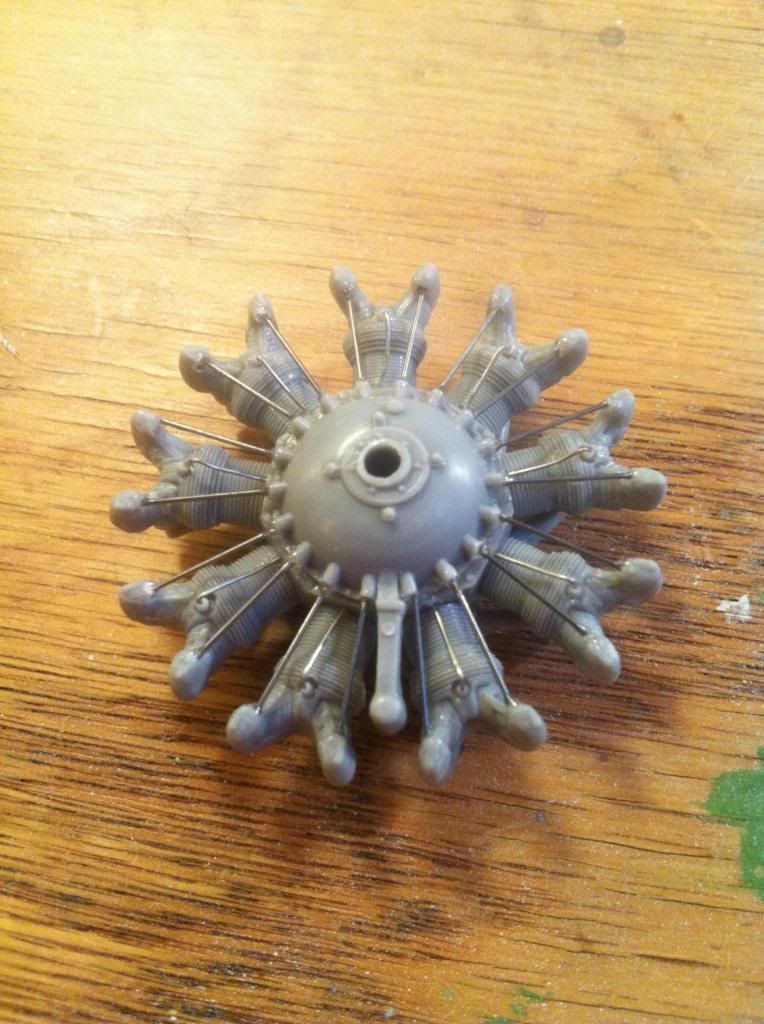
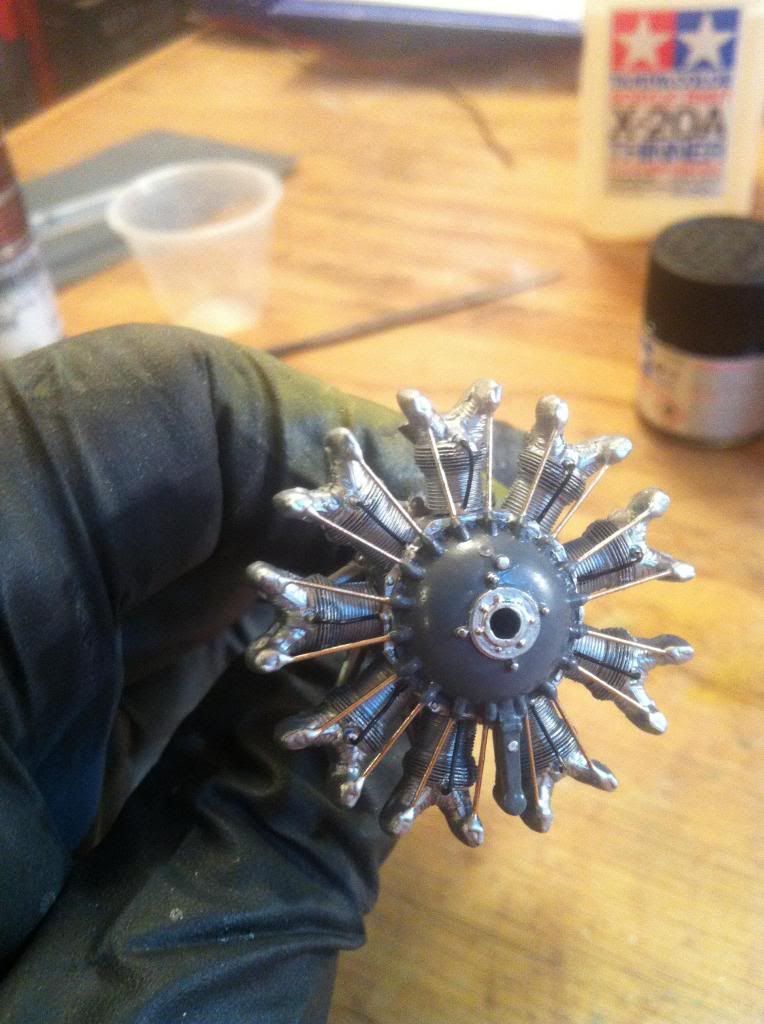
I thought that turned out quite nicely... very happy with my first go at scratch-building/detailing.

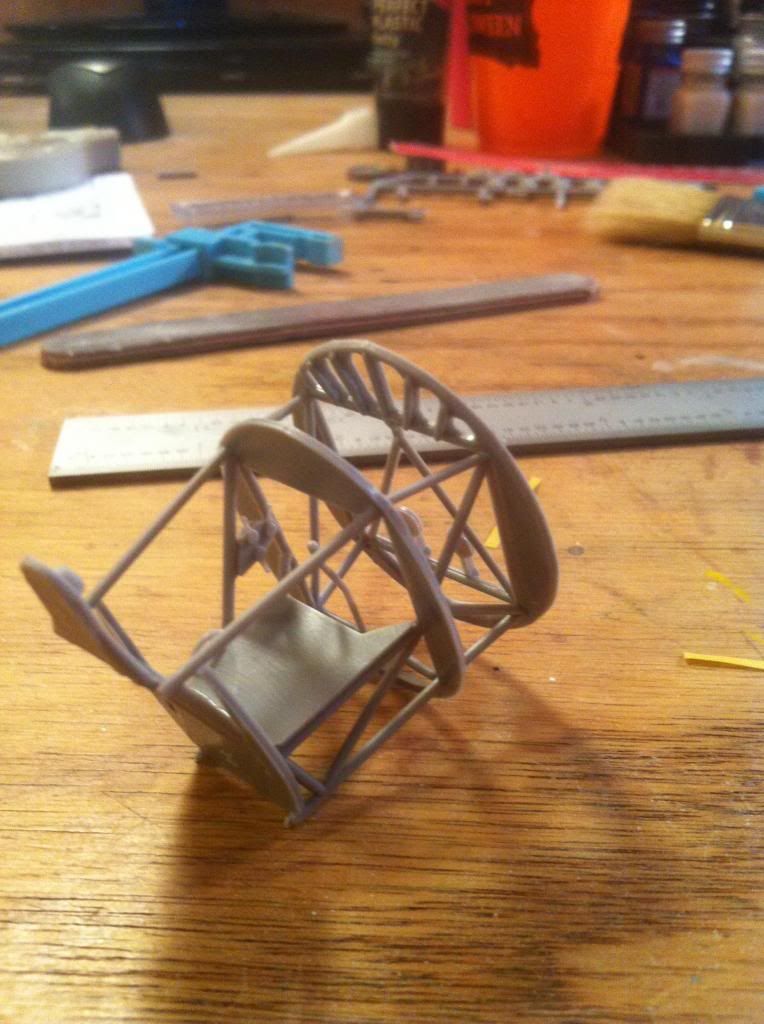
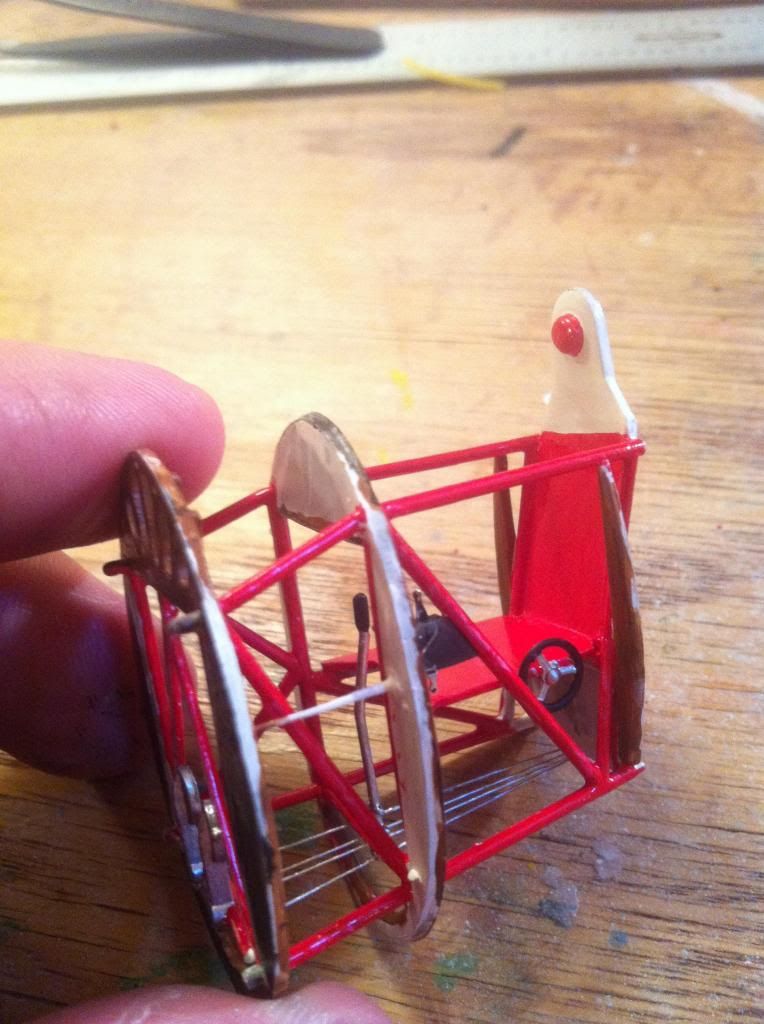
Next step was the cockpit - this went well but I probably wouldve done better to airbrush this thing with how large it is and how much tube framing there is, but it is what it is. All brush-painted instead. Turned out alright. 

I did add control cables for a touch more detail. 

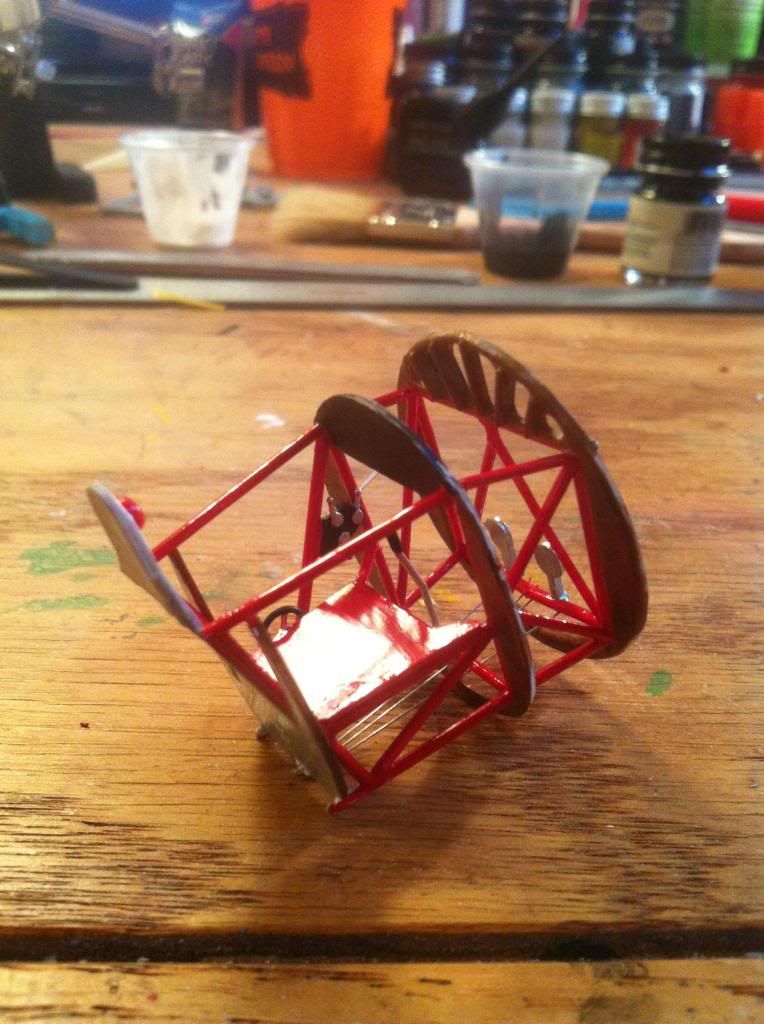
Scratch-built headrest - R-1 has a square headrest, which is how it is molded on the kit, but the R-2 has a round one, so I filed off the square one and replace it with a rounded end of sprue.

Cockpit entry door cut out...

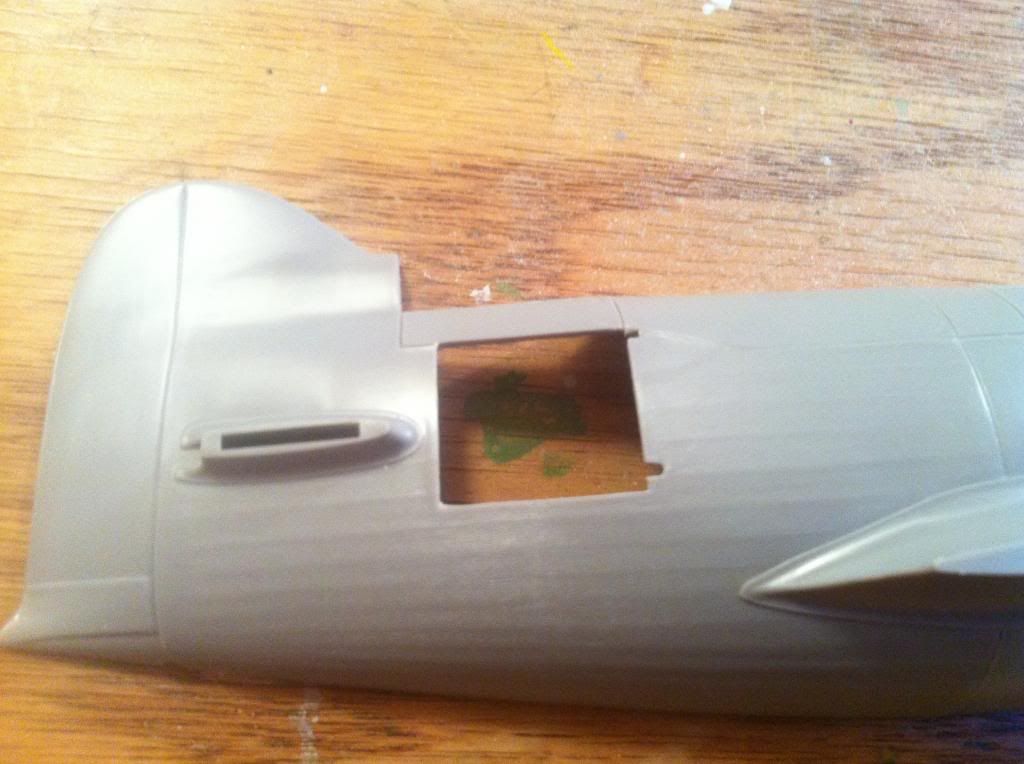
Again, this kit is ready-to-build as an R-1. To build an R-2, some modifications are required (like the headrest above). So I am filling in some R-1 panels and will be re-scribing new panels to match the R-2.

Thats all for now folks! The Gee Bee is lagging behind right now while I have been working on finishing up my Staggerwing (now complete) and Cessna 172 (almost done). I have a Huey going right now too so that will probably be worked on at the same time as the Gee Bee once the 172 is done.

See you guys around!


Todd Barker - Colorado Springs, CO

Current Projects:

  • 1/48 Beechcraft Bonanza - N51HM (Commission)
  • 1/48 B-25 Mitchell - Back Burner/Scheme TBD
  • Member since
    August 2007
  • From: back country of SO-CAL, at the birth place of Naval Aviation
Posted by DUSTER on Friday, September 20, 2013 5:05 PM

Well "gee" thats a tail.

Very nice work (albeit short lived) on the R1.

The R 2 with your additions is sure to be a winner.

Looking forward to the next instalment of your build.

Steve

Building the perfect model---just not quite yet  Confused

  • Member since
    September 2013
Posted by DeafAviator on Friday, September 20, 2013 7:27 PM

Lol nice double pun there. Thanks and I'm looking forward to seeing what I can do with this thing. Not a bad kit - kind of like a high quality short-run kit. Some of the engravings are a little sloppy... Panel lines, louver vents, etc. I actually want to replace the vents (you can see them in the last picture) with photo etch but I have no idea where to get vents like those in the right size. Would be cool if there was an Eduardo PE detail set for this.


Todd Barker - Colorado Springs, CO

Current Projects:

  • 1/48 Beechcraft Bonanza - N51HM (Commission)
  • 1/48 B-25 Mitchell - Back Burner/Scheme TBD
  • Member since
    January 2010
Posted by CrashTestDummy on Wednesday, September 25, 2013 4:32 PM

Nice work on the old Lindberg kit!  I always thought from the reviews that that kit wasn't worth messing with, but you have proved others wrong!  

You've done a great job of turning that lemon into lemonade with the scratchbuilding.  I have turned a couple of stinkers into something I'm proud to display with a bit of thought and scratchbuilding.  Can't wait to see this one finished up!

Gene Beaird,

Pearland, Texas

G. Beaird,

Pearland, Texas

  • Member since
    September 2013
Posted by DeafAviator on Thursday, September 26, 2013 2:19 AM

I would say its the best kit out there for a Gee Bee R model - unless you want 1/48 which Testors has. Built that one too... it's alright. I like the WB 1/32 kit better.

Thanks for the scratchbuilding compliments - my first go at it at that length was a pretty satisfactory attempt. I am pretty happy with it. Going to go look tomorrow for something to extend the electric motor shaft through the engine, since it's too short.


Todd Barker - Colorado Springs, CO

Current Projects:

  • 1/48 Beechcraft Bonanza - N51HM (Commission)
  • 1/48 B-25 Mitchell - Back Burner/Scheme TBD
  • Member since
    January 2006
  • From: Grand Bay, New Brunswick ,Canada
Posted by MECHTECH on Thursday, November 14, 2013 9:59 AM

Todd, was the R2 modele the black and yellow plane? I did love your work on the 7/11. Very nice work, even it did suffer.

  • Member since
    September 2013
Posted by DeafAviator on Thursday, November 14, 2013 12:40 PM

The R-1 and R-2 are very similar actually - the main differences being engine & cowling, and fuel tanks. The R-1 was a short-run sprinter with smaller fuel tanks and larger engine, while the R-2 was a long-range racer for cross country with larger fuel tanks and smaller engine. Colors were the same, with markings being a little different (R-1 was NR1200 with # 11, the R-2 was NR1201 with #7) and a few other items like sponsor decals (placement or existence was different for a couple of them).

The black and yellow Gee Bee is actually the Z model designed and built for the '31 races, and that was the forerunner to the R models, which were built for the '32 races.


Todd Barker - Colorado Springs, CO

Current Projects:

  • 1/48 Beechcraft Bonanza - N51HM (Commission)
  • 1/48 B-25 Mitchell - Back Burner/Scheme TBD
JOIN OUR COMMUNITY!

Our community is FREE to join. To participate you must either login or register for an account.

SEARCH FORUMS
FREE NEWSLETTER
By signing up you may also receive reader surveys and occasional special offers. We do not sell, rent or trade our email lists. View our Privacy Policy.