SEARCH FINESCALE.COM

Enter keywords or a search phrase below:

The Wright Brothers Flyer - Monogram 1/39

3578 views
14 replies
1 rating 2 rating 3 rating 4 rating 5 rating
  • Member since
    January 2015
  • From: Katy, TX
The Wright Brothers Flyer - Monogram 1/39
Posted by Aggieman on Saturday, January 5, 2019 12:29 PM

This will be my first time posting on this board, as I typically build airplanes that are designed to carry bombs and drop them on things.  During the last two years I built a bunch of Allied and then Axis aircraft exclusively, so I figured this year I would go with more of a whatever approach to determining what to build next.

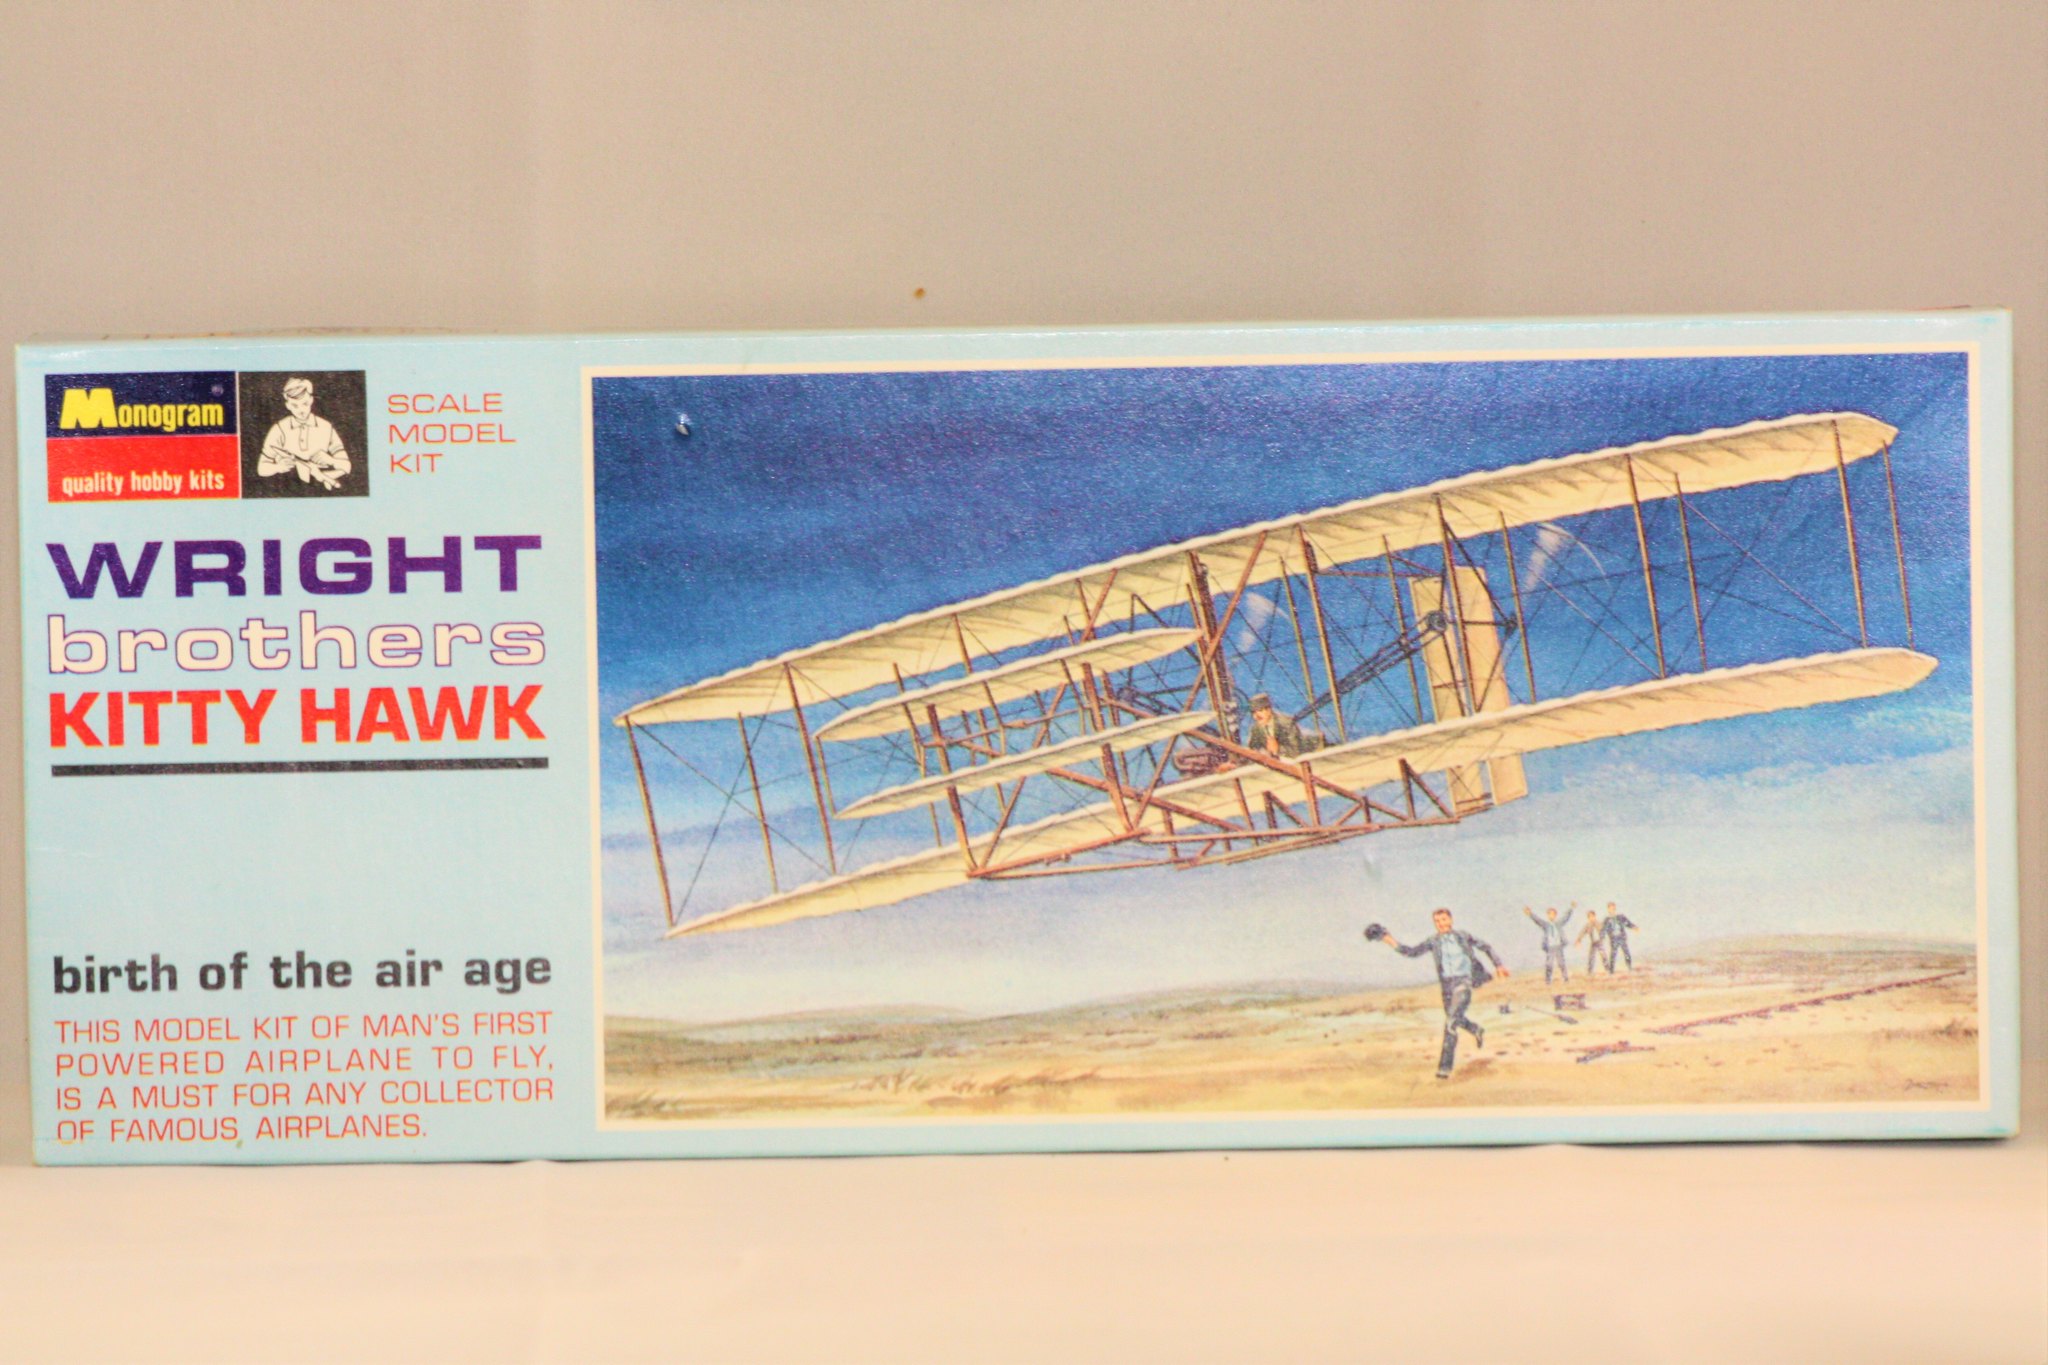
The Wright Brothers' historic aircraft is a particularly interesting aircraft and is one that has been a memory for many of my 51 years.  The background on this is that I first attempted to build this kit, Monogram's ancient 1/39 scale kit dating back to 1958 or thereabouts, when I was in 5th grade.  The kit defeated me.  Of course, I was 10, and I didn't have all the various tools that I have acquired in recent years, nor did I have the patience (lots required for this one) or the understanding of how this type of airframe (to use that term loosely) would go together.  What I recall most vividly is that I could not get the cabanes to align or stay in place long enough to get the upper wing attached, and that of course was quite an exercise in frustration that my 10-year-old self could not deal with.  I think, ultimately, that kit ended up in the garbage.

That memory has stuck with me for all these years, even through a visit to the National Air and Space Museum, where the actual Wright Brothers' flyer is displayed.  And as such, a few years ago when I was acquiring all of the old Monogram kits in the '60s era blue boxes, this was one of the first that I ended up nabbing.

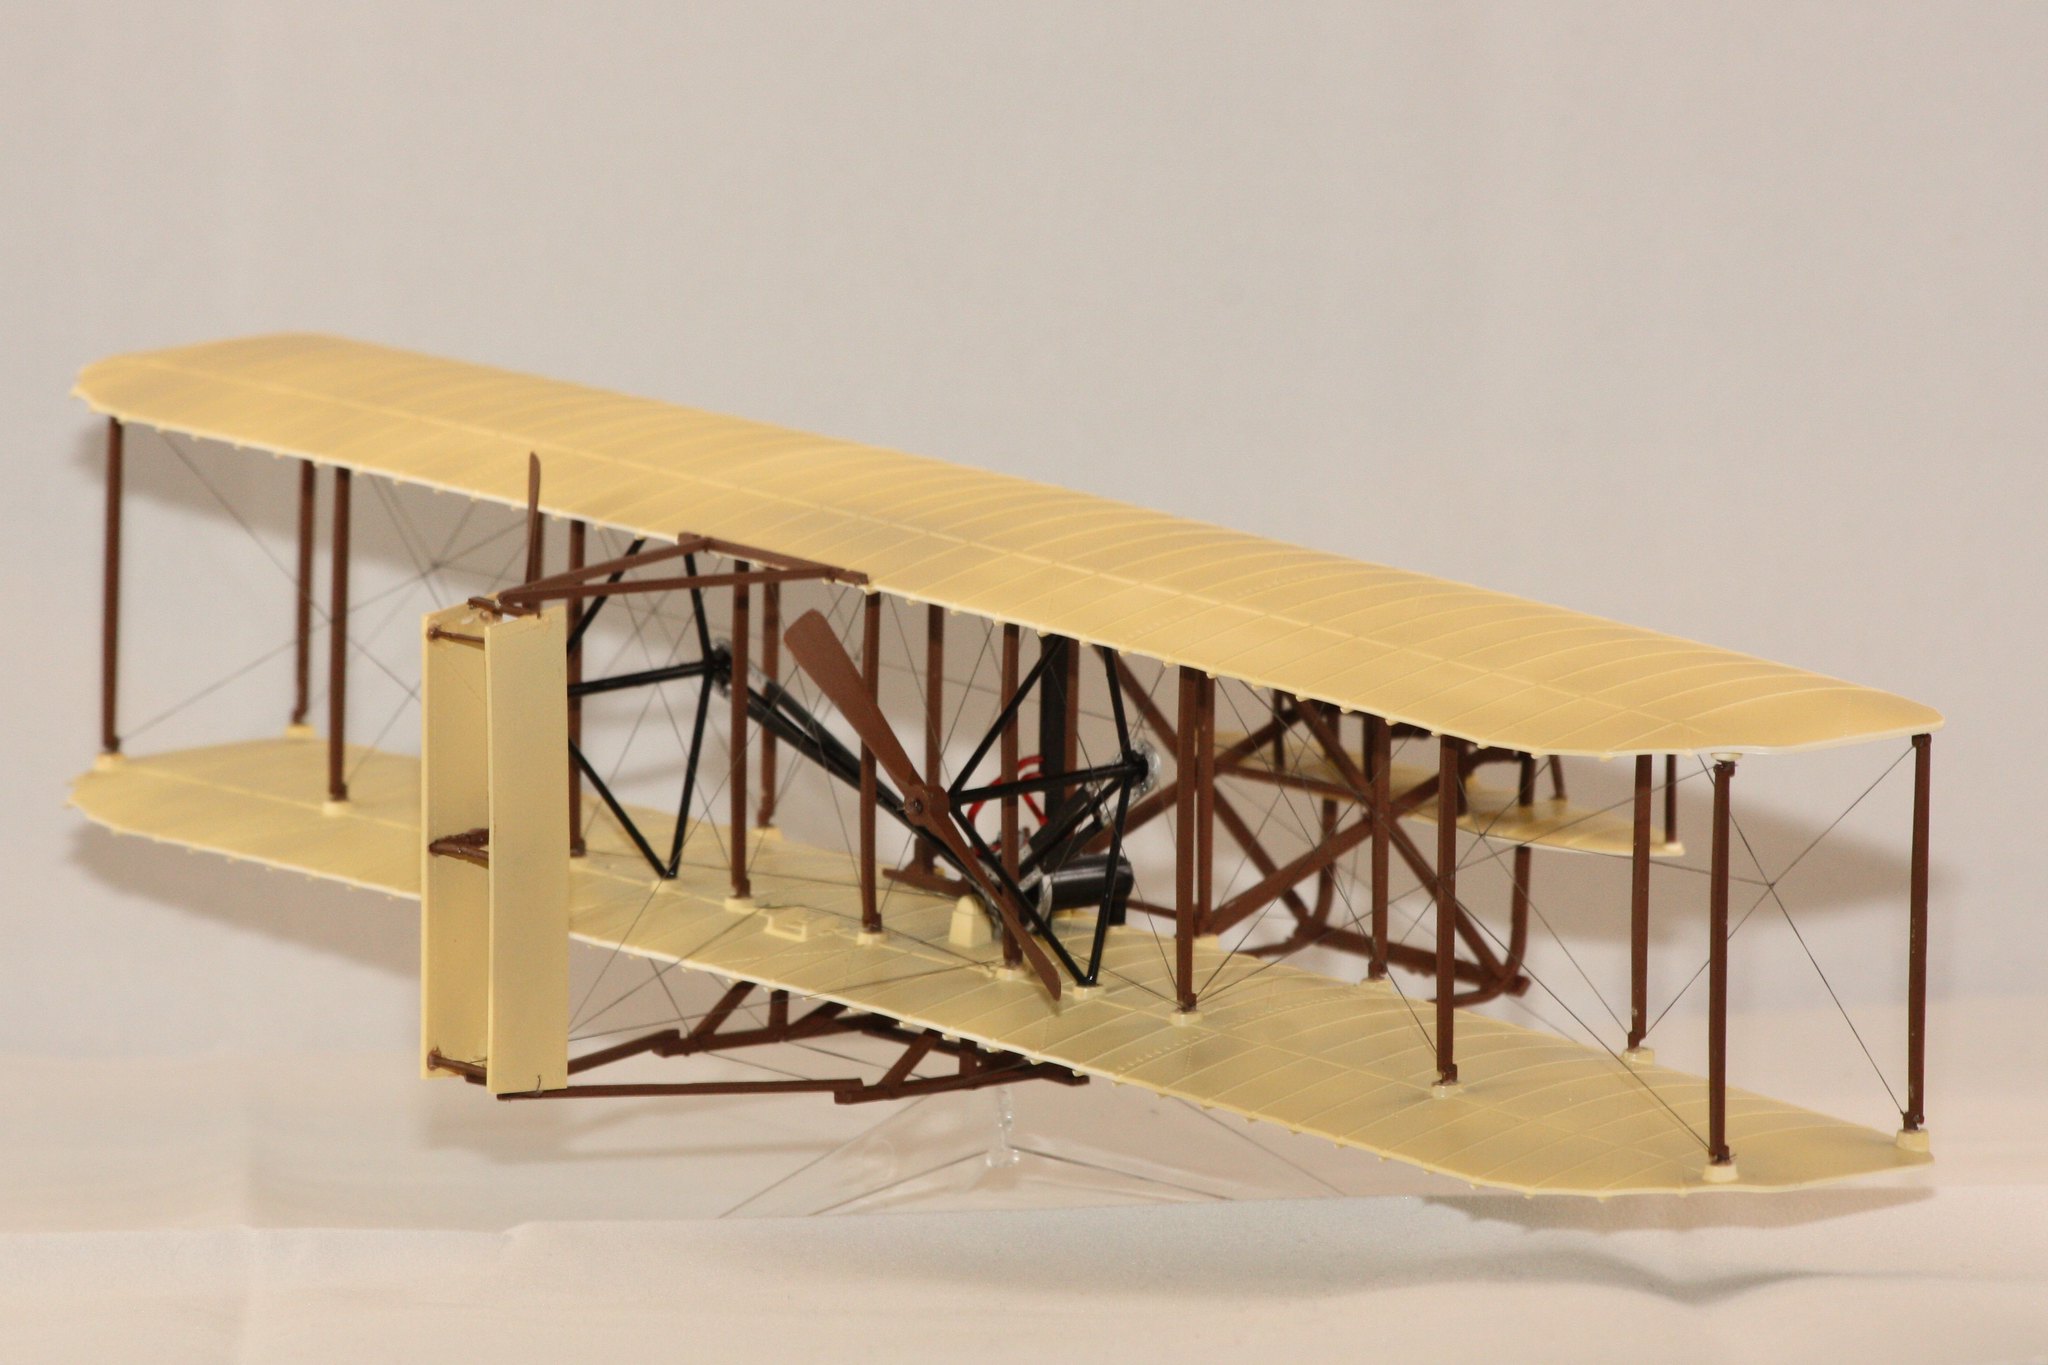
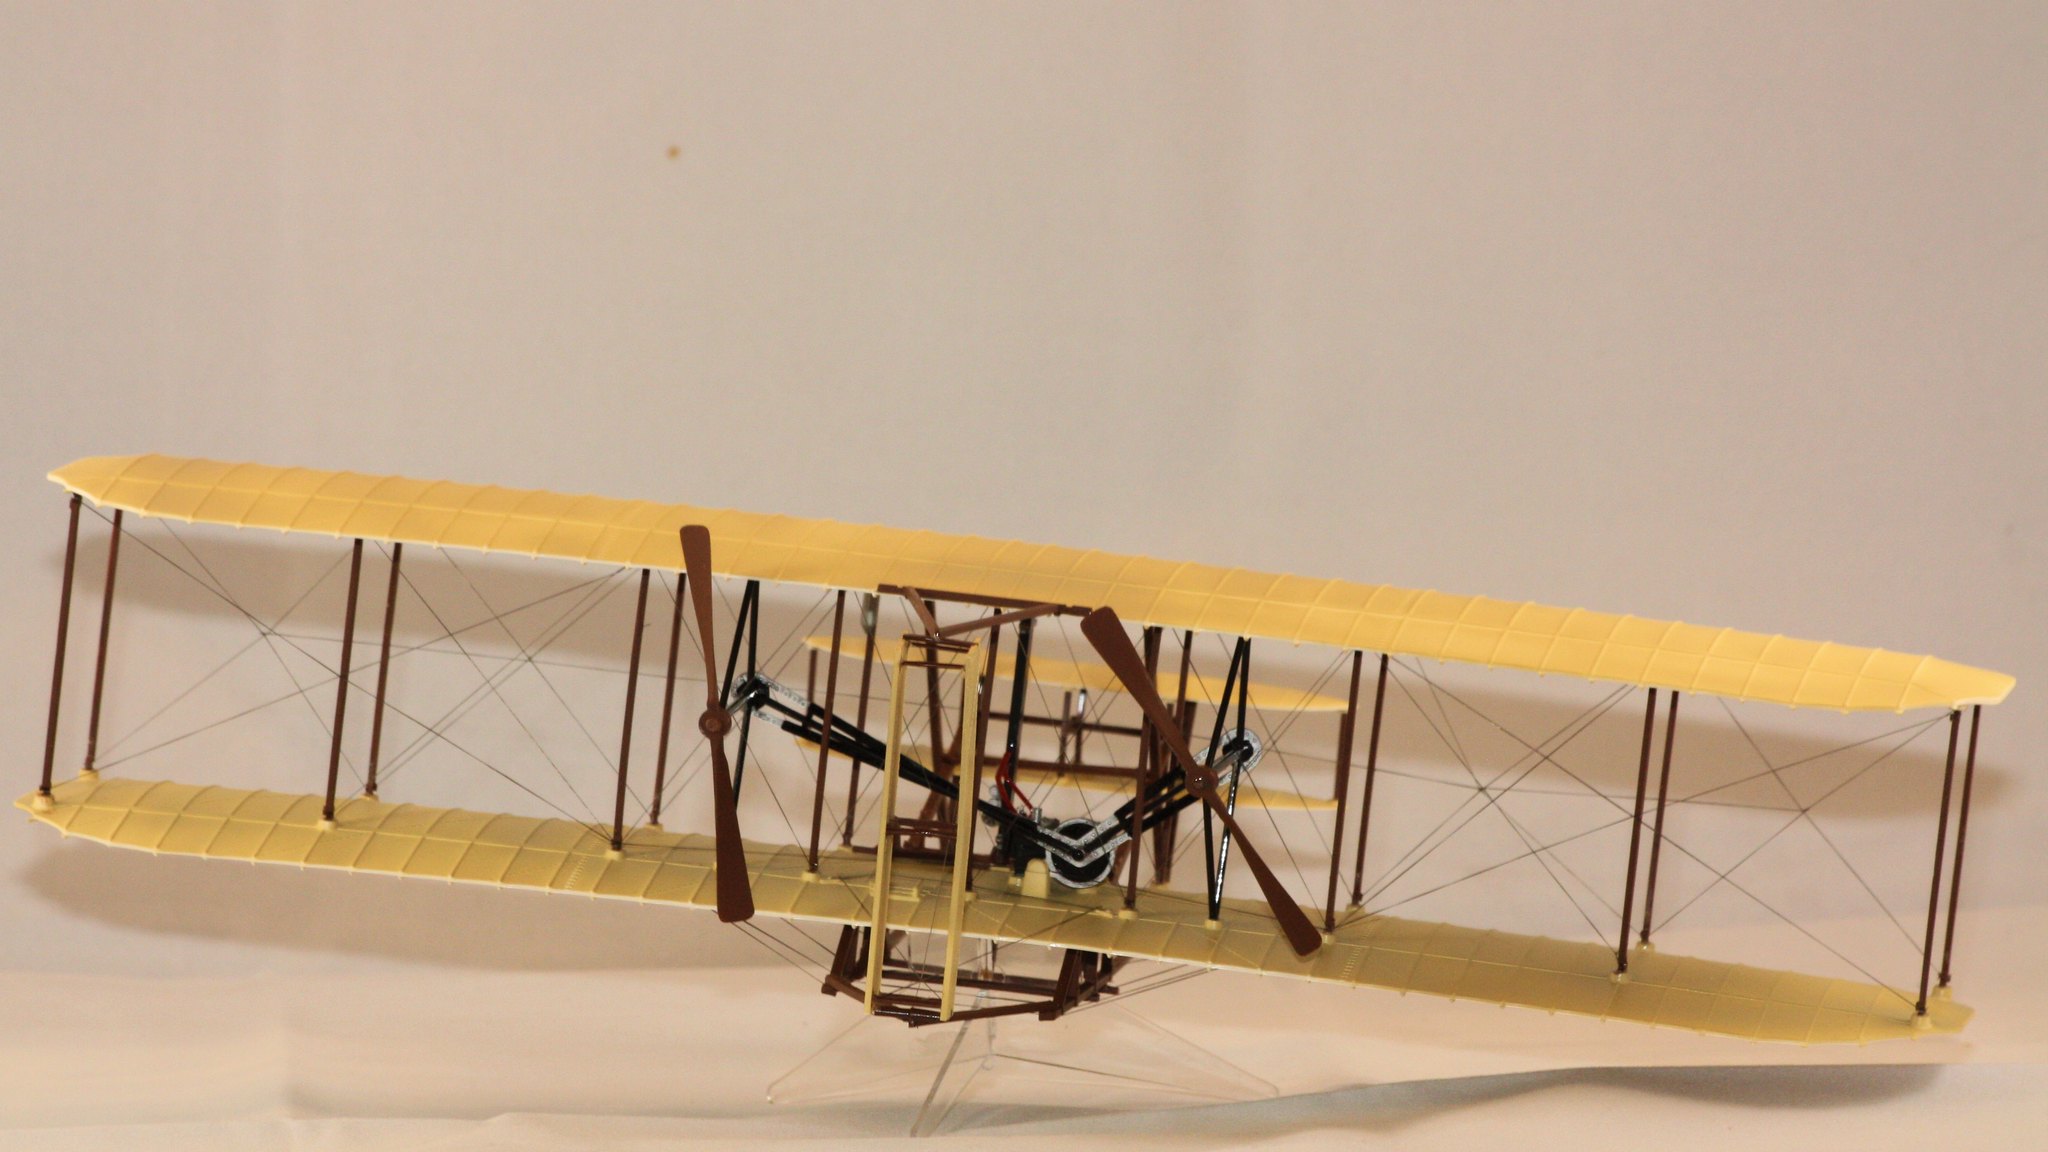
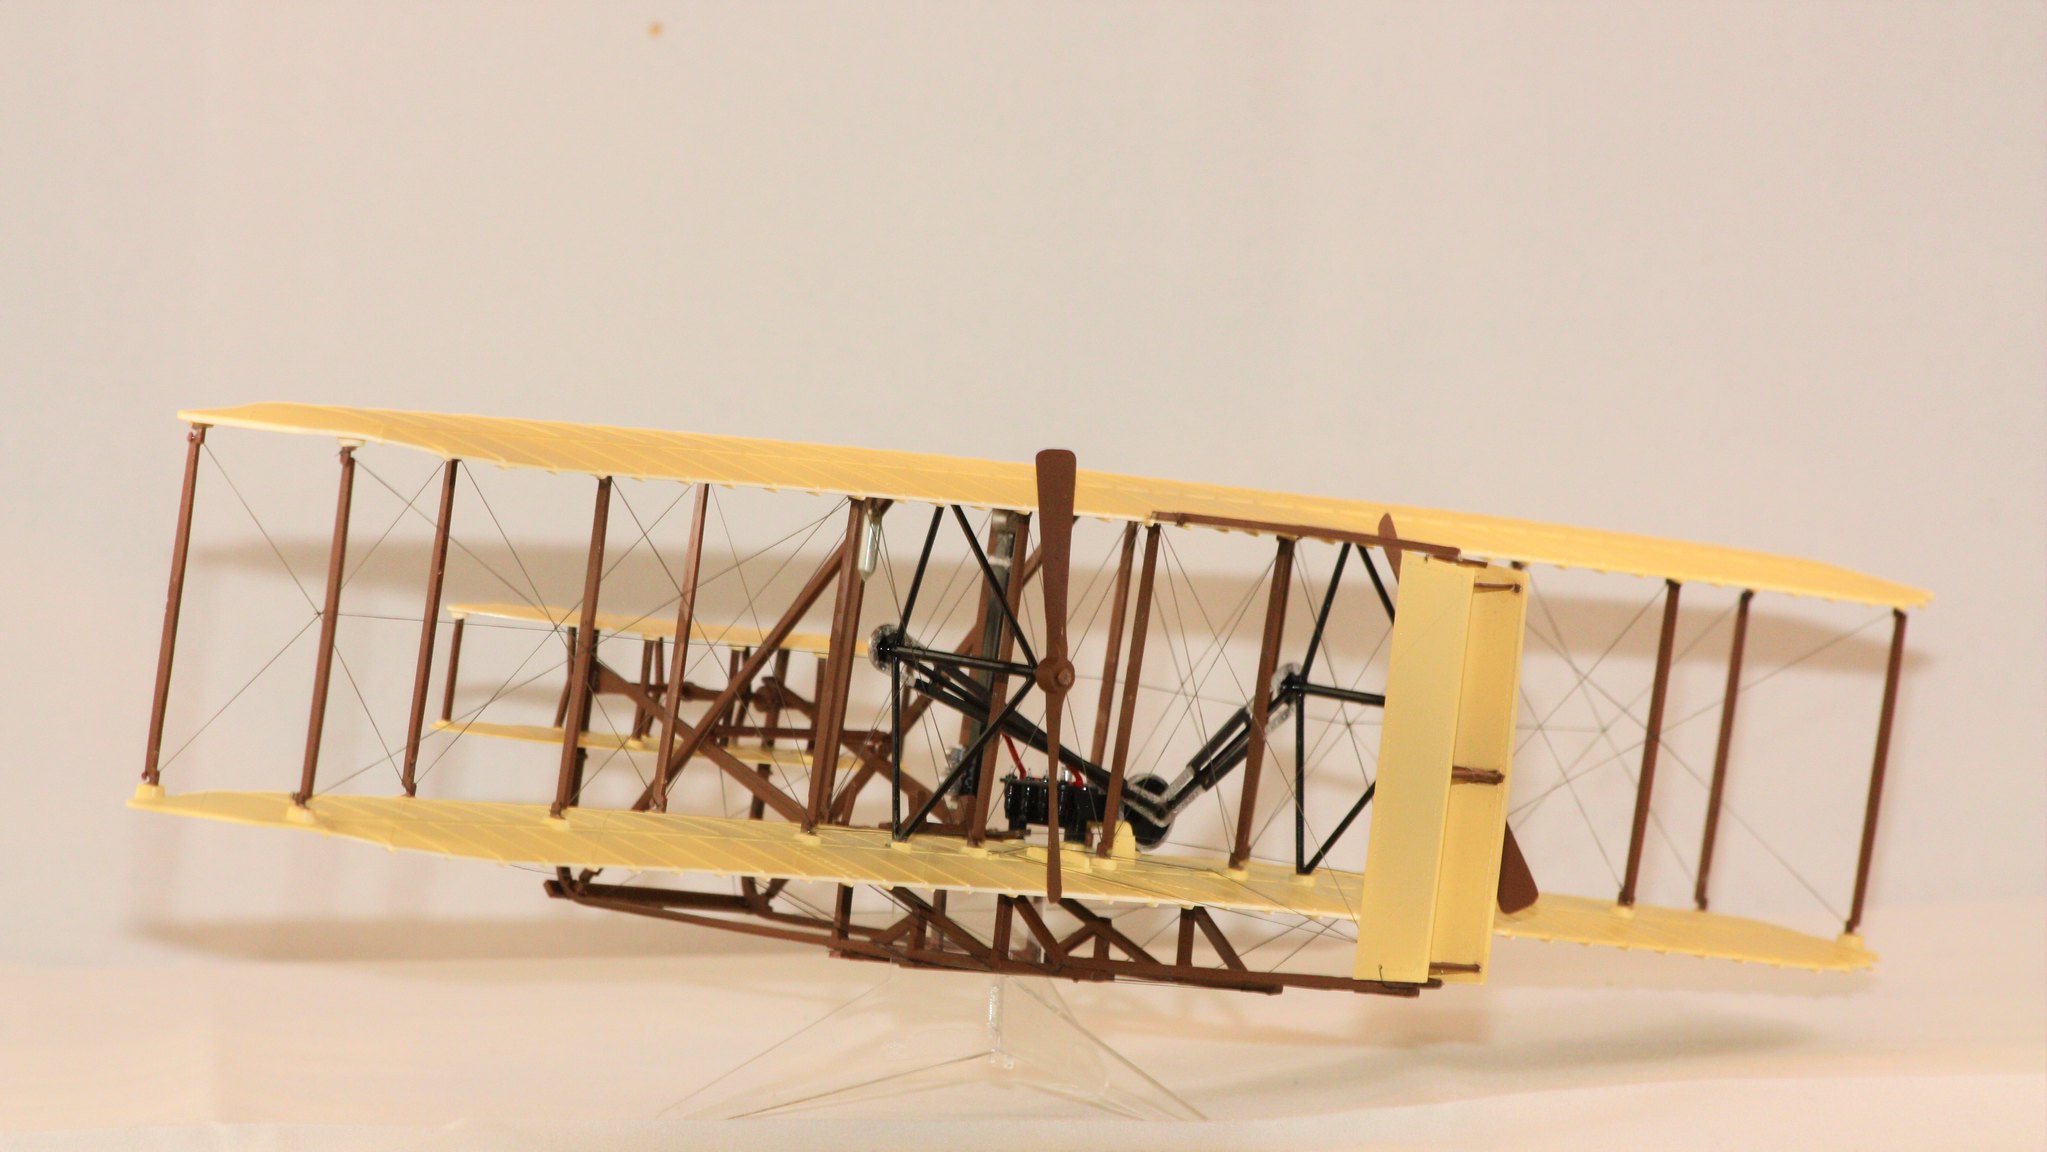
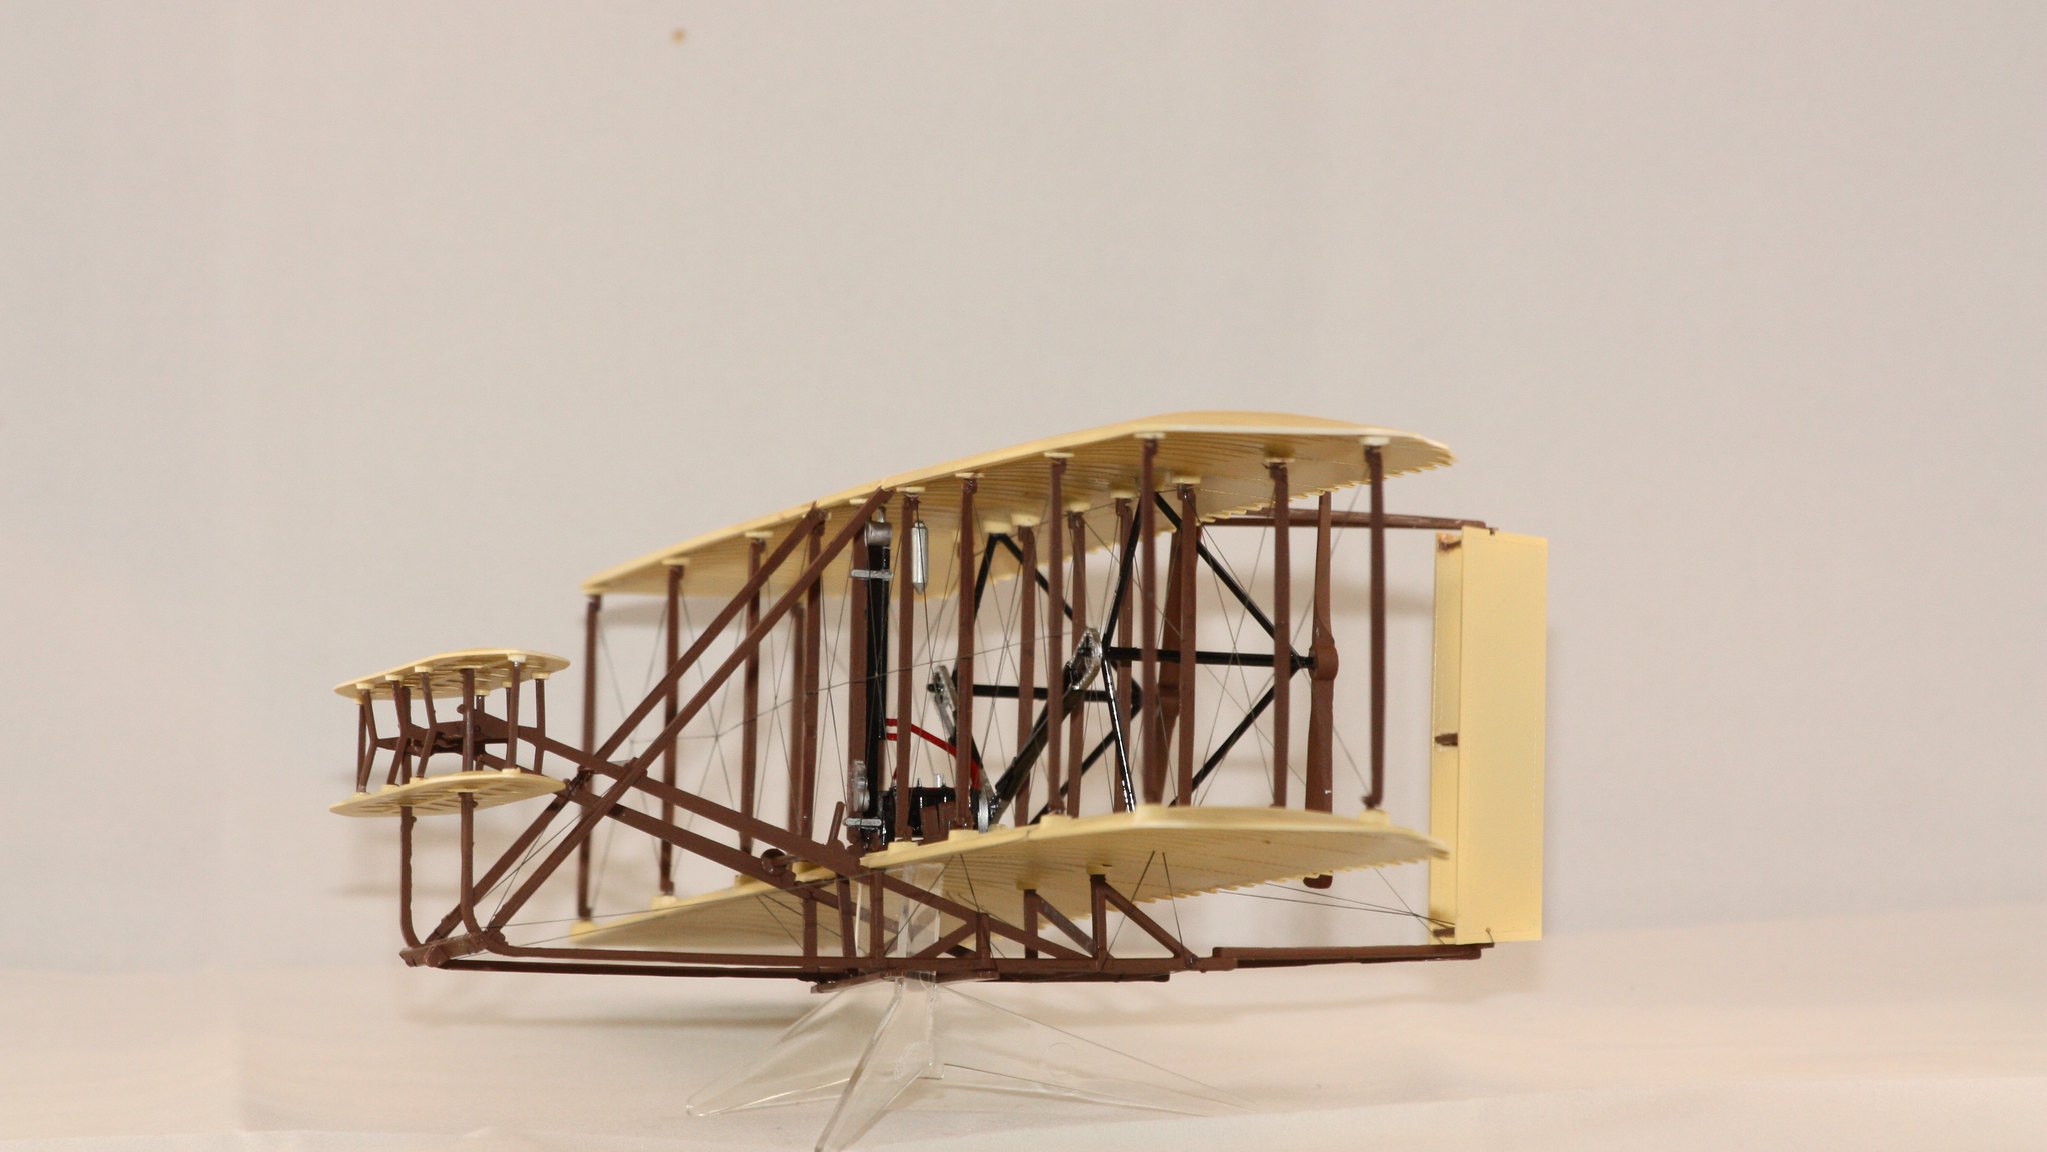
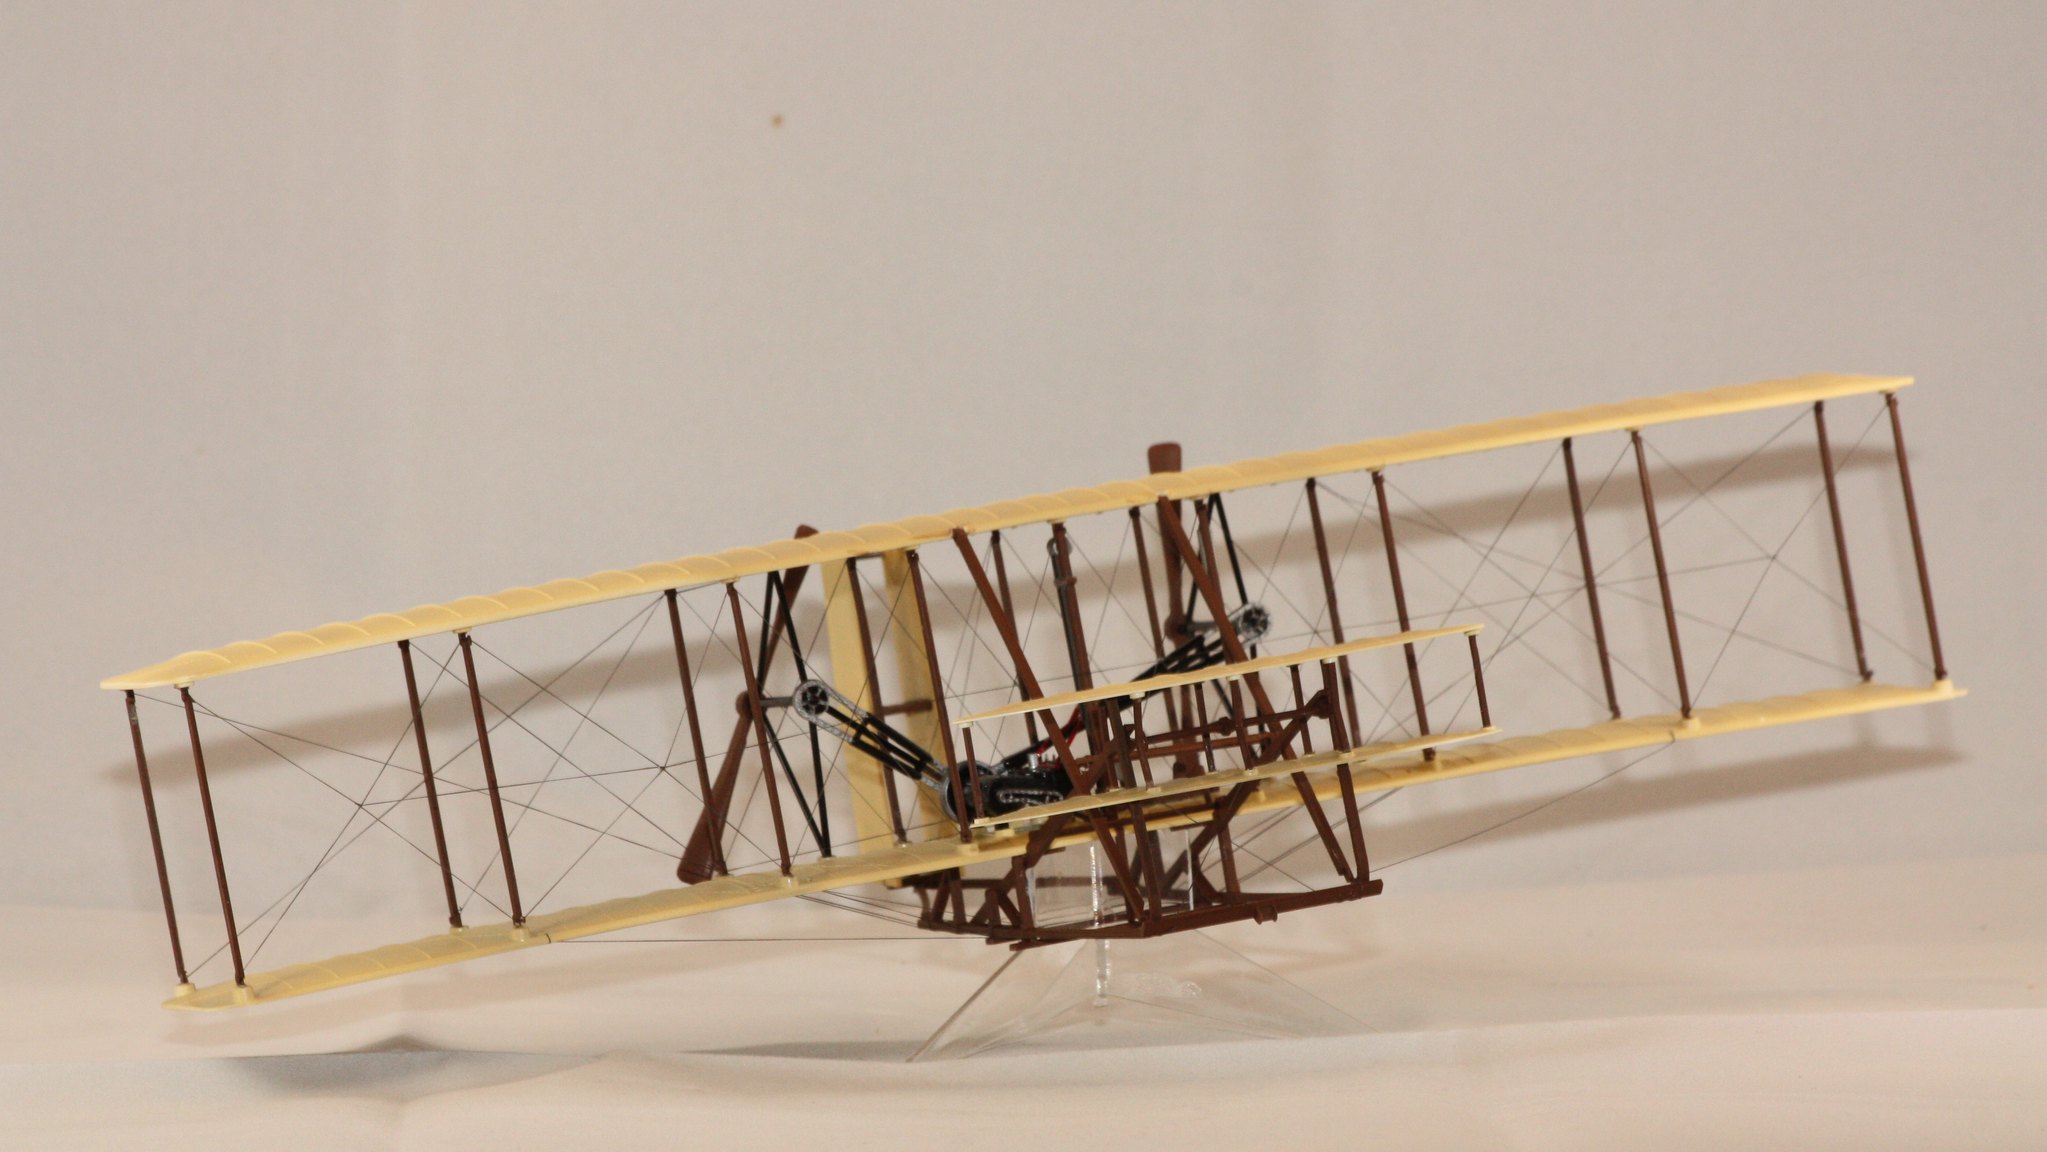
I painted every piece of this kit even thought the parts were molded in colors mostly appropriate - a light beige for the wing parts, and dark brown for all the "wooden" parts.  I used Vallejo flat brown for the wood, opting not to attempt a more involved painting with clear orange to mimic wood grain.  For the linen surfaces, I mixed up a small bottle of this comprised of Tamiya flat white (40%), Tamiya Buff (20%), and Tamiya Dark Desert Yellow (40%).  I'm not sure if it's exactly right but it is close enough to my liking.  There is also some Tamiya Semi-Gloss Black and Tamiya Flat Red on some of the parts.  I opted not to install the prone figure of Wilbur Wright nor to use any of the diorama parts included in the kit.  I did mount it to the included clear plastic stand.

Rigging.  Ugh.  This airplane was never going to look right without all that rigging, so I sat and studied photos and the instructions to determine how to best go about installing all of that.  I used EZ Line (the kit included a spool of gray thread that I was initially going to use until I determined that there was not going to be enough to complete the job).  The parts are molded in such a way that makes the rigging process rather simply, with either tiny notches in either end of the cabane parts, or small holes pre-drilled in the lower wing, or with some small trenches along the underside of the flyer's landing skid.

I followed the directions as best I could in terms of rigging installation order, working first from the backside then to the front and finishing up with all the underside rigging. This required a good bit of patience, and I can easily see that I never would have accomplished this part back in 5th grade, even if I'd managed to get the cabanes and wings in place.  Work was slow; I would attach a piece of EZ Line at the starting point, run it to the neighboring cabane, and hold it in place with a pair of self-locking fine point tweezers (running the line through the cabane attachment point and letting it dangle with the tweezers pulling the line taut through gravity; I used a biplane jig that I have (works great with monoplanes as well) to assist greatly in this effort). 

It was a slow start, but once I got the hang of what I was doing, I was able to move things along at a little faster rate.  The build itself was largely not challenging, but it was gratifying to defeat this one after my own history with it.

  • Member since
    March 2015
  • From: Close to Chicago
Posted by JohnnyK on Saturday, January 5, 2019 2:39 PM

Nice build. Boy, I bet that threading that rigging was a pain in the keister.

Your comments and questions are always welcome.

  • Member since
    April 2003
  • From: USA
Posted by keavdog on Saturday, January 5, 2019 2:48 PM

Wow, fully rigged too.  That kit kicked my butt as a boy as well

Thanks,

John

  • Member since
    September 2017
  • From: western North Carolina
Posted by kensar on Saturday, January 5, 2019 7:30 PM

Is it on autopilot?

Must not have had a pilot figure?

Kensar


  • Member since
    June 2017
  • From: Winter Park, FL
Posted by fotofrank on Saturday, January 5, 2019 7:55 PM

When I see this kit at model shows, I'll pick up the box and examine it, thinking to myself that I should build it. Then I put the box back on the table seeing some flashier kit nearby. I need to rustle up some courage and build this kit. Aggieman, your rendition is great. Thanks for sharing.

OK. In the stash: Way too much to build in one lifetime...

  • Member since
    December 2002
  • From: Northern California
Posted by jeaton01 on Saturday, January 5, 2019 10:44 PM

Looks good.  One of my treasures is the Tonka 1/48 kit of the Flyer.  So little time, so many models.

I suspect Stephen is showing the Flyer's final flight, when the wind picked it up and wrecked it.  The one in the Smithsonian is reportedly a collection of spare parts from the back room of the bicycle shop.

John

To see build logs for my models:  http://goldeneramodel.com/mymodels/mymodels.html


  • Member since
    March 2015
  • From: Close to Chicago
Posted by JohnnyK on Sunday, January 6, 2019 3:10 PM

I buily one of these when I was a kid. Mine did not look as good as this one.

Your comments and questions are always welcome.

  • Member since
    June 2014
  • From: New Braunfels , Texas
Posted by Tanker - Builder on Monday, January 7, 2019 8:32 AM

Hi;

 Listen , I have to say this , Nice Job . I tried once to replace the chain drive to the props with real chain .Success NOT ! You did it proud ! P.S. Gotta ask though , Whose Driving ? LOL.LOL. .T.B.

  • Member since
    November 2009
  • From: Twin Cities of Minnesota
Posted by Don Stauffer on Monday, January 7, 2019 8:43 AM

Always liked that kit.  Built several.  I'd like to do another- pick up a new kit and build a diorama with it.  Love the figures and accesories.


Don Stauffer in Minnesota

  • Member since
    September 2006
  • From: Bethlehem PA
Posted by the Baron on Monday, January 7, 2019 1:19 PM

That's a great build, Aggieman!  And very satisfying, I'm sure!  Now, do you have a place to display it where it won't get dusty?

The bigger the government, the smaller the citizen.


  • Member since
    January 2015
  • From: Katy, TX
Posted by Aggieman on Monday, January 7, 2019 4:29 PM

kensar

Is it on autopilot?

Must not have had a pilot figure?


The kit comes with two figures - one of Wilbur piloting and the other of Orville running alongside.  I just chose not to put Wilbur onboard since my abilities with paint and figures are typically not good.

  • Member since
    January 2015
  • From: Katy, TX
Posted by Aggieman on Monday, January 7, 2019 4:31 PM

the Baron

That's a great build, Aggieman!  And very satisfying, I'm sure!  Now, do you have a place to display it where it won't get dusty?


At the moment, no.  I have a display cabinet that is 75% full but the only shelf where I can get this one is full.  So I have it sitting atop a stack of storage boxes in my media room (the storage boxes are full of laser discs that rarely get played, so it's in the corner, out of the way and not likely to be disturbed).

  • Member since
    January 2015
  • From: Katy, TX
Posted by Aggieman on Monday, January 7, 2019 4:32 PM

Thanks for everyone's responses!  

This was, believe it or not, a fun build in that I was able to get it across the finish line in respectable shape, unlike my earlier attempt.  The rigging was difficult at first, but once I determined an installation method, it became easier if not aggravating due to the time it required.

  • Member since
    July 2014
  • From: Franklin Wi
Posted by Bakster on Monday, January 7, 2019 5:09 PM

Wow!  I forgot about that kit. My brother built is many years ago.  That is cool to see again!  Nice work!


  • Member since
    February 2006
  • From: Boston
Posted by Wilbur Wright on Tuesday, January 8, 2019 8:02 PM

Looks familiar to meWink

JOIN OUR COMMUNITY!

Our community is FREE to join. To participate you must either login or register for an account.

SEARCH FORUMS
FREE NEWSLETTER
By signing up you may also receive reader surveys and occasional special offers. We do not sell, rent or trade our email lists. View our Privacy Policy.