SEARCH FINESCALE.COM

Enter keywords or a search phrase below:

Miniart 1/16 Roman Soldier

5651 views
5 replies
1 rating 2 rating 3 rating 4 rating 5 rating
  • Member since
    March 2008
  • From: Colorado
Posted by TacoBuff on Wednesday, February 11, 2009 7:00 PM
Thanks Sterno! I agree that the armor could use a little more weathering.
  • Member since
    April 2008
  • From: Charlottesville Va
Posted by Stern0 on Wednesday, February 11, 2009 8:08 AM
Other than mentioned fixes it looks great, The paint work on the armor and sheild look very convincing! Maybe a little weathering would bring out a little more deatail and some wear. I have found that taking pictures really is the tale of the tape, it almost becomes an obbsession to photograph my 35 figs to see how they look...you just can't see em as good with the unaided eye. Again, great looking figure!Thumbs Up [tup]
Always Faithful U.S.M.C
  • Member since
    March 2008
  • From: Colorado
Posted by TacoBuff on Tuesday, February 10, 2009 6:15 PM
thanks for the comments and tips huxy and ajlafleche. Sadly, the decal is beyond repair, and some of it went down the drain I use to soak decals. The article is a great help, and I'm very close to that skin color now, the over head light I used washed away a lot of the skin variations.
There's always room for improvement. I enjoyed this kit so much, I plan on ordering a few more.
  • Member since
    December 2002
  • From: Massachusetts
Posted by ajlafleche on Tuesday, February 10, 2009 8:10 AM

How to fix the eyes and mold lines? Unfortunately, both will require repainting. For the seams, you'll need to use putty to fill the gaps then sand them smooth. For the eyes, test the alignment by looking at the face in a mirror. For a Roman soldier who would have spent a lot of time in the sun and who would have had a darker, Mediteranean complexion, I'd go with a darker flesh tone. Here's a good article on ethnic skin tones.

To salvage old decals, get a bottle of Microscale Decal Saver. Apply it with a brush to old decals and let dry before dipping them in water. The super thin film works well with Microset/Sol and keeps decals from breaking up.

Remember, if the women don't find you handsome, they should at least find you handy.

  • Member since
    April 2008
  • From: Kristiansund, Norway
Posted by Huxy on Tuesday, February 10, 2009 4:44 AM
It looks all good to me Smile [:)]   Better than me I'd say..   Oh, fix that mouldline on his right thie-knee!!  Smile,Wink, & Grin [swg]

"Every War Starts And Ends With An Invasion".

  • Member since
    March 2008
  • From: Colorado
Miniart 1/16 Roman Soldier
Posted by TacoBuff on Monday, February 9, 2009 9:09 PM

I dug this kit up a few days ago, and finally finished him.  I assembled it about a year and a half ago, but just now developed the skills to paint him. I'm aware of the mold lines in his legs and arms, and that his eyes are pointing two different directions (suggestions on how to fix this?), but the camera picks up every flaw doesn't it? lol.    My Praetorian guard.

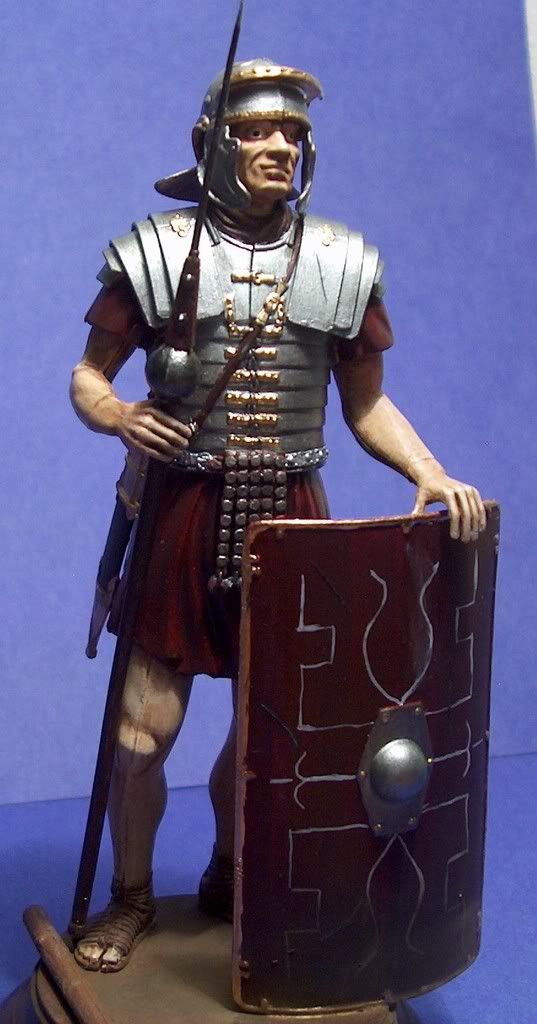
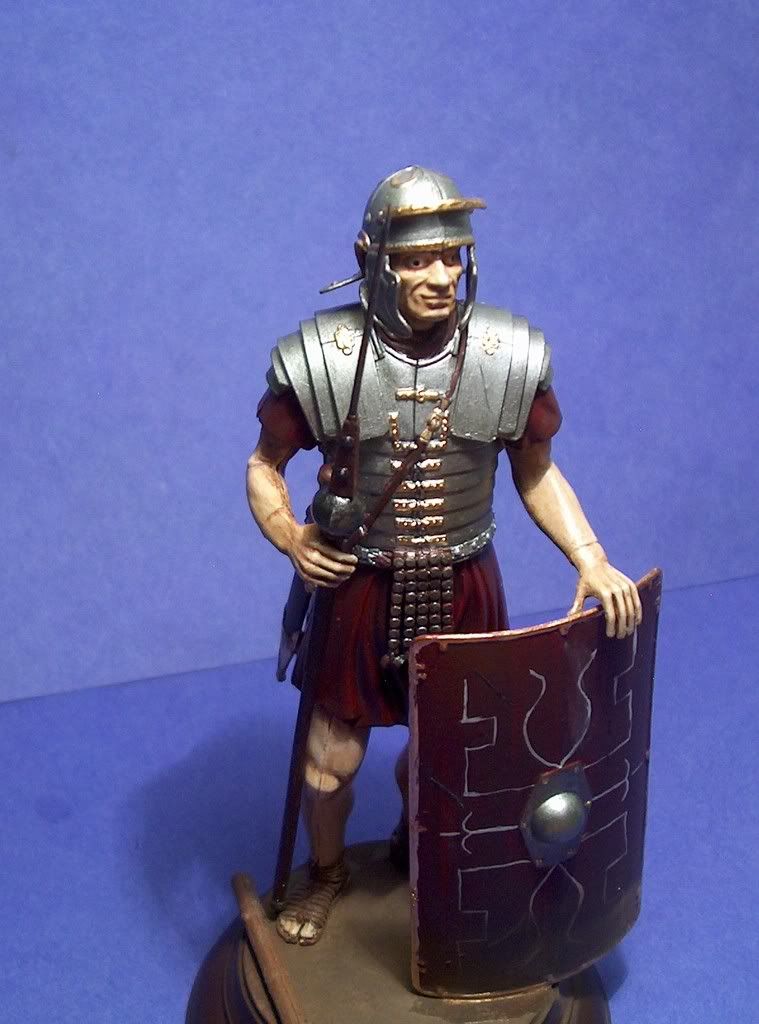
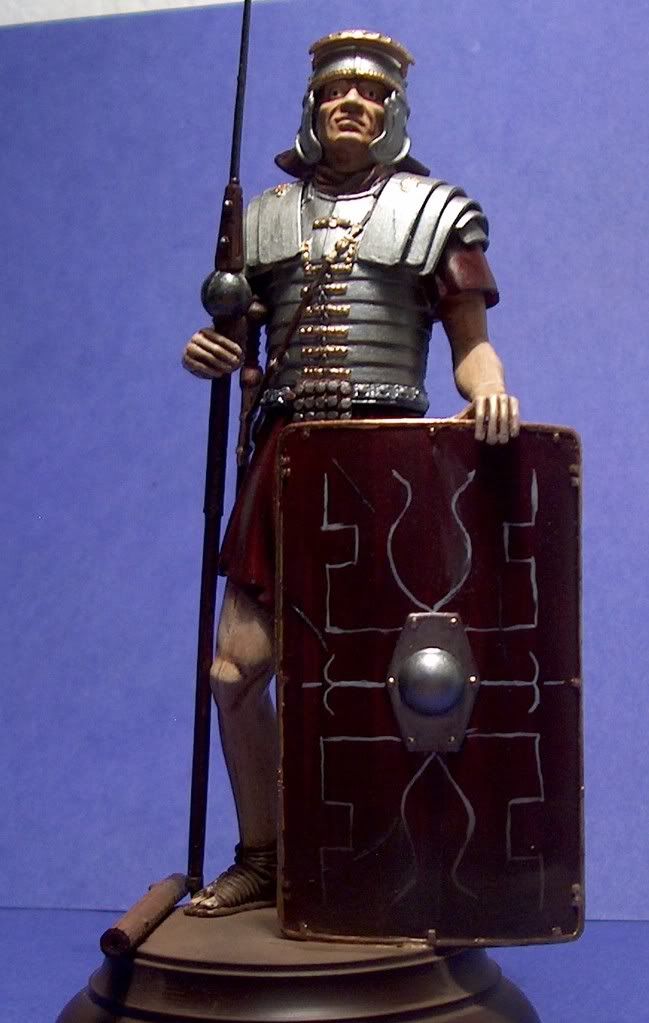
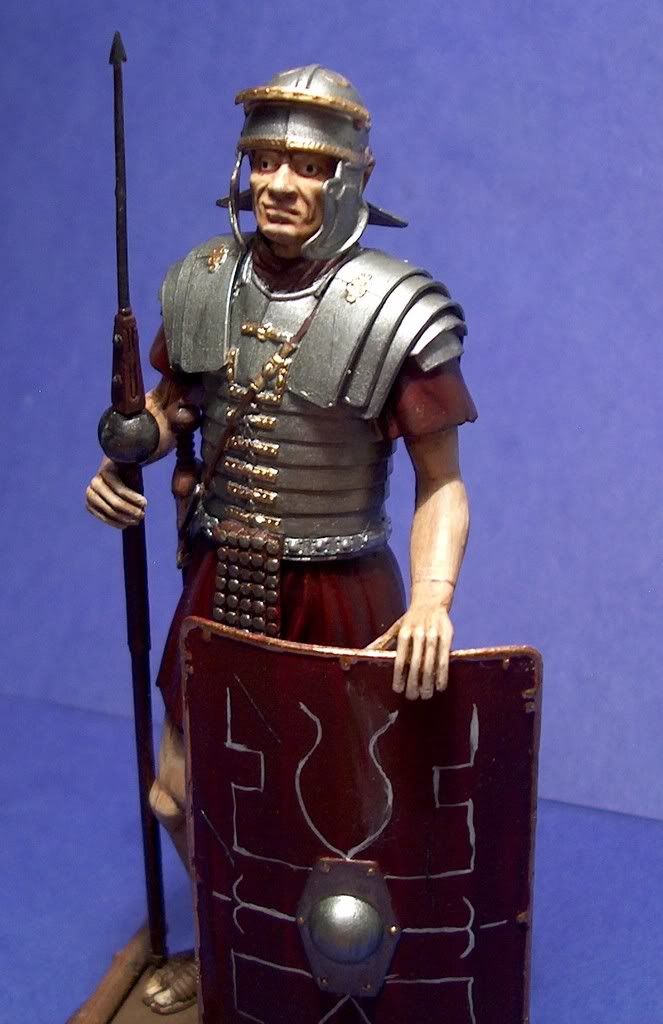
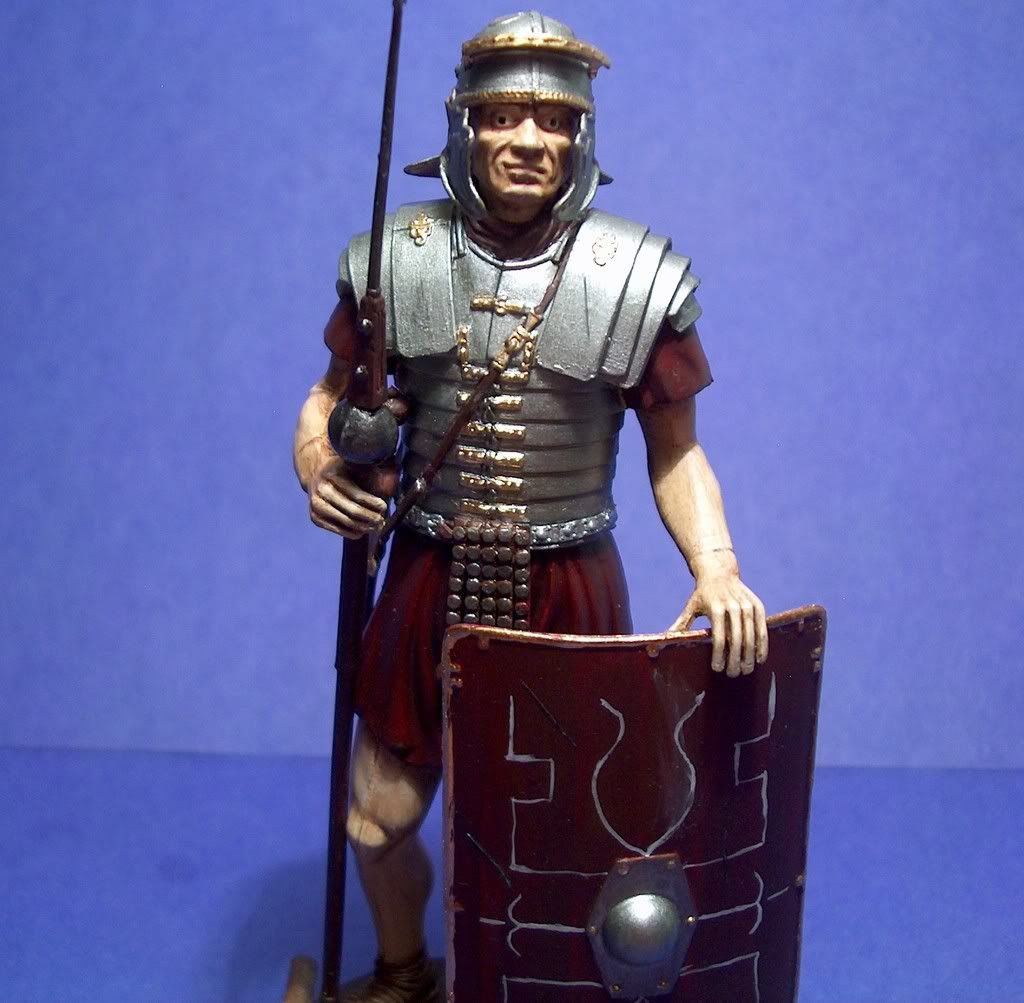
I'm quite happy with the end result, this being my first 1/16 scale figure.  The shield art is hand painted, as the decal shattered (any suggestions as to how to prevent this on the next one?)  All comments welcome.

JOIN OUR COMMUNITY!

Our community is FREE to join. To participate you must either login or register for an account.

SEARCH FORUMS
FREE NEWSLETTER
By signing up you may also receive reader surveys and occasional special offers. We do not sell, rent or trade our email lists. View our Privacy Policy.