SEARCH FINESCALE.COM

Enter keywords or a search phrase below:

putty for feguires

2000 views
10 replies
1 rating 2 rating 3 rating 4 rating 5 rating
  • Member since
    September 2006
  • From: Bethlehem PA
Posted by the Baron on Thursday, August 18, 2016 11:52 AM

I use Aves A&B for sculpting.  I started out with Miliput.  Both of them give me good results.

As far as blending putty in with a figure is concerned, I just smooth the putty in with my finger, or with the blunt end of the various dental picks and scrapers that I use, or the end of an old paintbrush.  I can use water with Miliput and Aves to help do this, before the putty cures.

As far as the body putty Shep mentioned, I'm pretty sure you're right, it was automotive putty, though I don't know if it was Bondo specifically or some other brand.  I've tried using automotive putty (not Bondo) but mixing the catalyst and the putty didn't come as easily as mixing parts a and b of Miliput or Aves.

I think that some used plumbing putties back in the day, and I seem to recall that Aves is close to the formula used in some 2-part plumbing epoxies.

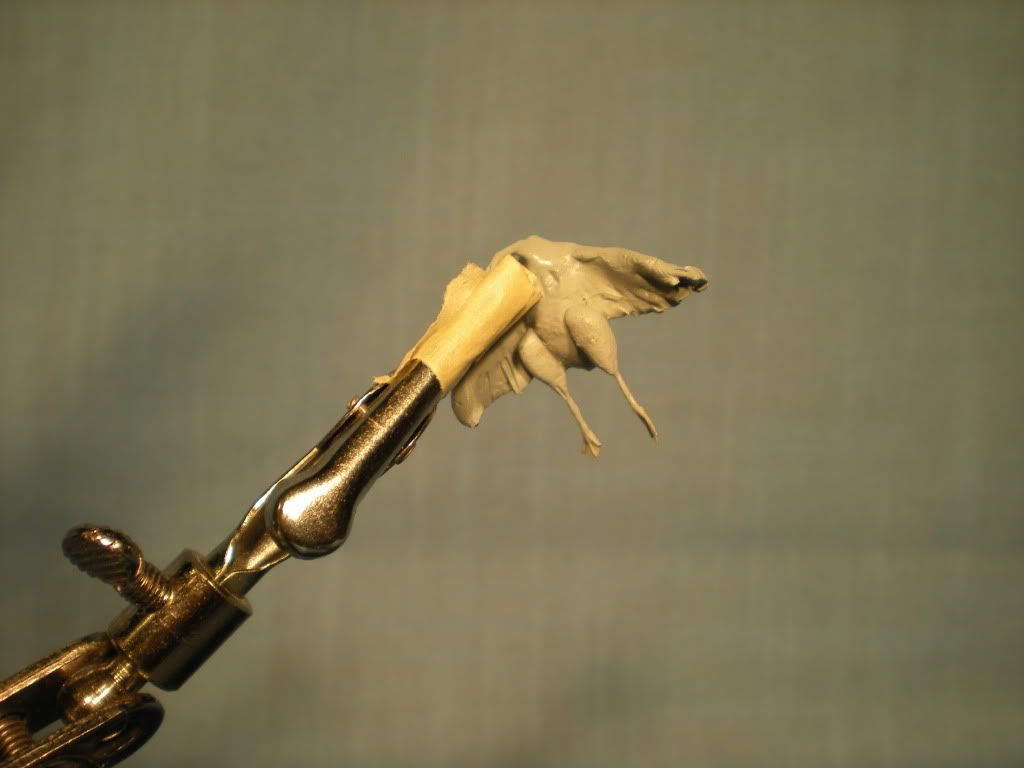
I also use Sculpey, but not as much, because it has to be heated (baked) to cure the putty.  But it works pretty well for me, too.  The goose in this photo was an early exercise using Sculpey.  Here is the body:

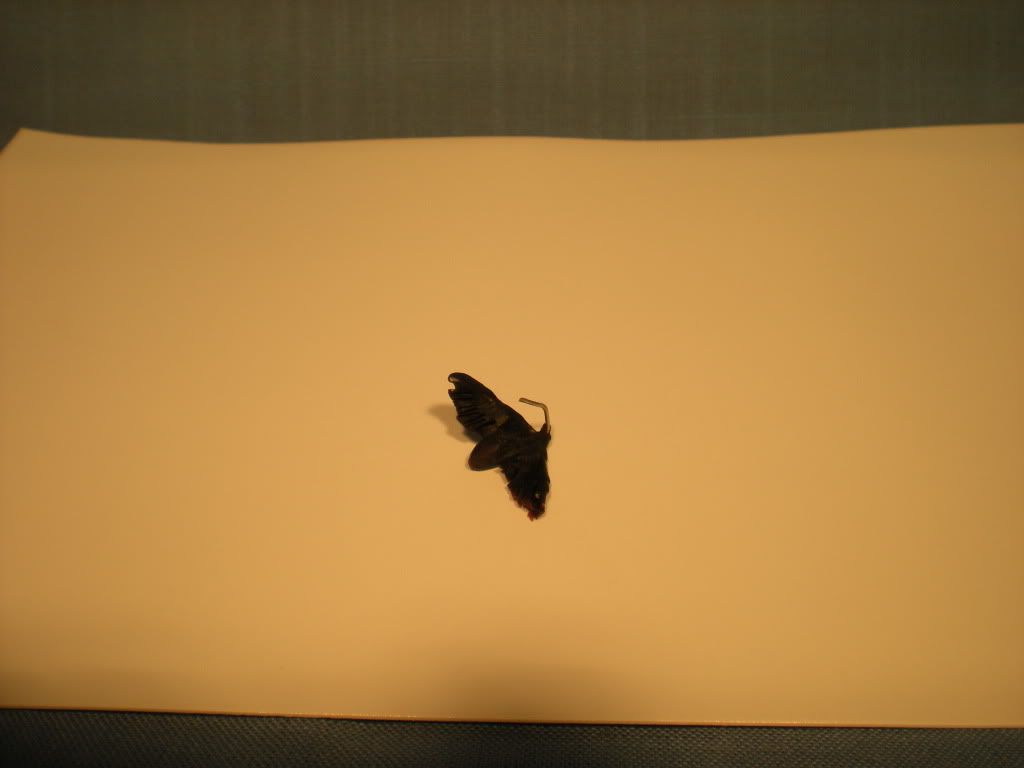
Yes, it looks like some kind of bug.

Drumsticks added:

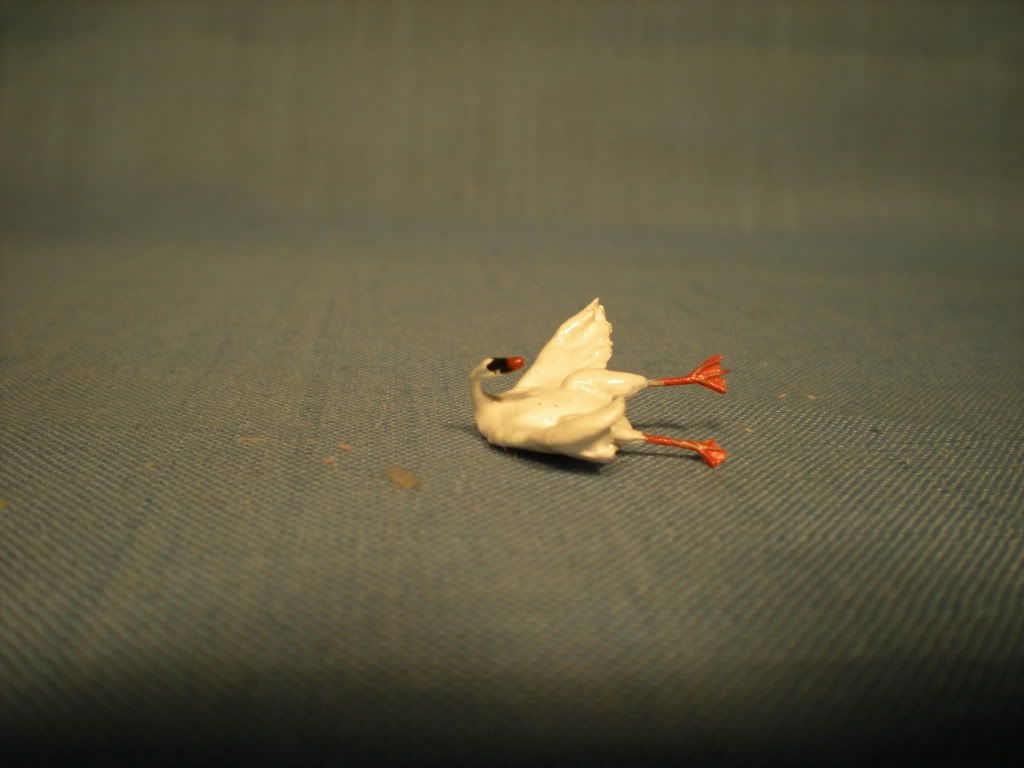
Painted up (in gloss toy soldier finish):

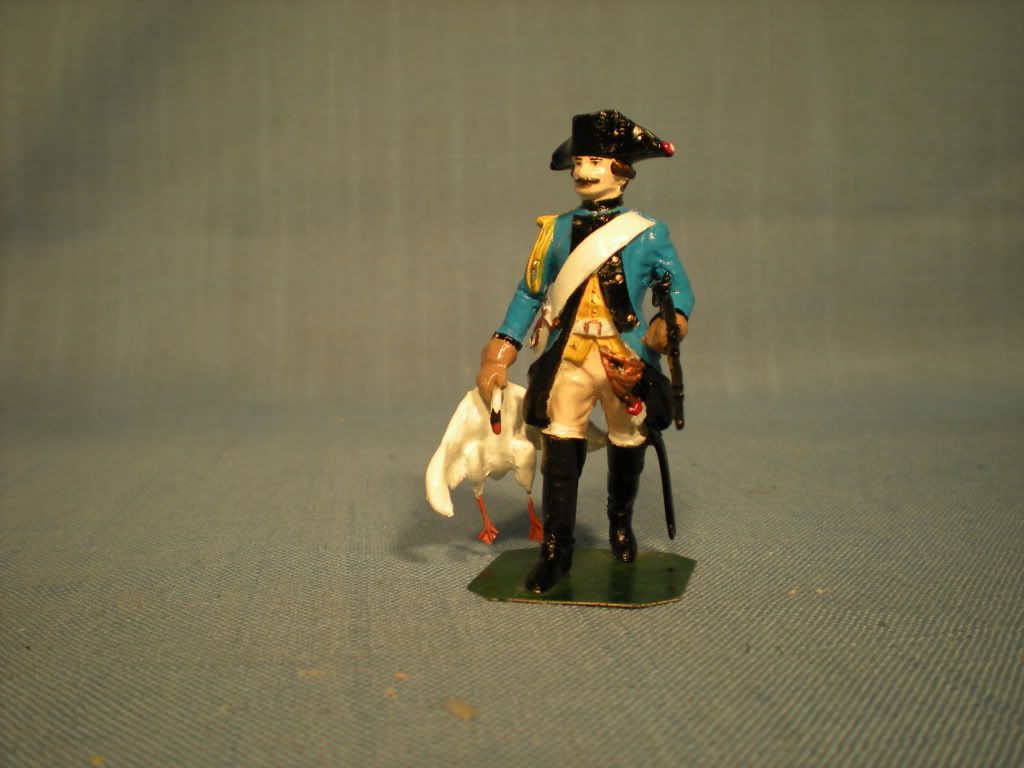
and this is the finished piece, a Prussian dragoon returning with his supper:

I have a friend who is an experienced, skillful sculptor, and he gave me a tip that he uses a hair dryer to cure Sculpey, but I haven't tried that.  But that would eliminate what I see as a drawback to heating it-baking it in the oven.  I have been afraid that if I used Sculpey with other media, like styrene or resin, using an oven, even on the low setting required, would damage those pieces.

Anyway, I hope that helps, and please show us what you're working on!

Best regards,

Brad

The bigger the government, the smaller the citizen.


  • Member since
    February 2015
Posted by Billmc on Monday, August 15, 2016 11:02 AM

Thanks ya when i sculpt bags, straps, tarps its all off tge model. I was thinking( i have not try as of yet) when re- shapeing feguires,  there coats and or pants. Haveing the putting hard enough to shape but soft enough to be managable. Ya its all practice lol, i thought i cheat and get some tricks lol

  • Member since
    August 2015
Posted by Poilu on Monday, August 15, 2016 10:05 AM

Billmc
My biggest issue is geeting the putty to confourm the way i want, and getting the detail in there. I find at ( i work at 1/35 scale) that scale the putty is two dry?, two wet?, i don't know, i try to work in fine detail like pockets, belts, straps etc the putty wants to pick up off the feguire or smear

Getting the putty to go where you want and stay away from where you don't want especially at smaller scales ranges from tricky to impossible.  At the larger scales you have more details to sculpt but keeping the sculpt clean and sharp is still tough sometimes. 

Do you sculpt mostly on the figure or off the figure or both?  Any large part [a weapon, a piece of worn field equipment like a back pack or a satchel] I sculpt off the figure using a separate small piece of dry putty with a stiff wire embedded into it.  When the piece is done and dry, I use the wire to secure it to the figure.  It's a trade-off.  I think you have more control sculpting off the model, not on it, but not everyone agrees.

Putty being too dry or too wet is mostly a function of the blend of hardener to resin with a bit of smoothing technique (too much water or Vitalis vs. not enough).  The mix of Kneadatite and Magic Sculpt that I use almost eliminates the too dry/too wet blending part of the problem.  The remainder is technique that can be learned with practice. Think of water and oil as a solvent which is mixing and thinning the putty right on the surface.  You can put on too much or too little of both and just have to practice to avoid it.  I still do it sometimes.  Too much Vitalis or oil/alcohol mix is much more likely to cause destruction of details vs. too much water.  Keep a dry paint brush (clean with medium to fine hairs - no bristles or thick synthetics) and get the excess off as soon as possible.

All the best,

Dan


  • Member since
    February 2015
Posted by Billmc on Monday, August 15, 2016 8:48 AM

Lol you must of came by and peek inside my hobby room. Yep i got two head sets, one with with multable lens, another free standing magnifier with a light. Two more lights, and the room over head light. Also my wife has her set of lights( we share the hobby room, she does crosstiching). My eye sight is not so good, so all the help i can muster is appreciated. My biggest issue is geeting the putty to confourm the way i want, and getting the detail in there. I find at ( i work at 1/35 scale) that scale the putty is two dry?, two wet?, i don't know, i try to work in fine detail like pockets, belts, straps etc the putty wants to pick up off the feguire or smear?

  • Member since
    August 2015
Posted by Poilu on Monday, August 15, 2016 8:14 AM

"Sculping at such a small scale will take some pratice" 

Yes it will! 

I assume you know about Optivisors, magnifying flip up/down clip on lenses for prescription glasses or even magnifying prescription glasses and magnifying lenses in table lamps with circular bulbs, etc., etc.  Good general room illumination with white light, not yellow or amber helps.  But bottom line - it takes good eyesight.  My 67 y.o. eyes restrict me to working mostly 1/16th scale.  Luckily I like the scale and don't like the most common figure scale 54mm which is about 1/32nd.

If you haven't tried it, the 2 part air drying putties can all be colored using acrylic paints and it helps me to use different colors when I am building bits of the figures. 

All the best,

Dan

  • Member since
    February 2015
Posted by Billmc on Monday, August 15, 2016 12:13 AM

I will try the vitalis, i use it so no need to lose anything on trying it. Sculping at such a small scale will take some pratice

  • Member since
    August 2015
Posted by Poilu on Sunday, August 14, 2016 9:43 AM

After trying most of the 2-part air-drying putties (one part resin and one part hardener) I use a roughly 30/70 mix of, respectively, Kneadatite and Magic-Sculpt.  This produces a good density, very sticky putty which holds detail almost perfectly and it has an air-drying time (or working time) of about 30 minutes. 

To smooth rough surfaces, I use water and/or Vitalis liquid hair tonic. 

Hair tonic?  Sounds wacky but don't laugh until you've tried it.  Why Vitalis?  Chemically it is a mix (or a suspension?) of oil and alcohol.  Applying Vitalis doesn't seem to reduce the working time or break up bonding to other surfaces like straight isopropyl alcohol will.  After applying Vitalis you can continue to work the putty up until the working time is over, just like normal.  After you're finished, ventilate the piece to remove the liquid alcohol and slightly speed up the drying of the putty.

If you use any of the air-drying putties briefly and not daily to fill gaps or things like that, work with them in well-ventilated spaces.  You don't need gloves.  Keep your fingers out of your eyes!  Put even small smears of putty in your eyes accidentally and, speaking from personal experience, you'll produce irritation and swelling.  Not fun.

All of the air-drying putties contain chemicals which can cause dermatitis, but unless you are immune-compromised, it generally takes frequent exposures to set off the dermatitis and other allergic reactions.

If you use any of the air-drying putties often or daily, use them only in well-ventilated areas, wear thin protective gloves (nitrile rubber is best) and, again, keep your fingers out of your eyes.

All the best,

Dan


  • Member since
    October 2010
Posted by hypertex on Friday, July 29, 2016 7:04 AM

Milliput works. Another popular choice is Apoxie Sculpt from Aves. Also a product called Magic Sculpt (sometimes spelled Magic Sculp). Another popular choice is referred to as "green stuff," known as Kneadatite (formerly known as "Duro").

Which you use boils down to personal choice, really. For me, Milliput Fine is too messy. Green Stuff doesn't cure hard enough. I use Apoxie Sculpt. I haven't tried any other variety of Milliput or Magic Sculp(t), so I can't comment on those.


  • Member since
    February 2015
Posted by Billmc on Thursday, July 28, 2016 9:42 PM

Where did you get your 1/48 scale feguries?. So the bondo putty you get at the auto parts store?. Modeling clay, i thought you have to bake that?. Thanks for the info

  • Member since
    December 2003
  • From: 37deg 40.13' N 95deg 29.10'W
Posted by scottrc on Thursday, July 28, 2016 4:56 PM

Hi bill,

I am just starting out making my own figures and am using a variety of clays and putty.  I use modeling clay for very fine shaping and forming of the face.  Milliput for the torso, arms, legs and basic head.  Then Bondo Spot Putty (Body Putty) for filling and additional fine shaping.  So far, all these are working ok on a 1/48 scale figure.

  • Member since
    February 2015
putty for feguires
Posted by Billmc on Thursday, July 28, 2016 2:45 PM

So i wanted to find out what typ of putty you all use for your feguires, and maybe a tip or two. So i want to get into re shaping my feguires, i am useing milput, is that ok or should i use something else. Is there a trick ti smothing the putty out to blend in with the feguire. Also Shepard Paine mention body putty he uses, is this something else all together? Thanks ahead

JOIN OUR COMMUNITY!

Our community is FREE to join. To participate you must either login or register for an account.

SEARCH FORUMS
FREE NEWSLETTER
By signing up you may also receive reader surveys and occasional special offers. We do not sell, rent or trade our email lists. View our Privacy Policy.