Rather than my usual gifting ideas, I decided to bless a good friend of mine with something more personal using learned hobby skills. She has encouraged me along my hobby journey, and I thought it fitting that I create something that she might enjoy in her apartment.
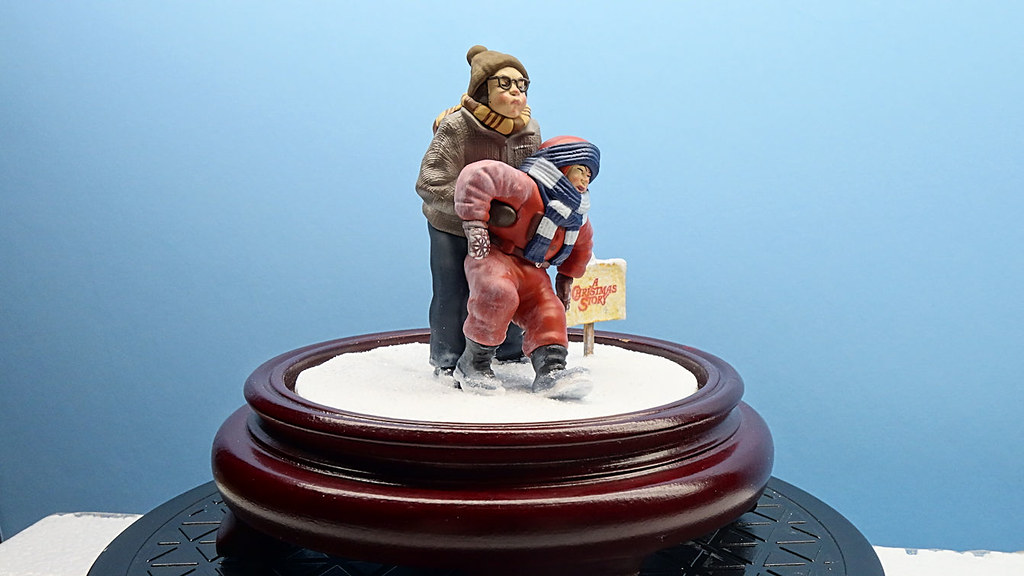
The Project
Until she had become more seriously ill, it was a tradition of ours that each Christmas season we watch the movie, A Christmas Story. We both enjoy the movie.
I didn't set out to build something from this movie, it evolved. All I knew was that I wanted to create a Christmas display that she can have on her end table. I just didn't know of what. With Christmas themed model figures not being plentiful, I decided to find a premade figure, and build around that. Ultimately, the solution presented itself on a trip to a local Hallmark store. At seeing the ornament, I knew that this is it.
The Figure

1. As seen above the figure comes with a small snow base. I decided that that had to go. I proceeded to carefully cut that away. What remained with the figure are some posts molded into the feet of the characters.
2. The hook on Ralphies hat had to go. I pulled that out, filled the hole with CA, sanded, and repainted with craft paint.
3. Using thinned Vallejo white, I dry brushed Randys snowsuit to mimic snow from him having just fallen.
The Base
1. I purchased the base and glass dome from a place called, Collecting Warehouse.
https://www.collectingwarehouse.com/Doll-Display-Cases-Stands
2. I positioned the figure on the base creating a guide using tape.
3. I then drilled holes into the base for where the posts will fit.
4. I mixed a batch of Apoxie Sculpt and fashioned a new snow layer.
5. The figure positioned into the post holes, Apoxie Sculpt was pressed against the characters feet. The Apoxie Sculpt doing its job to secure the figure as well. I also created troughs to simulate areas where they had walked.
6. Once cured, the snow sculpt was painted with Vallejo white. This took several coats for coverage.

The Sign
1. I constructed the sign using balsa wood.
2. For the graphic I captured the image, printed it on plain paper, and then applied it using Modge Podge.
3. Using light brown craft paint, thinned, I dry brushed the sign and graphic giving it an aged appearance.
4. A hole was drilled in the sculpt, then the sign set with two-part epoxy.
Final Finish
1. I ordered a product called diamond dust. It is basically finely crushed glass. This will give the snow sparkle.
2. In testing I determined that the glass was not fine enough. So, I bagged it, and I crushed it until it was smaller.
3. I coated the snow base with Modge Podge, then using a paint filter, sifted the diamond dust onto the snow base. Using the filter provided me a more consistent size to the grain, giving it a more realistic look.
And I think that is that.
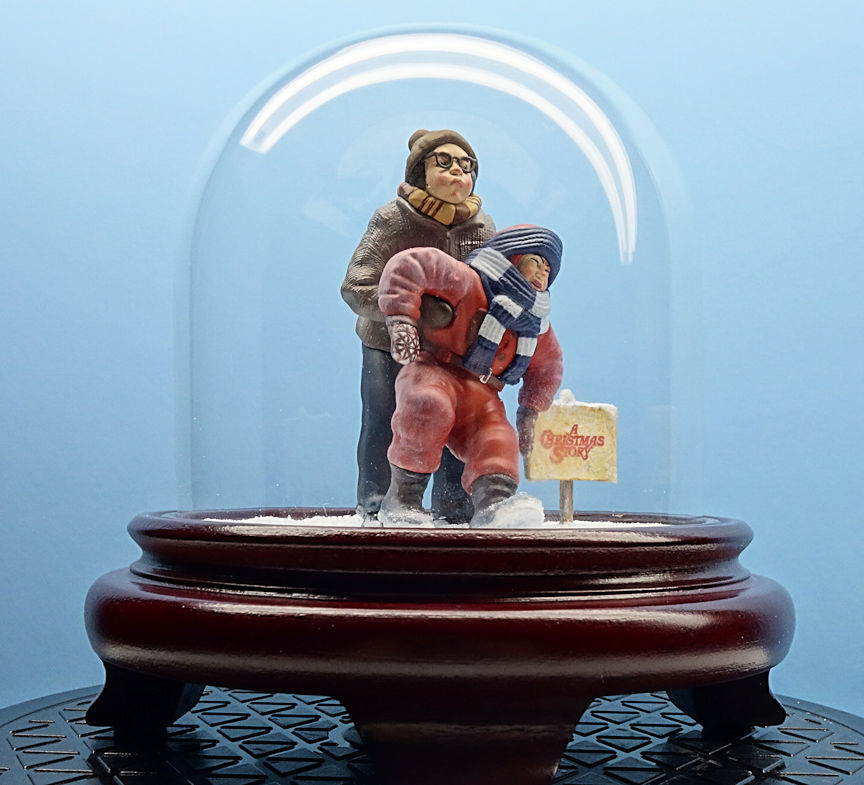
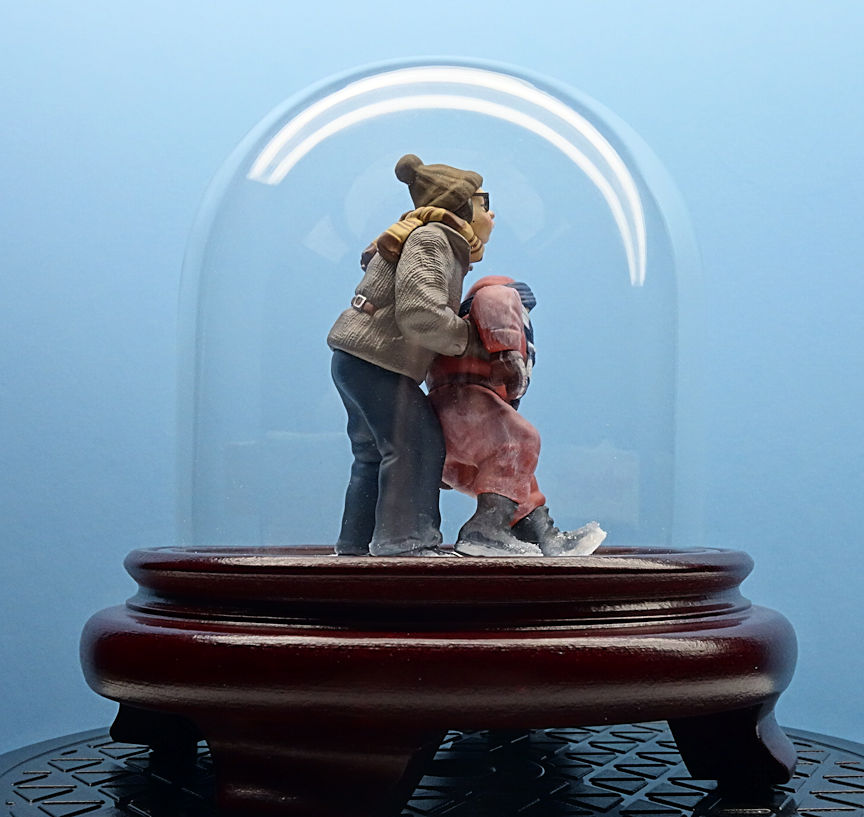
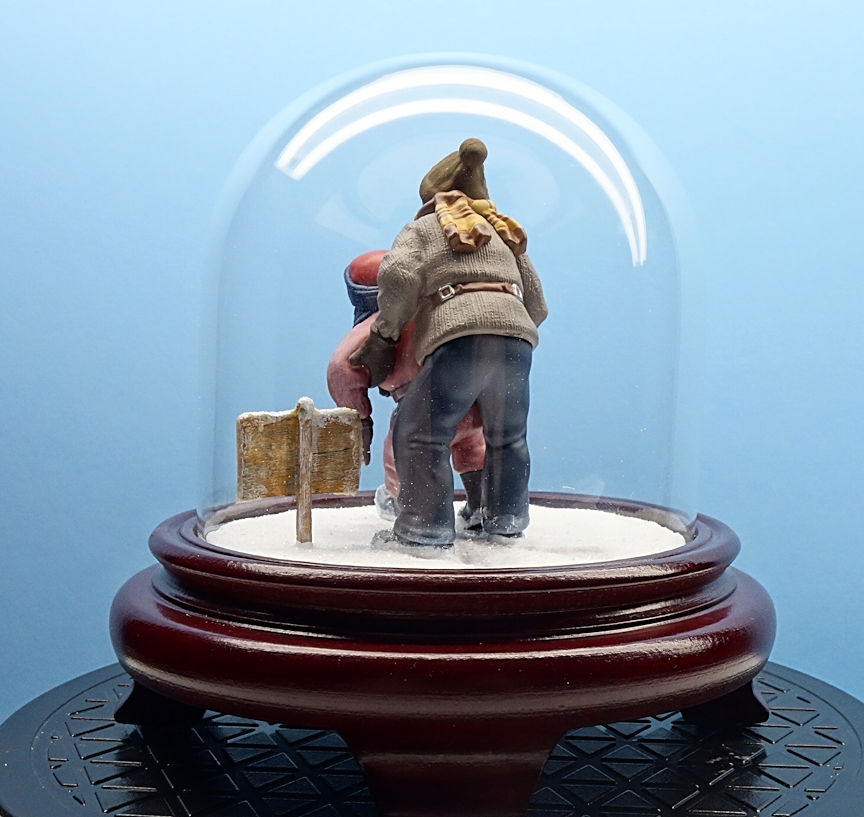
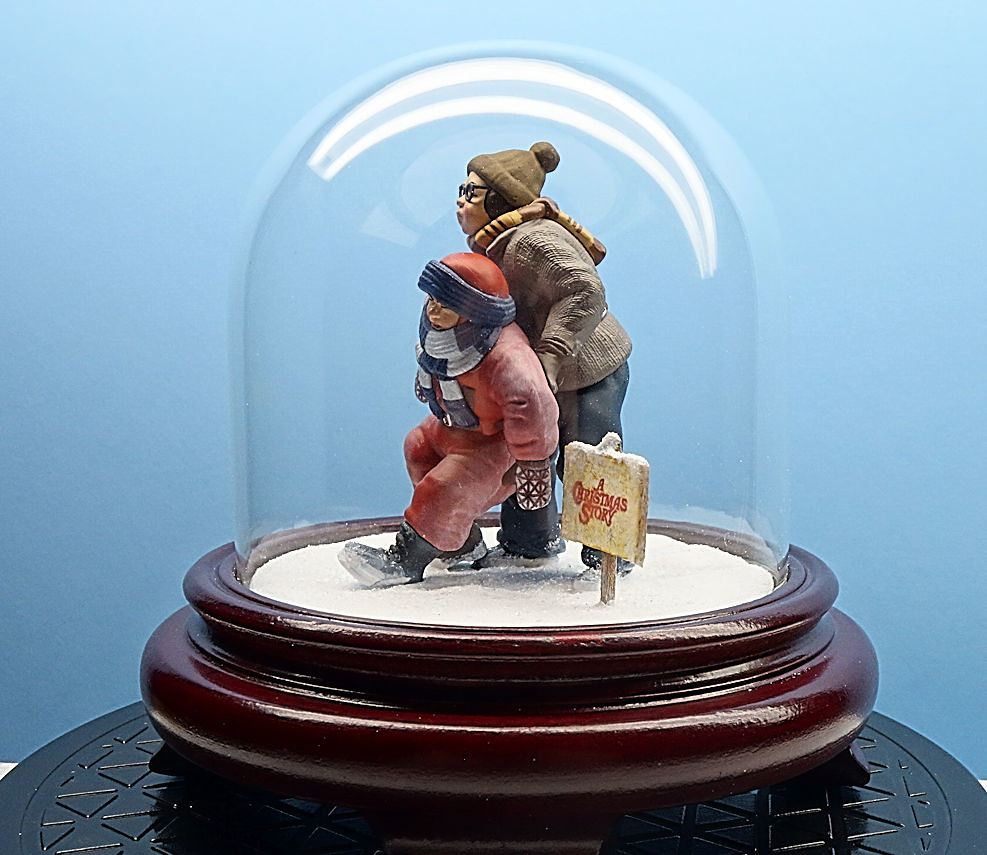
Merry Christmas Folks.
pmlph