SEARCH FINESCALE.COM

Enter keywords or a search phrase below:

DeAG Millennium Falcon High Detail Build

18626 views
158 replies
1 rating 2 rating 3 rating 4 rating 5 rating
  • Member since
    April 2015
Posted by LrdSatyr8 on Thursday, March 3, 2016 8:51 AM

Oh you are such a cheater waiting to put all the frame together at once when the rest of us put it together while they came in and had to wait for the next issues! LOL :P... but it's looking good my friend... a couple of things you may want to take into consideration thou before you get too much further... 1) Make sure to repaint the inside edges of the hull panels about an inch all the way around because those will be seen (and I don't think silver would be desirable).  2) There is an order to how the panels went on... they do all interlock just as long as you did them in the proper order you never really had to do any trimming.  The only problems I had were the posts didn't want to fit properly a few places, but a little determined nudging with a rag and a pair of pliers and it popped in with little problem.  The order of the plates is Bp-10,9,11,12,8,7,6,4,5,3,25,26,24,22,21,19,17,20,14,15... there are a few people that reported that the overlap between 21 and 19 is a little thick but just a little sanding took care of the problem!  You got it all down, but i'm sure those that are following your build would like to know!  Thank my friend Ian Lawrence for that order! :)

Things to think about... What would happen if you put a werewolf on the moon?  h is just a little chair and the human brain named itself!

  • Member since
    December 2010
  • From: Memphis TN
Posted by Heavens Eagle on Thursday, March 3, 2016 11:30 AM

Yup, knew about the assembly order,  that was actually quite easy to figure out.  The problem on my build was that some of the plates "overlapped" just a tad much.  Maybe .010 to .014 of an inch.  Might have been due to the fact that I fully assembled the frame first and the stresses on it evened out through the whole assembly before adding the plates.  The thing to remember is that the starting points on the plates are the raised parts for the ramp and airlocks.

I only ended up with one spot where the plate still wanted to stick up and  that was because it had a larger than normal area not held down with a screw.  It has a slight warp to it and springs up.  I am not concerned as when pressed down it fits perfectly, and the large secondary parts fit over it.

The main reason I went ahead and mounted the plates on the frame is that they are a big part of the strength on the build.  Like a stressed skin on an aircraft, the plates give the frame a lot of rigidity and strength.

Something I also did was take a file to all the sharp edges on the frame parts, worked the holes for the plastic plate posts over, and made sure it was all square and level.  Smoothing out the edges of the holes seemed to help the pins in the plates go in easier.   With any large assemblies there end up being some fit problems.  I tend to be very OCD about assembly work, so it was fully fit each part until it set fully down and flush.

I will probably end up removing all the parts around the ramp area once I figure out how I'm going to rework it.  I won't do cut-n-chop on it untill I have all the fit issues and parameters.  (that means the top frame and interior all mounted)  While there is way more frame in the ramp area than is really needed, removing it without a plan in place to redo it is a bad idea.

As to painting around the edge, I'm not sure what you are referring to Jim.  I am going to fully paint the exterior of the model.  I have some old examples of how beige ABS changes color with exposure to light, humidity, and whatever else can be found in the environment.  I will have more photos next week sometime.  I don't think anyone wants their falcon to turn orange or brown which is what will happen over time to bare ABS.

Did anyone notice that the engine flaps are not installed?  This is on purpose, though what or how I am going to do anything there, again, will depend on how everything else fits around there.


  • Member since
    April 2015
Posted by LrdSatyr8 on Thursday, March 3, 2016 12:46 PM

You've got the shown side of the hull, and the frame side of the hull where the frame is screwed in. On the hull plates around the edges of the frame side, about an inch or so in, you'll either have to remove the paint or paint over it the same color you use on the hull or it will appear silver around the edges that stick out over the sidewall detail! Make sense? On those tail fins you'll have to sand out the mold holes and the part stamps too that stick out over the edges... like this:

Things to think about... What would happen if you put a werewolf on the moon?  h is just a little chair and the human brain named itself!

  • Member since
    December 2010
  • From: Memphis TN
Posted by Heavens Eagle on Thursday, March 3, 2016 1:15 PM

I understand.  Not an issue as you will see with my next set of pictures.  The entire outside will be painted as well with good reason.

As to the insides of the flaps, not concerned at the moment.   I have some concepts running through my head to either super detail them, or maybe even make them move.  Either way involves major rework of these parts.

  • Member since
    April 2015
Posted by LrdSatyr8 on Thursday, March 3, 2016 1:42 PM
Should have known you had something up your sleeve! Muahahahahahahaah

Things to think about... What would happen if you put a werewolf on the moon?  h is just a little chair and the human brain named itself!

  • Member since
    September 2009
Posted by Cobra 427 on Friday, March 4, 2016 12:03 PM

WOW - Uh THAT'S the understatement of the year!! I know that what you've done is only a tiny bit compared to what you'll have to do next. However when you don't get a response to your posts many people don't want to clutter up your thread with a one liner, or two. But rather they watch in utter amazement! I did for the first night I read this - that being last night. I looked at these pictures, and read every single line for over FOUR HOURS!!! I wish I had the jewelers' lathe. That would save me so many hours turning parts on a hand drill. Look at my four foot X-wing thread - only a VERY SMALL handful of people have said anything about it, but with over 20,000 + views doesn't make for a very welcomed feeling!

I know what you mean, but you're a man after my own heart in many ways - from your humour to your way of correcting other peoples' mistakes.  You would think that they would've caught all these when making it! It's bad enough when you have either a lack of references, or a lack of model kits to build it with, but when you get something that you've PAID someone else to make correctly only to have a part that you're forced to rebuild is sad indeed! I am in absolute awe of your modeling prowess! I've had to do the same thing and (I STILL am) doing the same as you're doing now, and on the same scale. At least you have something to build on - a framework with out guessing the size, or shape using model kits, and pictures!

When you buy on the internet you'll have things like this from garage kits, and the same with those who aren't as passionate as we are about accuracy. I just happened to this looking through the forums since I have a litte bit more time this week. It was buried under other threads, so it makes it a little off putting when I don't have a lot of time to devote to reading. I'm glad that I fell into this thread instead of Steve Astognis' build - yours is more accurate. I used to do machining, and now the only machining that I do is for myself at the moment. I love making things from raw materials, and breathing life into them! Which is why I hope to have something to show sometime within the next two weeks. Don't let the lack of replies from other members bring you down just keep on moving. Remember - slow and steady wins the race! We're all watching.


~ Cobra Chris


~ Cobra Chris

Maybe a picture of a squirrel playing a harmonica will make you feel better?


  • Member since
    December 2010
  • From: Memphis TN
Posted by Heavens Eagle on Friday, March 4, 2016 1:50 PM

Wow!  Thanks for your post Chris!  I agree that not a lot of folks really pay much attention to the Sci-Fi forum.  It isn't in their interest zone I guess.  The thing is, THIS is where there is the most scratch building and innovation for building models is.  I'm not too worried as I look at the view count and see that it keeps growing.  Most of my posting is over on a smaller more elite site where the members are not only exceptional modelers but also a class act in how they treat each other.  Fine Scale is a larger more rounded community but as you stated, don't tend to comment much.

As to accuracy of the kit, I believe (exterior wise) that this kit matches the 32" movie prop fairly close.  Most folks love the high detail of the 5 footer though so it's a crap shoot.  I personally like the shape of the 32" miniature over the shape of the bigger one.  The surface detail on the 5 foot miniature wins out mostly though. 

I say mostly because the large detail on the large prop is also kind of rough and has a lot of descrepancies like big holes for the carrying handles for example.  Back when they were built nobody could have dreamed that these 2 movie props would become some of the most popular movie miniatures ever created.  Neither of the original props was built to pass the Hairy Eyeball test at a range of 6 inches, but then we build models of them that have to pass even closer scrutenization.

So, I am building an aggregate of the two movie props with "upgrades" for plausibility and to make it pass the toughest, close in, HET.  (Hairy Eyeball Test)

Again, thanks for looking in Chris!  I noticed the 4ft X-wing thread the other day, just have not had time to check it out yet.

  • Member since
    December 2010
  • From: Memphis TN
Posted by Heavens Eagle on Wednesday, March 9, 2016 12:45 AM

Hey everyone!  You get some surprise photos tonight!  Quite a few and some good informative ones that you really should consider if you are not planning on painting your Falcon.

As they say pictures are worth a thousand words so I guess that here are may thousands of words :)

Last time you remember I was short one of the support ribs.  I was asked to tell which Issue and shipment it came from.  (couldn't remember so I picked one that had the needed part.  Here is what happened:

Nope, not all yet, there is more to come just breaking up the gigantic posts to reasonably size.


To be continued. . .

  • Member since
    December 2010
  • From: Memphis TN
Posted by Heavens Eagle on Wednesday, March 9, 2016 12:57 AM

Not much suspense there I agree.  Should wait a bit and post that the cat jumped on it.  (I don't have a cat "yet" anyway)

On with the show.

Yup that isn't any hobby paint.  Why spend an insane amount for hobby paint for this application.  This is some really well working primer.  The silver gives a quite nicely shiney surface as shown by the inside of the cockpit corridor behind the can.


But we are not done yet.  I have some reference for you to ponder with modding 4 light locations and prepping to add a bunch more.

Yes, yes I am continuing, keep your shirt on.  Ick!  Definitely KEEP YOUR SHIRT ON!

To be continued  (again)


  • Member since
    December 2010
  • From: Memphis TN
Posted by Heavens Eagle on Wednesday, March 9, 2016 1:11 AM

This should finish this installment...

If you have any questions, please feel free to ask.  This is a long going subscribtion model and I am not even half way yet.  It is getting built as parts I need for knowing what fits and how a number of part will need to be modified and still fit as good or better.

The ramp area is going to go through a big rework at some point.  That huge amount of frame covering the ramp opening is going to be removed and then rebuilt.

Time for bed I am falling asleep here in mid sentance.  Night all

  • Member since
    August 2007
  • From: back country of SO-CAL, at the birth place of Naval Aviation
Posted by DUSTER on Saturday, March 12, 2016 6:03 PM

Well Paul, it just keeps getting “better-er an’ better-er”.  

   Now for a small side note to you and Cobra Chris from my point of view. I see so many times build threads where the “atta-boy choirs” seems to over shadow the actual work being performed, also having several smart-alic remarks and replies that “get in the way” (my opinion) of the reason we are reading that build report.  I do freely admit my on culpability in that sort of thing; after all I “think” I’m just too funny for words, some times.

On this build, however, my attitude is like watching a master craftsman creating a high art piece. A guy just doesn’t want to interrupt with banal utterances, jus’ to break the quiet.

Enough of my gratuitous adulation—Now, get back to Work!   


Steve

Building the perfect model---just not quite yet  Confused

  • Member since
    April 2015
Posted by LrdSatyr8 on Saturday, March 12, 2016 6:22 PM

Yeah... what he said! :)

Things to think about... What would happen if you put a werewolf on the moon?  h is just a little chair and the human brain named itself!

  • Member since
    November 2009
  • From: SW Virginia
Posted by Gamera on Saturday, March 12, 2016 8:24 PM

I dunno if I'm an 'atta-boy' or not Wink but I'm just happy you're posting this so I can follow along!

"I dream in fire but work in clay." -Arthur Machen


  • Member since
    December 2010
  • From: Memphis TN
Posted by Heavens Eagle on Friday, March 18, 2016 8:34 PM

For all of you that are following along I thank you for taking the time to comment!  This is a quick post that covers a big possible goof on DeAg's part.  Until we get the matching "upper" part we won't know for sure.

I know some have gone ahead and glued this, I wasn't going to as there is some lighting that will be going up front and I needed to have access.  In the process of looking it over I noticed some things and decided it was important enough to get a quick post out.

The pictures pretty much tell it all.


Hope this helps!  I have been delaying on my build somewhat as I need to see how a bunch of things go together.  I have also been watching some of the UTube videos from out British friends to get a little sneak peek of what is coming when.  As they are now up to Issue #60 it does give a little bit of an idea.  Still no mountings for the hold or corridors to the hull yet though.  A lot of my modifications to those areas are going to have to wait until I can get my hands on the mountings.

I also am going to have to wait until I can either buy an new monitor or printer as my old (but still excellent) printer is not supported by Windows 8.  UGH!

Either a new monitor to use with the new computer and the old computer can be set back up or a new printer.  I do intend to set the old machine back up and do a major overhaul on it so as to have a stand by.


As always, please feel free to ask questions!  (After all I might be forgetting something)  

  • Member since
    September 2009
Posted by Cobra 427 on Friday, March 18, 2016 9:41 PM

You can clearly see that the part inside the top of the cargo hold isn't a match for the inset photo of the Falcon! You're right - why not go all out if you're going to make a copy of this? For as much as this kit costs - why not get your moneys worth? It looks like he just added some detail pieces, but not with any degree of accuracy. It's wonderful to see that you're passionate about this - ensuring accuracy to the level that you've done so far. I only wish that others who offer such things who have the same passion to at least attempt to make a similar part even if it was from scratch!

~ Cobra Chris

Maybe a picture of a squirrel playing a harmonica will make you feel better?


  • Member since
    April 2015
Posted by LrdSatyr8 on Monday, March 21, 2016 3:54 PM

Hey my friend... those pics you're using for comparison are of the 5 footer.  There are ALOT of differences between the 5 footer and the 32" incher.  I'll see if I can find some good 32" incher shots for ya.  Now one thing that I did notice that you might want to address in your cockpit square buttons is the fact that even though the buttons were square, the light behind them was round.  So you ended up with this button that had a round light illumination from behind it.  Here's what I'm talking about:

The buttons too were made of different colored acrylic, so you have blue and white acrylic, the light behind was all the same color (they didn't use LEDs back then).  Anyway, I thought you might enjoy the little tidbits of wisdom and nitpickedness! :)  

Your friend... Jim!

Things to think about... What would happen if you put a werewolf on the moon?  h is just a little chair and the human brain named itself!

  • Member since
    December 2010
  • From: Memphis TN
Posted by Heavens Eagle on Saturday, March 26, 2016 1:02 PM

Jim I am about 20 steps past what you are talking about.  Only things holding me back are lack of a printer that works with the new 'puter and lack of mounting parts for all the hold and corridor parts.  Big gaps on some of that stuff and impossible to do a good rework with only half of the info.

Besides I want to try and get the cockpit and hold the same scale to each other which at the moment they are not.  I can only do that when I "know" how the hold and corridors mount.  For now that is still a guessing game.  I will do my mods when I can guarantee that I don't have to rework it 3 times to make it fit.

As to the buttons and lights, I posted these a while back while figuring out how I would get the lighting to work the way I wanted.

Like I said, already about 20 steps beyond.  There is a lot more working in my head, but until I can put dimensions to it (and print it out) I am just working through the 3D fit ups in my head.


  • Member since
    April 2015
Posted by LrdSatyr8 on Monday, March 28, 2016 8:15 AM

Heavens Eagle
Besides I want to try and get the cockpit and hold the same scale to each other which at the moment they are not.  I can only do that when I "know" how the hold and corridors mount.  For now that is still a guessing game.  I will do my mods when I can guarantee that I don't have to rework it 3 times to make it fit.

Well if this helps any, according to talks in many different forums, we've come to the conclusion that the cockpit details that were included by DeAgo are actaully 1:41.5 scale and kinda squeezed into the space (like stuffing a turkey) so everything in the cockpit is off.  The internal carbo bay lounge is around 1:47.3 scale... if is you want to increase the size of the interior, you're gonna have fun doing so my friend.  The cockpit should be relatively easy, but that whole interior would be a beast because everything would have to be redone and rescaled to proper dimensions to fit into the 1:43 scale of the whole ship.  I do know one thing... in building this monster, it's rapidly becoming an OCD nightmare! LOL

Things to think about... What would happen if you put a werewolf on the moon?  h is just a little chair and the human brain named itself!

  • Member since
    November 2009
  • From: SW Virginia
Posted by Gamera on Monday, March 28, 2016 11:31 AM

No idea if it's correct or not but it sure looks cool to me. 

"I dream in fire but work in clay." -Arthur Machen


  • Member since
    June 2014
  • From: New Braunfels , Texas
Posted by Tanker - Builder on Monday, March 28, 2016 5:23 PM

You want replies ?

 Well here's one .This project is something else! Firstly , based on your dialogue there's a lot that is done wrong from De Agostini or whoever they get the parts from !

 for the price , the parts that have been seen on screen should be dead on correct ! i would say that their models don't really hold a candle to Pocher in the old days .Now , if you could get that quality then there is a feather in the cap .You are doing excellent work though .Don't let my little complaint Bug you !

     Builder of Tankers ( all sizes .) would you believe 7 foot !

  • Member since
    December 2010
  • From: Memphis TN
Posted by Heavens Eagle on Saturday, April 2, 2016 2:21 AM

Hey Tanker Builder, thanks for posting!

As to the old Pocher kits, they had a lot of parts and work to them, but they also tended to have some big problems.  Currently I have 3 in my stash and one that I built many years ago.

As to this kit, I believe that the exterior is probably pretty close to what the 32inch Falcon had for detail.  As close as could be expected.  For the most part for what I have worked with it seems to fit together fairly well for what it is.

Here are some things to remember though!

  • This kit is designed mainly for people that are NOT neccessarily model builders.  It is intended for the average Joe to be able to assemble it and have a "giant" studio prop model of the Falcon.
  • The original props, the 5 footer, 32 inch, and full sized set pieces, were really not all that well detailed, nor were they all that clean.
  • The 5 footer was the model intended for the detail shots.  It was quite large and had a lot of greeblies added.  It also was a bit rough around the edges.  It had a number of holes in the edge areas for handle to be inserted to it could be handled.  The holes do not have plugs.
  • The 32 inch prop (which the DeAg kit is modeled after) was intended for the fast fly-by acrobatic shots that were in the ESB.  Later it was used as the basis for the CGI models, and so became the "more accurate" model.

As to the faults with this kit, they are mostly with the interior.  Most likely it was almost an afterthought and in my opinion are marginal.   For the non modeller though I am sure that the interior is considered quite nice.   I guess that I would be considered a rivet counter in some circles, though I am not as bad as some folks.

The way I am looking at this kit (for me) is that as a large model it deserves and needs as much quality detail as I can "reasonably" give it.  As I actually like the shape of the 32inch Falcon better than that of the 5 footer, comes as a plus.  As the external detail is supposedly a reasonably close match to the 32 inch prop, says that a lot of work was done to get it correct for what it represents which is the 32 inch prop.

However.

As it is a model that does not go zip across the screen but is static that people can give the close hairy-eyeball, I want it to have more of the "extra" detail that the 5 foot model has.  If there is a reasonable representation of that detail I will leave it.  If there are really noticeable differences, I will add or modify it to fill the bill.  If all I wanted was a model of the movie prop, it would be an out of box build.  What I want is something that folks can take a quick look, go "WOW", and then look even closer and still go "WOW".

This build is a mix of (hopefully) the best parts of all the iterations of the Millennium Falcon with some special things that I intend to add which should take it over the top.

Whew!

Ok, now for some more pics.
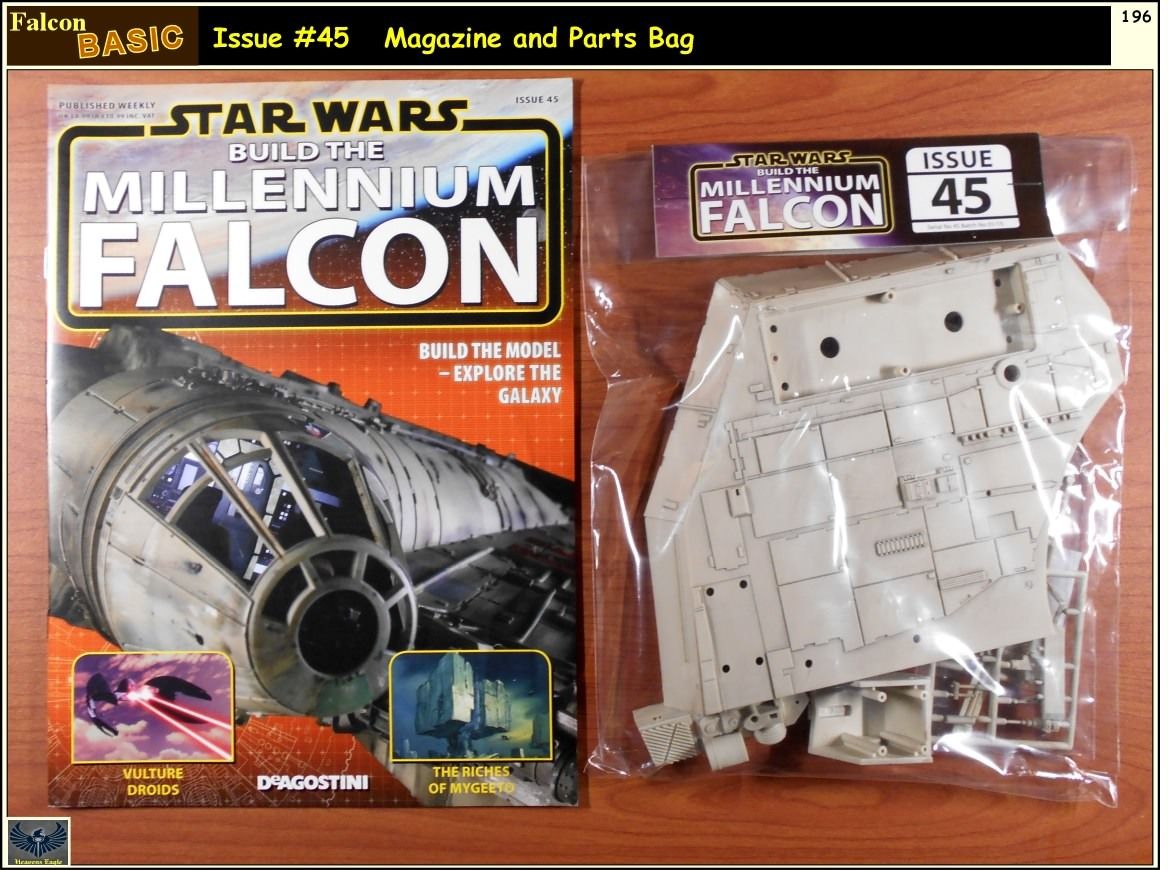
 

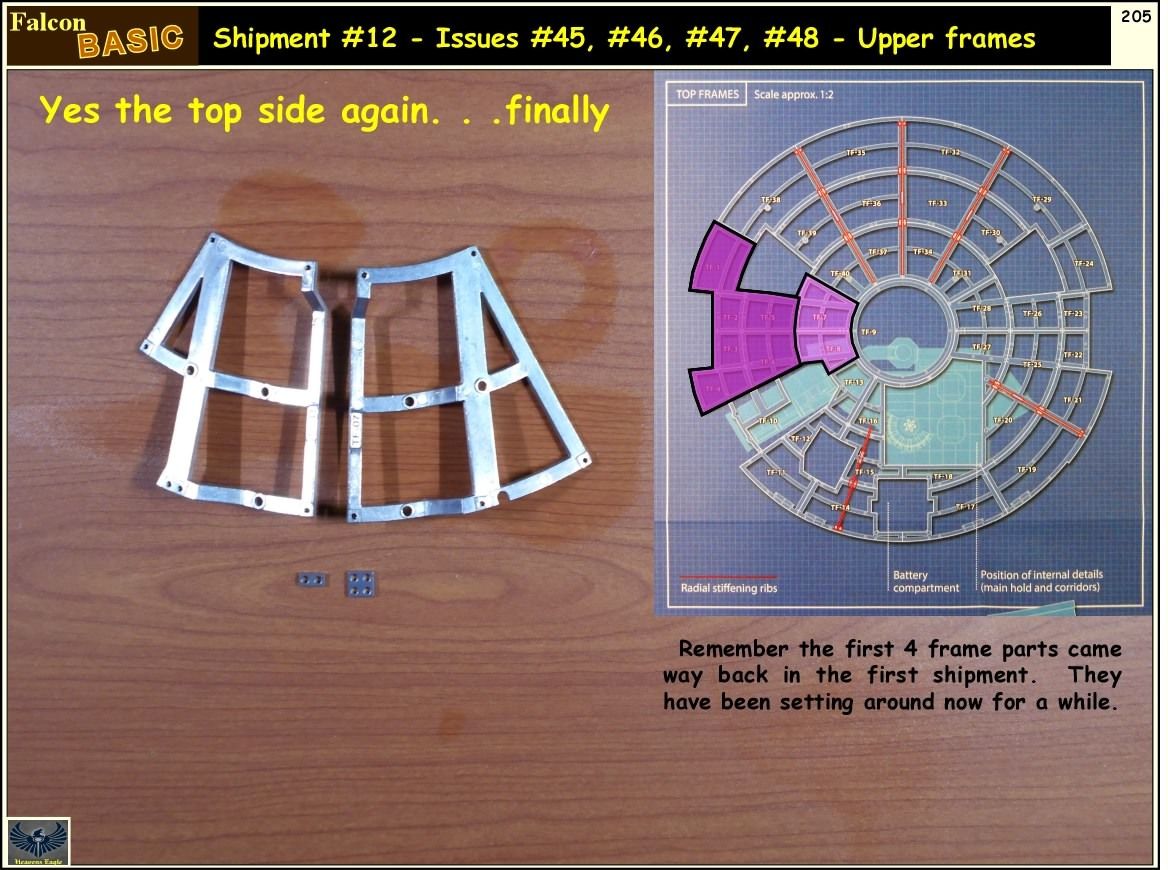
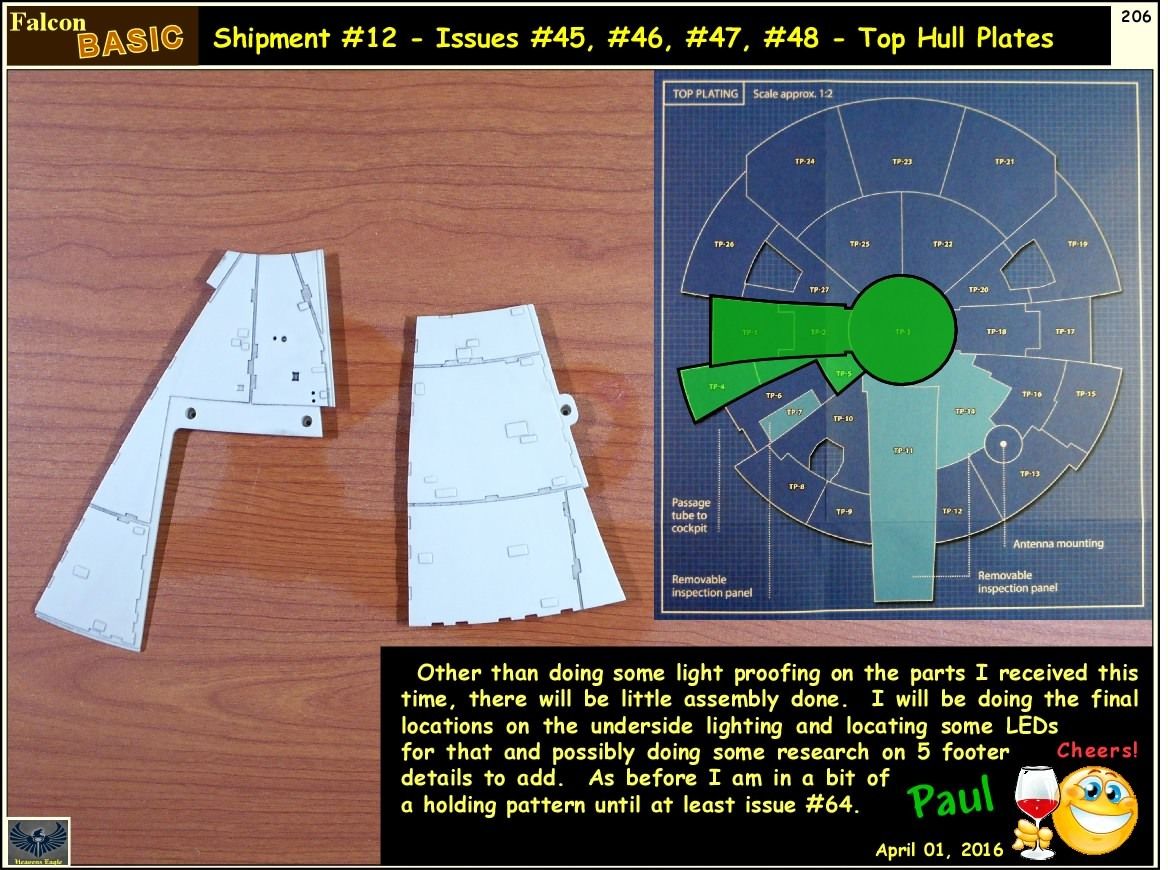
As always comments and questions are most welcome.  Enjoy!

  • Member since
    April 2015
Posted by LrdSatyr8 on Monday, April 4, 2016 7:32 AM

Hey bro.... you're slowly catchin up to me! :)  Oh... both the 5 footer and 32" had mounting holes... 4-5 of them if I'm not mistaken, but the holes were also covered so you couldn't see them and only uncovered when that hole was used for mounting.  If I'm not mistaken, the holes were located on the bottom turret, both sides (where the docking hatches are), the rear engine panel and between the mandibles (but I could be wrong on that last one).

Things to think about... What would happen if you put a werewolf on the moon?  h is just a little chair and the human brain named itself!

  • Member since
    December 2010
  • From: Memphis TN
Posted by Heavens Eagle on Monday, April 4, 2016 11:35 AM

Those are not the holes I am referring to Jim.  These were small holes 5/16 of an inch or so in dia and drilled around the sides of the model.  Small handles could be inserted so that several people could carry and handle it without damaging the other greeblies.  

BTW, did you ever find that drawing of the hold wall you were looking for?

  • Member since
    April 2015
Posted by LrdSatyr8 on Monday, April 4, 2016 1:01 PM
I never heard of those holes... would have to investigate that a bit more. Not yet... still looking!

Things to think about... What would happen if you put a werewolf on the moon?  h is just a little chair and the human brain named itself!

  • Member since
    December 2010
  • From: Memphis TN
Posted by Heavens Eagle on Saturday, May 14, 2016 10:31 PM

I missed getting this out for Star Wars day  (May the 4th be with you)  

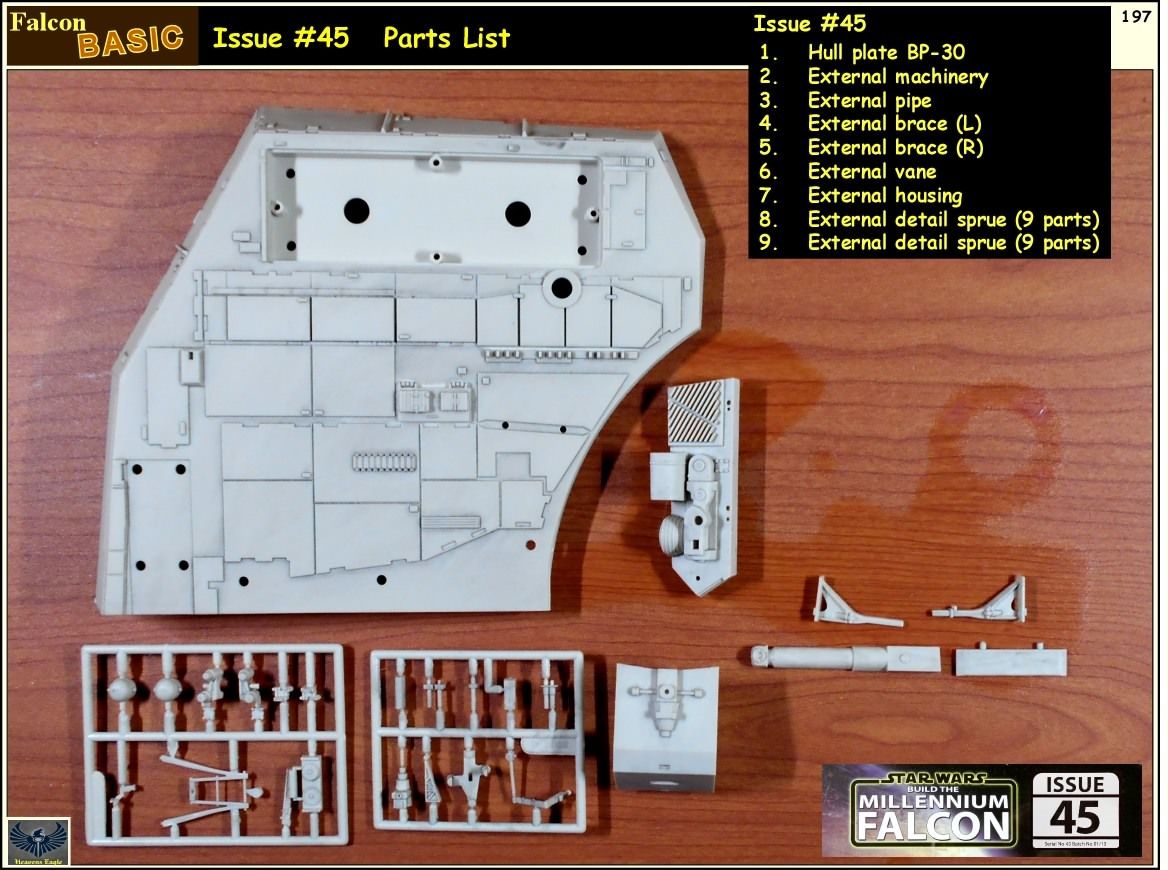
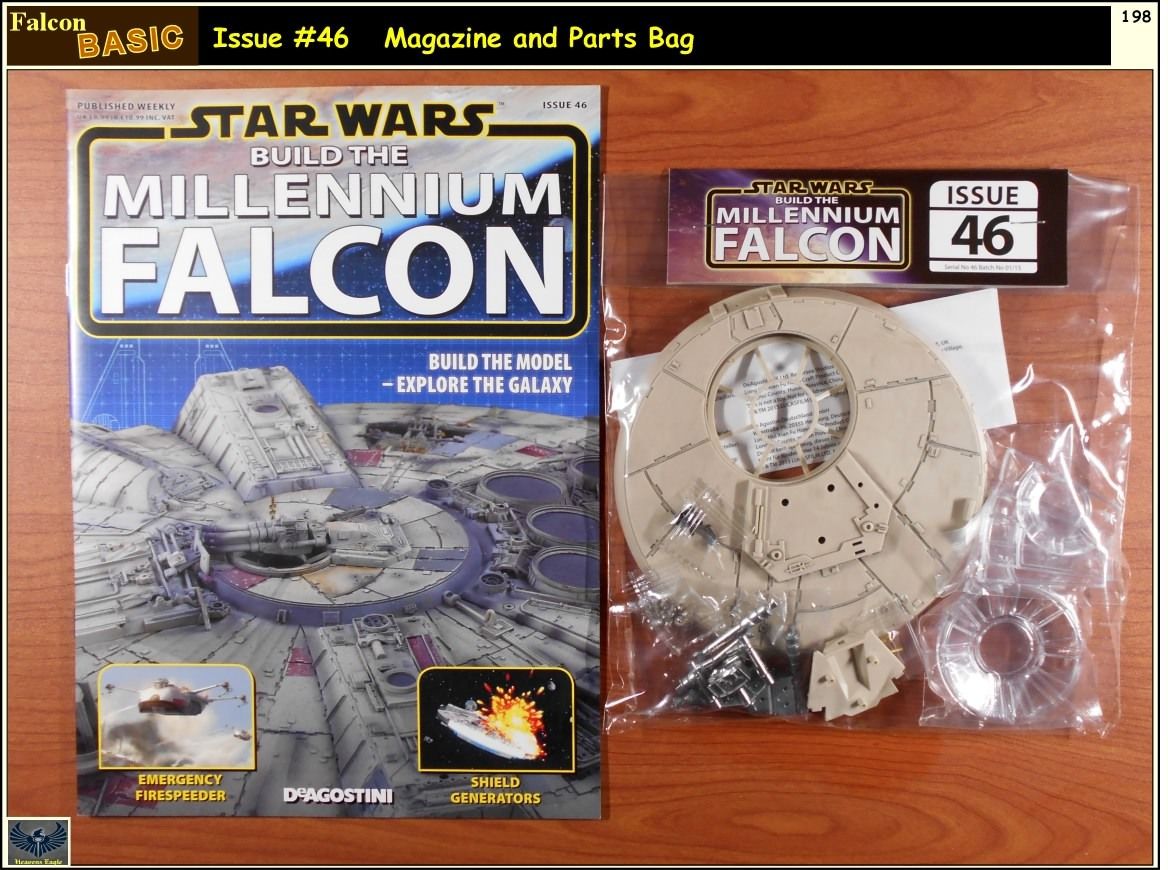
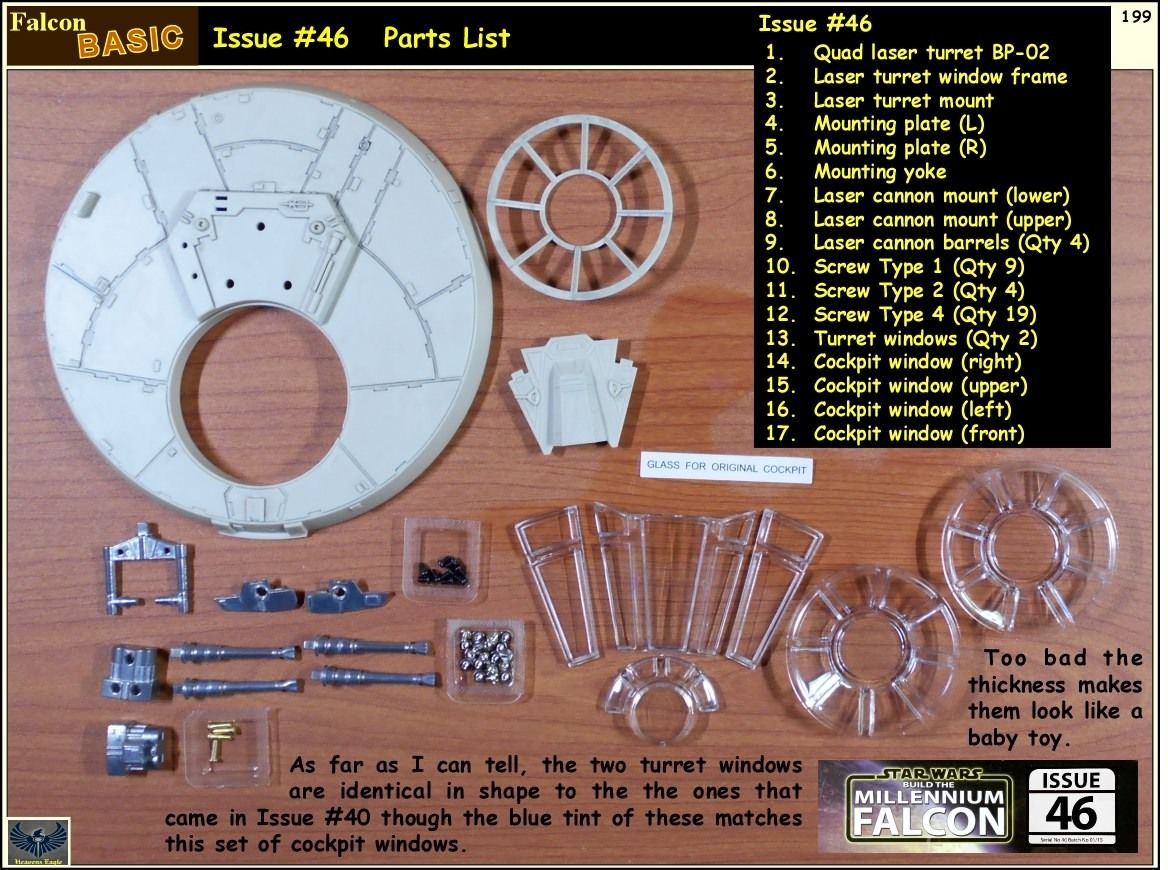
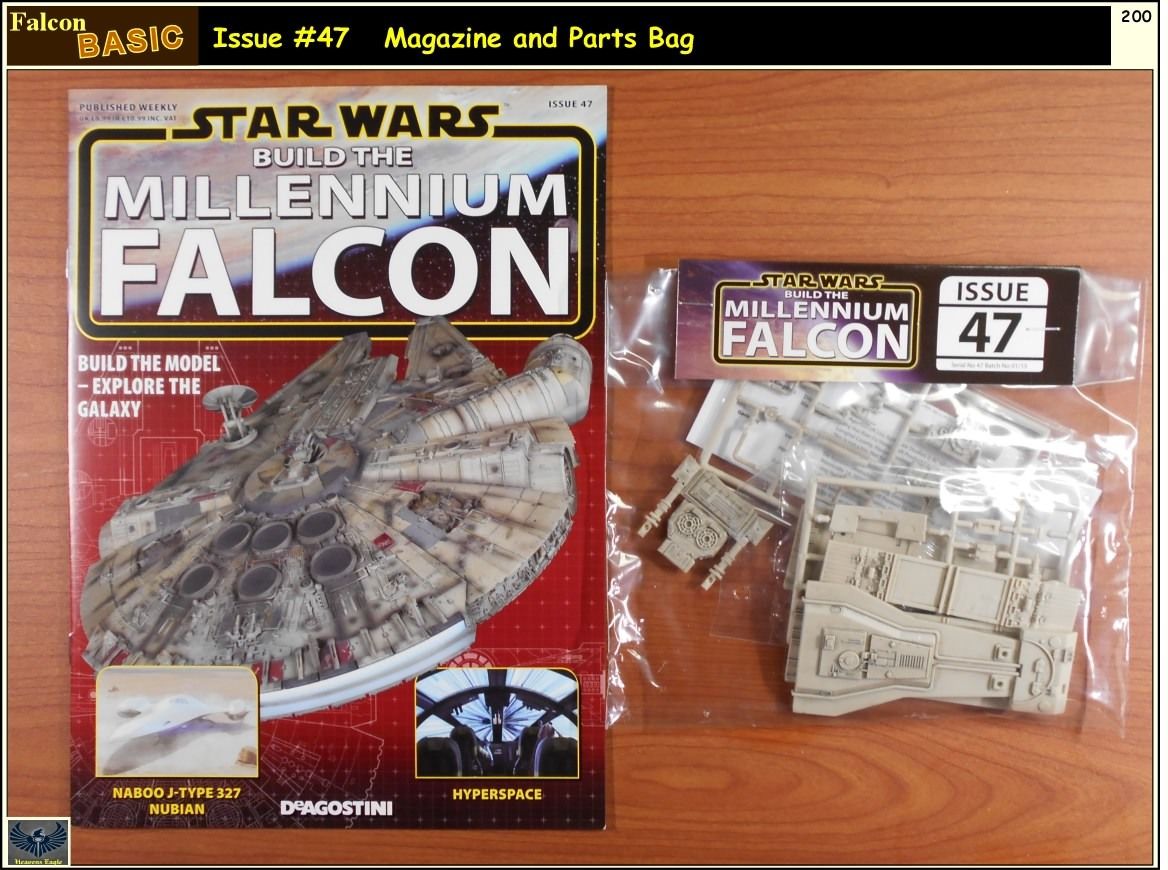
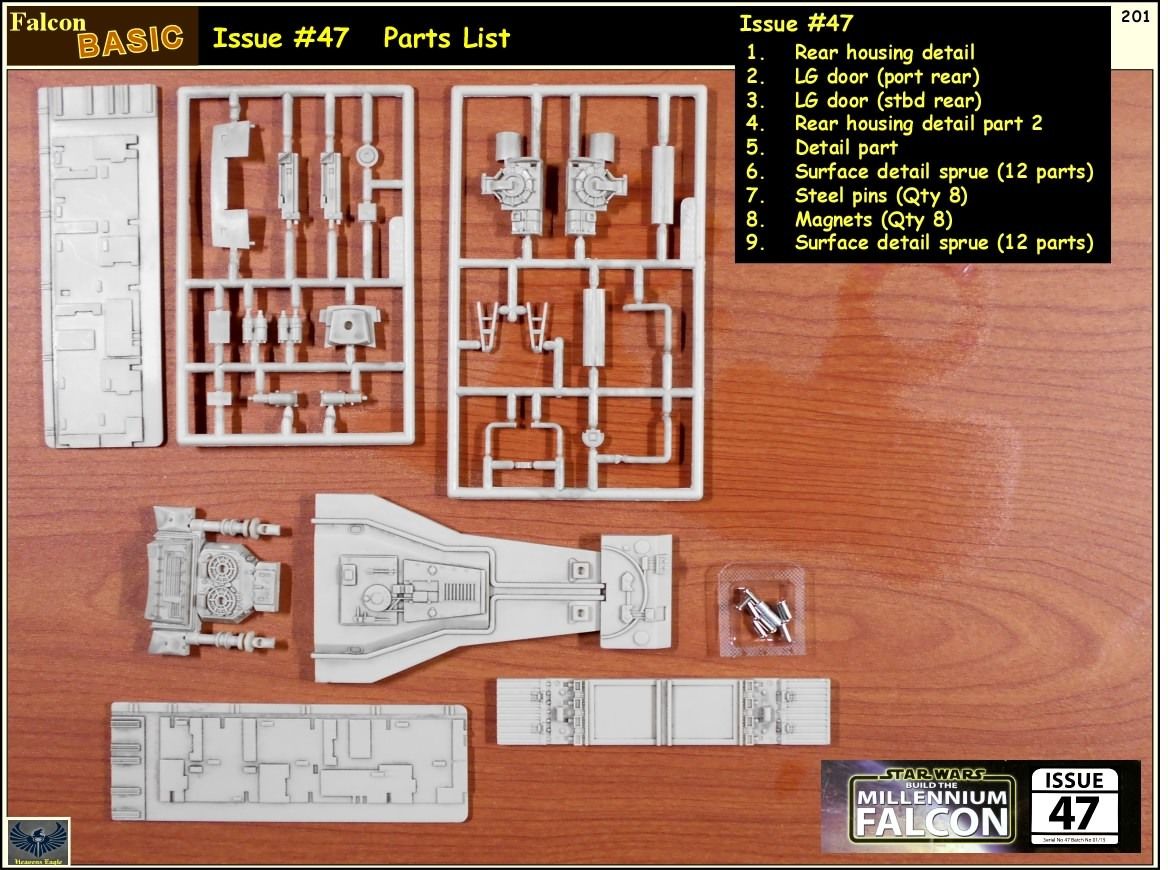
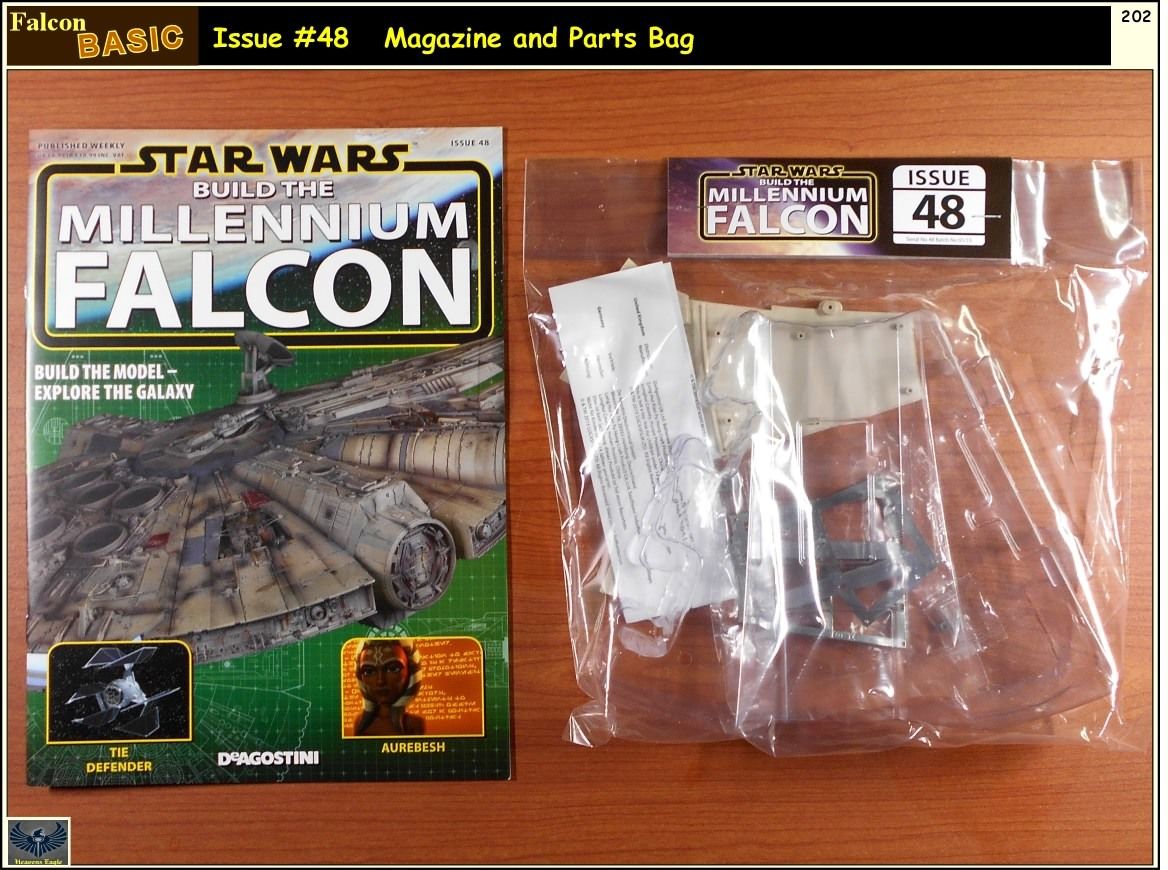
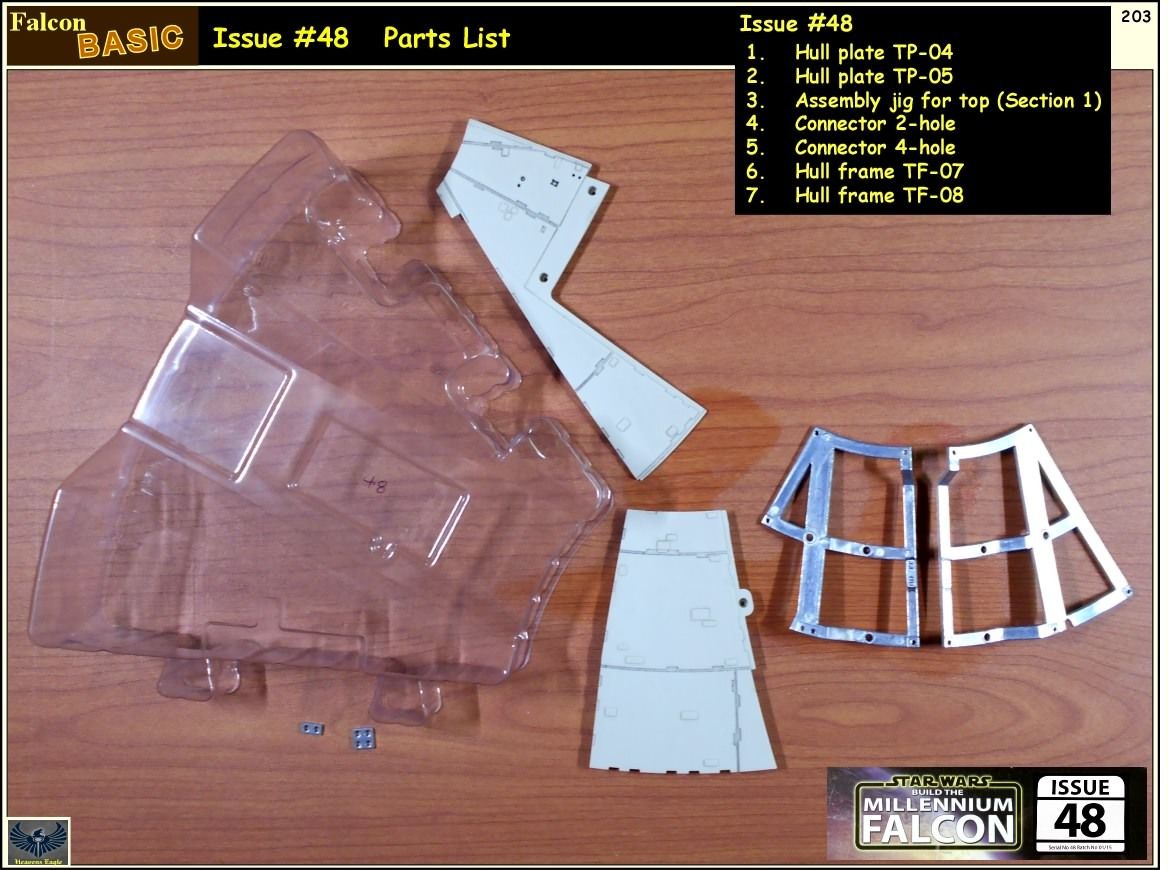
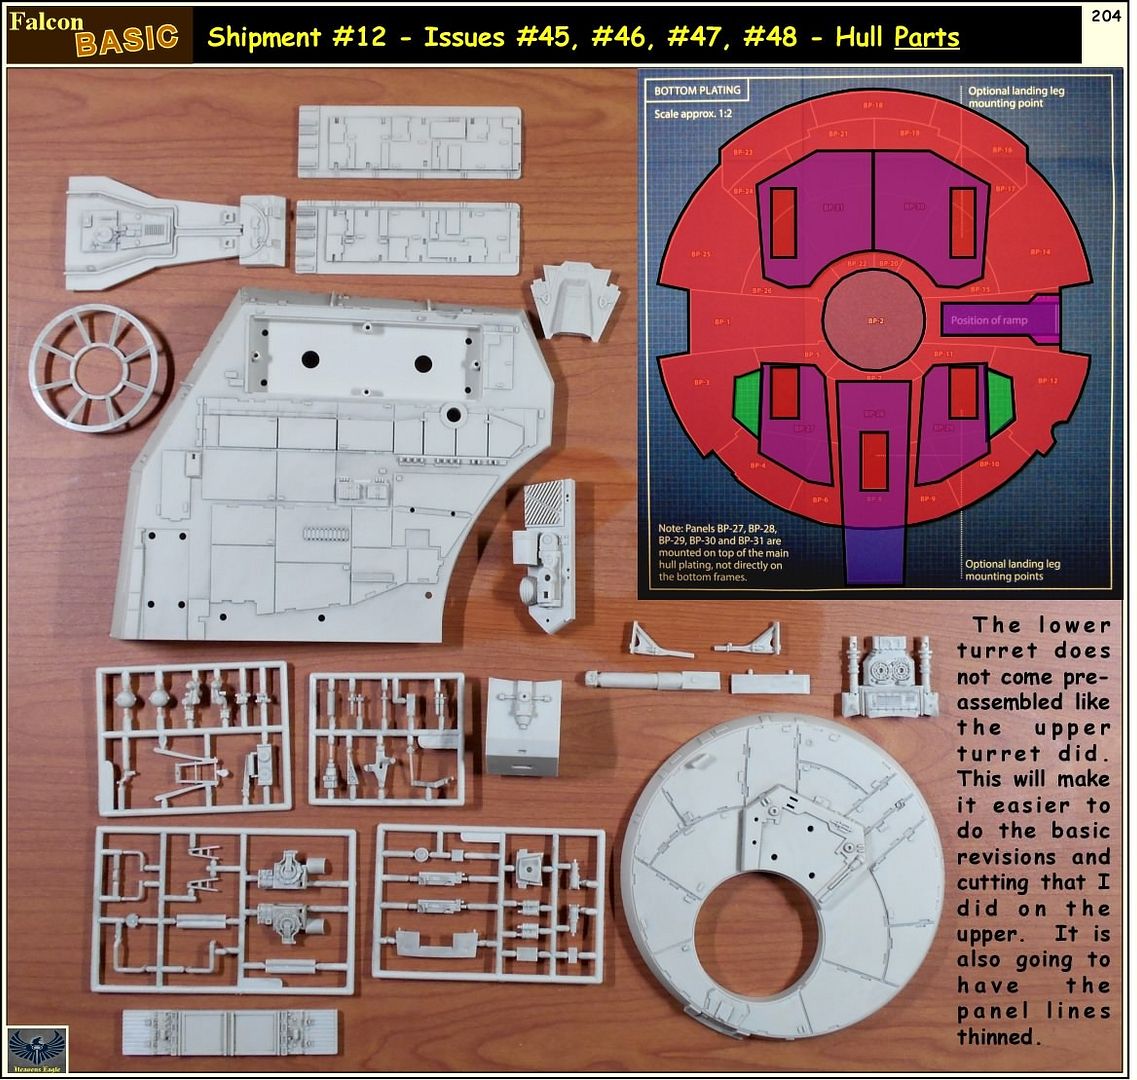
This is another Basic installment, but it has some extra goodies that I am sure some of you will find interesting.


To Be Continued...

  • Member since
    December 2010
  • From: Memphis TN
Posted by Heavens Eagle on Saturday, May 14, 2016 10:48 PM

Here is some more meaty stuff.


I had to order the Magazine tabs online as no one carried them.  WalMart said they had them but just totally FUBAR'd the order.  Cancelled and ordered from (I believe it was) Kingman office supply which turned out being here in the Memphis area.   Three weeks from (screw it up) WalMart and it never shipped, 2 days from Amazon.    Duh, go figure.  (and it was cheaper)

Here is the Amazon address for these Rubbermaid strips as linking doesn't work on this forum, just copy/paste it to your browser.  

http://www.amazon.com/Rubbermaid-3-Hole-Plastic-Magazine-Holder/dp/B00007M9IU


  • Member since
    September 2006
  • From: Central Texas
Posted by NucMedTech on Sunday, May 15, 2016 7:20 AM

Well, my first time jumping in on this thread and now I am sorry I did. Now I want to subscribe but can't afford to plus the "war dept." Would catch me in a blitz! Lol. Seriously, though that is, for lack of a better term, some excellent work. I don't know what I like better, the mods you are doing or the tools you are using to make them. Keep up the great work and the updates!

-Stephen

Most barriers to your successes are man made. And most often you are the man who made them. -Frank Tyger

  • Member since
    December 2010
  • From: Memphis TN
Posted by Heavens Eagle on Sunday, May 15, 2016 10:59 AM

NucMedTech

Well, my first time jumping in on this thread and now I am sorry I did. Now I want to subscribe but can't afford to plus the "war dept." Would catch me in a blitz! Lol. Seriously, though that is, for lack of a better term, some excellent work. I don't know what I like better, the mods you are doing or the tools you are using to make them. Keep up the great work and the updates!

-Stephen

I understand Stephen, I had to think about it a while before I actually dove in.  If you look at the overall price of the model it is way too intimidating.  As it is a subscription, it actually lessens the hit by a long way.

Here is how I justified it:

  1. I really wanted to do a large Falcon and this had huge possibilities to enhance.
  2. While the overall cost is a lot the monthly cost is actually $61 (got the $1 shipping)  I spend more than that on lunch, sometimes in a couple of weeks.  Cut back and I don't even notice the charge.
  3. Gives me a monthly boost to do something with it.  In some cases I have held back on purpose, in others I am planning so many major changes that without the parts I can't even plan the mods.
  4. This is kind of the biggie.  There have been a number of Falcon pro builds over the years and in my opinion most were only average.  The best example is the Master Replicas Falcons that originally were for sale at about $800.  The prices through the production period slowly raised to I believe about $2500 at the end.  Those replicas which are the same size as this kit now go for $5-10k on ebay.  Doesn't mean these will go for anything like that, but when they go out of production those that want one will be chomping at the bit.

All you will have to do then is build a coffee table to house it.  That is what I plan to do eventually though a large multi level display case could end up in the works as well.  I have other really large kits I want to build.

Cost wise though I don't even notice the monthly charge and I am really enjoying the build on this.  Beats the heck out of going to a casino or 3 or 4 movies a month.

  • Member since
    November 2009
  • From: SW Virginia
Posted by Gamera on Tuesday, May 17, 2016 7:04 PM

Great to see her keep rolling along! Yes\

I suppose I could afford one but as a casual SW fan I can't see spending that much money. I'm having enough fun just following along here, thanks again for letting us tag along for the ride.

"I dream in fire but work in clay." -Arthur Machen


  • Member since
    April 2015
Posted by LrdSatyr8 on Tuesday, June 14, 2016 3:11 PM

Heavens Eagle

I had to order the Magazine tabs online as no one carried them.  WalMart said they had them but just totally FUBAR'd the order.  Cancelled and ordered from (I believe it was) Kingman office supply which turned out being here in the Memphis area.   Three weeks from (screw it up) WalMart and it never shipped, 2 days from Amazon.    Duh, go figure.  (and it was cheaper)

I looked in Walmart for awhile to find those strips and then DeAgo finally got the binders in stock and I ordered 4 of them.  Frankly I'm glad I did.  I was up to issue 64 and have 65-68 coming this week.  I was able to fill 3 binders and started a 4th.  Only thing I have to do now it create some labels for them 1-20, 21-40, 41-60, 61-80, and 81-100 and place them on my shelf when done.  Would have been really nice if they had done like a mural with the binder backs so that when the binders were filled and on the shelf it looked really cool! :)  I spent most of last night putting the mags in the binders.  FINALLY now I don't have to keep them all in boxes and go hunting for the issue I need!

Things to think about... What would happen if you put a werewolf on the moon?  h is just a little chair and the human brain named itself!

JOIN OUR COMMUNITY!

Our community is FREE to join. To participate you must either login or register for an account.

SEARCH FORUMS
FREE NEWSLETTER
By signing up you may also receive reader surveys and occasional special offers. We do not sell, rent or trade our email lists. View our Privacy Policy.