SEARCH FINESCALE.COM

Enter keywords or a search phrase below:

Zaku II 1/144 (HG Bandai)

1407 views
5 replies
1 rating 2 rating 3 rating 4 rating 5 rating
  • Member since
    June 2009
Zaku II 1/144 (HG Bandai)
Posted by kit556 on Wednesday, June 3, 2009 12:28 AM
= Zaku II 1/144  (HG Bandai)
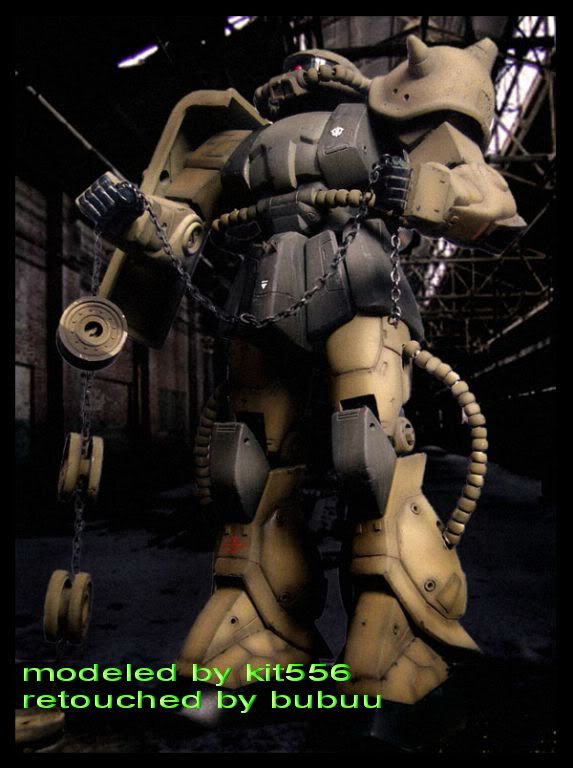


Hello everybody ,this is my first time on this site. I started gunpla modeling for a year and now I need some comment for my finished model from gunpla expertise. My native language is not English ,please forgive for my gramatic mistake. :-)

I bought this Zaku II model from local department store near my home last 5 years. It was bundle with RX79G ,two model in on box. I am nearly therw away this model after It was painted with serveral layer for my practice. Lucky, I decide in the last minute to revive this model. 

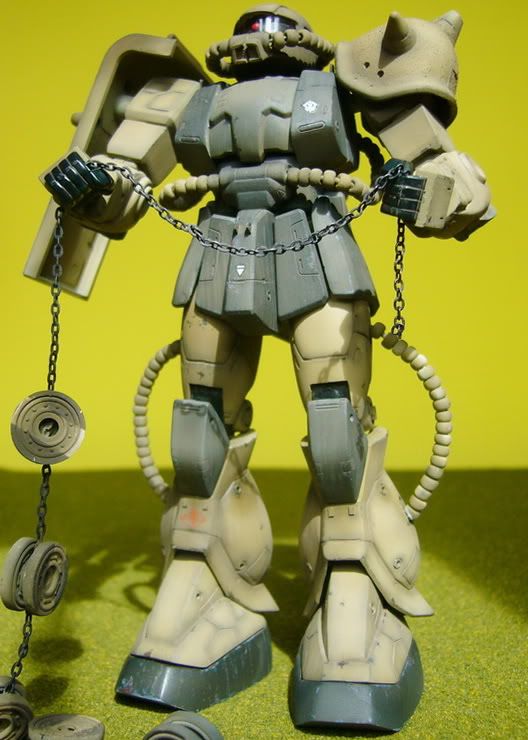
Color scheme is inspired from last month hobby japan cover ,painted and weathered in military-look which is my favourite way.

--------------------
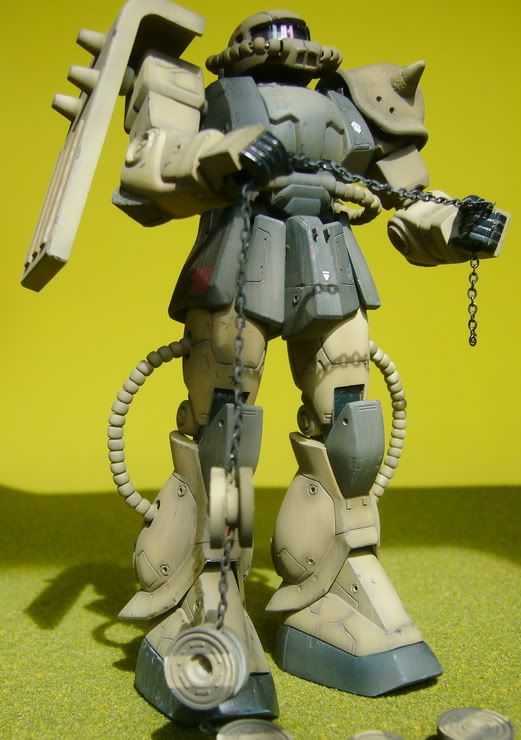
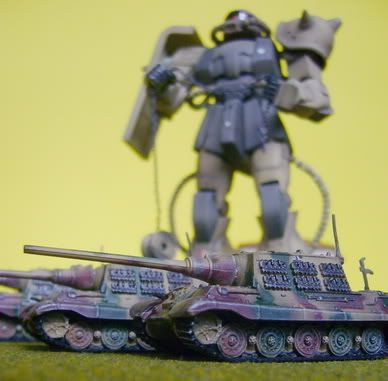
Front view with little tilt-up for human-view like. Magnetic chain-mine is modified from panzer wheels. :-)
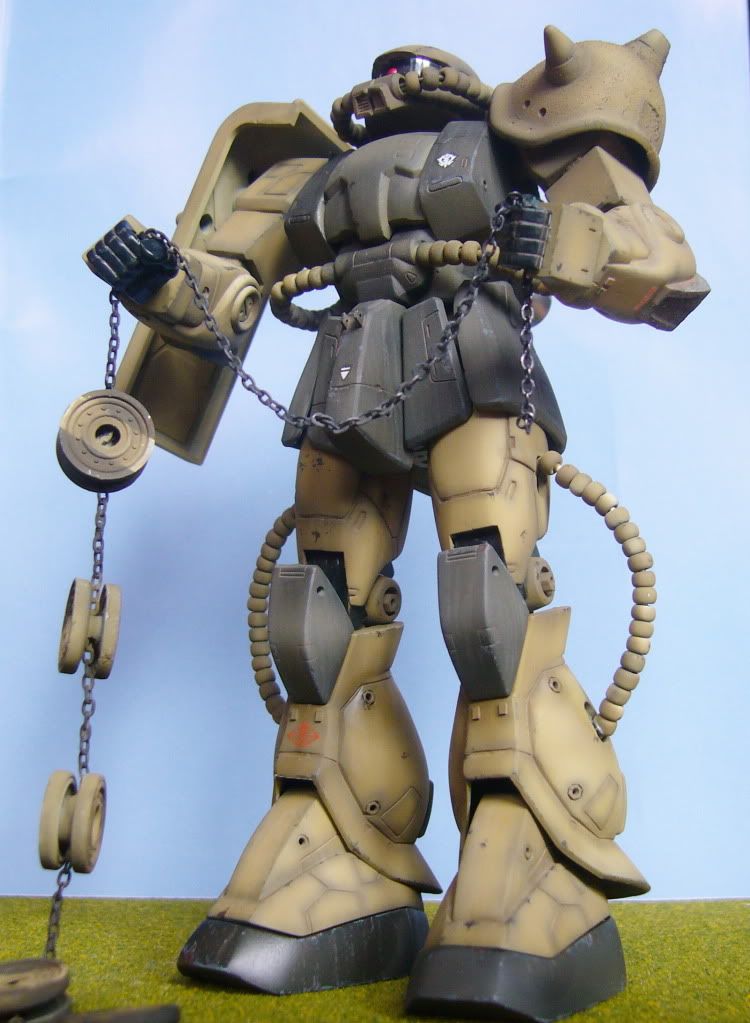


with N-scale model


gorilla-like view. :-)


oblique views


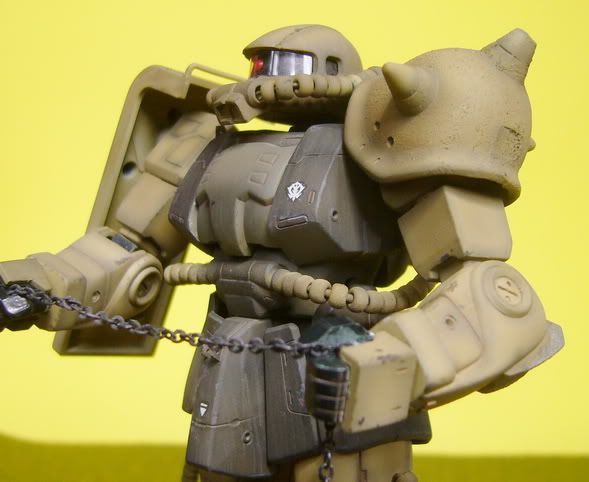
Thruster is painted with gunze-silver color, other parts was painted and finished with flat lacquer.
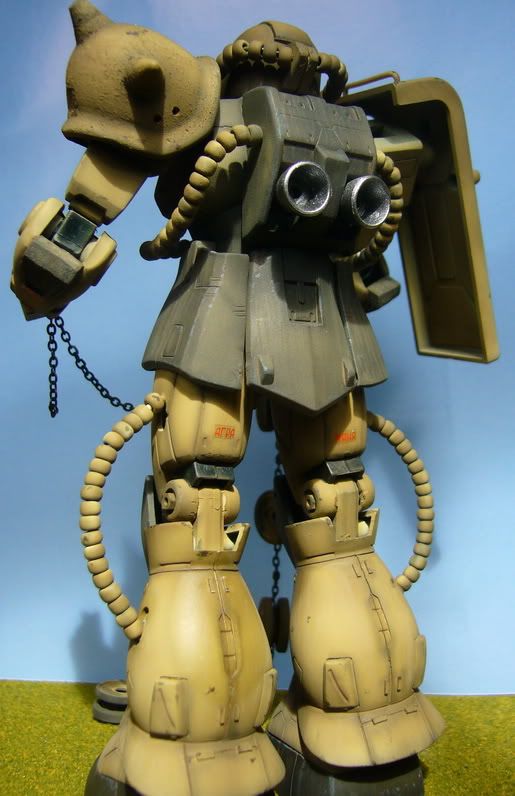
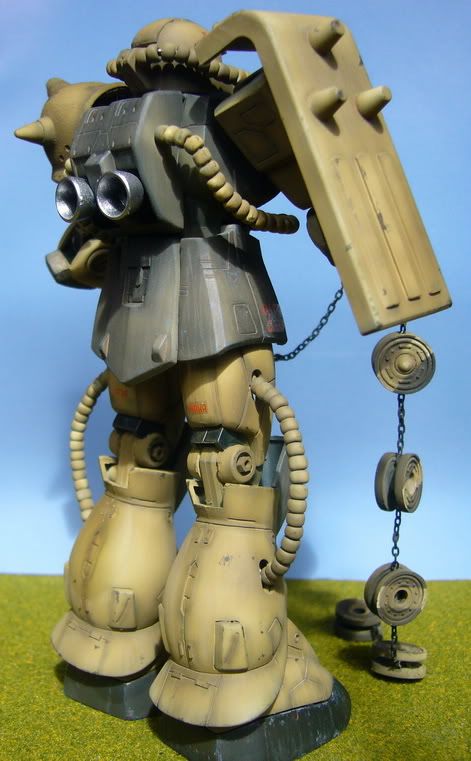


Power-pipeline was modified by ornament bead.
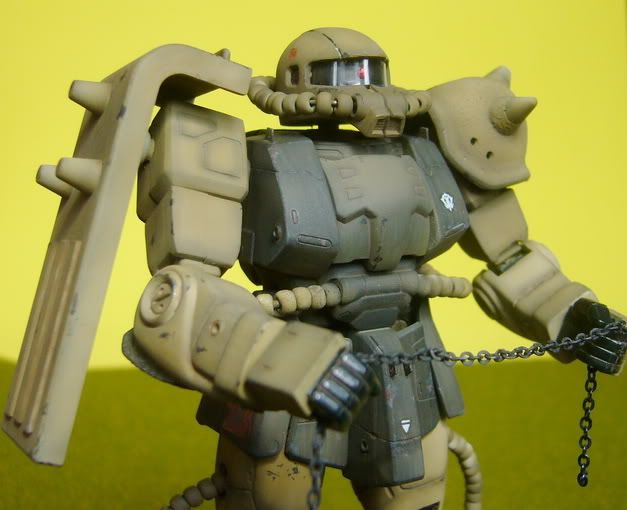


Last picture ,every criticism are very precise for me. I will try my improvement with every comment.


+++++++++++++++++++++++++++++++++++++
my work process

= modification and detailing
Power pipeline was applied from bead ,eye from peg and cover with trasparent plastic sheet (cut from mom-birthday cake box).


Arms and legs was detailed up with round nut ,hexagon nut and some little plaplate.
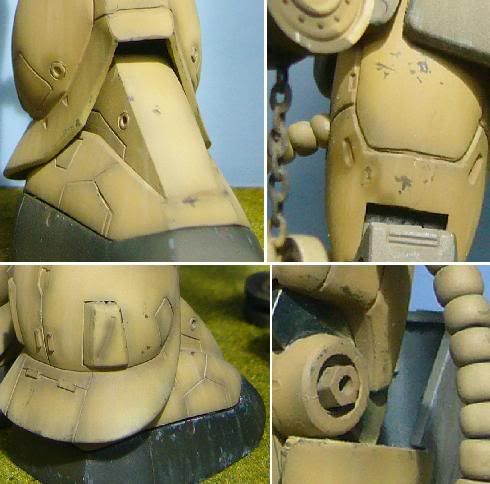

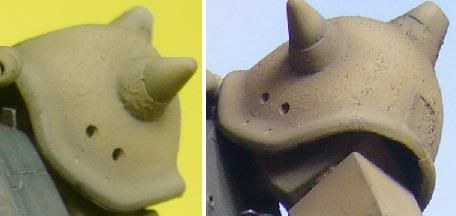
Shoulder shield was textured with tamiya putty.


= priming with spray can plastic primer

= preshading

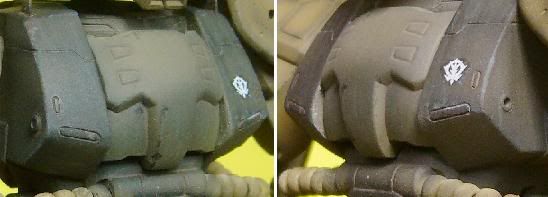
Preshading along panel line ,deeper area with 0.2 mm. needle airbrush ,thinned with extra amount of thinner than usual and low pressure air flow.


= base color

Light green area was painted with Olive drab ,Dark green with Russain green (with little black) and joint part with german grey.
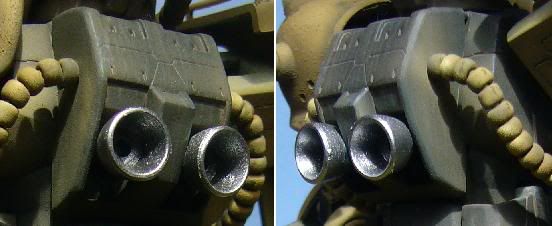


= rain mark

Fading in vertical line for mimic rain mark was done by 95% thinned Tamiy acrylic color brush for serveral random thick straight line.
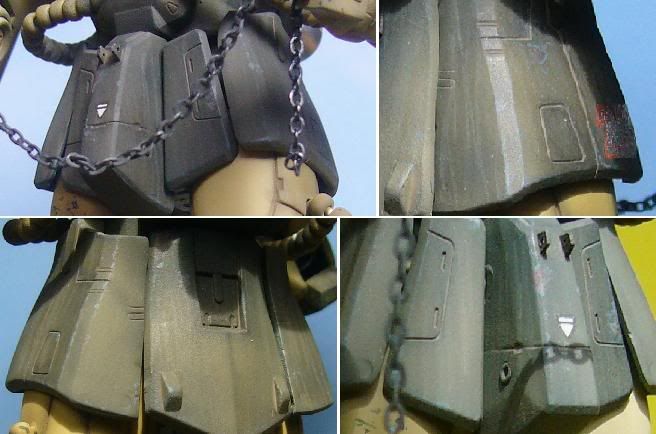


= wash with red brown and chip with redbrown and grey Enamel


Thank-you for your attentive! Any comments ,pro or con ,are very worthy to me.
  • Member since
    October 2008
  • From: italy
Posted by bsyamato on Thursday, June 4, 2009 1:11 PM

Hi to you!

The painting and the mods are very good but the seam in the middle head is not so good.I have the same box ( rx-79g and this... the rx is very useless but the zaku's panel lining are great), the zaku was finished and putted in a diorama with sone n-scale figures. 

keep on building! Big Smile [:D]

  • Member since
    March 2006
Posted by TD4438 on Thursday, June 4, 2009 6:46 PM
Looks awesome dude!

  • Member since
    April 2008
  • From: Philadelphia PA
Posted by smeagol the vile on Friday, June 5, 2009 1:52 AM

The painting is very nice, I like the texturing, but the seam on the head is just absolutley horrible man, you need to fix that.

As far as the tank road wheel turned to mines, you really need to do some modifications to them to make them look like mines, ANYONE who looks at those will know there road wheels.


  • Member since
    February 2008
  • From: Schaumburg, IL
Posted by SkullGundam on Friday, June 5, 2009 9:41 PM
Thanks for makin me feel like an idiot STV.  I knew they weren't mines, but I couldn't figure out what they were.  When you guys are talking about the seam on the head, do you mean the part that comes up so you can swivel the eye?  Cause I always wondered if you were supposed to leave that flap alone seal it down when you positioned the eye? 

If at first you do succeed, try to hide your astonishment.

Join the Club and Swap Books for Free! - PaperBackSwap.com

  • Member since
    April 2008
  • From: Philadelphia PA
Posted by smeagol the vile on Friday, June 5, 2009 9:46 PM
The part on the top of the head is suoposto be there, its an access hatch to get to the camera and internals.  look at the 'nose' piece, there is a nasty gap.


JOIN OUR COMMUNITY!

Our community is FREE to join. To participate you must either login or register for an account.

SEARCH FORUMS
FREE NEWSLETTER
By signing up you may also receive reader surveys and occasional special offers. We do not sell, rent or trade our email lists. View our Privacy Policy.