I am normally an aircraft modeler, not a war gamer. But when I saw this kit I had to build it! I knew it would present some great weathering opportunities. My idea was to build the model using elements of aircraft modeling--that is, this model is intended for static display and not use in gaming.
The kit is from Citadel/Games Workshop. It is not a typical aircraft kit, as the plastic is very thick, which gives the model the ruggedness needed to withstand game play. The kit features great molded-in detail and the fit is fantastic; the fit is probably better than most high-quality aircraft kits.
The design of this aircraft is not realistic, as many parts and configurations don't make sense. But because this is basically science fiction genre, I put those concerns aside and decided to just have fun.
As with most aircraft kits, assembly started with the cockpit. This kit's cockpit is the biggest disappointment. It has almost zero detail. It only includes a pitiful excuse for an instrument panel. For aircraft modelers, this is not cool. We like lots of cockpit detail and we like to show it off with an open canopy.
Here are the kit cockpit parts.
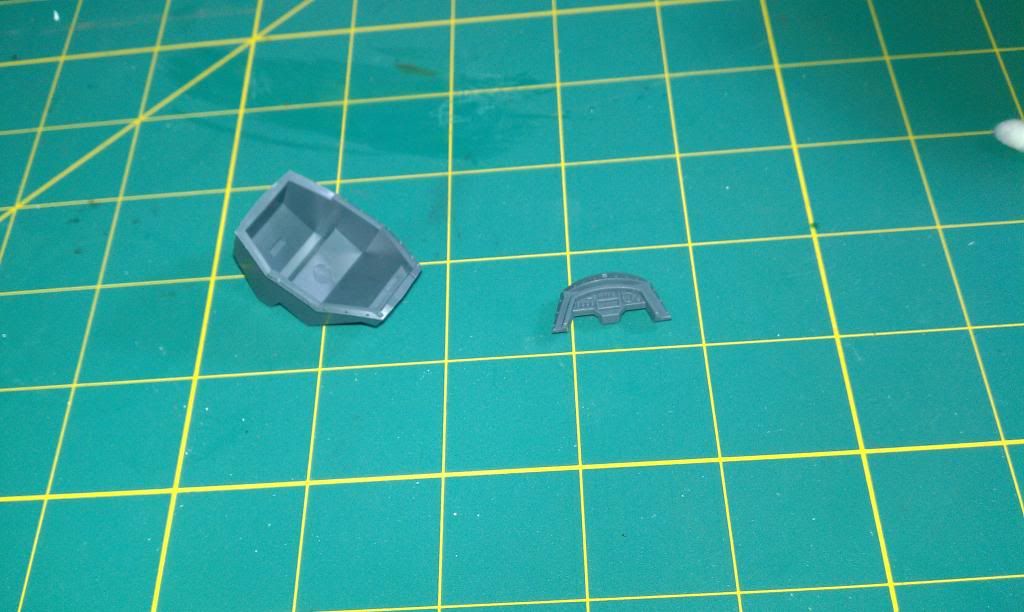
As you can see, the tub on the left has zero detail, and the thing on the right is supposed to be an instrument panel. I decided to add detail with a spare 1/48 scale resin spitfire cockpit, seen here
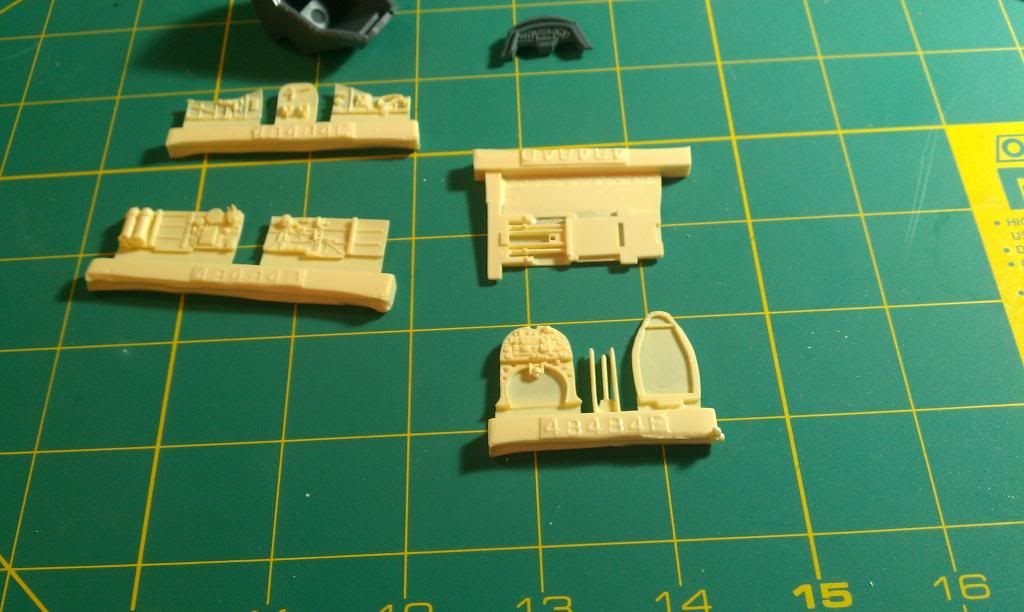
There was not enough room in the kit for all of these parts, so modifications were going to be necessary.

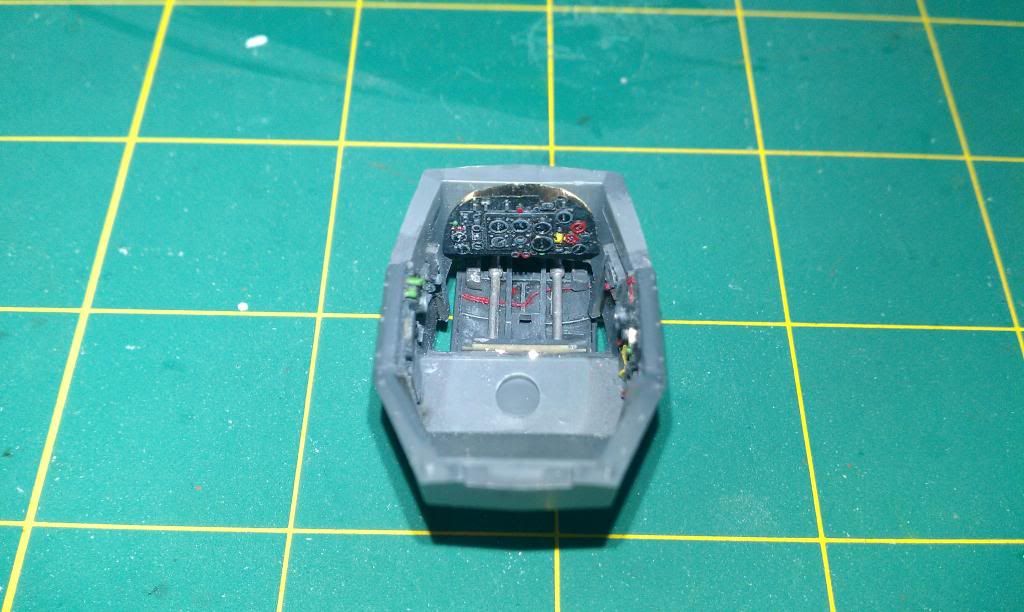
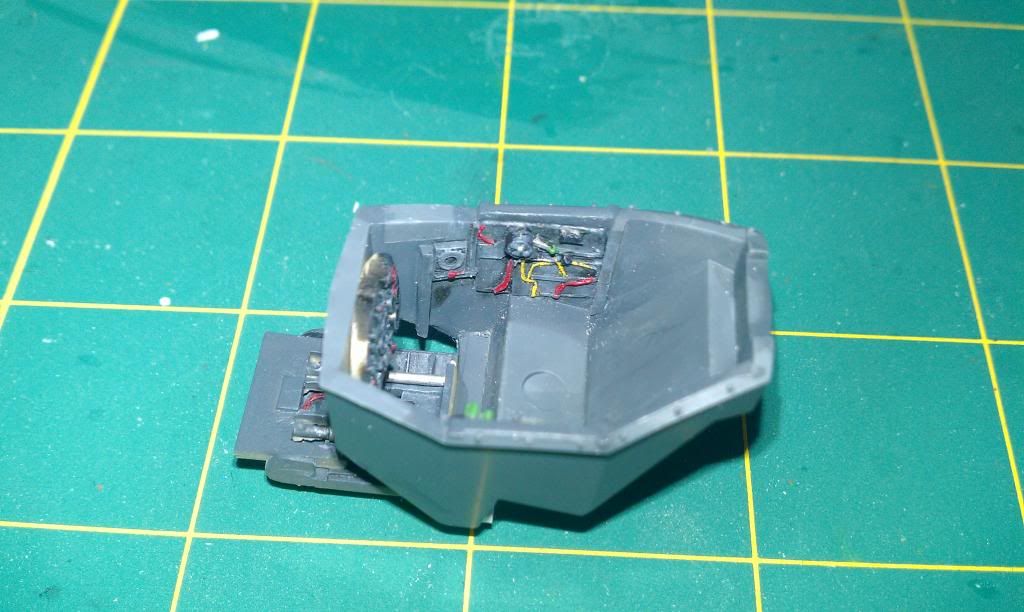
As seen above (top) I cut out the bottom of the cockpit tub to make more room, and I removed the instruments from the instrument panel. I also had to cut the resin sidewall pieces in half to get them to fit, and I had to remove a bit from the top and sides of the spitfire instrument panel. I also glued the spitfire "floor" to the cockpit to add further detail. Here is what it looked like after painting.
Now I needed a seat for the pilot. The kit seat was molded with the Ork pilot as one piece. Since I don't do figures, let alone Ork figures, this will have to be replaced. I pulled out a spare seat from a Revell 1/48 scale Mig 25. Here are the two parts side-by-side.
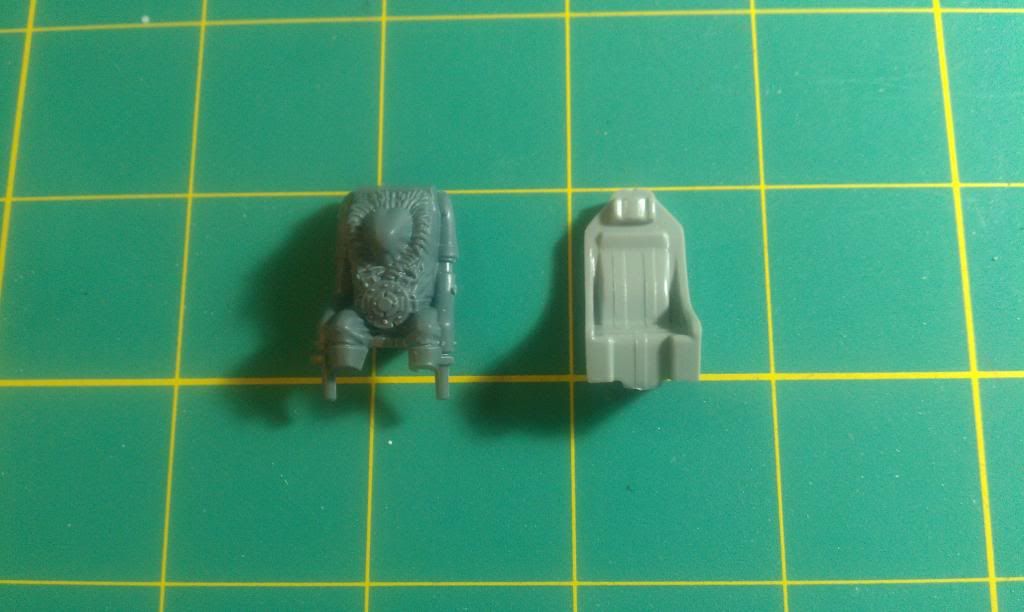
The Mig seat was a perfect fit. But before I glued it in, I painted it and added some scratch-built seat harnesses.
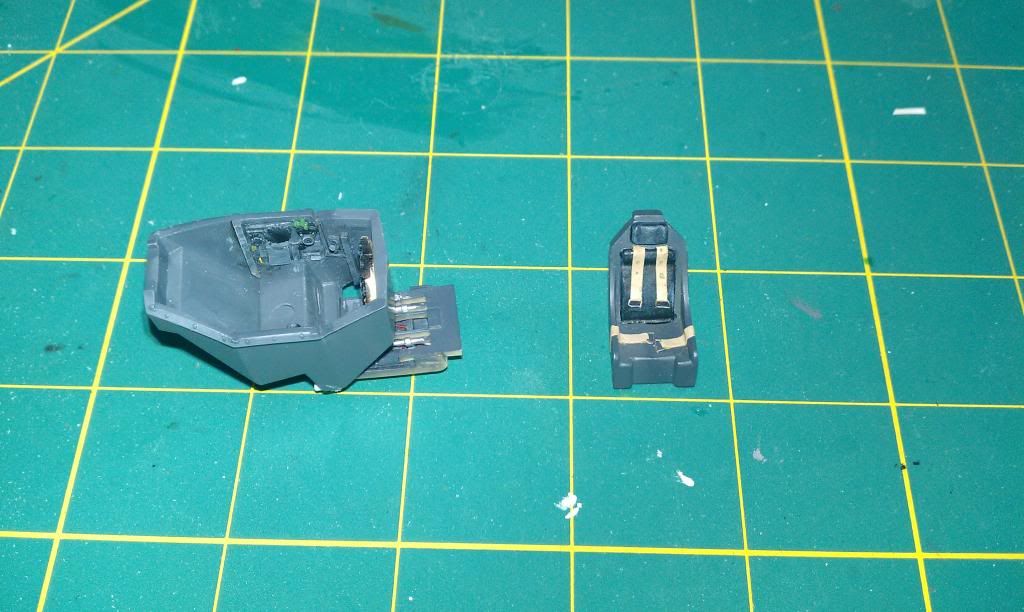
And the completed cockpit.
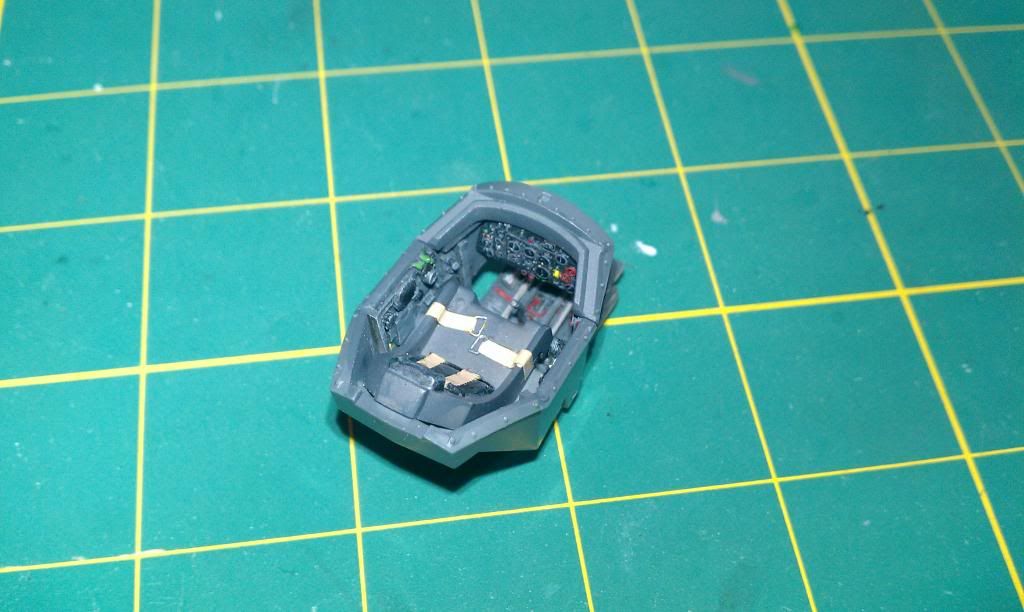
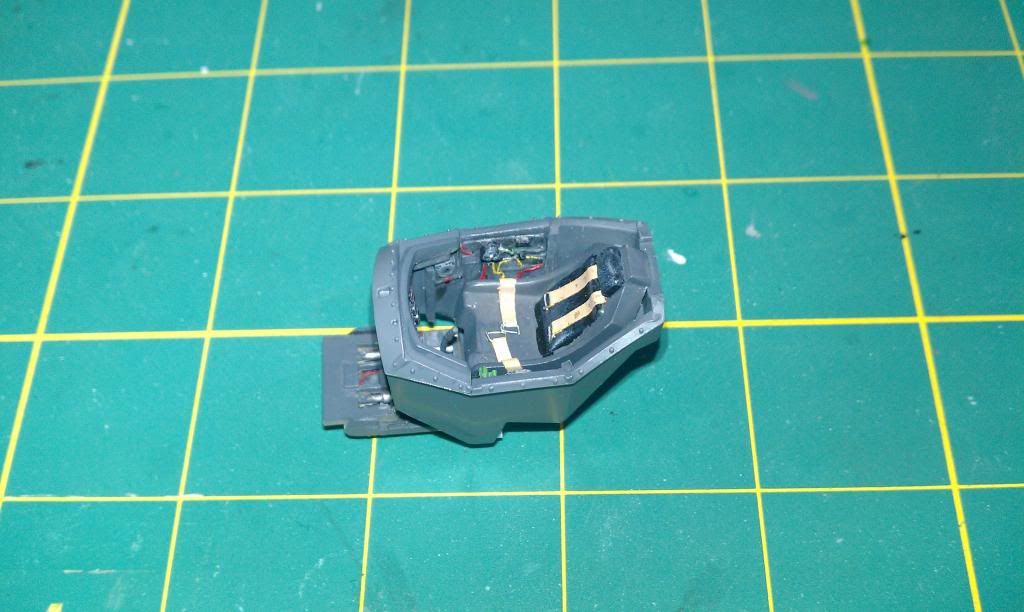
Once the cockpit was done, it was time to assemble the fuselage. But first, I had to paint and weather the front "grill." Since the grill has to be glued in between the fuselage halves, I thought it would be easier to paint it before I glued the fuselage together.
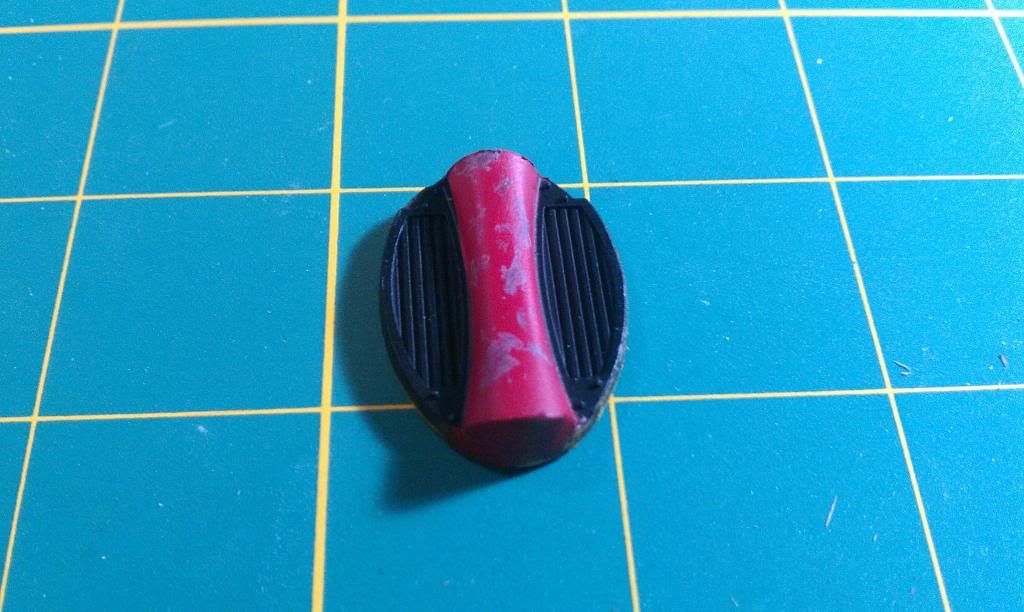
The chipped paint effect was done with colored pencils. The picture above was taken before the piece was complete; I neglected to take another picture after I finished the weathering.
The major assembly of the fuselage, wings, and tail was straightforward. Because the kit is so well engineered, filling and sanding seams was easy. At least it should have been, but I messed up a bit on the the attachment point of the wings and horizontal stabilizer. When sanding these points, I made the fit worse because I have a tendency to "rock" the parts when sanding. This resulted in a rounded mating surface and consequent gaps. Filling and sanding these gaps was a pain because they were adjacent to molded in detail, which I didn't want to sand off. I learned my lesson.
After major assembly was complete, I primed the model with Alclad II White prime and microfiller. It's a great product. It has great adhesion and helps reveal construction flaws such as minute gaps. It actually helps fill in small gaps and scratches, too.
From the beginning, I had planned on using the hairspray technique to chip the bomber's red paint. The first step was to paint the entire model in the color I wanted to show through the paint chips. In this case, I coated the entire model with Tamiya NATO Black. Following this, I applied Tamiya NATO Brown in a deliberately uneven coat. Here is the result.
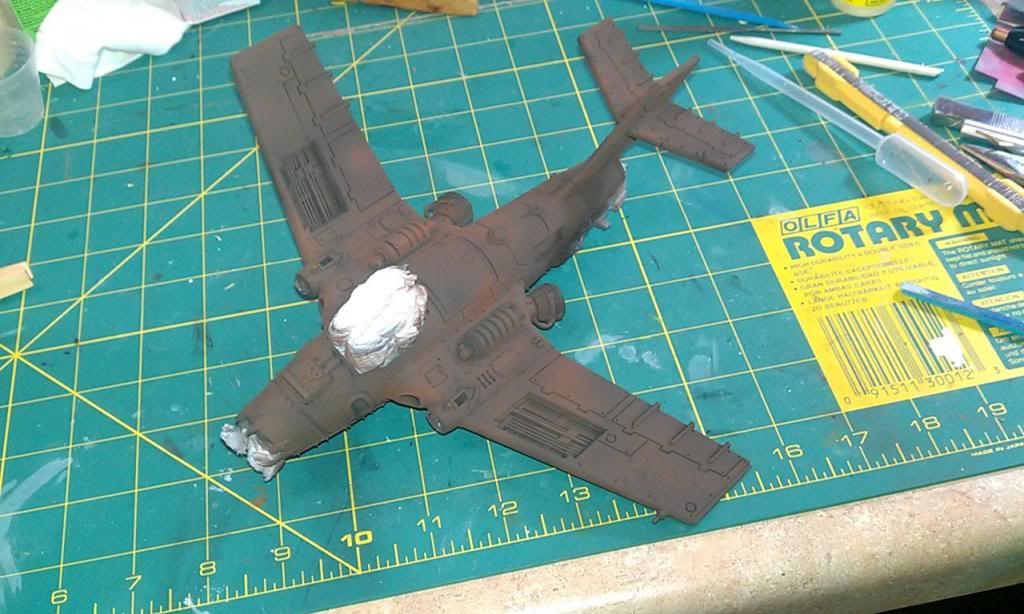
After this layer cured, I covered the entire model with Tresemme hairspray with extra hold. Once that hairspray was dry, I painted the model in the base red color (a slightly darkened Tamiya flat red).
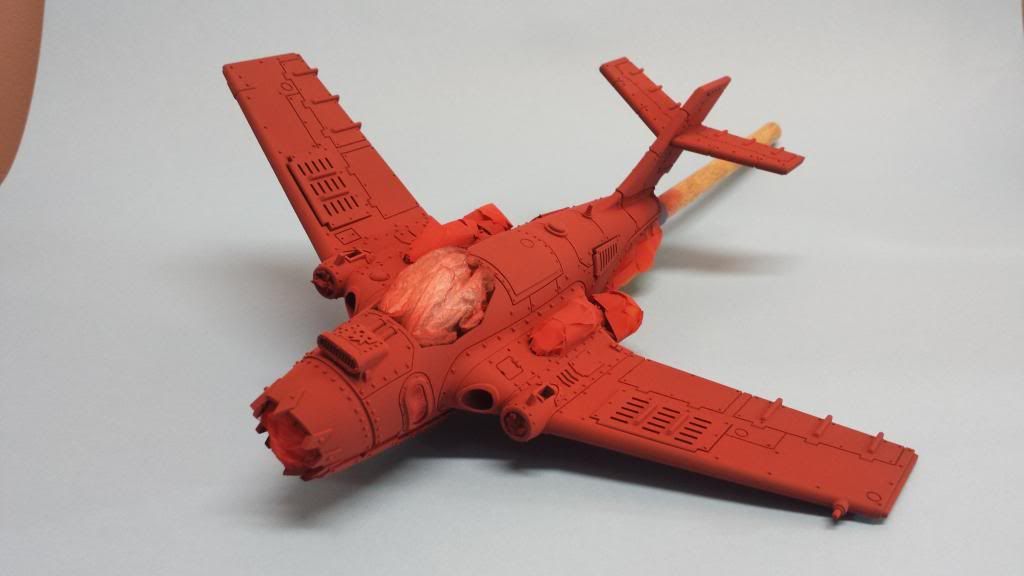
Now came the fun part. To chip the paint, I wet the surface with water, working a section at a time. After the water had several seconds to dissolve the hairspray, I chipped off the red paint with several objects, such as a paintbrush, toothbrush, and various pointy things like toothpicks. Here is the model after chipping was complete.
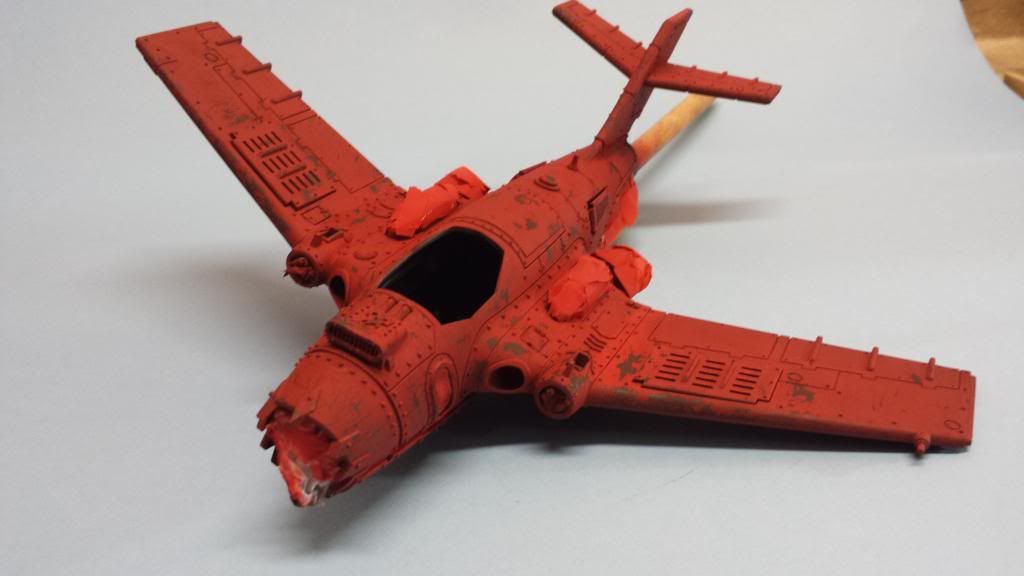
I was very liberal with the chipping; I was going for a "junk yard jet" kind of look. I followed the chipping with a coat of Model Master Acryl clear flat. I then applied a pin wash and filters.
I didn't take any more pictures until the model was complete. I applied various weathering techniques inspired by Mike Rinaldi's Tank Art series. I did some fading and streaking with artist oil paints. Some parts were rusted with AK Interactive's rust paint set. I added some exhaust and gunpowder stains with ground artist pastels, fixed with AK Interactive's pigment fixer. Underneath I applied some spattered and dried mud. For the dried mud, I used Liquitex's resin sand and more ground artist pastels. The spattered mud was pastels fixed with Humbrol's decal fix.
Here are pictures of the completed model.
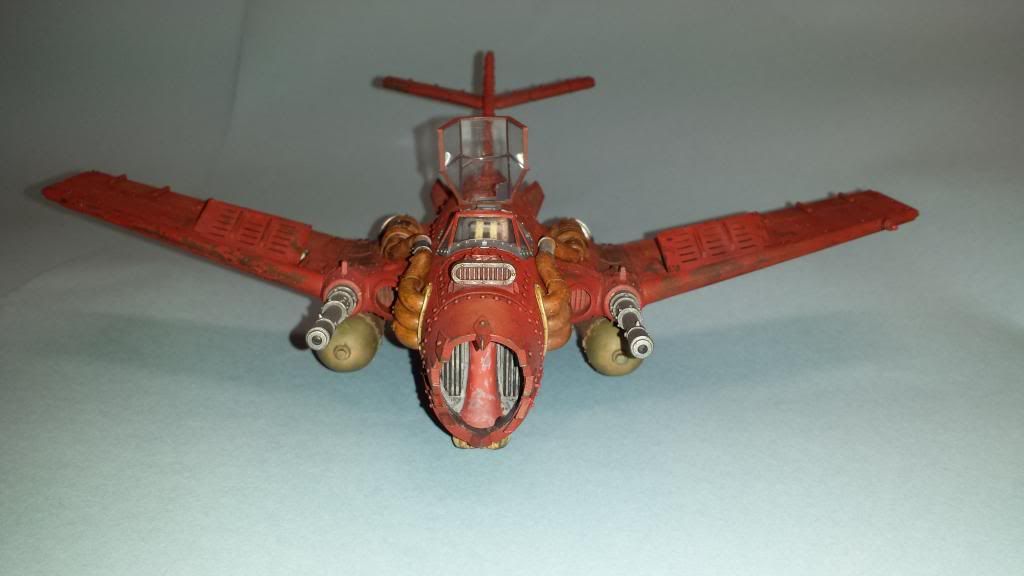
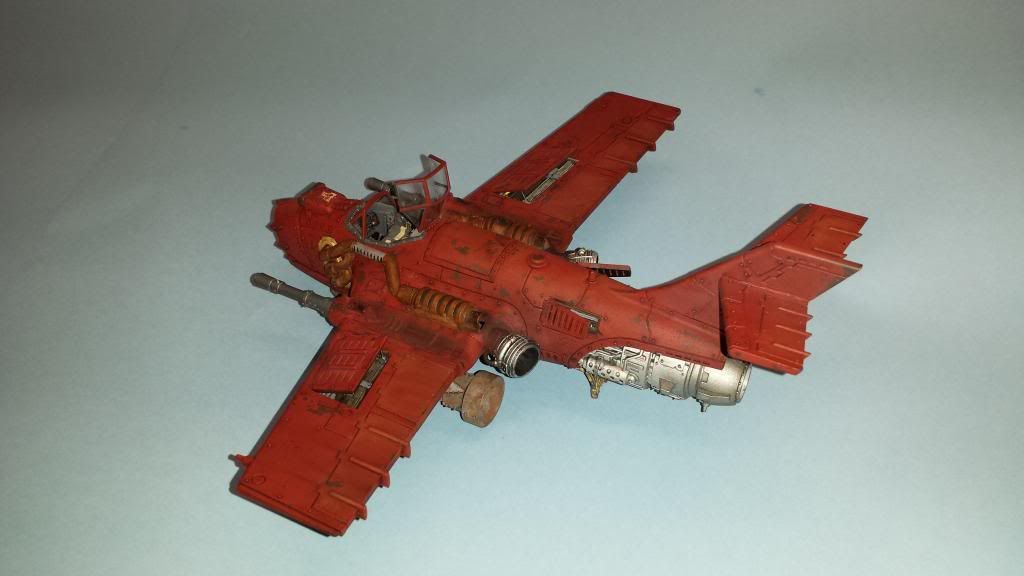
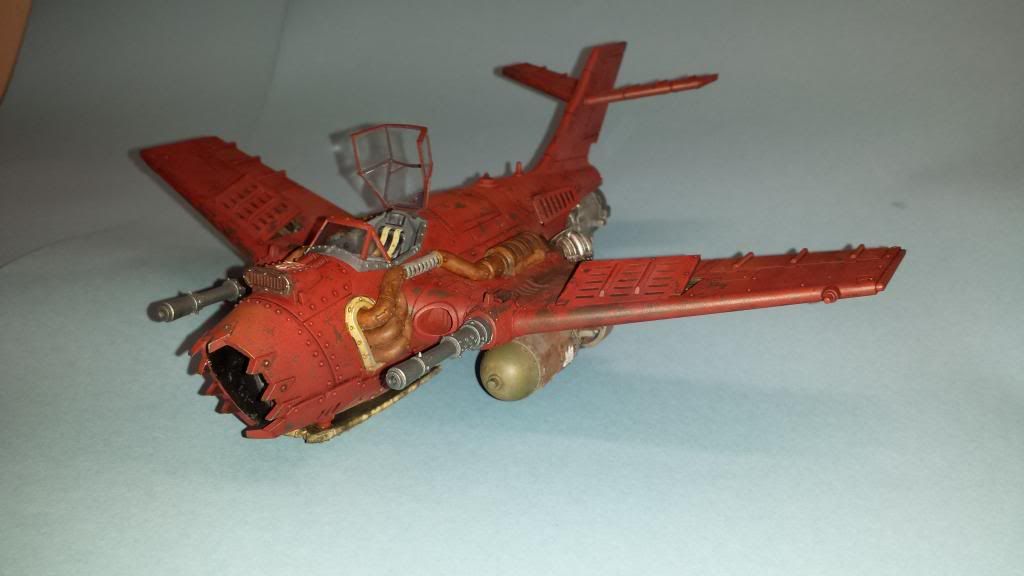
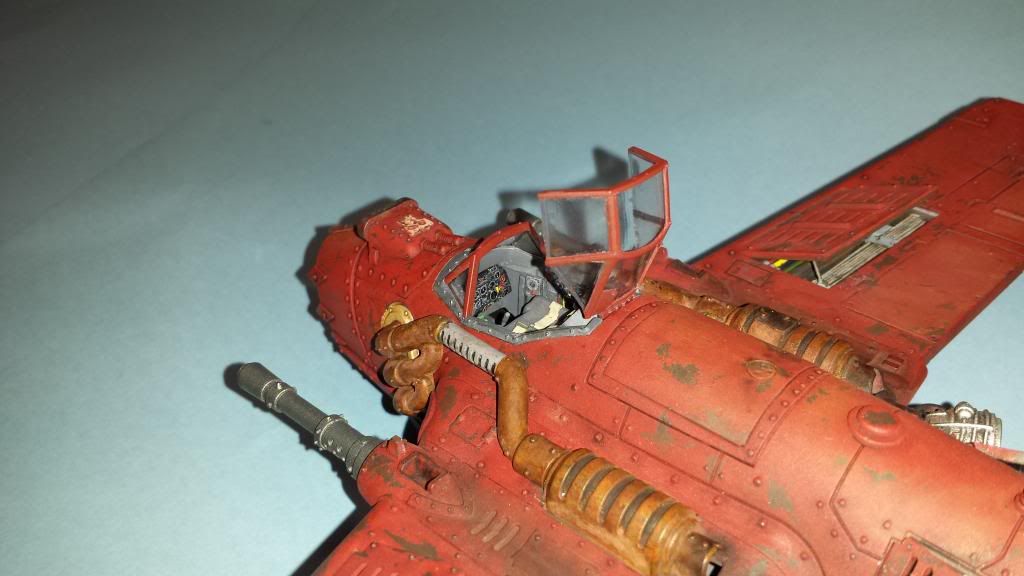
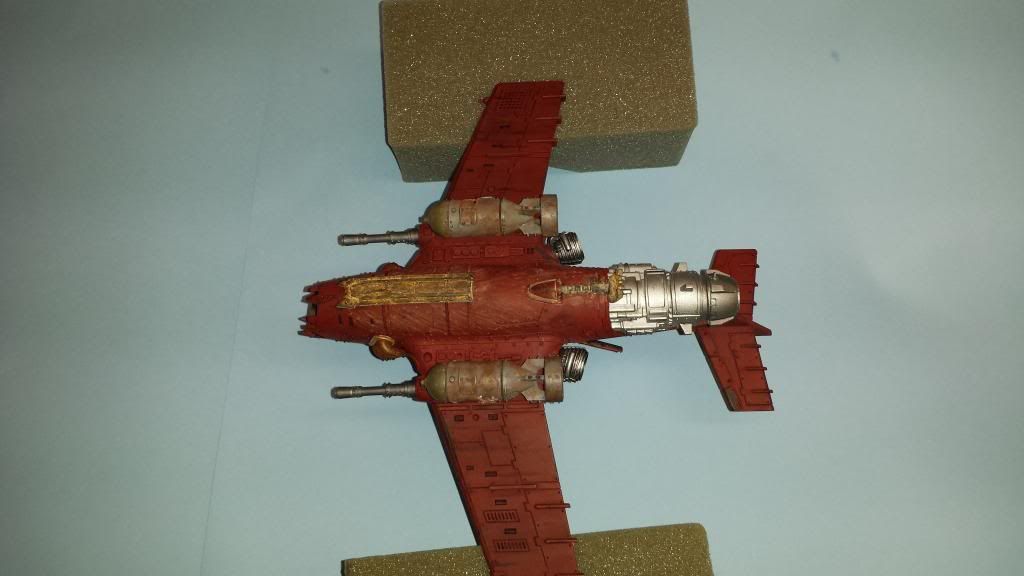
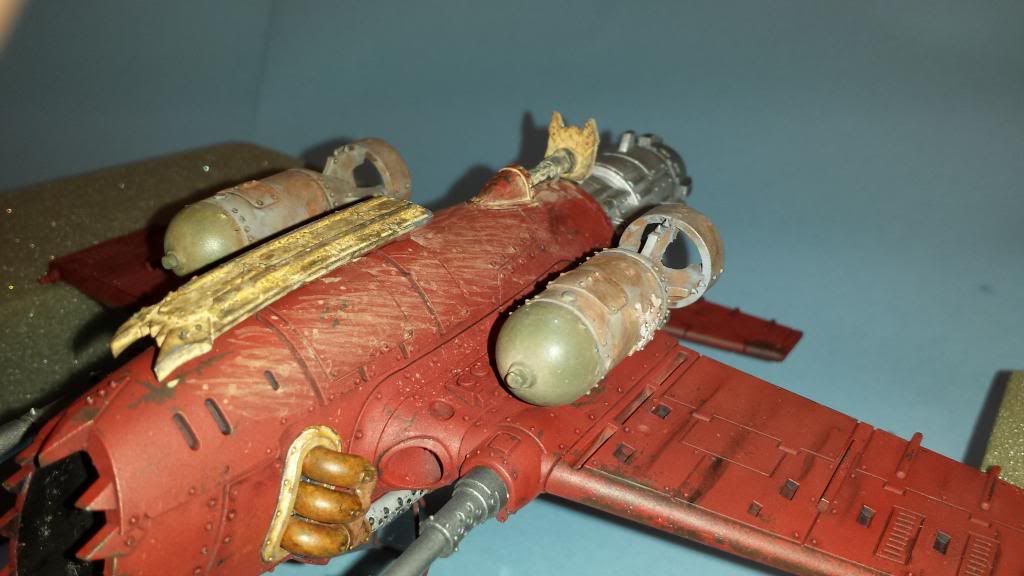
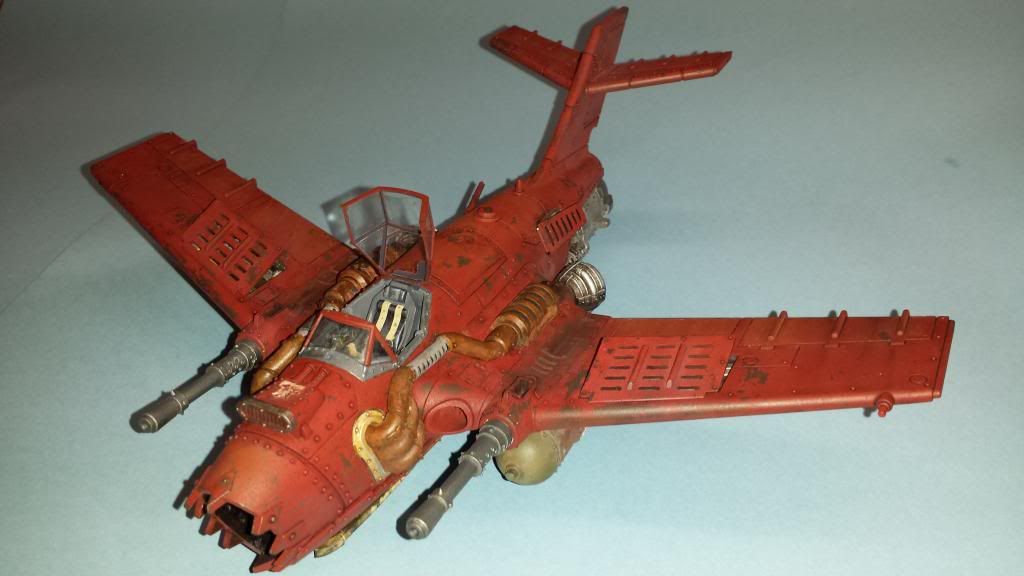
Hope you enjoy! Comments welcome.
Chris