SEARCH FINESCALE.COM

Enter keywords or a search phrase below:

MPC Space 1999 Moonbase Alpha

3644 views
7 replies
1 rating 2 rating 3 rating 4 rating 5 rating
  • Member since
    January 2006
  • From: California
Posted by SprueOne on Friday, May 10, 2019 9:48 PM

Wow, thank you for the detailed reply Beer


Anyone with a good car don't need to be justified - Hazel Motes


Iron Rails 2015 by Wayne Cassell Weekend Madness sprueone

  • Member since
    March 2010
  • From: Boston
Posted by mach71 on Friday, May 10, 2019 9:19 PM

Very nice job on a difficult kit!


Well done, thanks for sharing the build.

  • Member since
    April 2015
Posted by Mark Lookabaugh on Friday, May 10, 2019 8:44 PM

My math is a bit rusty, but here's my attempt at calculating the square footage of Moonbase Alpha (based on a 2km radius):

Radius of alpha (pixels): 1547
Area of alpha (pixels)  : Pi*1547^2 = 7520000
Green pixels : 363615
Ratio of building to moon : 363615 / 7520000 = 0.04835

Radius of alpha (km): 2
Area of alpha (km): 12.57km^2
Area of alpha (feet) : 135302000ft^2
Area of alpha buildings : 135,302,000ft^2 * 0.04835 = 6,541,851ft^2

So roughly 6.5 million square feet.  Of course that's only the surface layer, and that assumes that the radius extends to the widest portions of the base.


  • Member since
    November 2009
  • From: SW Virginia
Posted by Gamera on Friday, May 10, 2019 6:53 PM

Very cool Mark!!! I love Landau but for some reason never got around to watching this series...

"I dream in fire but work in clay." -Arthur Machen


  • Member since
    April 2015
Posted by Mark Lookabaugh on Friday, May 10, 2019 7:50 AM

SprueOne

Interesting model. What is the square footage of the base?


The model base moon surface is 17" across, 18" including the "lip" on the outside edges.  The frame holding it is 18".  

As for the actual moonbase...  "Located in the Moon crater Plato and constructed out of quarried rock and ores, Moonbase Alpha is four kilometres in diameter and extends up to one kilometre in areas below the lunar surface." 

It would be a fun exercise to estimate the square footage based on placing a 4k square around the base limits and take a percentage of that based on how much of the square is occupied by buildings.  Of course, you'd also have to factor in main mission control, which has extra levels up top.  Using a photo of the base, it would be pretty simple to have a computer spit out that percentage based on the whether the pixels in the target area are whiter/brighter than a given baseline value.  I may have a go at that this weekend.  (Yes, I have fun in weird ways.  :)

Mark

  • Member since
    May 2011
  • From: Honolulu, Hawaii
Posted by Real G on Thursday, May 9, 2019 11:30 PM

“Ya ya ya, unicorn papoi!”

  • Member since
    January 2006
  • From: California
Posted by SprueOne on Thursday, May 9, 2019 10:46 PM

Interesting model. What is the square footage of the base?

Anyone with a good car don't need to be justified - Hazel Motes


Iron Rails 2015 by Wayne Cassell Weekend Madness sprueone

  • Member since
    April 2015
MPC Space 1999 Moonbase Alpha
Posted by Mark Lookabaugh on Thursday, May 9, 2019 8:43 PM

Hi All!

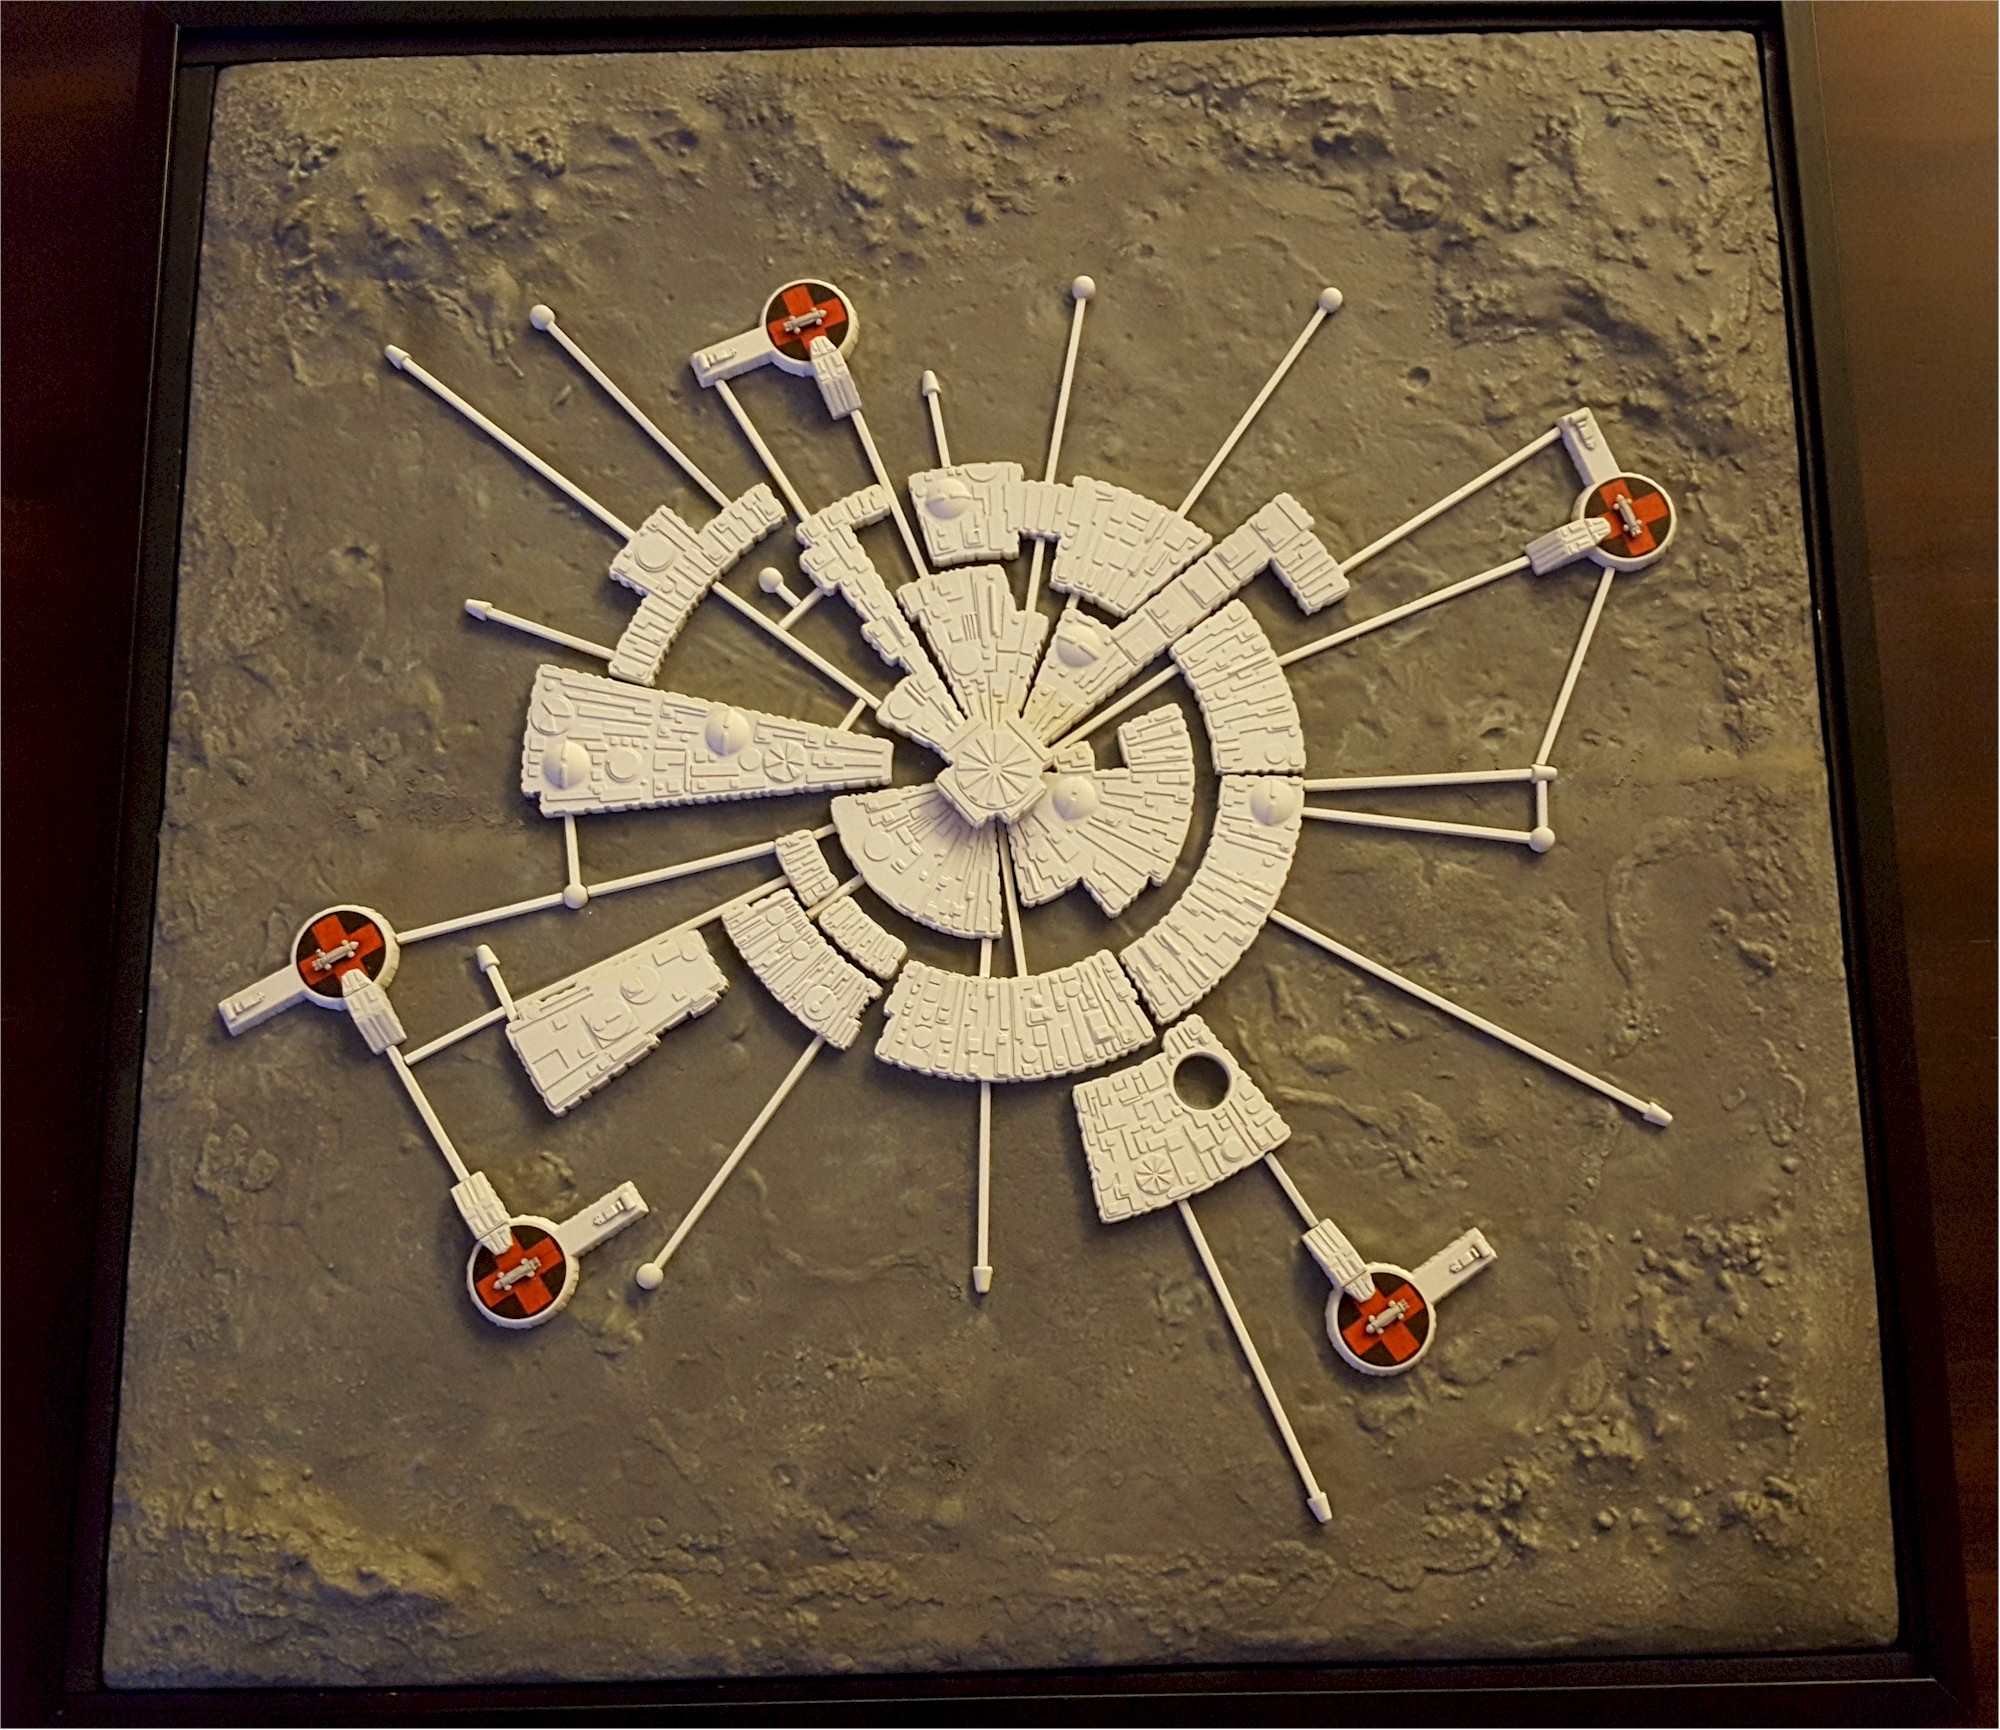
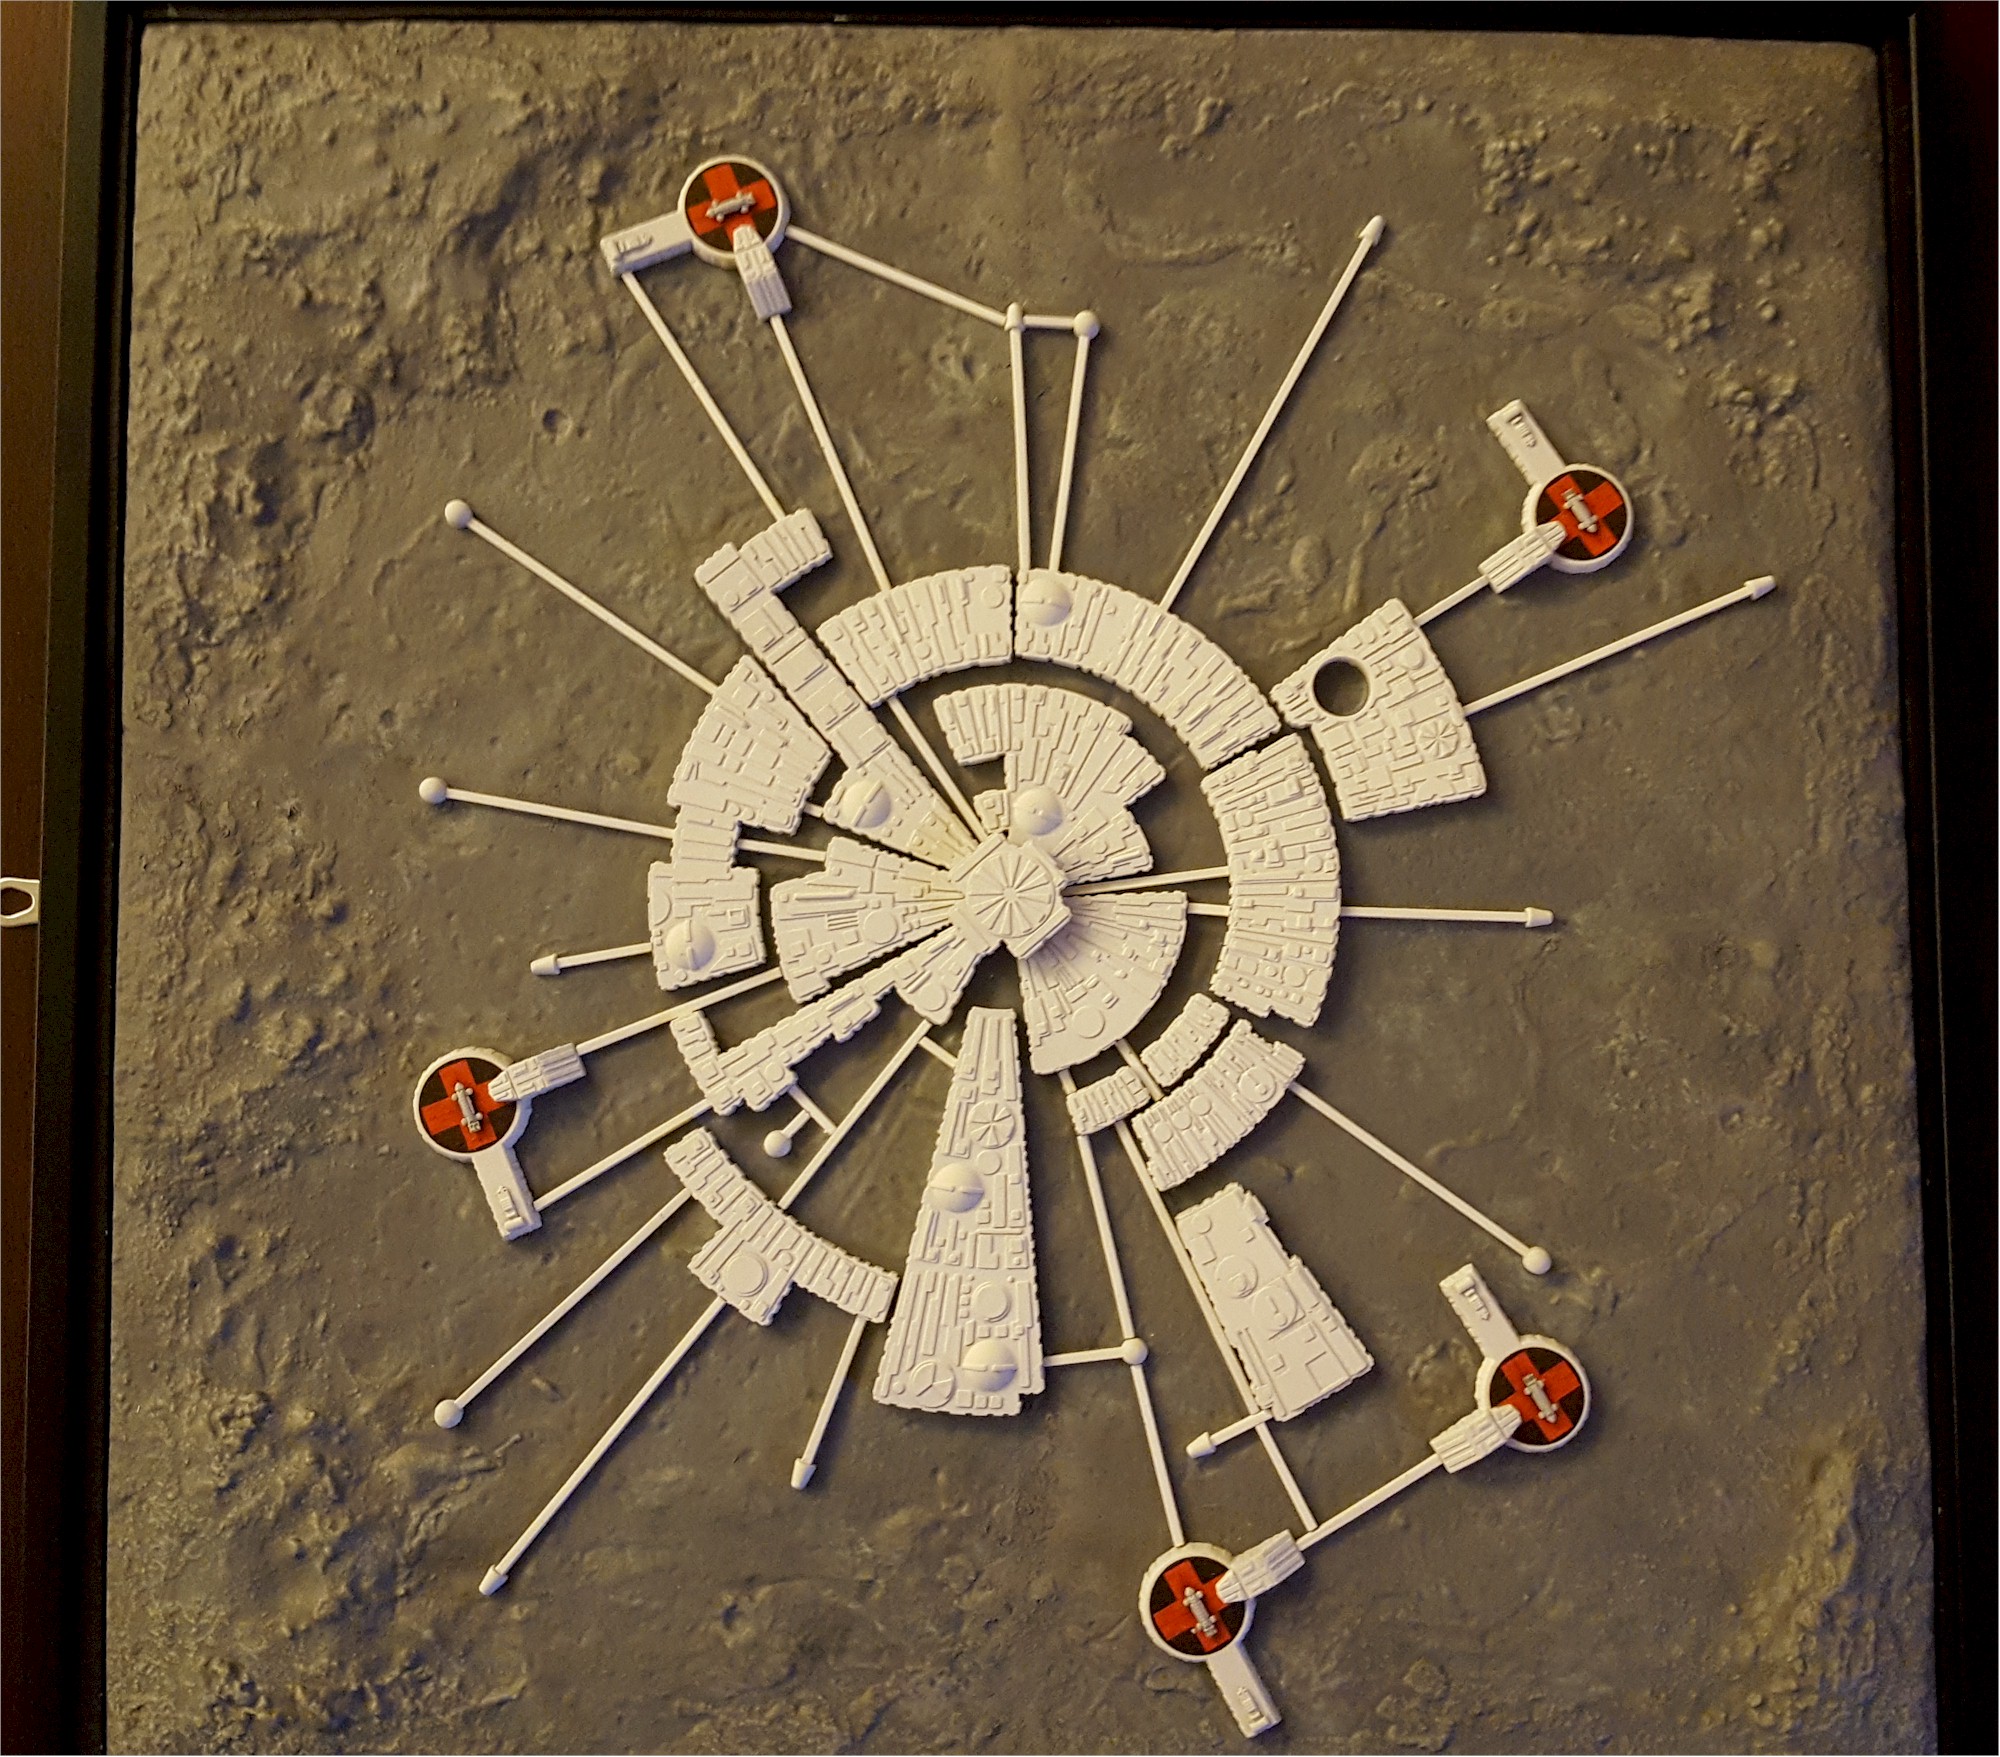
Space 1999 was one of my first sci-fi shows, and I was glad to finally have a shot at this kit.  Obviously the Eagle is the most recognizable element of the show, but I was always attracted to the sprawling and bit random nature of the moonbase itself.  It seemed to present lots of interesting far-flung areas for alien encounters and adventure.

The original kit was wildly inaccurate and was missing many eagle launch pads.  In addition, it had a spot cut out on the base for the main mission control subkit (which I did not attempt here).  The new version removes that subkit spot, accurizes the eagle launch pads, and generally cleans things up a bit to make it worth attemping for a "purist" like myself.

First of all, let me say that I love the fact that the kit EXISTS.  I would much rather work on a sub-par version of a kit that captures my imagination than a perfect kit of a subject I don't care about.  That being said, this build was a bit rough. 

The main issue is the base.  It's quite flimsy.  If you search back a bit you can find a post where I was given good advice on how to shore that up using CA and some paper towels, but even still, it was not friendly to pressure, full contact, putty, or really anything else.  It was quite a chore to get it into a state where it could withstand attachment of the base, and even then, the fit was loose, and unwieldy.

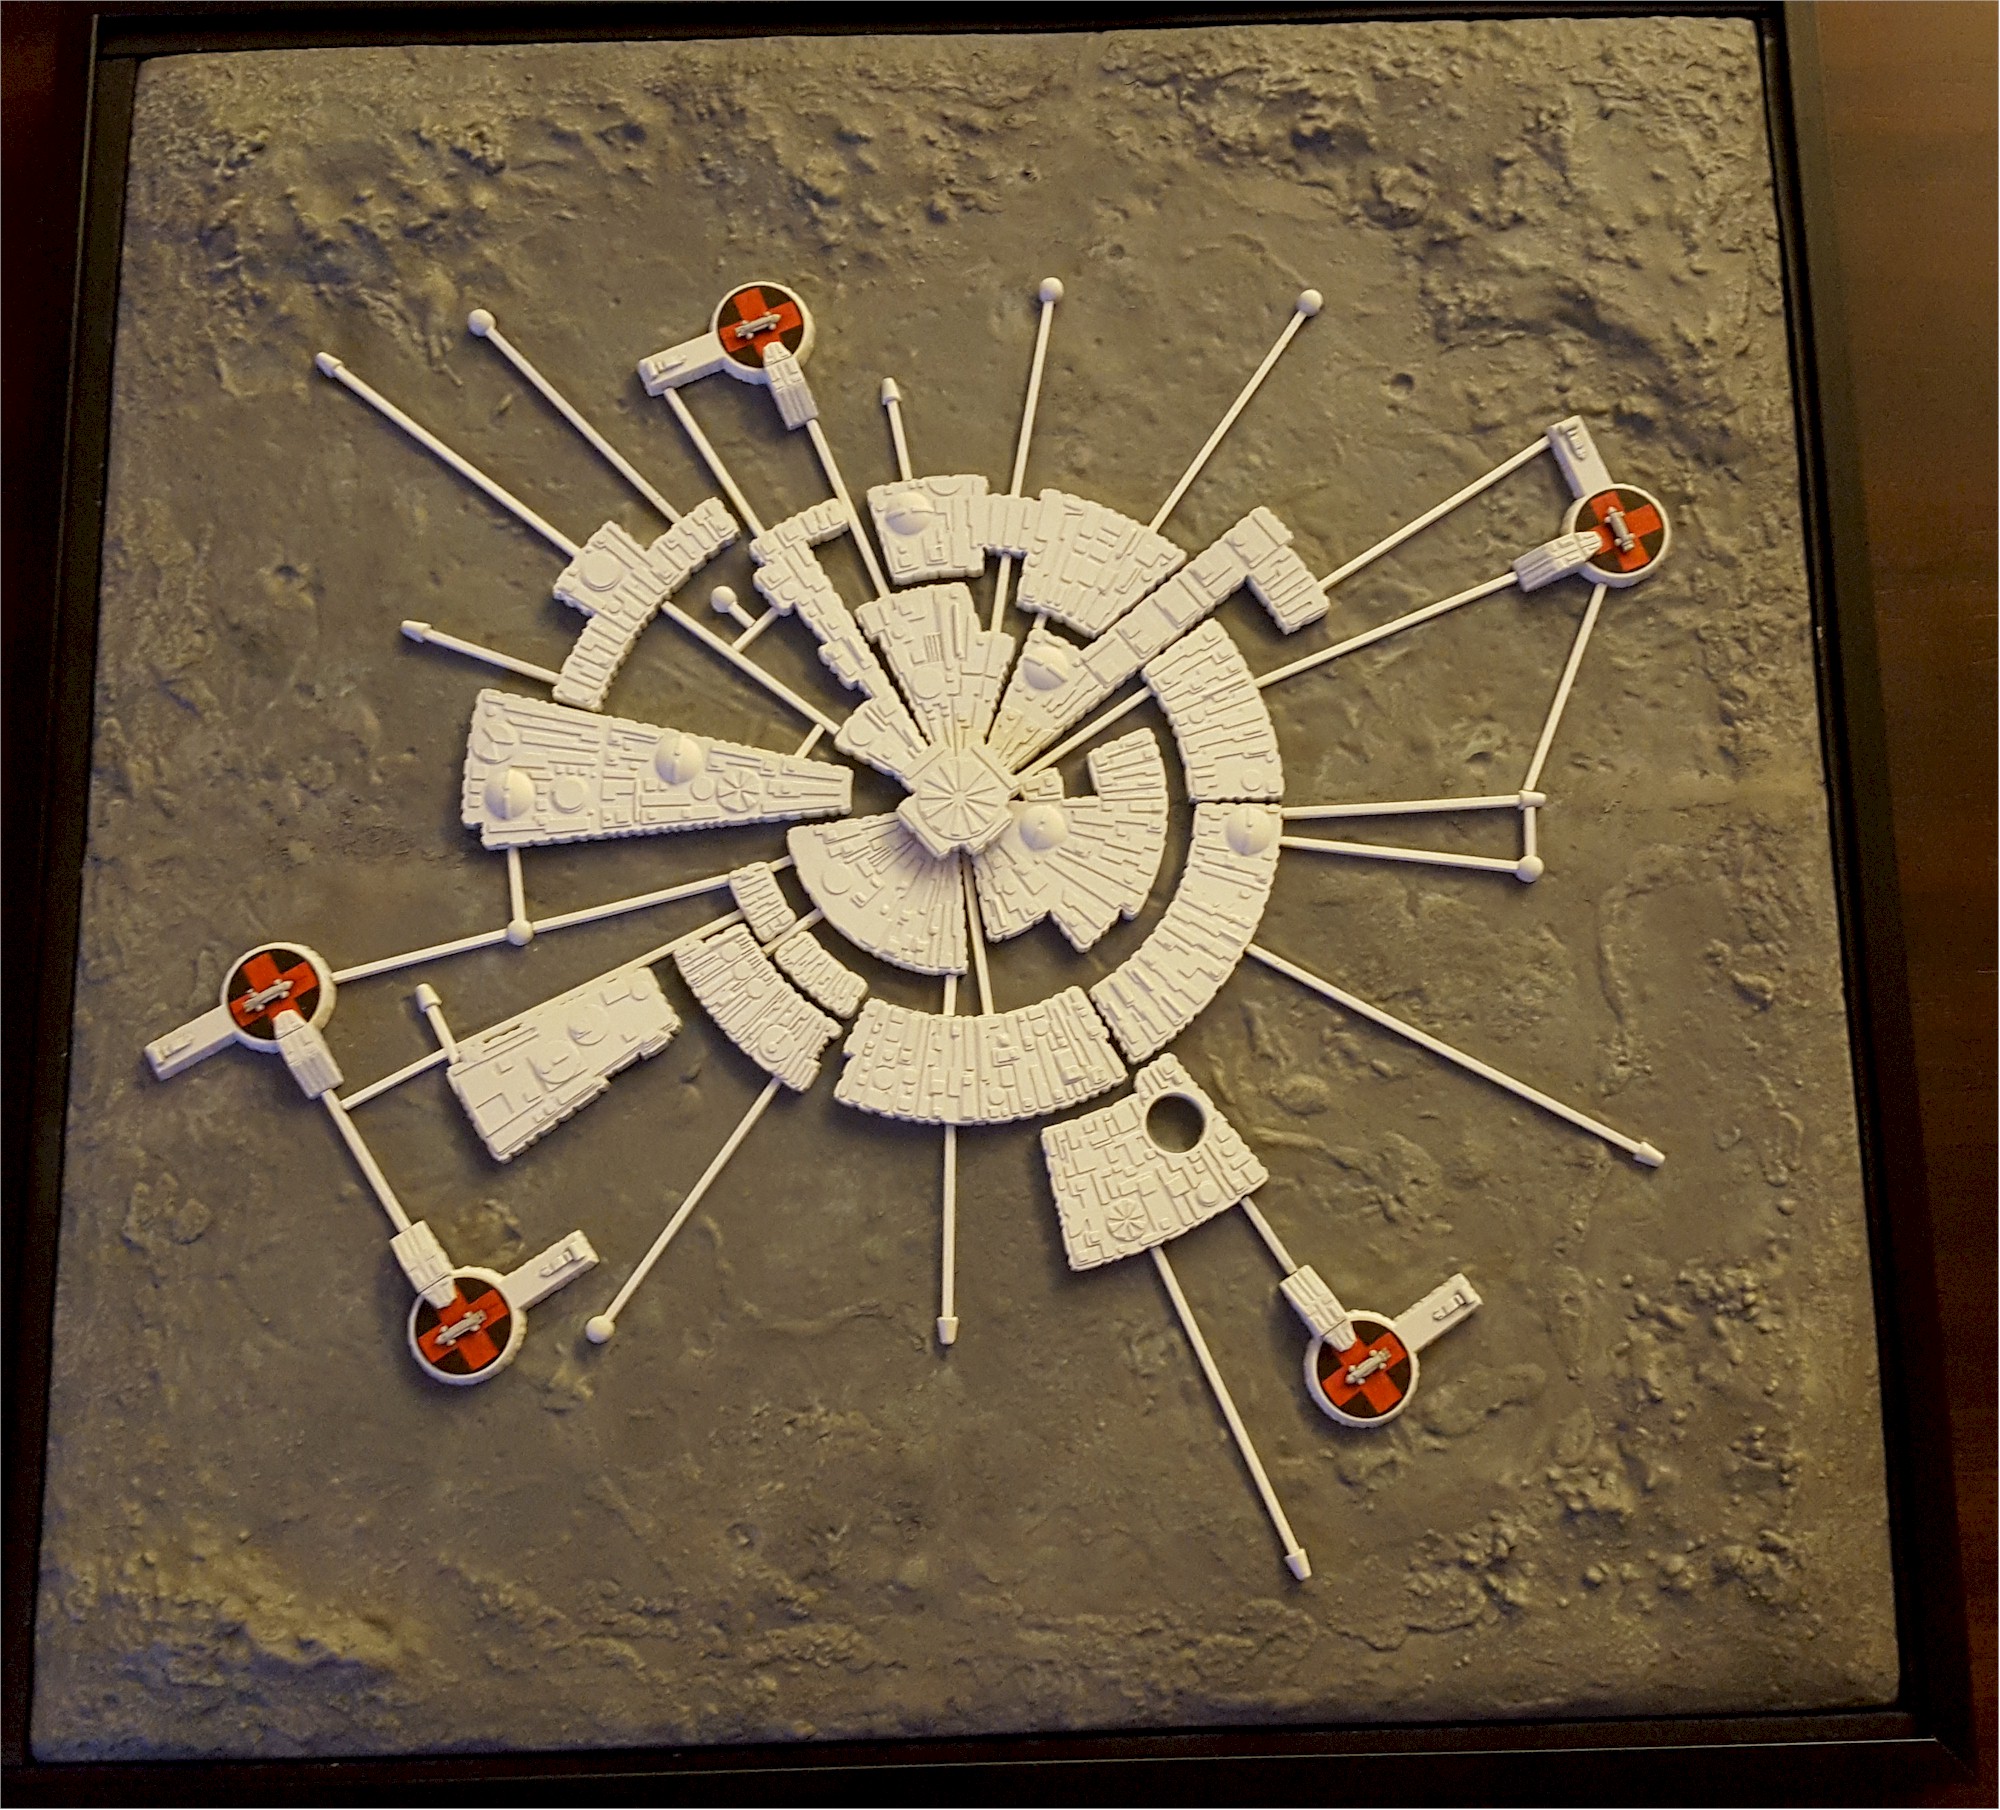
The base sections also presented a problem.  The molds are formed such a way that EVERY edge of EVERY base piece requires a fair bit of sanding to remove an obvious "lip" at the bottom.  Unfortunately there isn't enough "tunnel" stock provided to link all the bits together as shown on the box, even though I was extremely careful not to waste any.

On the positive side, the eagle landers have been resized to be accurate for this kit, and they are quite well formed.  It was beyond my ability to detail them well (the really are extremely tiny), but I would say they stood out as the best architected part of the kit.

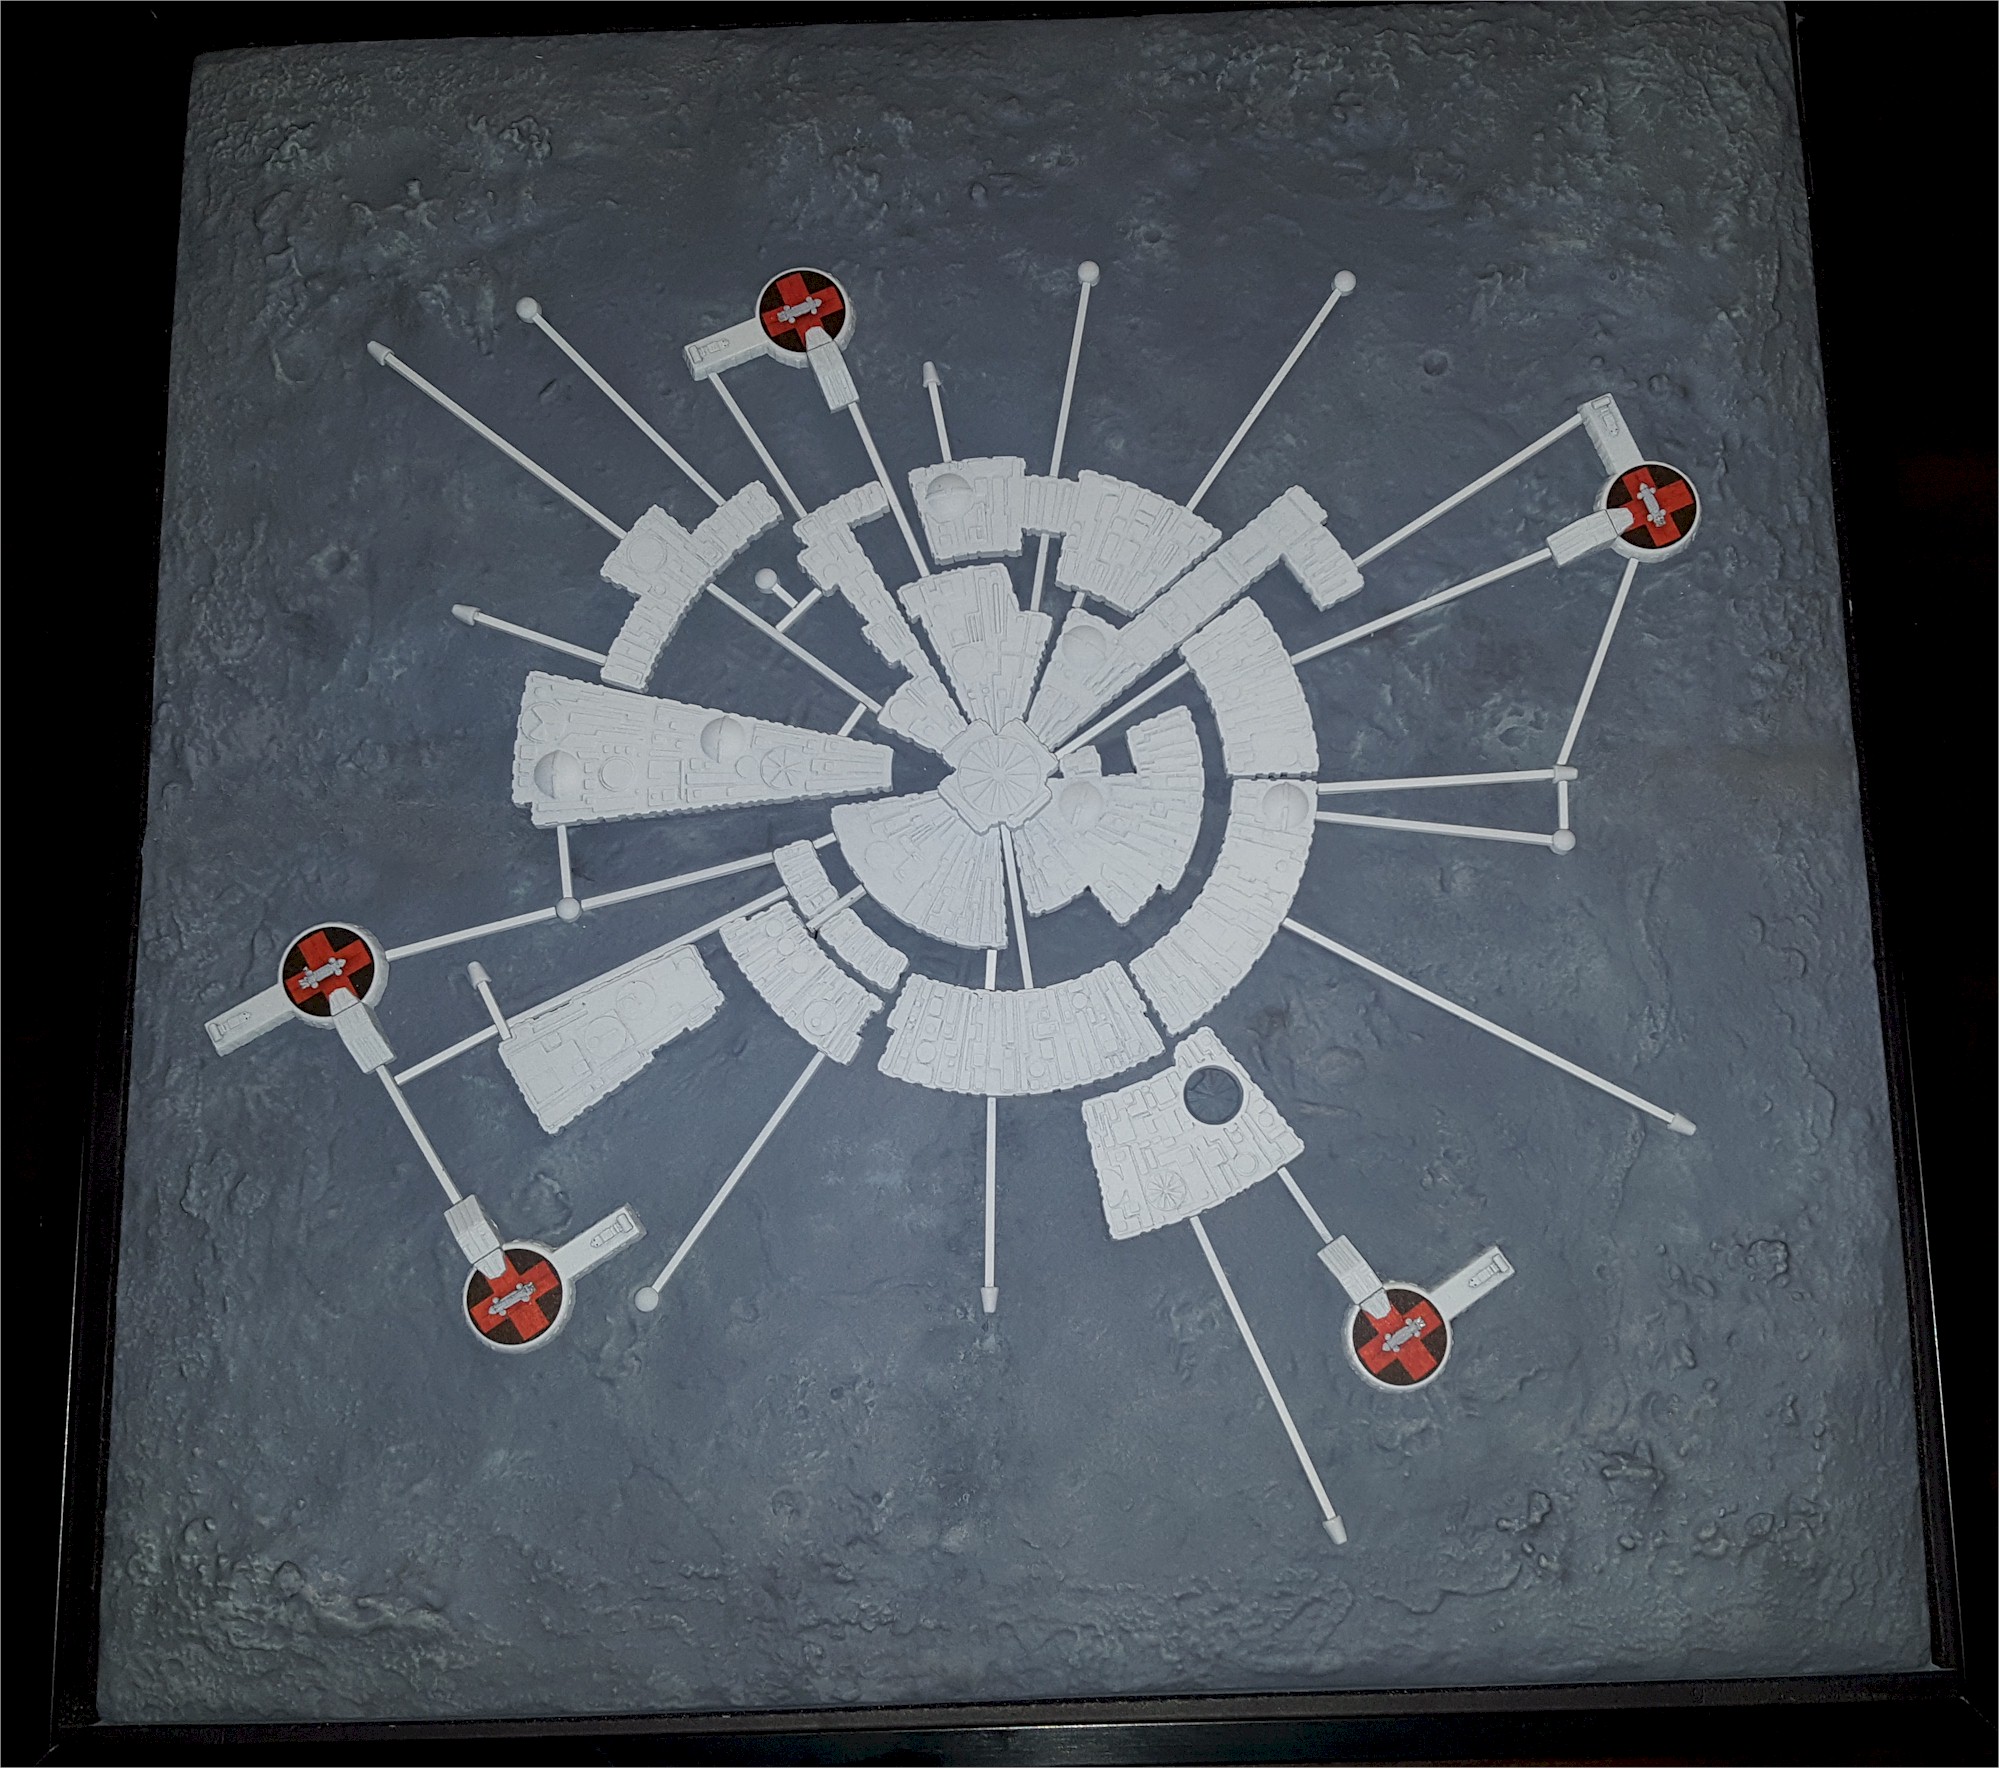
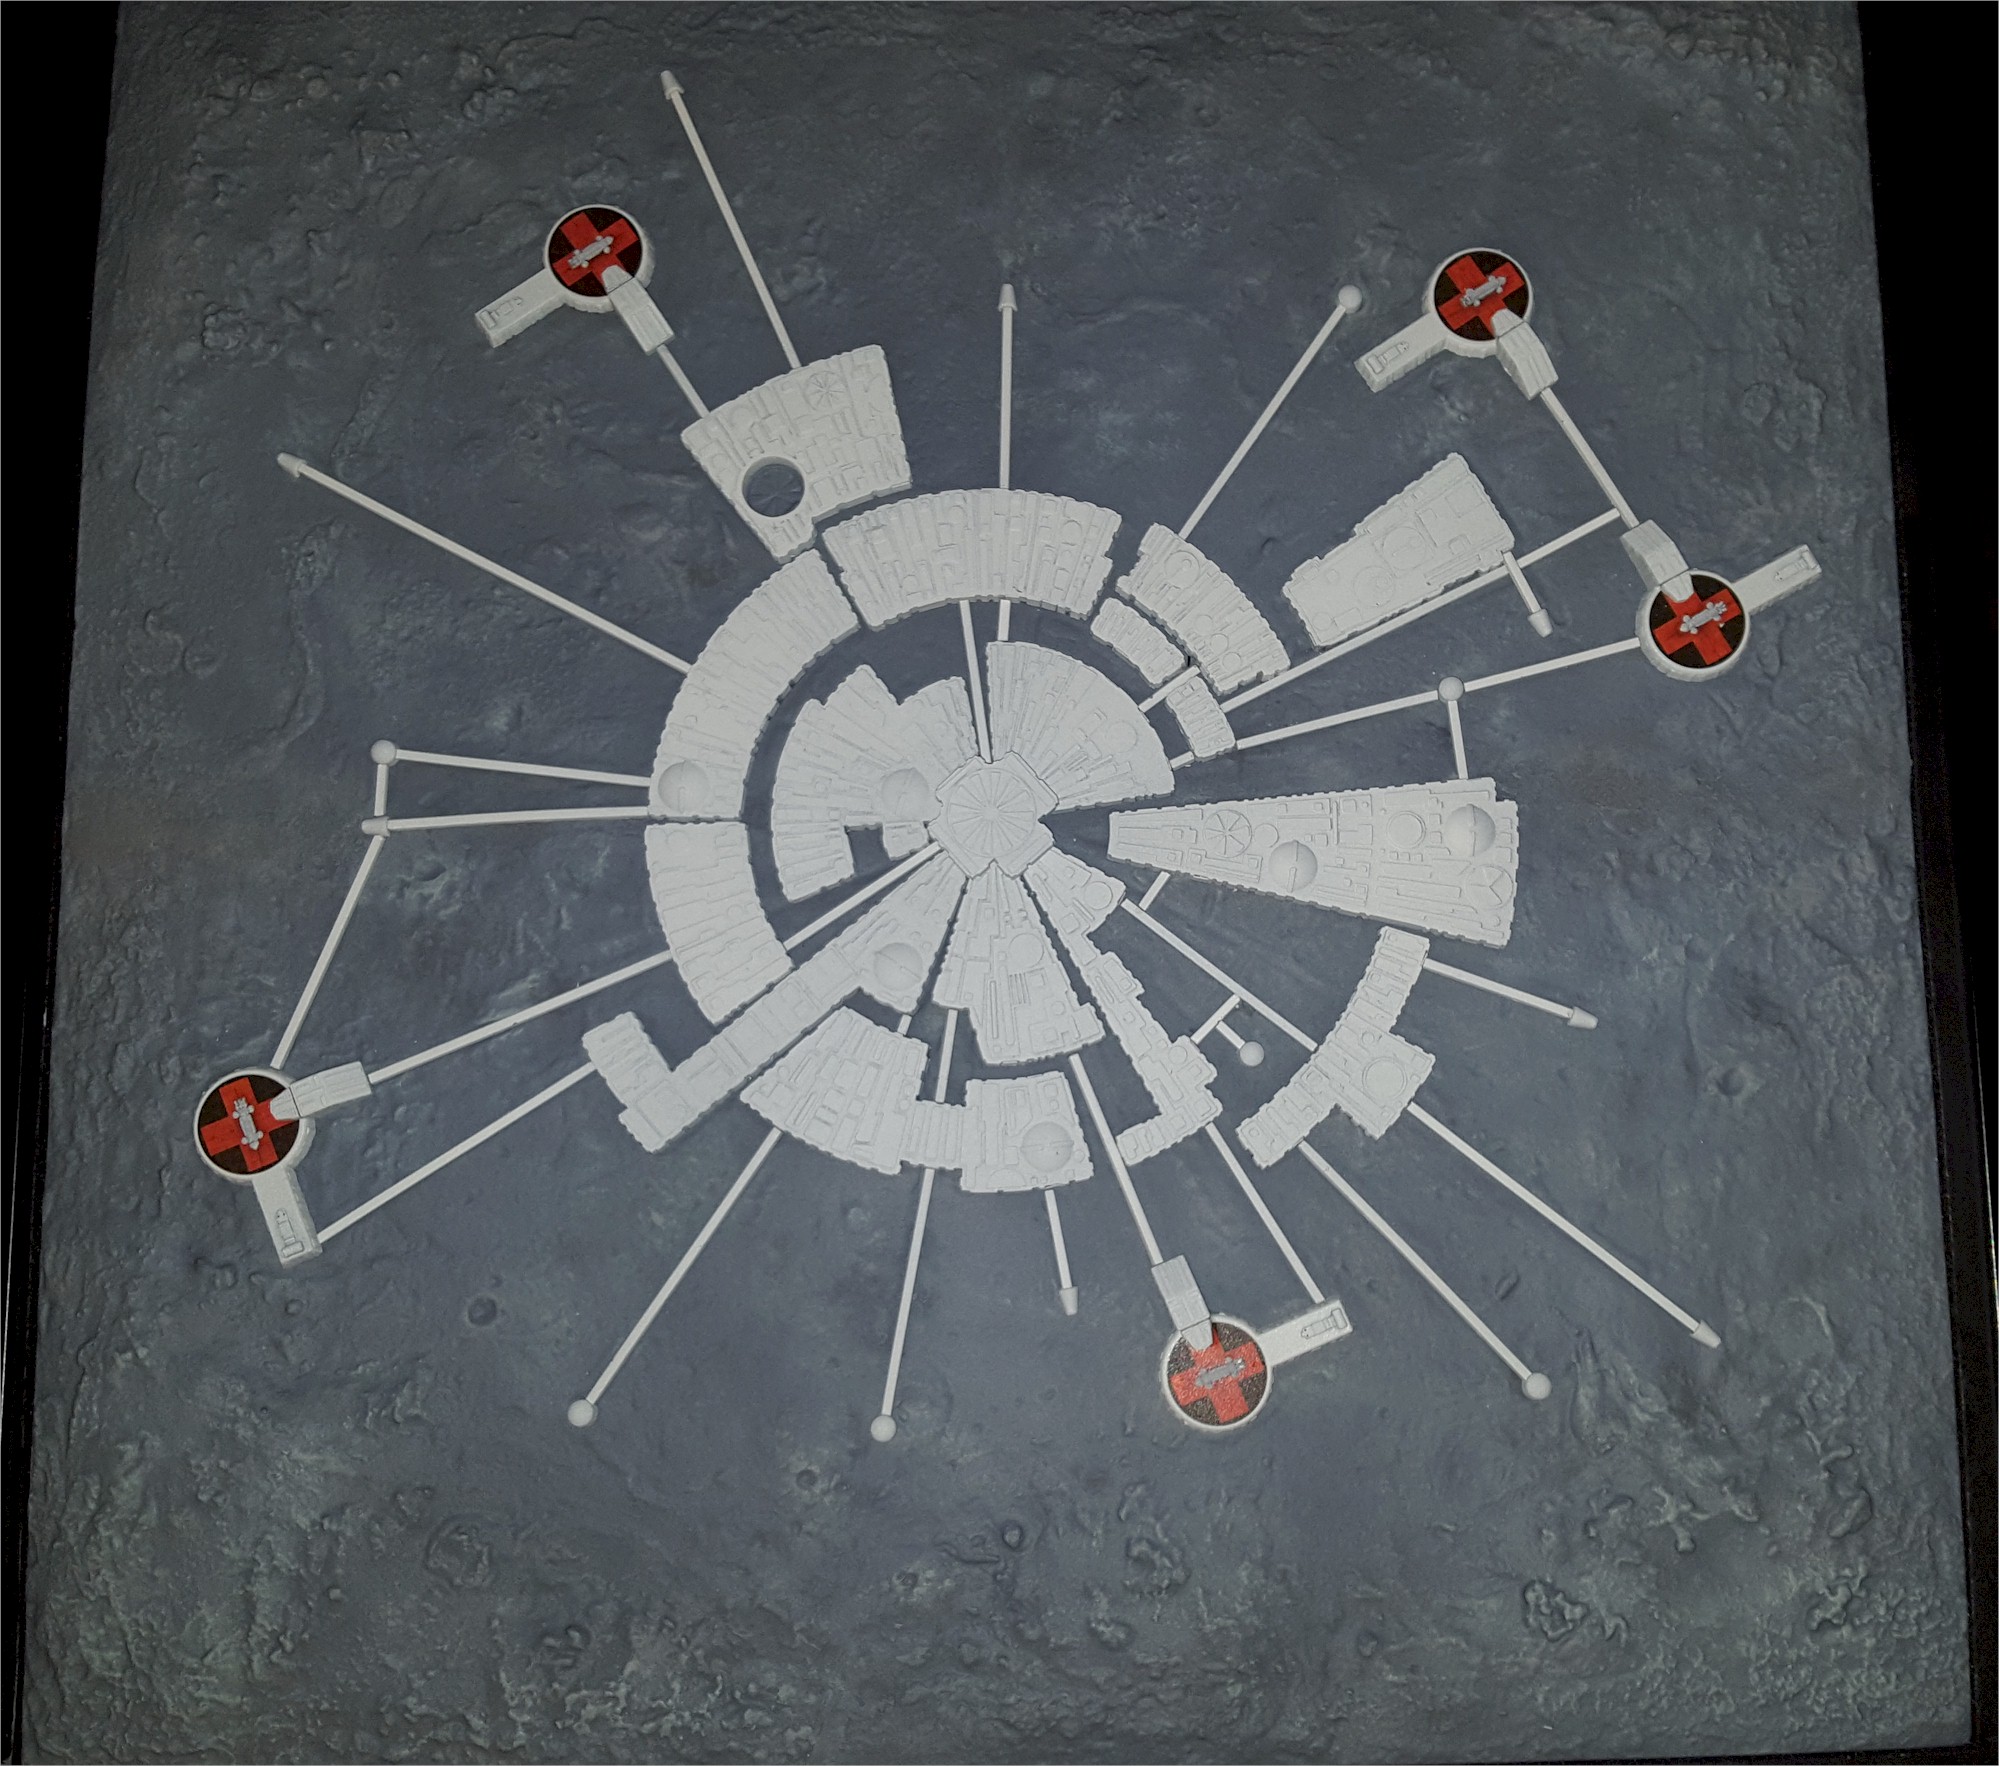
After gluing the base, I puttied it, and applied some terrain around the seam lines to reduce the visibility, with limited success.  I do give credit to the kit designers for angling the contact of some of the plates so that the long access tunnels cover most of two of the seams.  Grey primer was followed with dry brushing of three different shades of grey, although you probably can't tell from the pics.  It pops a bit more in person, but I intentionally didn't want to make it draw the eye away from the base itself. 

Tunnel sections were painted in bulk, and then cut up by sprue clipper to slightly larger than the appropriate size and sanded in increments to get a snug fit.  The largest user error was gluing the eagle access extensions before placing the decals (solved via a 2nd kit).

The finished kit had black weather stripping applied on top of the base section edges, and was placed in an 18x18 custom build frame from Hobby Lobby.  It will hang on the wall, as I definitely do NOT have any horizontal space for this kit.

I didn't take any close ups of the kit, as there's really no interesting detail to show.  I was glad to get this one finished.  There are much more fun builds awaiting.  :)

Thanks for looking!  All the best,

Mark

JOIN OUR COMMUNITY!

Our community is FREE to join. To participate you must either login or register for an account.

SEARCH FORUMS
FREE NEWSLETTER
By signing up you may also receive reader surveys and occasional special offers. We do not sell, rent or trade our email lists. View our Privacy Policy.