SEARCH FINESCALE.COM

Enter keywords or a search phrase below:

TIE Warhead

1747 views
5 replies
1 rating 2 rating 3 rating 4 rating 5 rating
  • Member since
    June 2008
TIE Warhead
Posted by lewbud on Friday, November 8, 2019 8:26 PM

For Bish's Star Wars group build, I decided to build the classic MPC TIE Interceptor. I don't like gray paint schemes, so I wandered off into the wilds of the interwebz to see if I could find some alternate paint schemes. Somewhere between the Cantina and Mos Eisley Spaceport, I came across a Wookiepedia entry and found this:
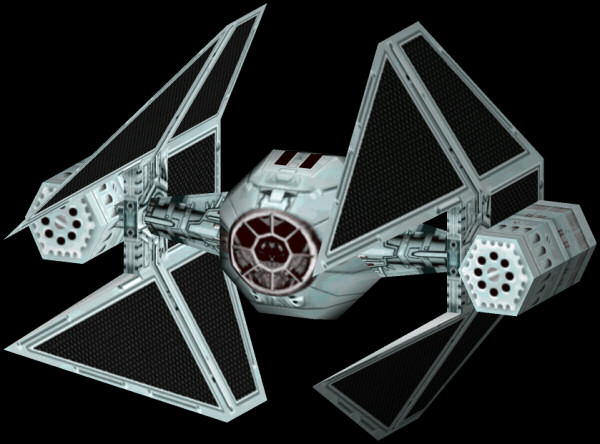
While not canon, it is part of the Legends universe, I give you the TIE Interceptor Mk. III Warhead. One problem, it's still gray. At first I thought it would look awesome as a First Order ship, then I saw this on Youtube and the die was cast.

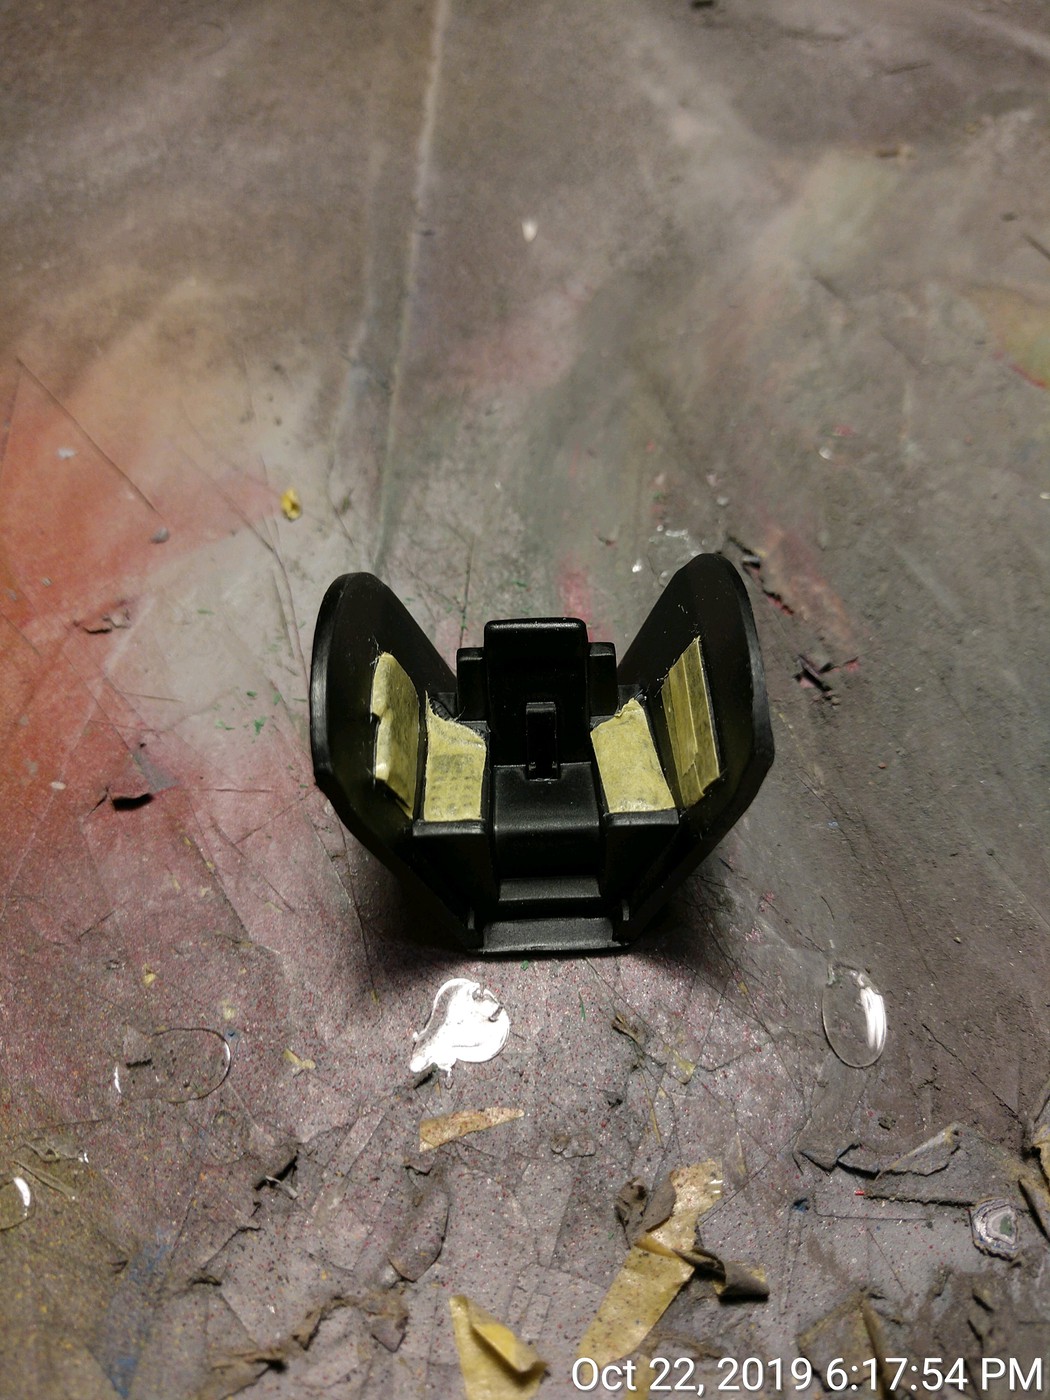
The cockpit masked, ready for gray paint.
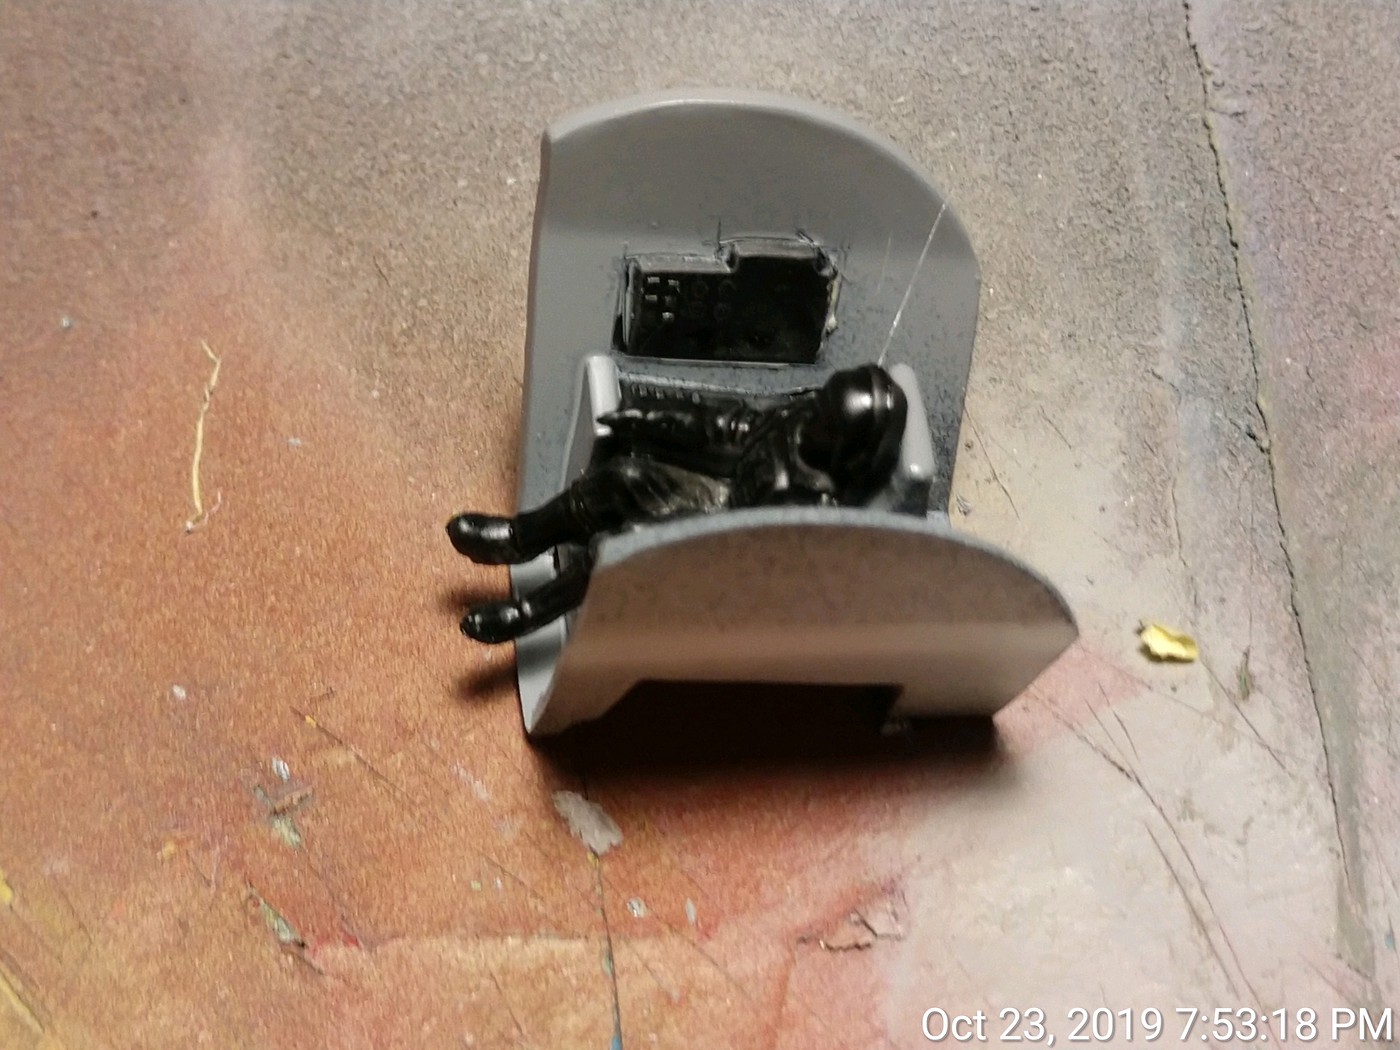
The cockpit with pilot installed. Not going to worry about him as he won't be very visible once everything is together.
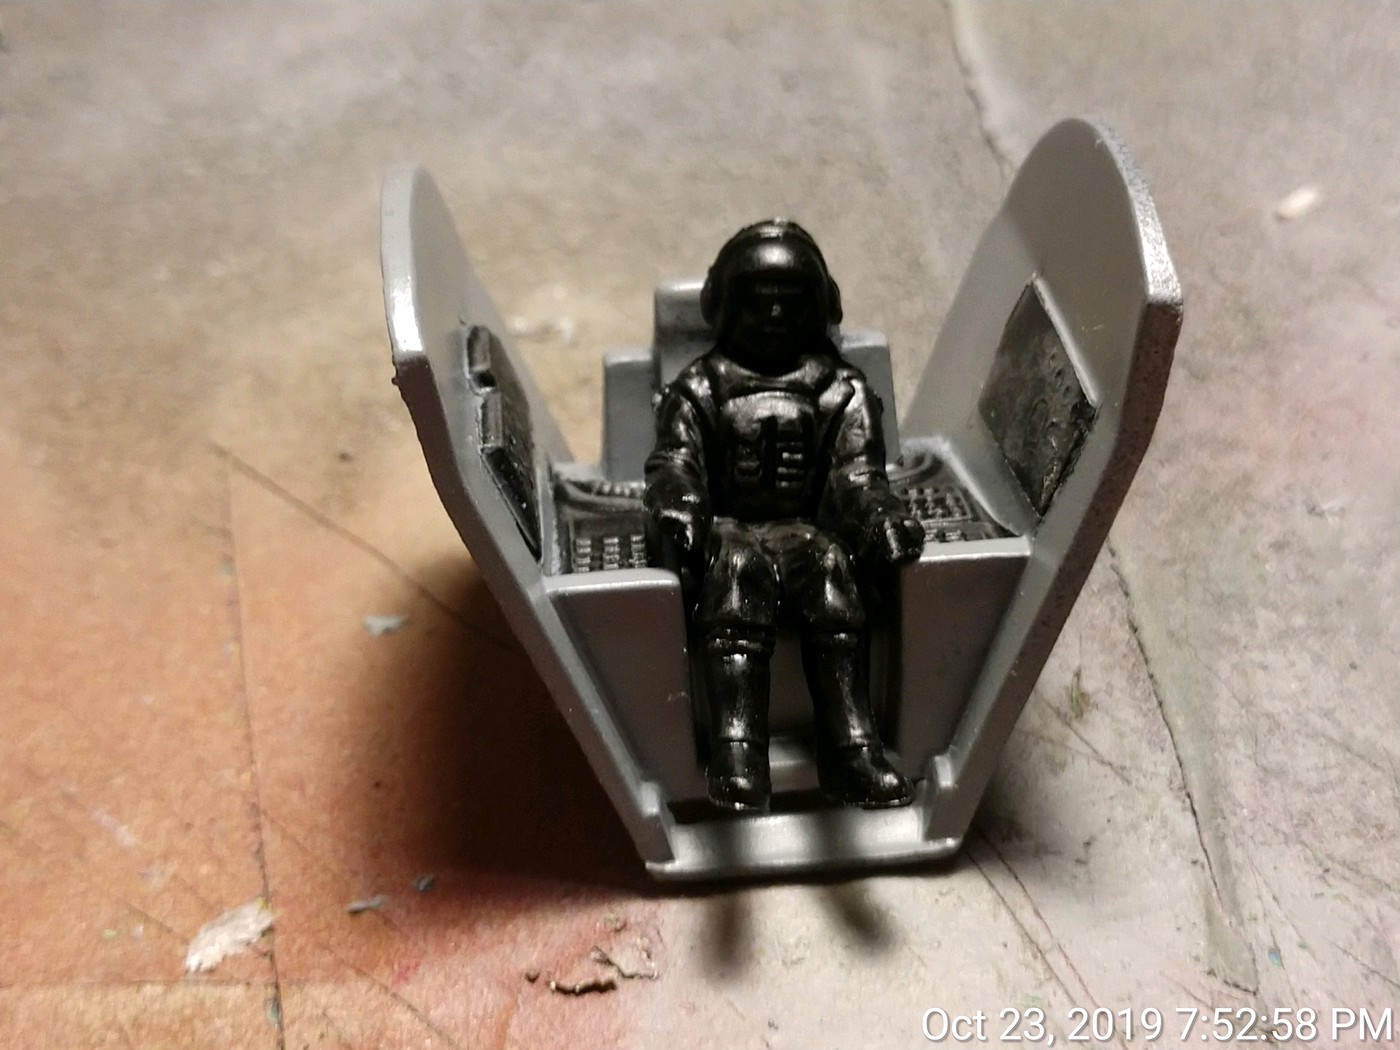
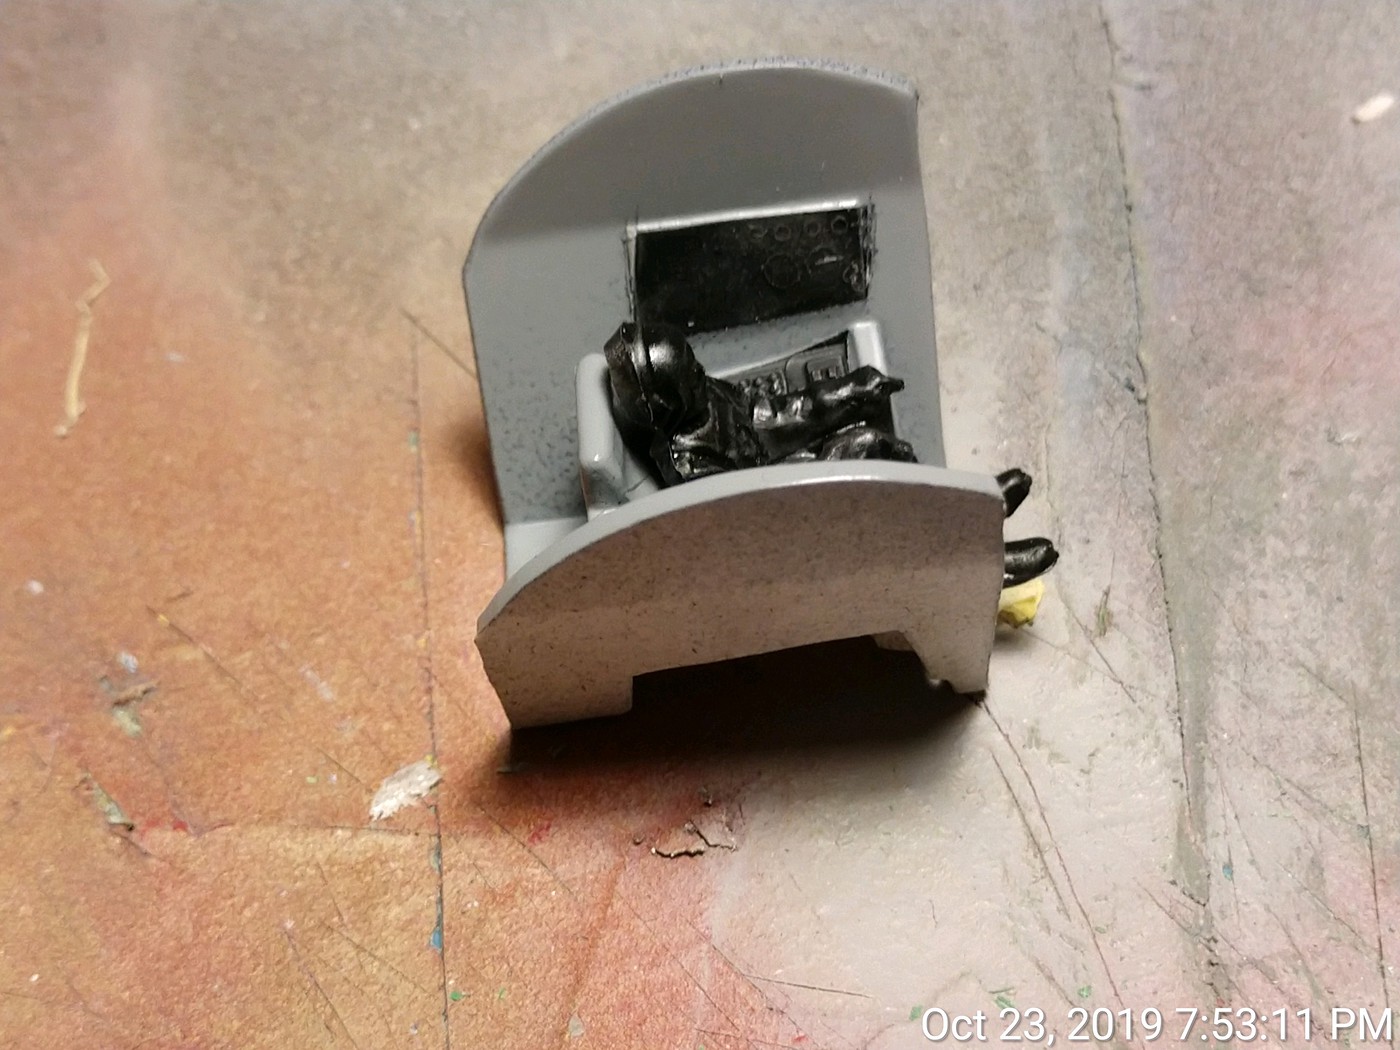
View through the forward bulkhead.
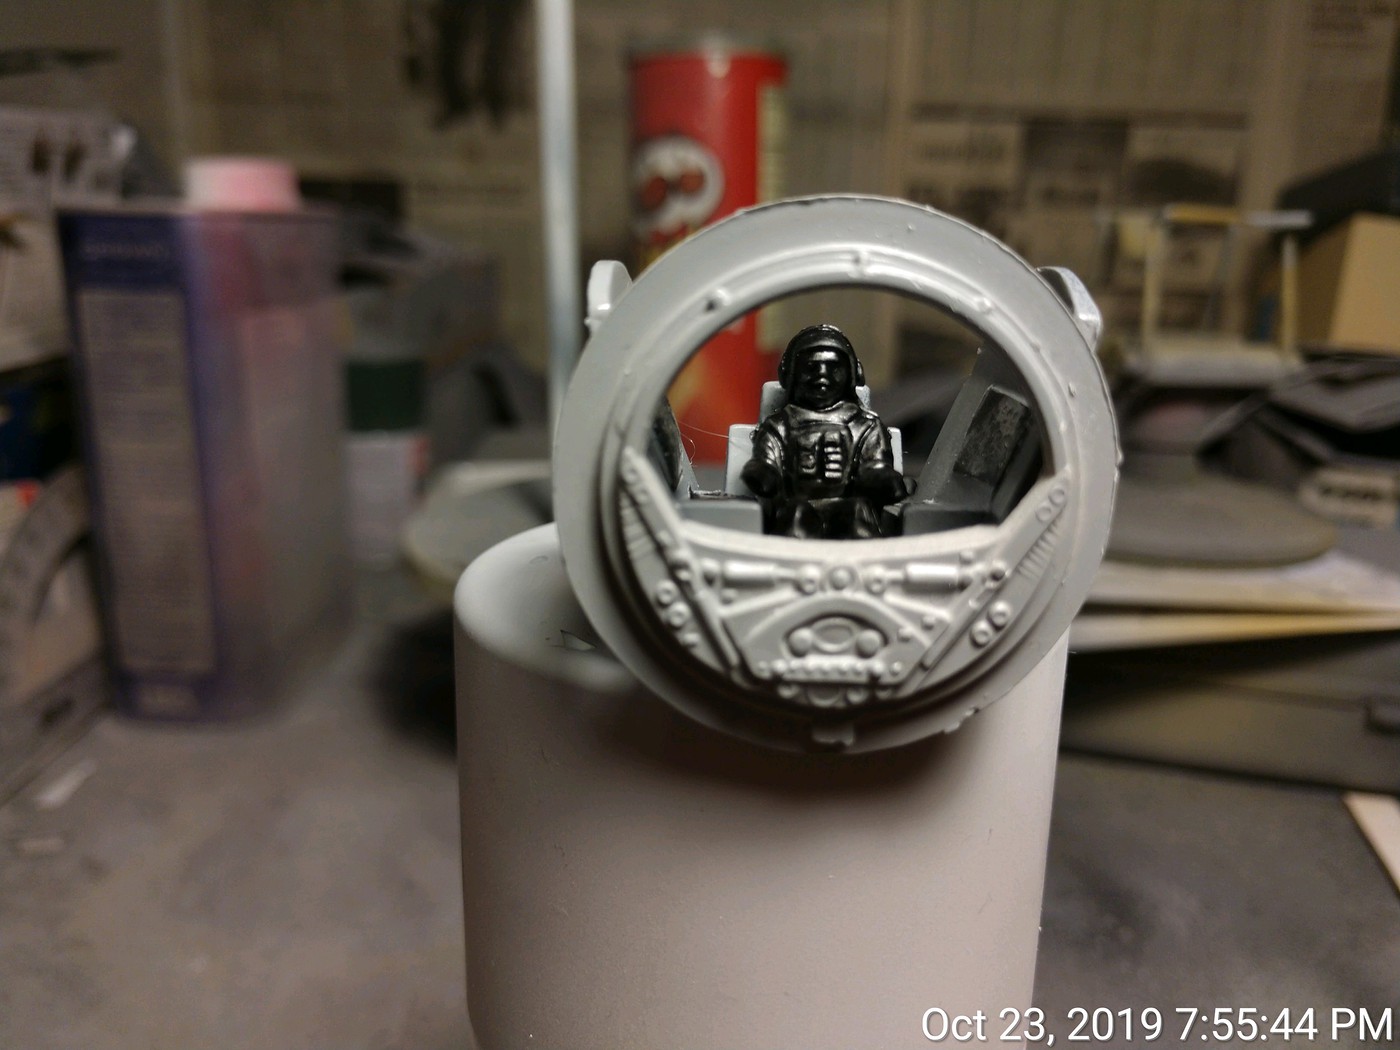
Installed in the TIE ball.
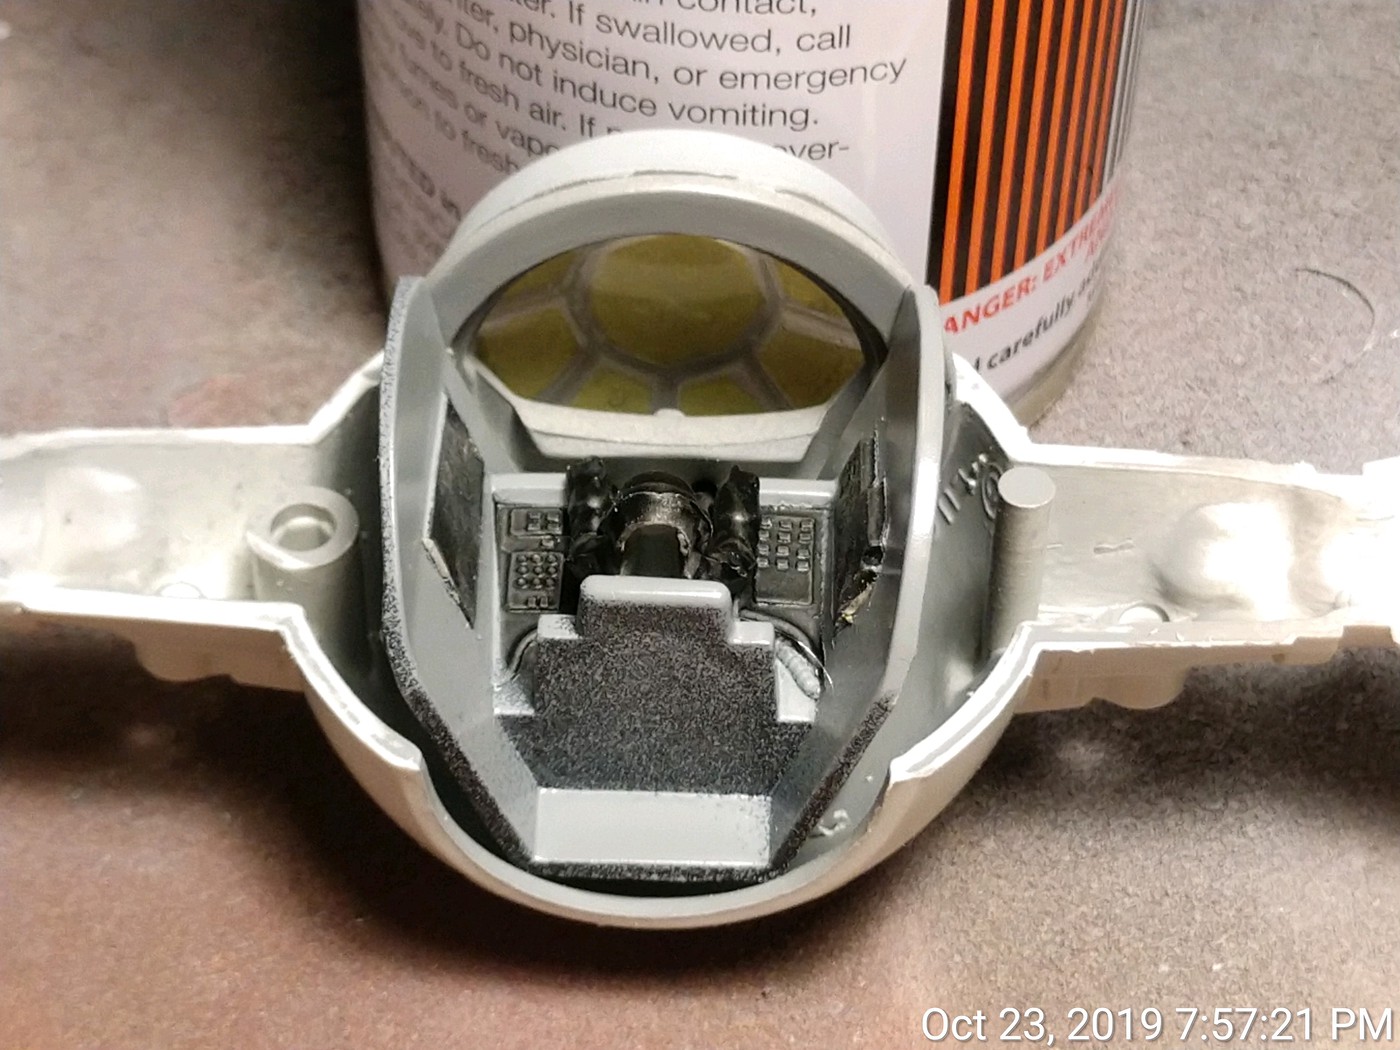
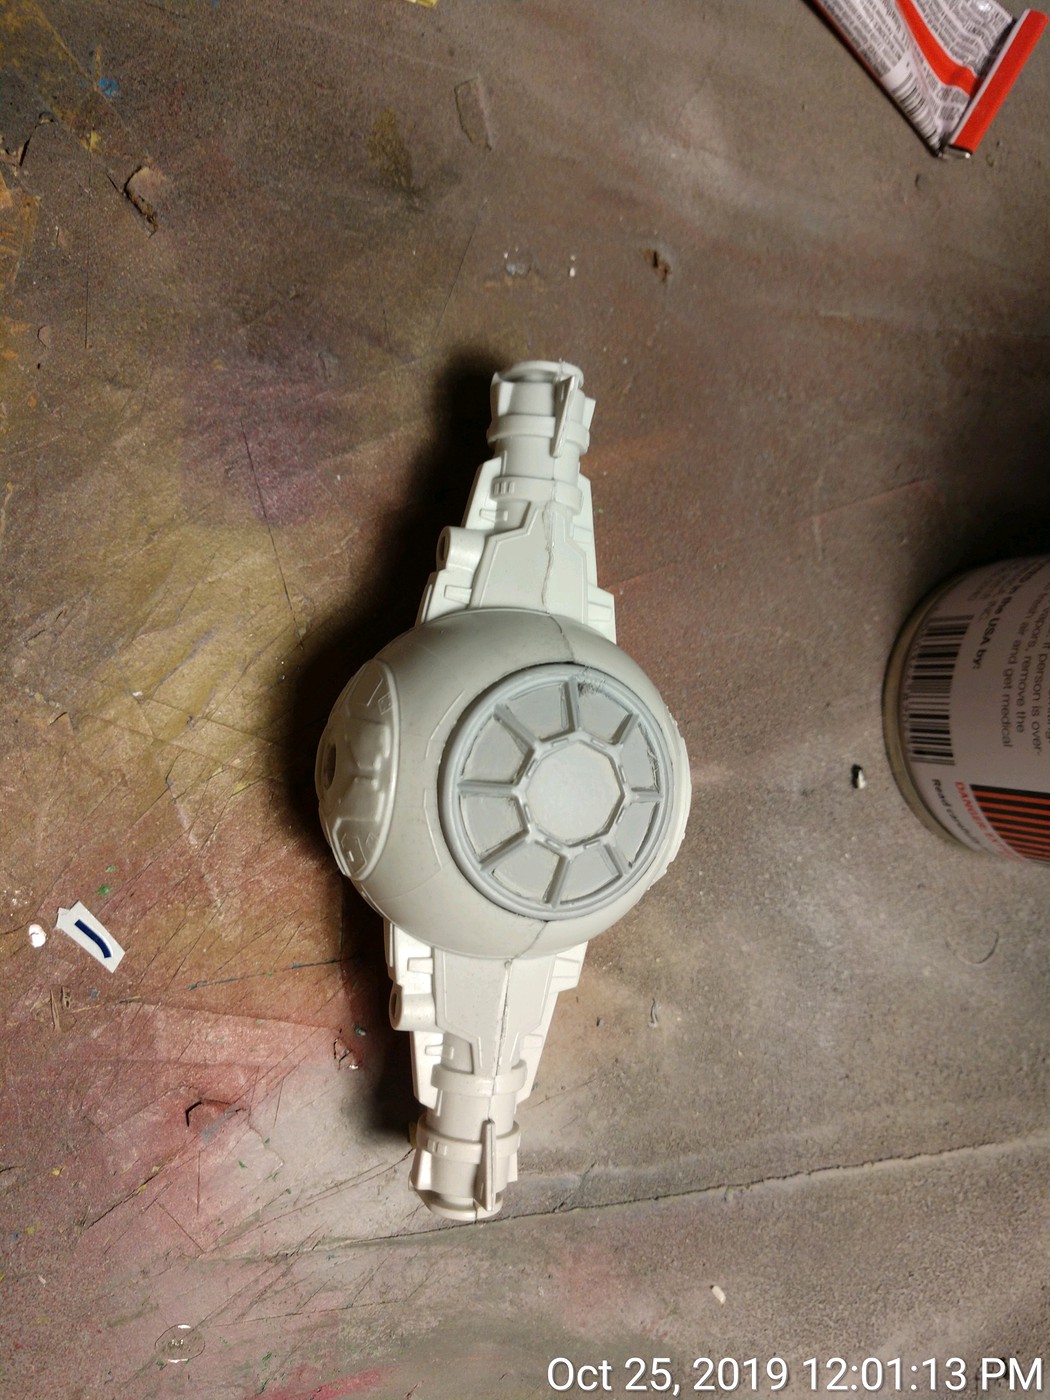
The TIEball sealed up.
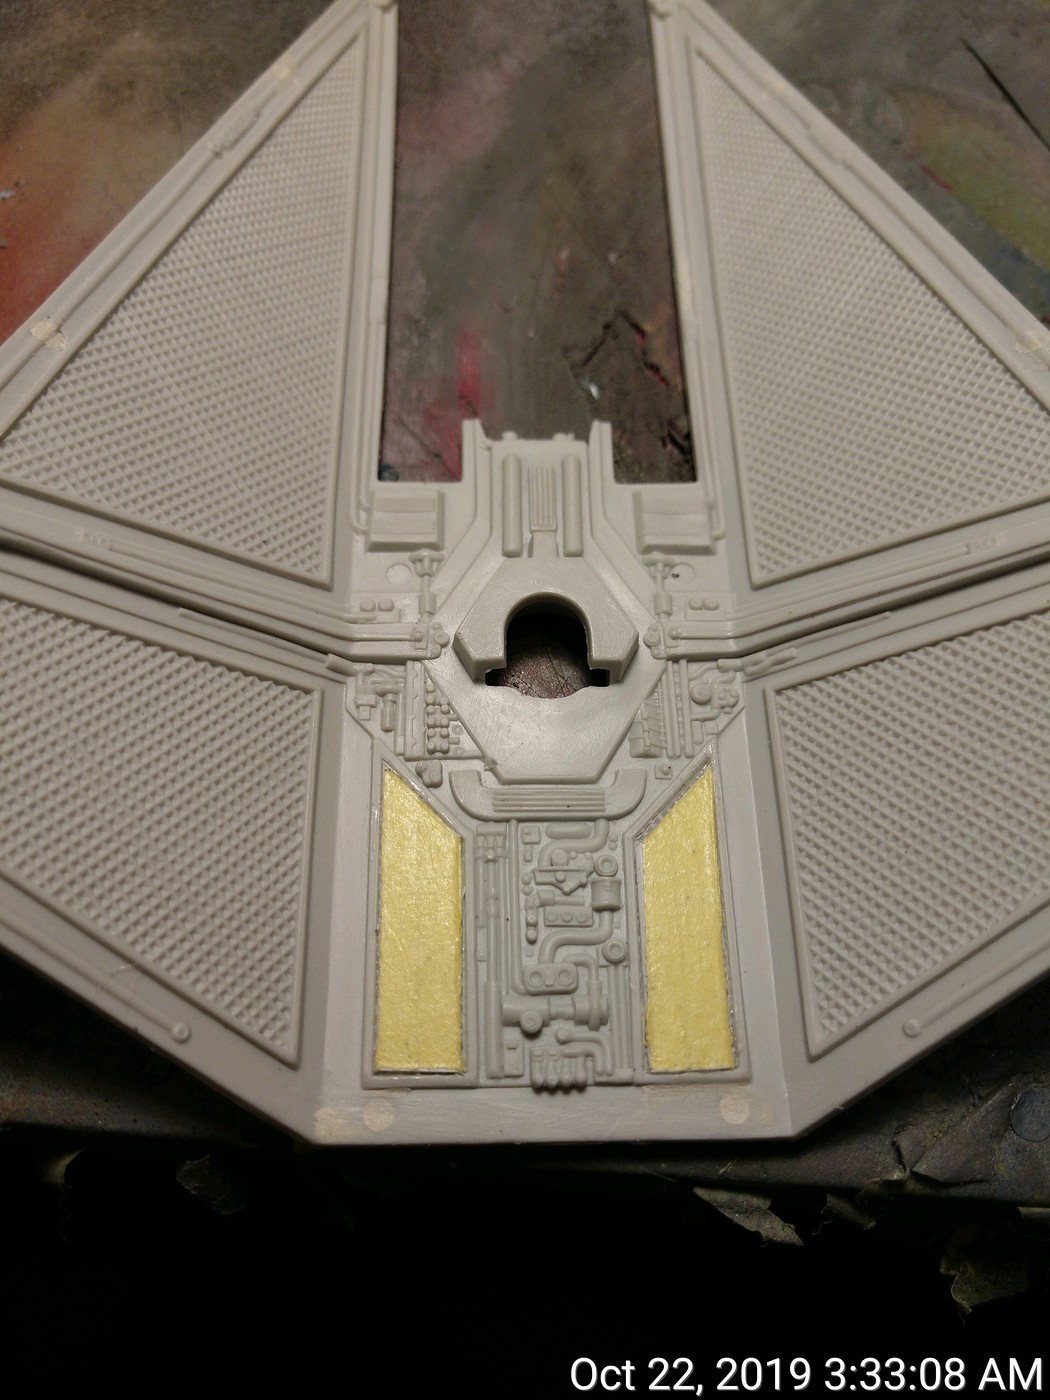
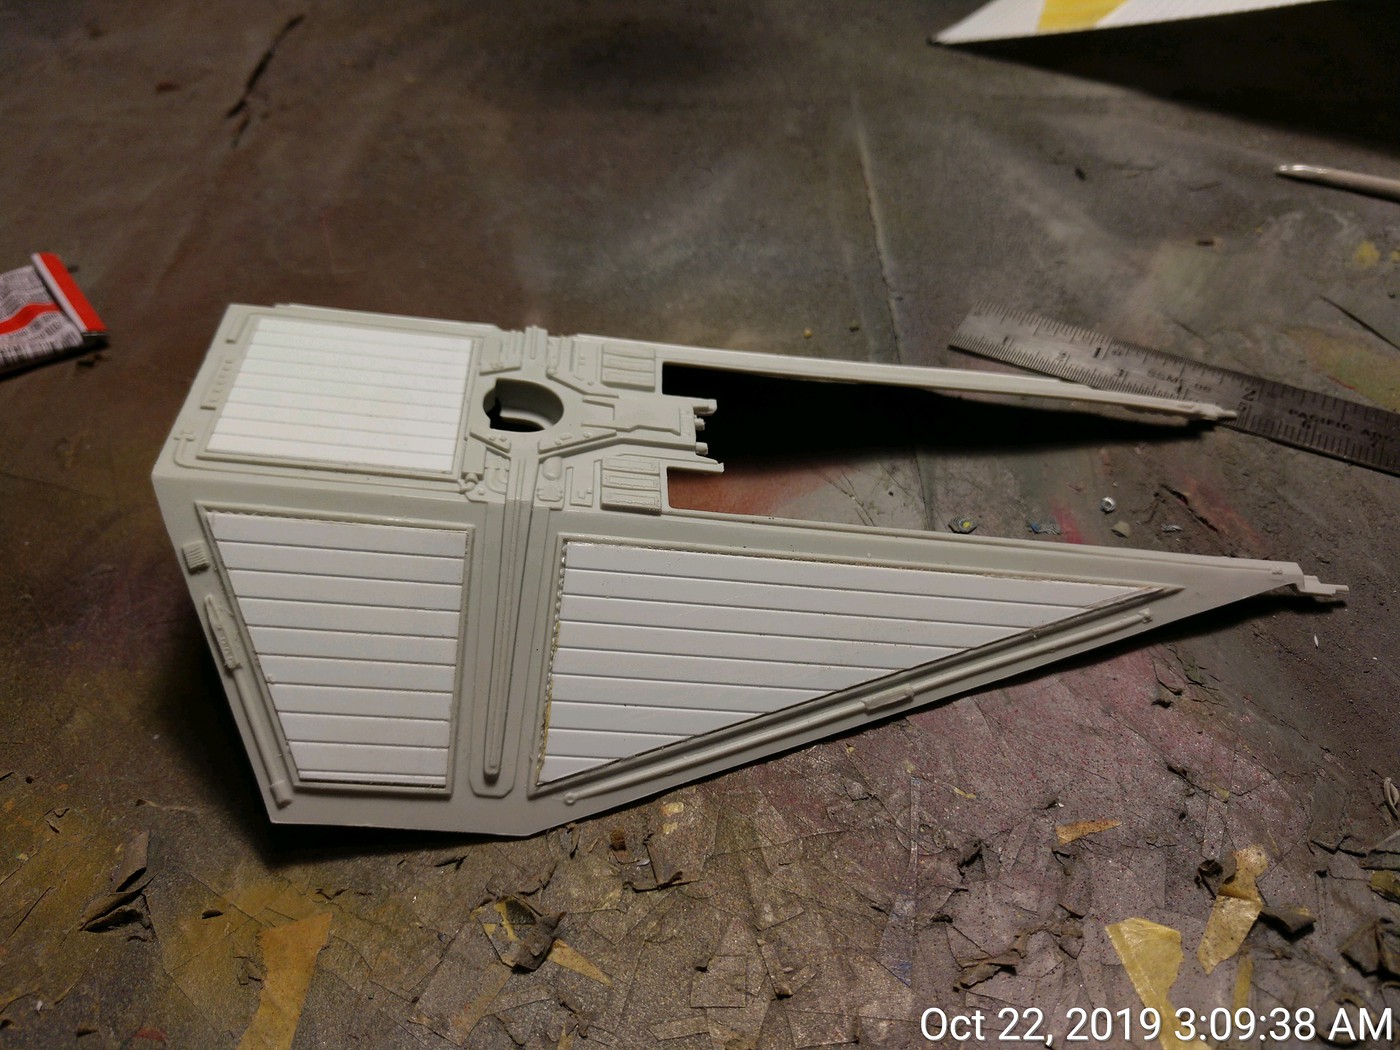
If you've seen pictures of the Revell First Order Special Ops TIE Fighter, the most noticeable thing about are the solar panels and that is what I wanted to try and capture. I found some prescribed .040 (1MM) thick sheet plastic that worked perfectly.

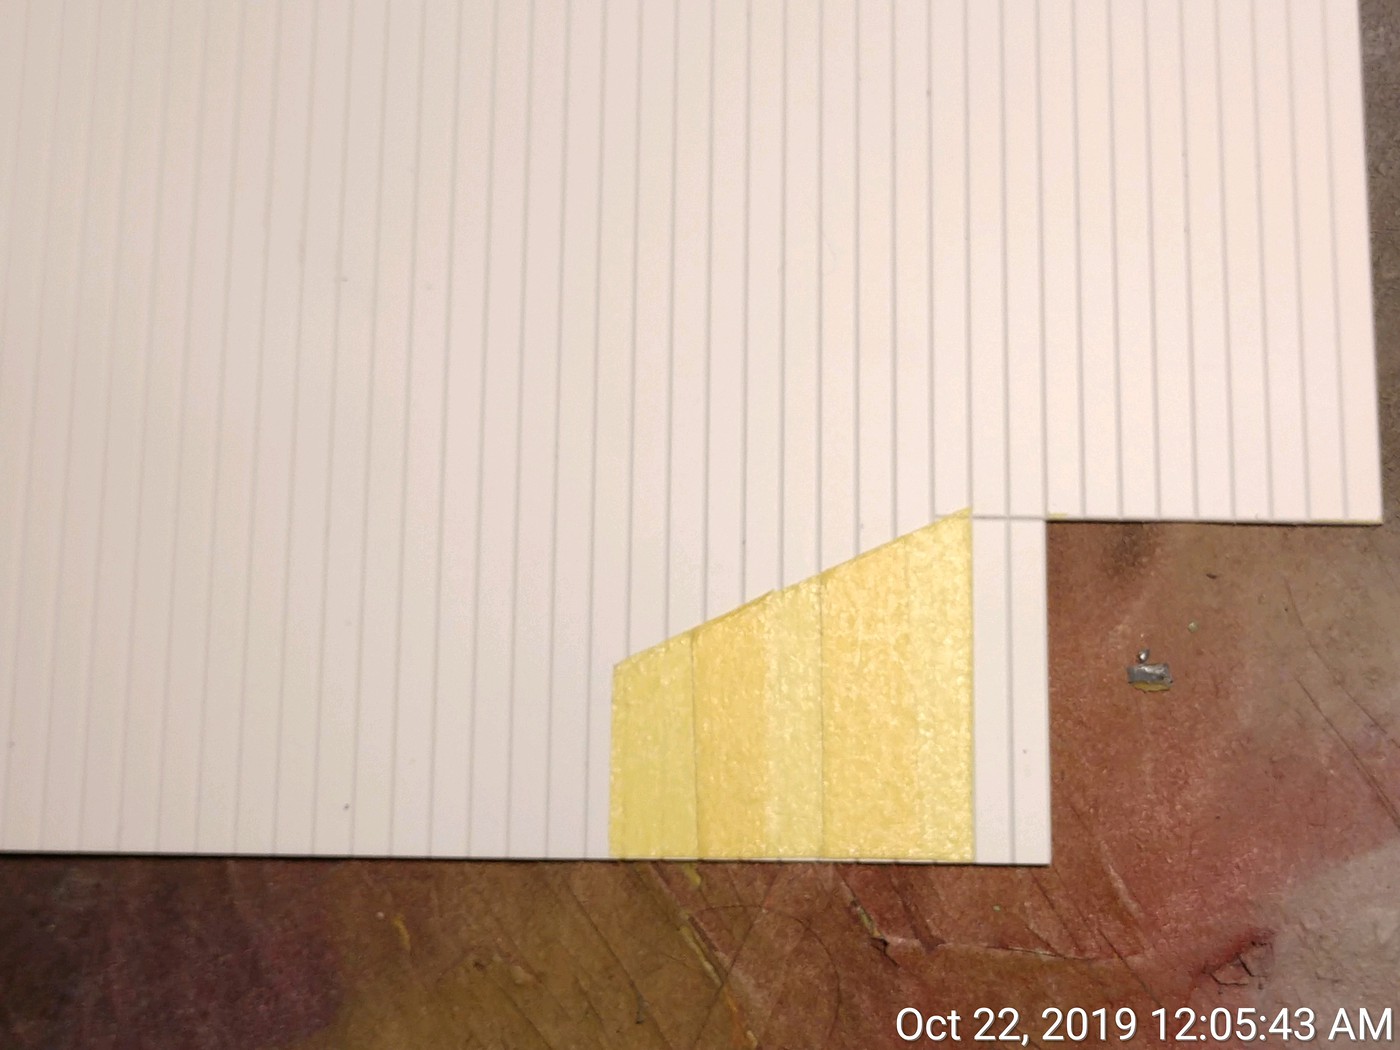
Creating the template.
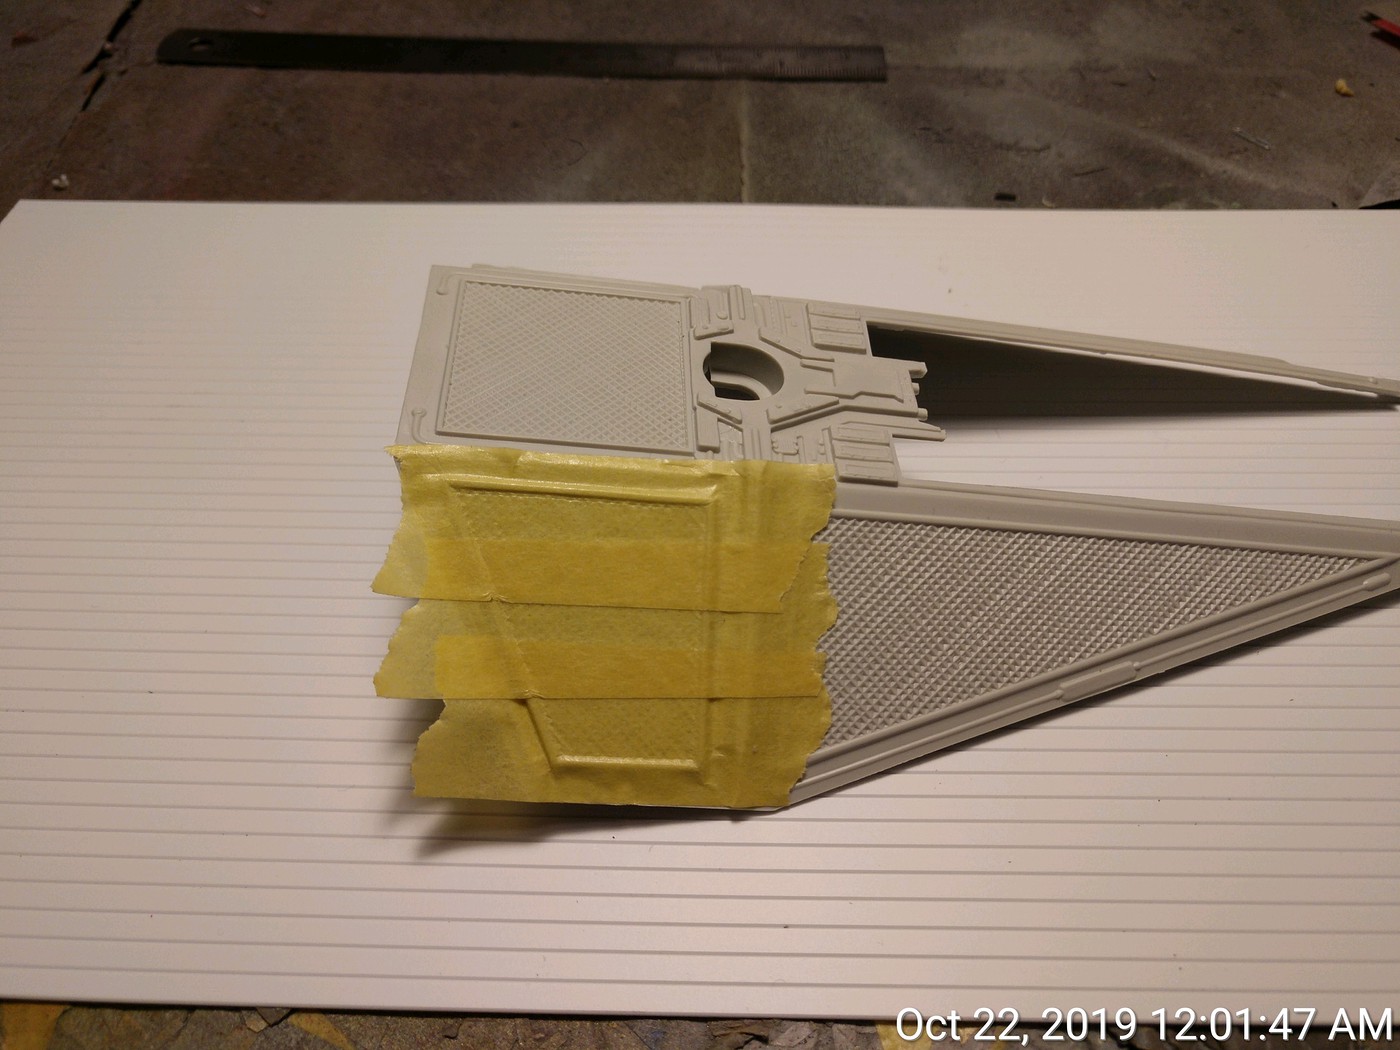
The template cut out.
Transferred to sheet stock.
The new pieces cut out and glued in place. I left the tape on to prevent a glue fingerprint from marring the surface.
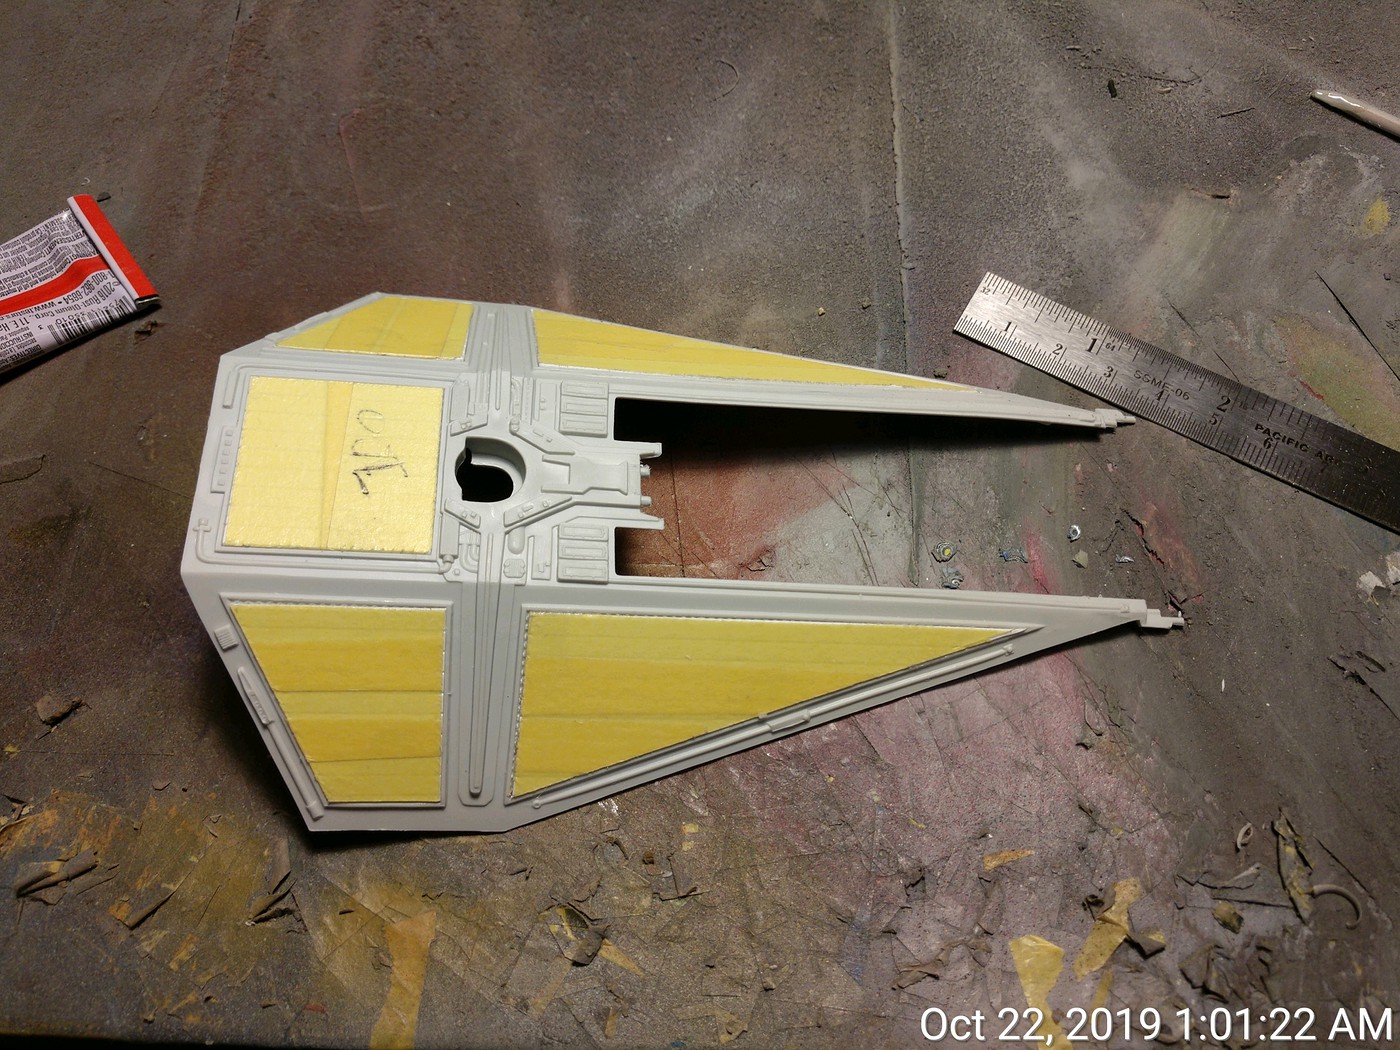
With the tape removed.
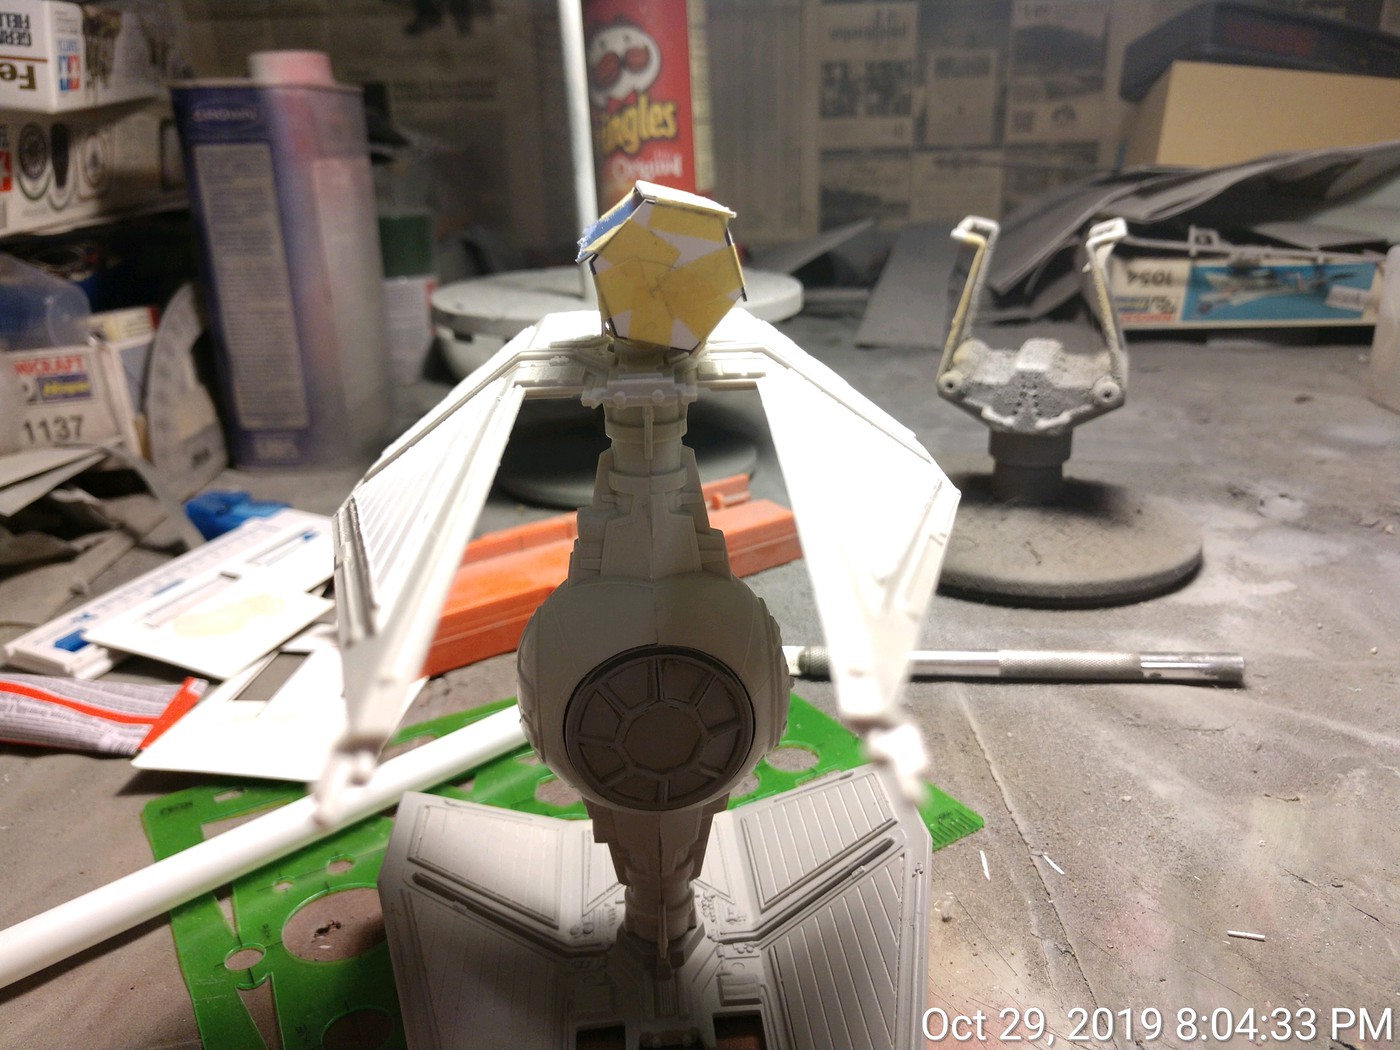
Decided to do some basic CAD (Cardboard Aided Design) for the rocket launchers.
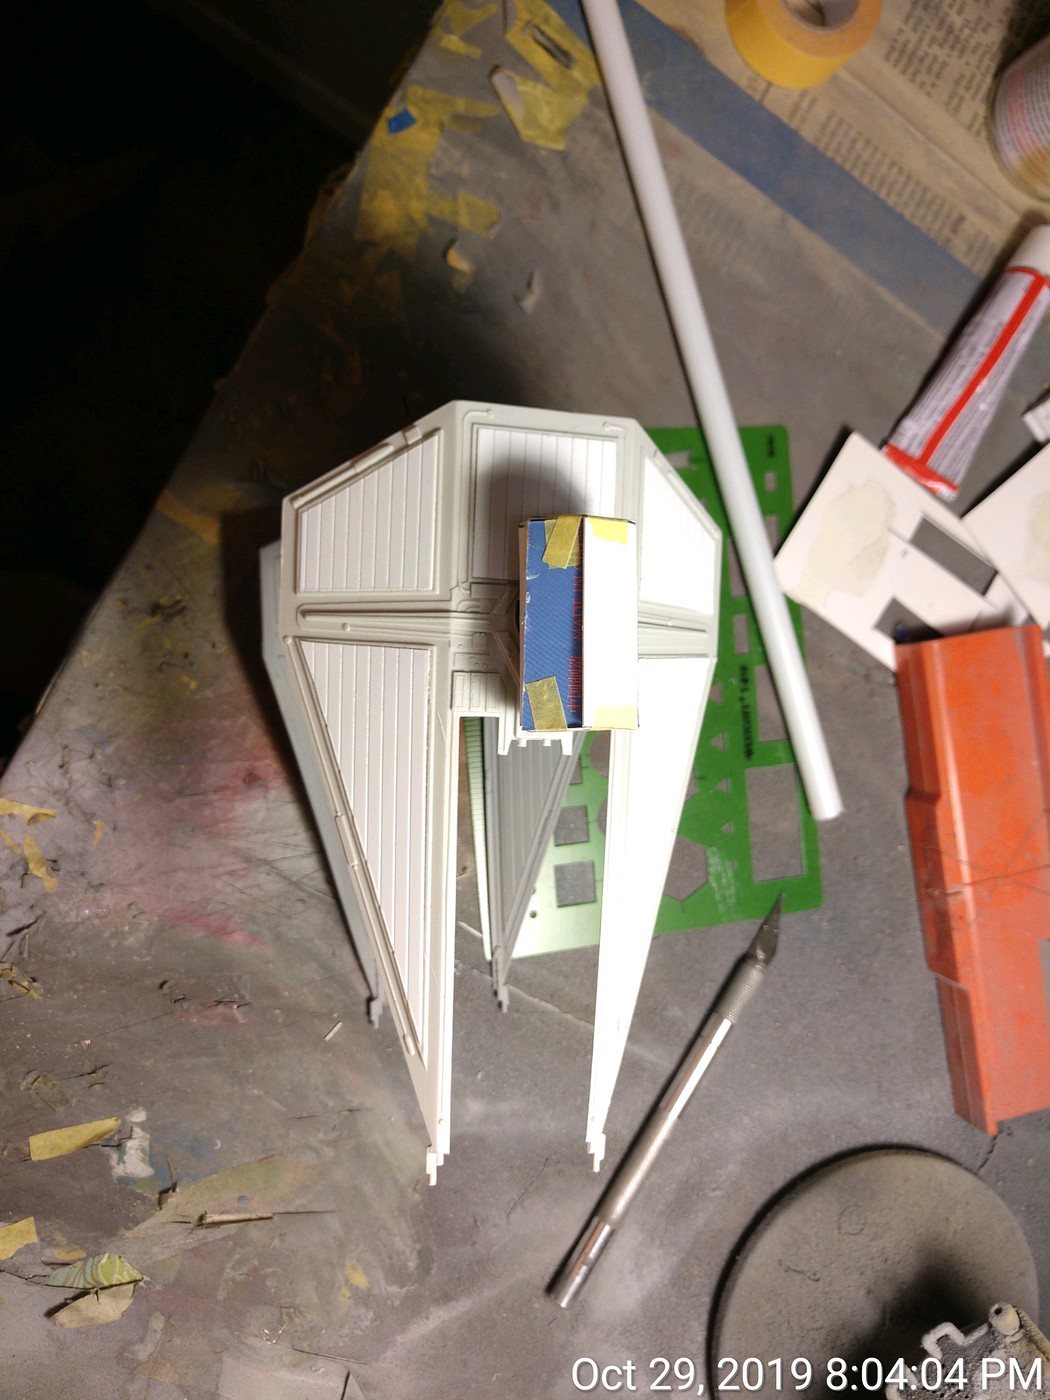
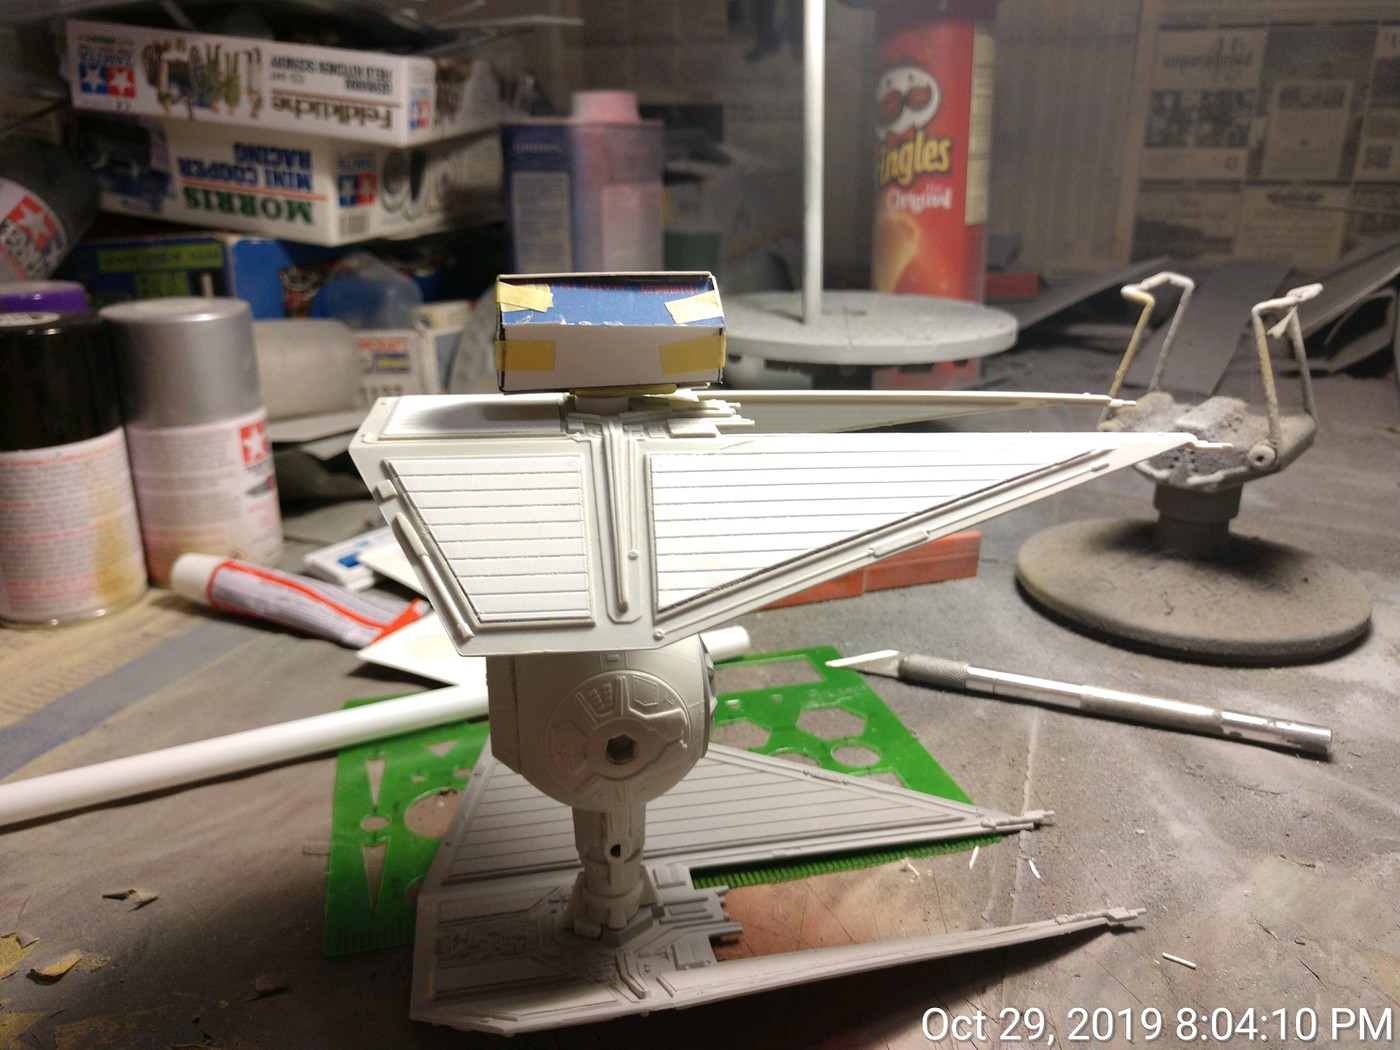
I wasn't quite sure how I was going to attach the rocket launchers to wings once they were done. When I bought the sheet stock, I picked up some plastic tubing which is almost a perfect fit for the hole left by the piece that secures the wing to the TIEball, so that is what I will use. I've started construction of one rocket pod, but forgot to take pictures from the start, so I'll document the second pod as it's built.  That's all for now and don't forget to tip your waitress on the way out.

Buddy- Those who say there are no stupid questions have never worked in customer service.

  • Member since
    June 2017
  • From: Winter Park, FL
Posted by fotofrank on Saturday, November 9, 2019 7:15 AM

lewbud, this is so cool. I really like the red and the way you've done the solar panels.. You've seen my A-Wing 352 FG. Right now I'm finishing up an X-Wing interpretation. I'm gonna hafta find a similar TIE fighter to build something like you are doing. Press on, lewbud. This is going to look great.

OK. In the stash: Way too much to build in one lifetime...

  • Member since
    June 2008
Posted by lewbud on Saturday, November 9, 2019 4:47 PM

Thanks fotofrank. I don't know how ornate the rocket launchers are going to be (pretty fancy in the artwork), but it'll be  interesting.

Buddy- Those who say there are no stupid questions have never worked in customer service.

  • Member since
    December 2002
  • From: Fort Knox
Posted by Rob Gronovius on Thursday, November 14, 2019 10:30 AM

This is impressive. The snap together TIE interceptor was one of my favorite kits from the Return of the Jedi way back then.

As far as the rocket pods go, have you thought of using some sort of hexagon shape to make them out of? Like a pill container or something similar? That might give you a more uniform shape.

I tried to do a google search for hexagons and there are some 40mm figure bases that you could use as end caps to then add flat pieces of styrene to make the pod.

https://www.amazon.com/Proxie-Models-40mm-Hex-bases/dp/B07DJC7QJJ

  • Member since
    November 2010
  • From: Florida-West Central
Posted by Eagle90 on Thursday, November 14, 2019 12:48 PM

That is AWESOME!!!!!!


  • Member since
    June 2008
Posted by lewbud on Sunday, November 17, 2019 4:32 PM

Thanks Rob and Eagle90!

For the rocket launchers I'm using shapes cut out of .040 sheet styrene. I didn't take pictures when I started the first one, so I'll use that one as a test mule and take pics of the second (and possibly third, rule of three and all that) as it's built.  I found a stencil that had the hexagonal shapes I needed so that is what I'm using. They won't be as ornate as the artwork, but hopefully they'll be better looking than the Warheads I've seen on Shapeways with tubular launchers. Hope to have the first one done soon.

Buddy- Those who say there are no stupid questions have never worked in customer service.

JOIN OUR COMMUNITY!

Our community is FREE to join. To participate you must either login or register for an account.

SEARCH FORUMS
FREE NEWSLETTER
By signing up you may also receive reader surveys and occasional special offers. We do not sell, rent or trade our email lists. View our Privacy Policy.