I debated whether I should post anything on this subject now or wait a bit in order to space things out a bit. Posting it now won out. Figured best to do it while it's still fairly fresh in my mind.
I learned so much from working on the creatures, which I now know are called Nox (thanks lowfly!), that when I finished them I couldn't wait to try again. Decided that the next test of what I learned would be to weather an AT-ST.
And a challenge wouldn't be complete without trying to introduce something new to me. Last time it was layering washes. This time it's using a chipping compound. Specifically AK Interactive's Worn Effects.
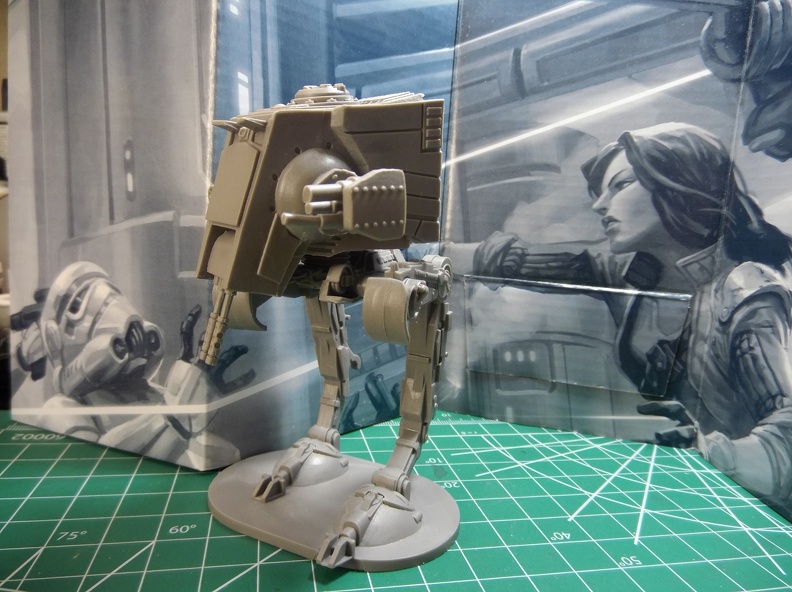
This is what I started with. The gun pods on the sides stick out farther than they are supposed to because I couldn't seat them fully. When I went to pull them out to fix it, I found they were soundly wedged in and removal would damage them. Therefore they are now and forever in an "extended" state.
You can tell the AT-ST didn't like it by the sad look on it's face.
Forgive me but I don't have any intermediate shots here so it's pure text for a bit.
This is where I have to give a shout out to Vallejo for having some free online how-to documentation for doing rust with their products. Great reference material there. I followed a variation of their methods when weathering the AT-ST.
Hit it with Vallejo black primer. Once dry I put on a couple of coats of the Worn Effects. When that was dry, I randomly airbrushed spots with varying densities of Clear Orange. Then attacked it with a slightly damp toothbrush to break up any large solid areas of color.
Sealed it with PG, added another layer of Worn Effects, and then applied the primary color. Which was a mix of Medium Sea Grey and White. Don't recall the ratios.
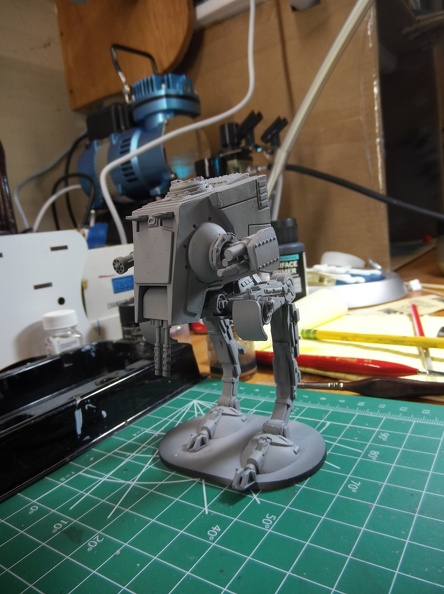
Tried to think about places where wear would be most likely to occur and from what it might be. Also I wanted the final product to look like it was a front line machine in a tough fight and not something paraded in front of the Emperor.
Time for more work with a damp toothbrush and toothpicks. The damp brush for large areas and toothpicks for scratches.
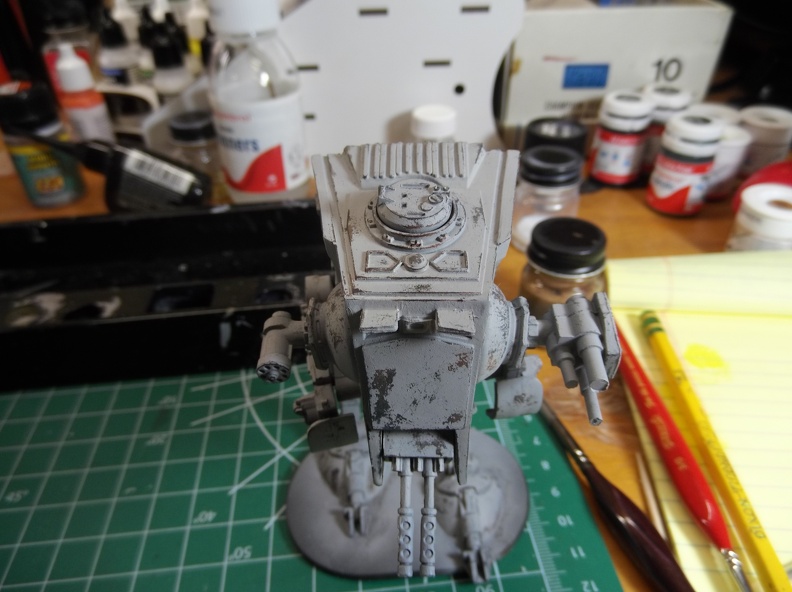
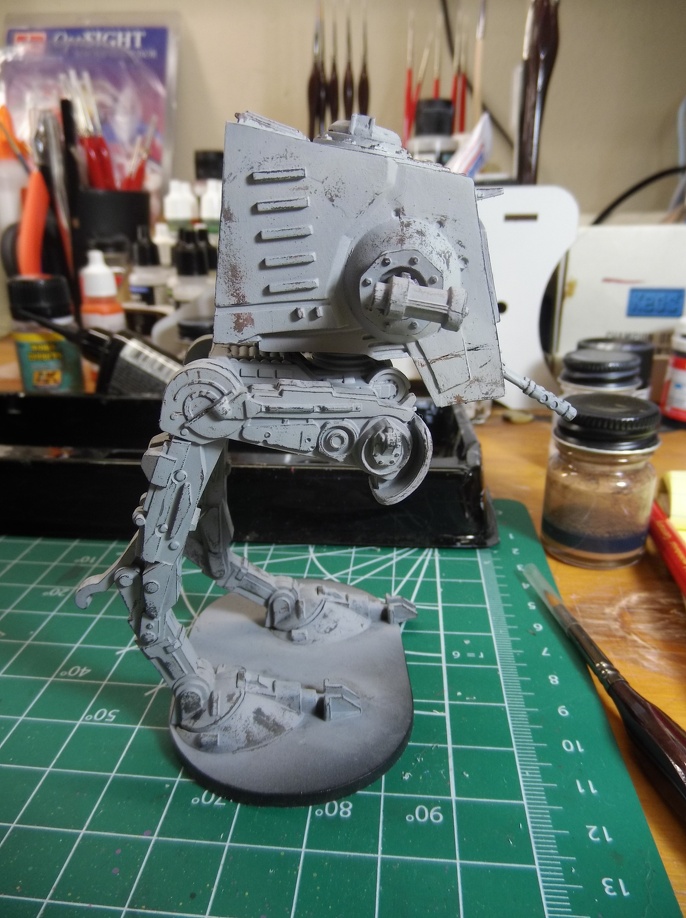
Wow, if only I had known it was that easy to make paint look worn.
Thought the black/orange/grey layers created a nice looking patina to start with.
From there I started to add light rust wash for streaking.
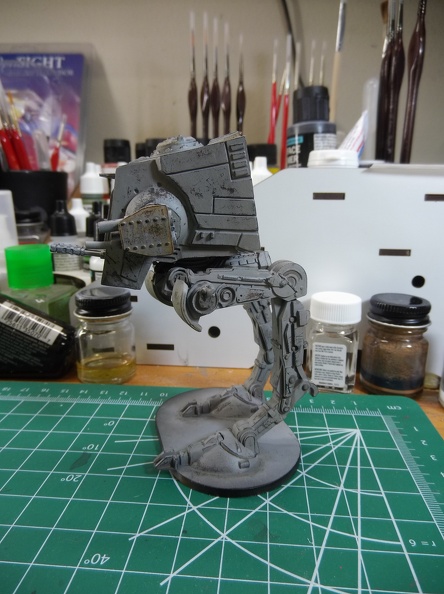
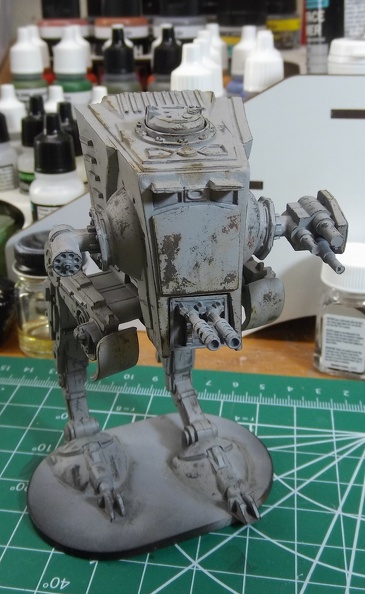
Followed by a second round with rust wash (darker color) and again with light rust to really bring out the colors. Threw in some light grey wash in places for water stains.
Then topped it all off with Vallejo engine grime and petrol stains to areas where grease and oil could accumulate.
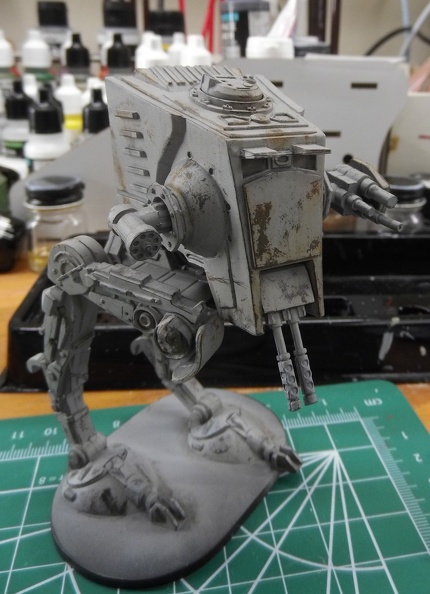
It was around this point that I decided it was "rusty" enough. There is definitely a fine line between not enough, and way too much!
Final weathering was with a brown chalk pastel. Lightened with a little bit of a sandy pastel. Was going for a look of dirty rather than caked. Like the cars that have "wash me" drawn on them.
I created some wear points on the top to show where feet and hands would be when getting in and out of the walker (photo at this stage was way over exposed, washing everything out).
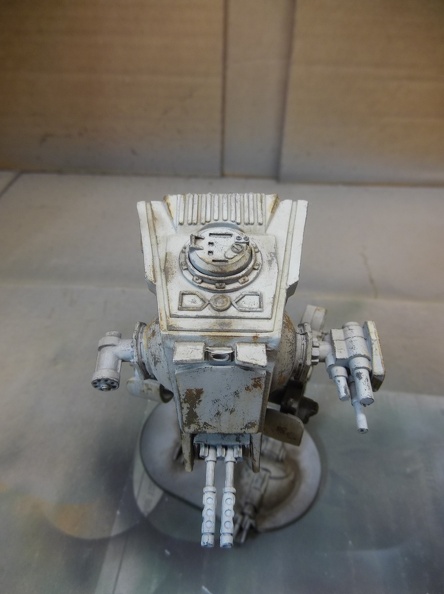
And final product. White balance is slightly off but, I liked the effect it created so didn't try to fix it.
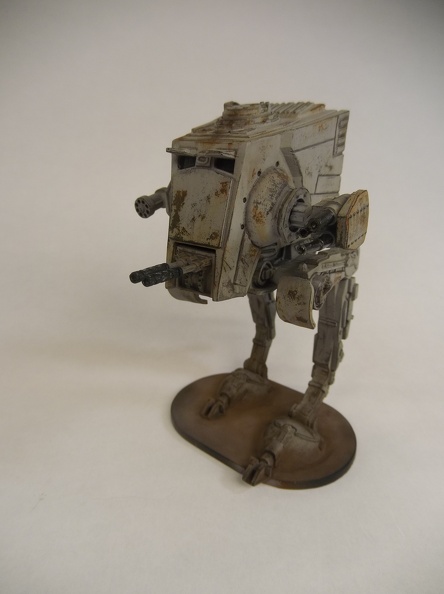
I thought the bars on this side looked like a ladder, so I added more pastels on them and the top of the leg to show dirt being ground in from climbing up and down.
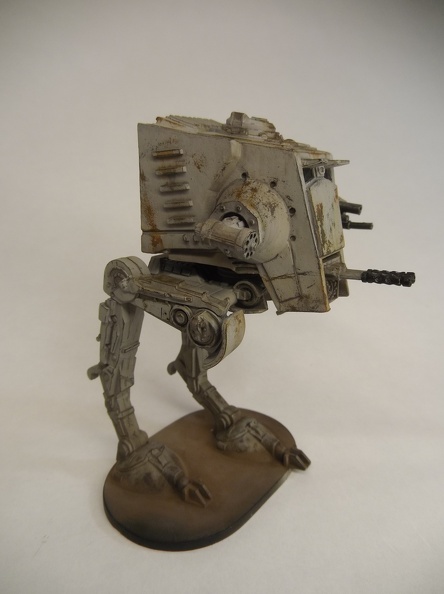
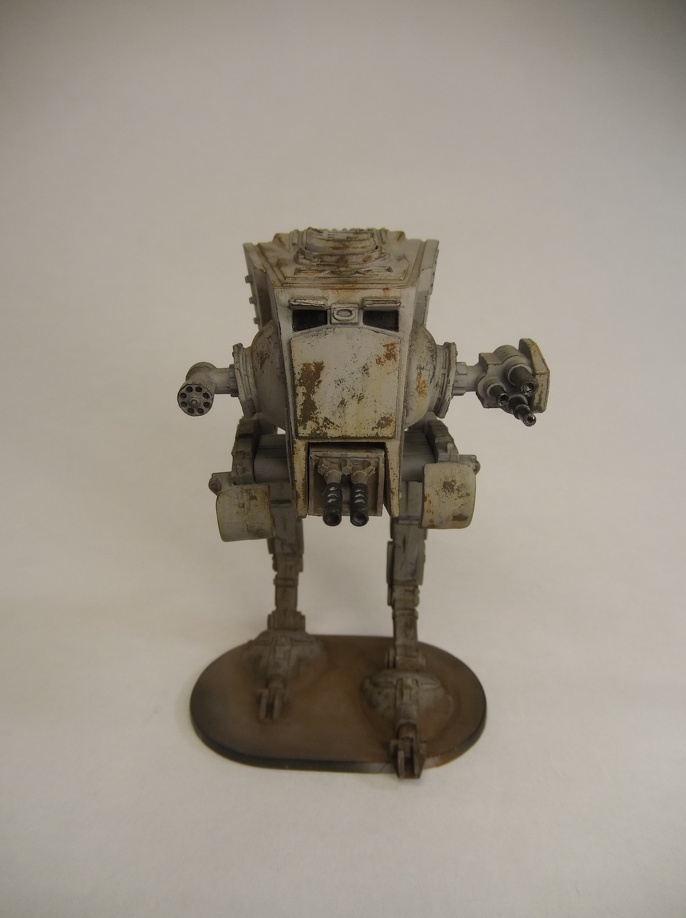
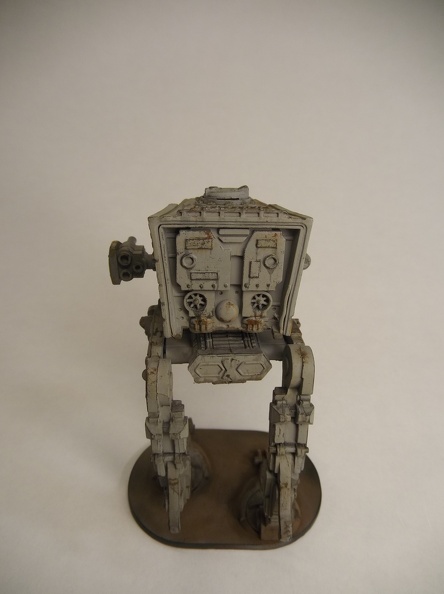
For context of size (12oz coffee mug).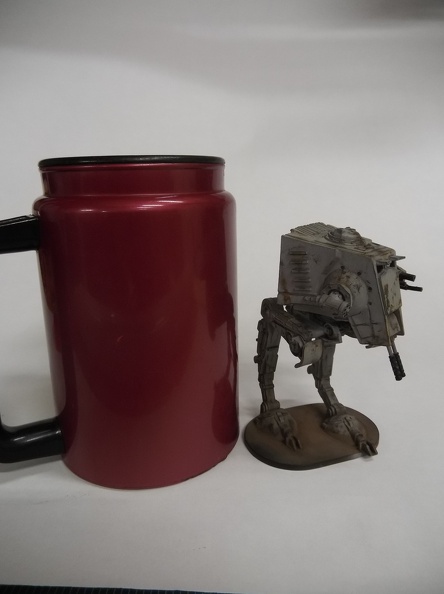
Because they are from a game, fun must be had!
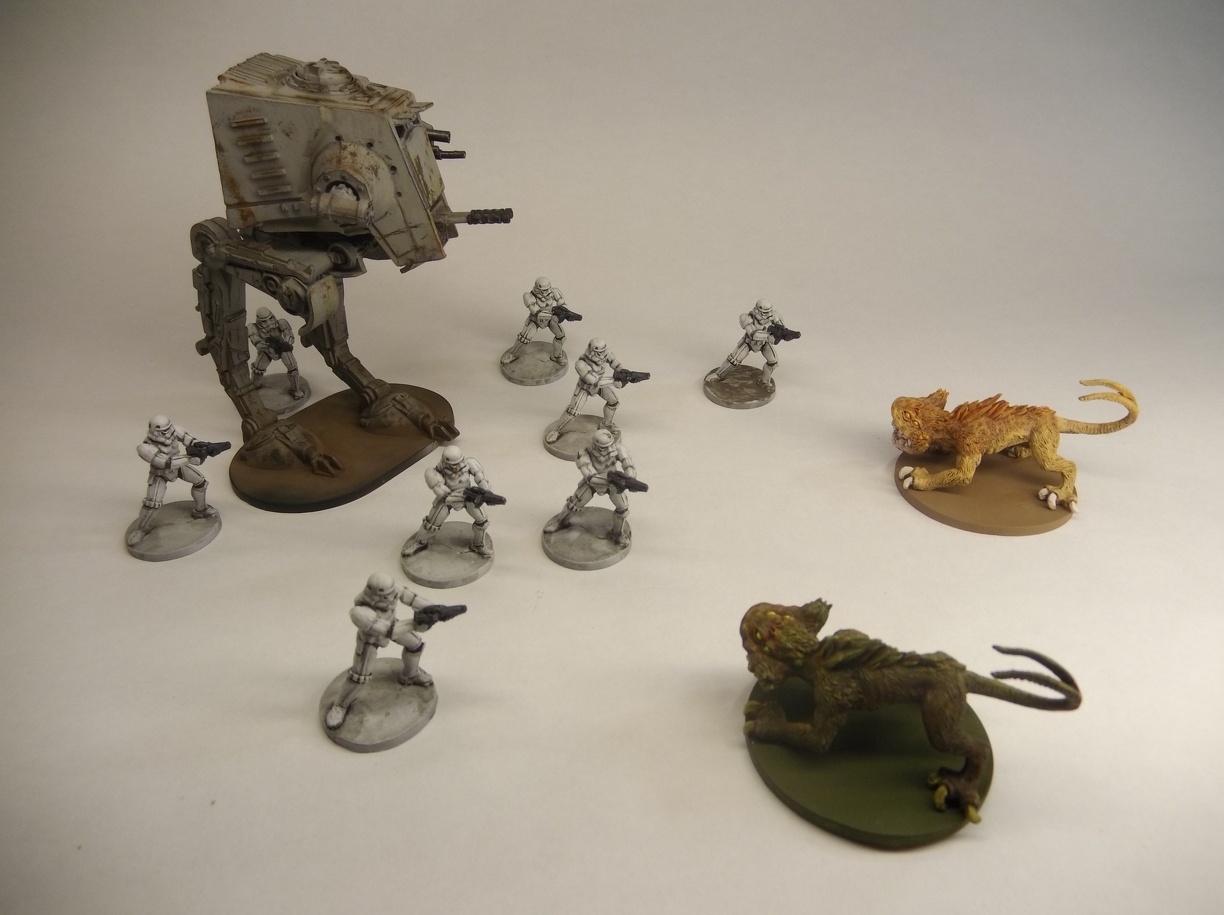
At some point in the future, I will start experimenting with dioramas but, not yet. Many more models to build and paint first!
Next time I post, promise it will be a model and not a miniature!